Week 1 – Anatomy – Proportions/Skull
Difference Between Male and Female Skull
- Gonial Angle in male is right angle(90 degree) where as in Female its obtuse angle(greater than 90 degree)
- Supercilliary Arches(brow ridges) males have visible ridges compared to female.
- Mental Eminence in males, the mental eminence is typically square and broad, while in females, it is v-shaped and narrow.
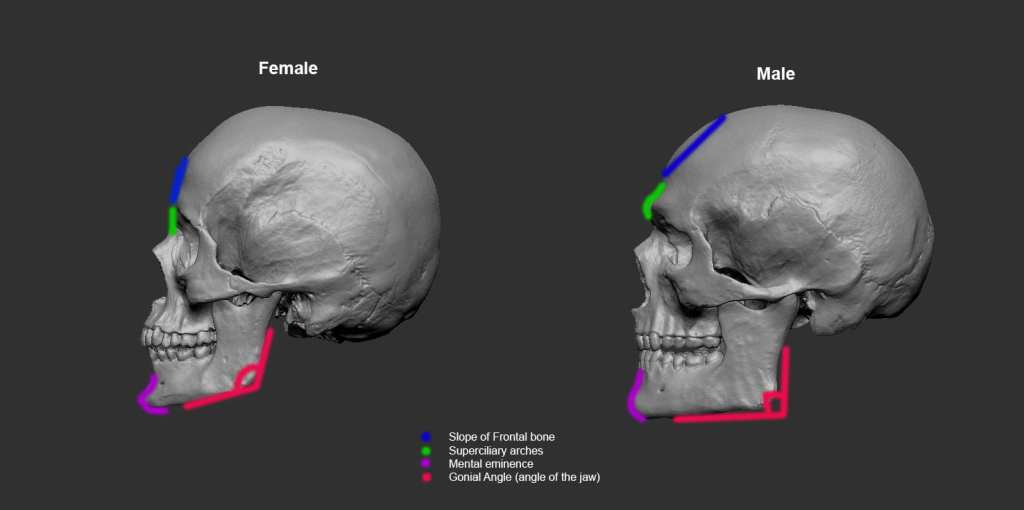
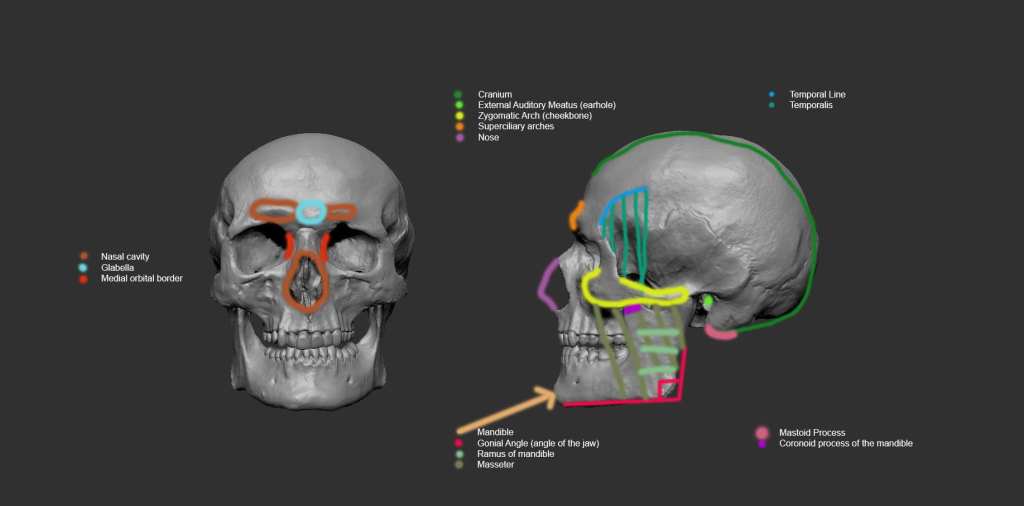
Anatomy of Male & Female Skull
- Slope of frontal bone
- Superciliary arches
- Mental eminence
- Gonial angle
- Nasal Cavity
- Glabella
- Medical orbital border
- Cranium
- External Auditory Meatus
- Zygomatic Arch
- Nose
- Mandible
- Ramus of mandible
- Masseter
- Temporal Line
- Temporails
- Mastoid Process
- Coronoid process of the Mandible
Experience with Zbrush
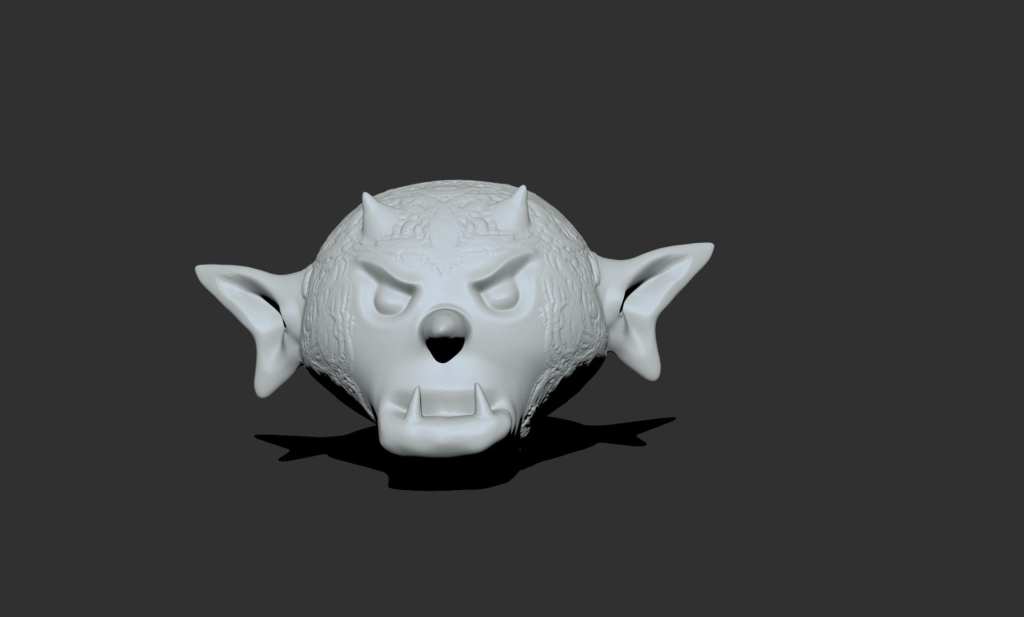
- Used different brushes and tool randomly to create this.
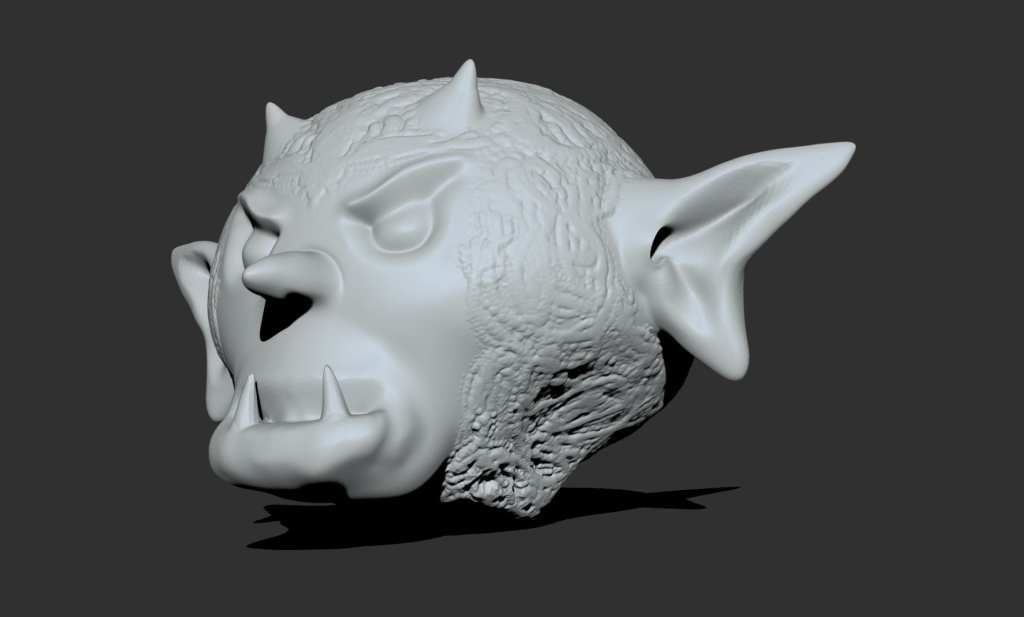
Week 2 – Features: Nose
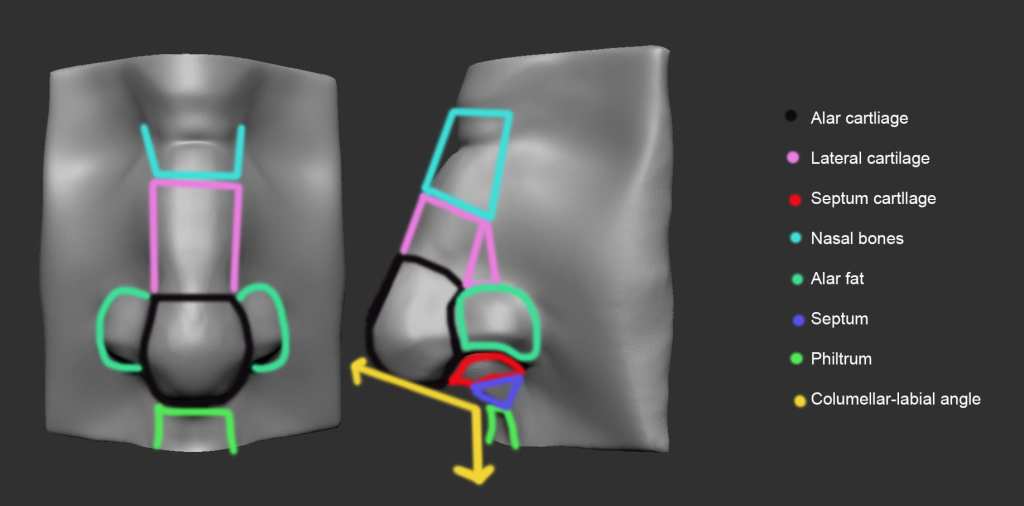
Anatomy of Nose
- Alar cartliage
- Lateral cartilage
- Septum cartllage
- Nasal bones
- Alar fat
- Septum
- Philtrum
- Columellar-labial angle
Cartilage
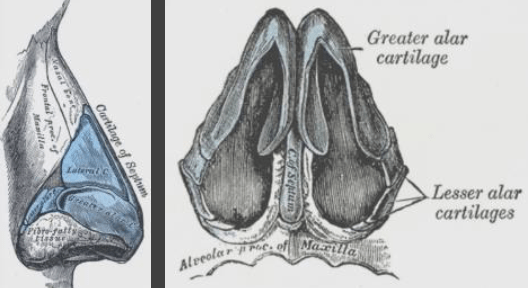
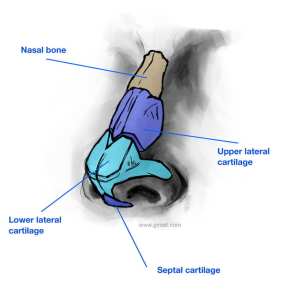
Nose is strongly defined by the cartilage.
There are 3 pieces of cartilage alar cartilage, lateral
cartilage, septum cartilage. 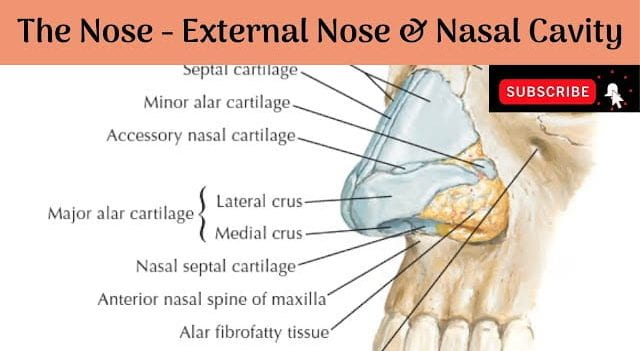
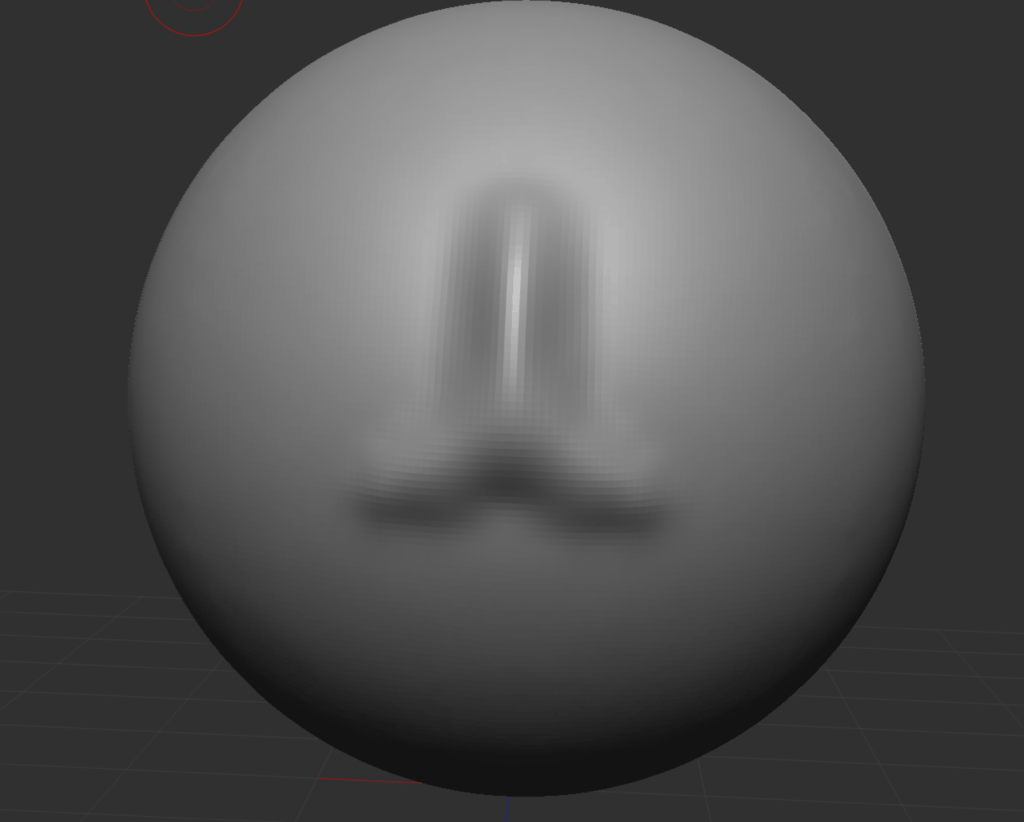
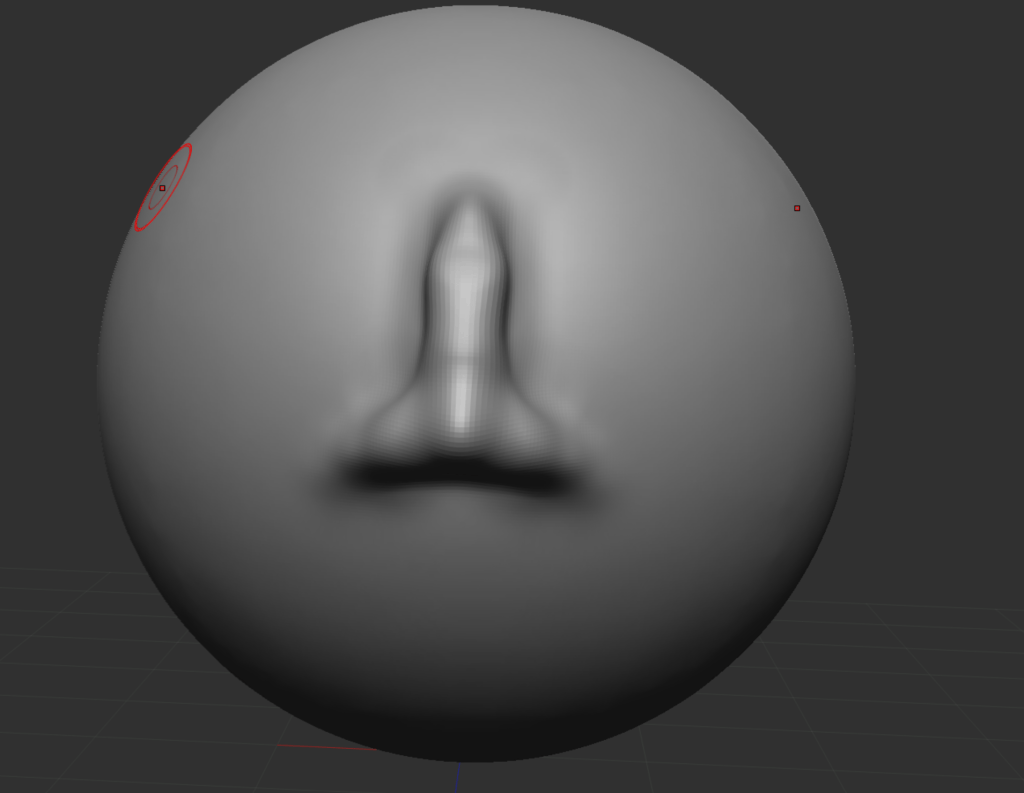
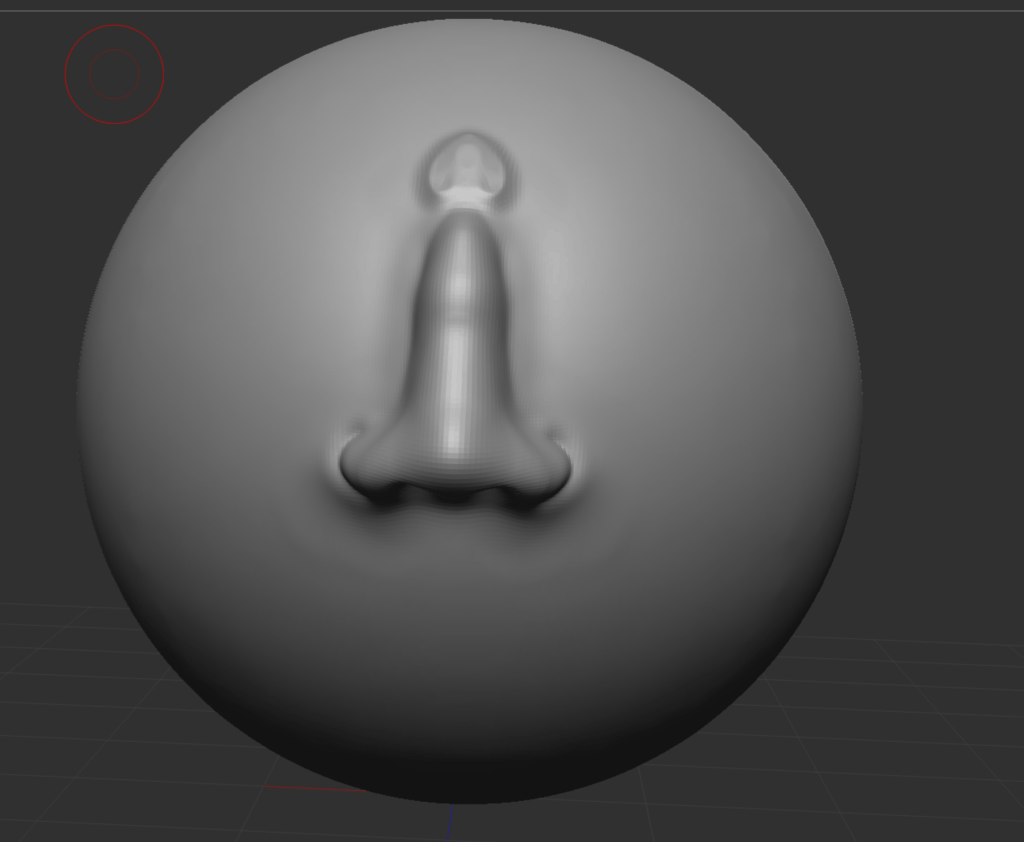
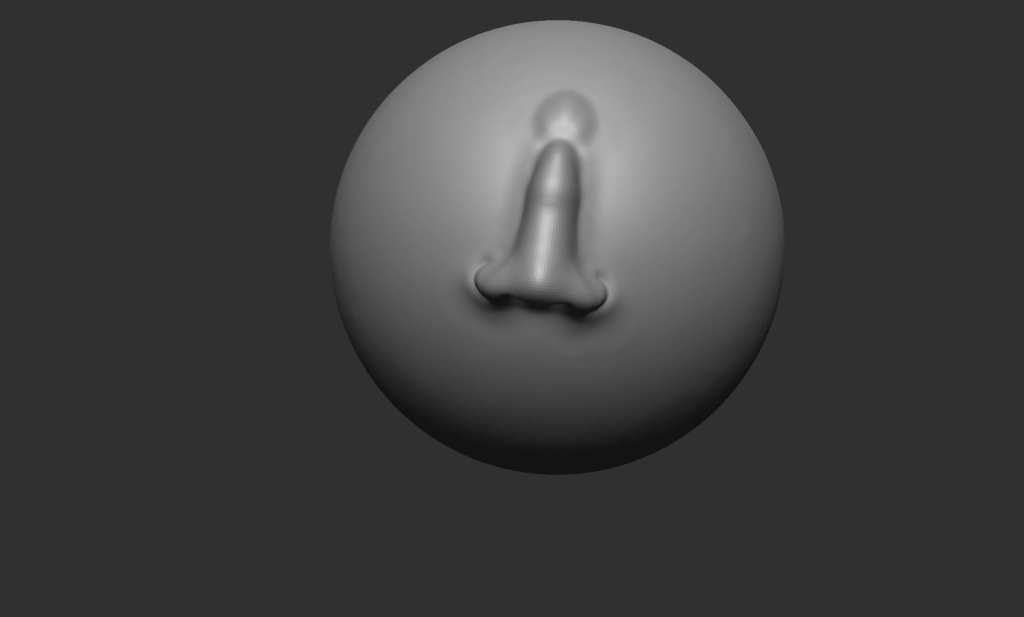
- Use ‘DamStandard’ brush make outline of a nose, then use MOVE to pull it out. Furthermore keep using DamStandard & MOVE Brush to make nose. Hold ‘SHIFT‘ to Smooth anything.
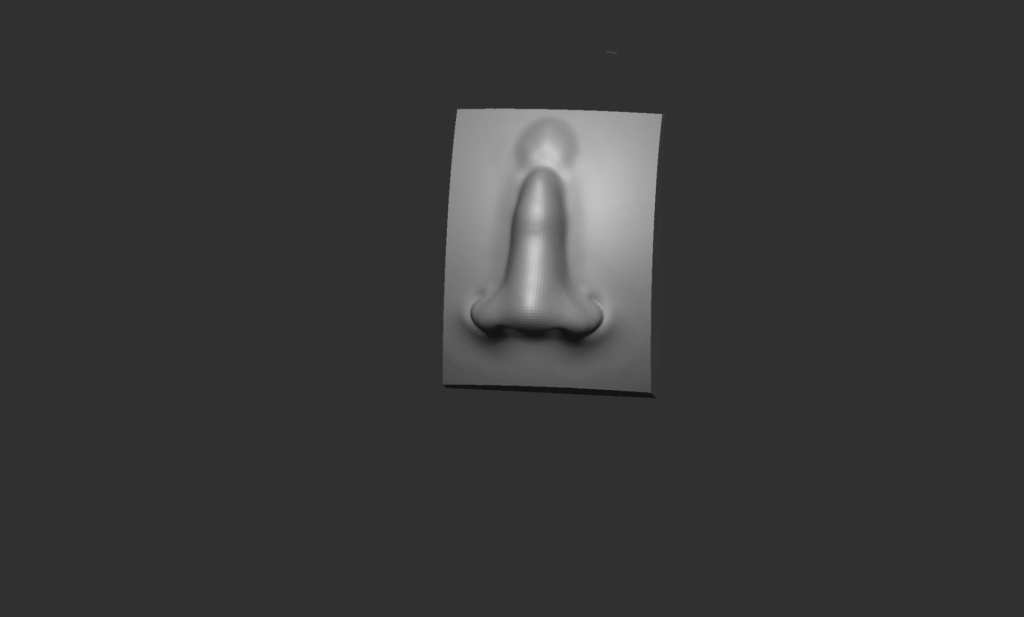
- Use ‘TrimRect’ to get rid of unwanted sphere by holding ‘CTRL + SHIFT‘.
Week 3
Features: Mouth
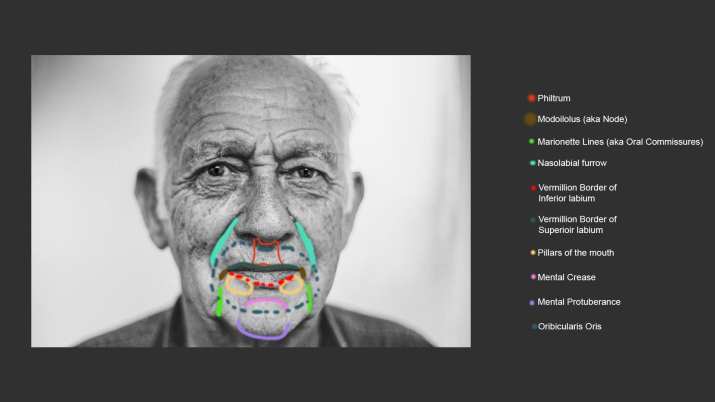
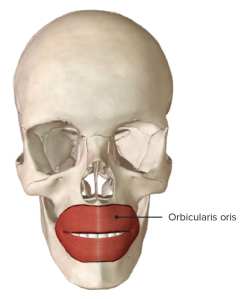
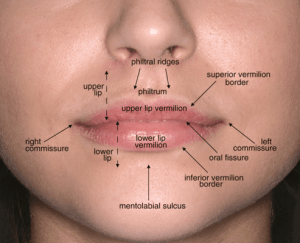
Anatomy of Mouth
- philtrum
- Modoilolus (aka Node)
- Marionette Lines (aka Oral Commissures)
- Nasolabial furrow
- Vermillion Border of Inferior labium
- Vermillion Border of Superior labium
- Pillars of the mouth
- Mental Crease
- Mental Protuberance
- Oribicularis Oris – Muscle that ‘orbits’ the mouth cavity. It is complex as it has other muscles attaching to it.
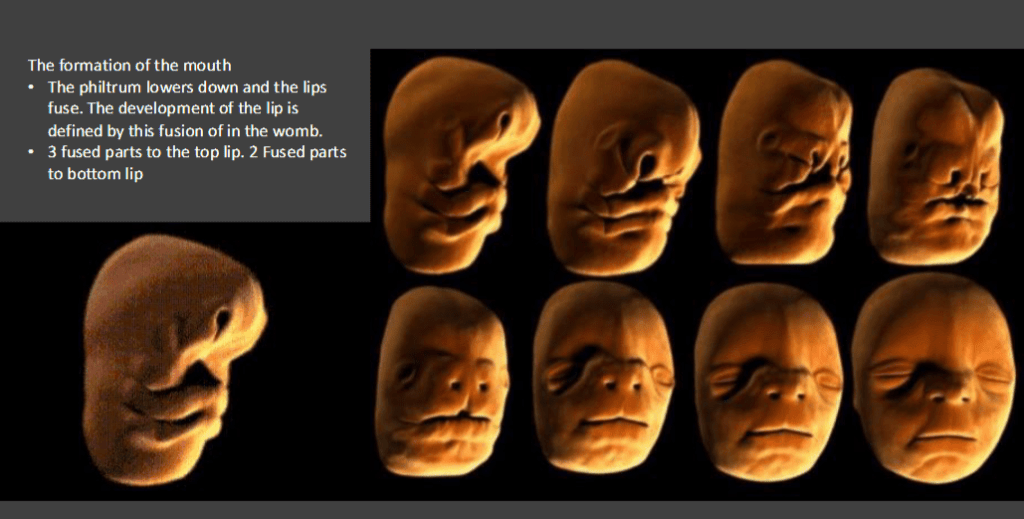
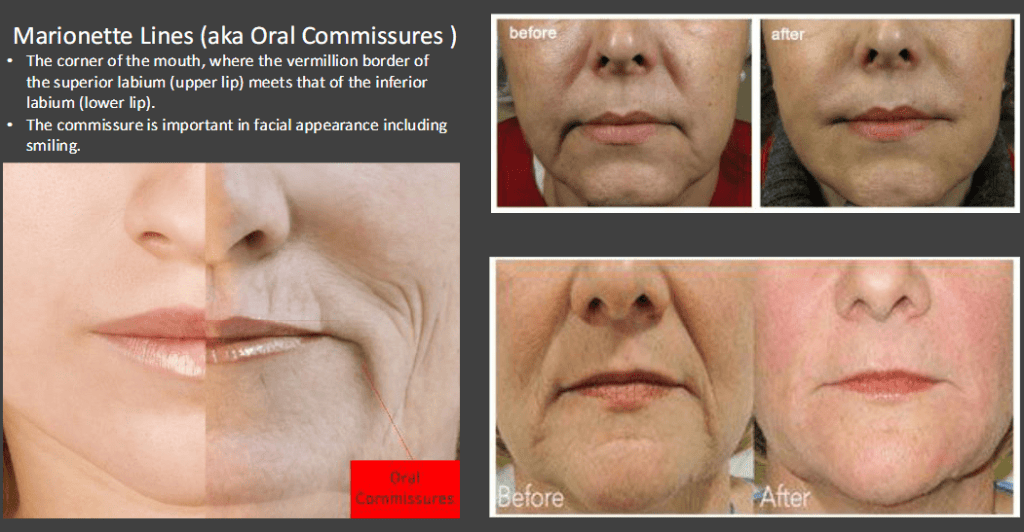
TEETH
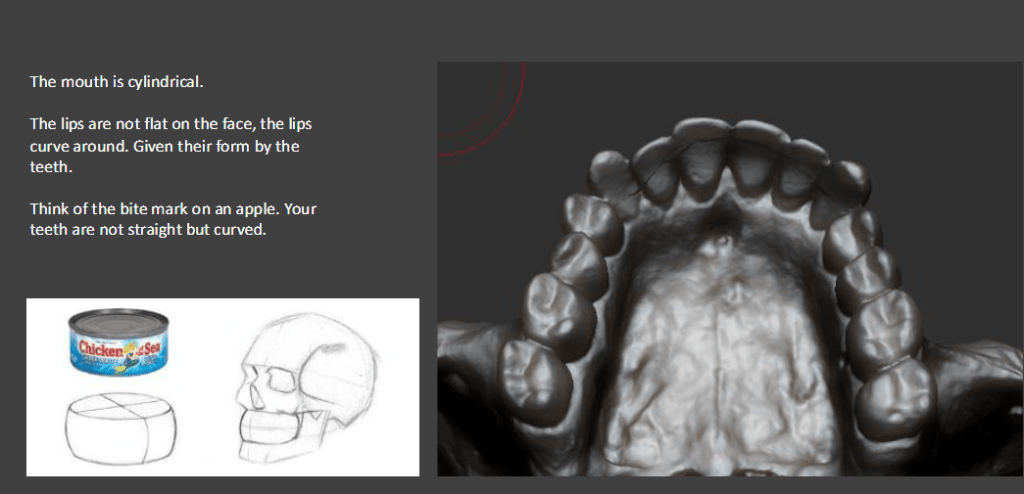
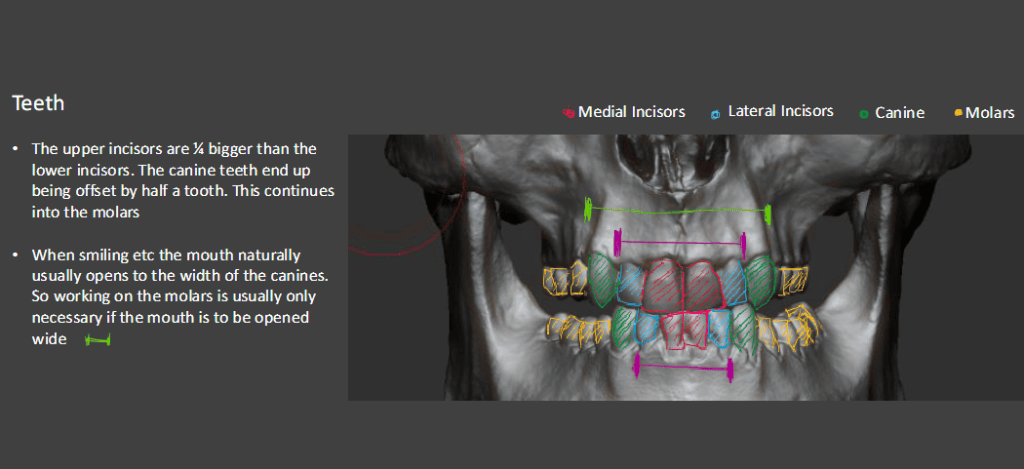
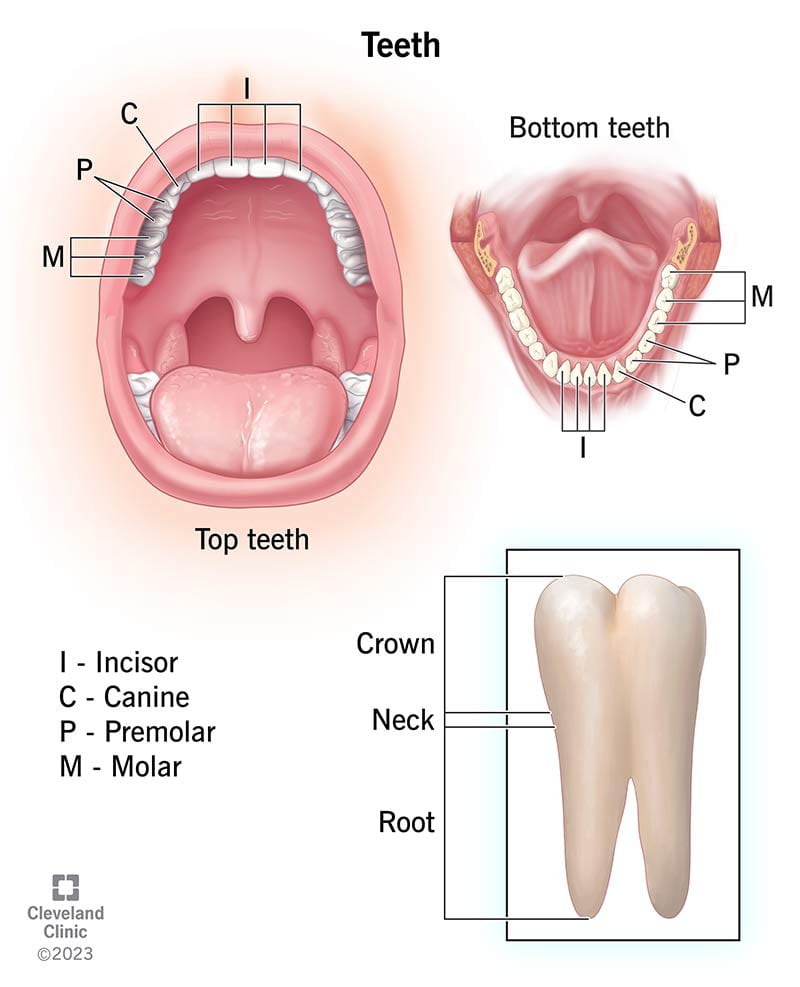
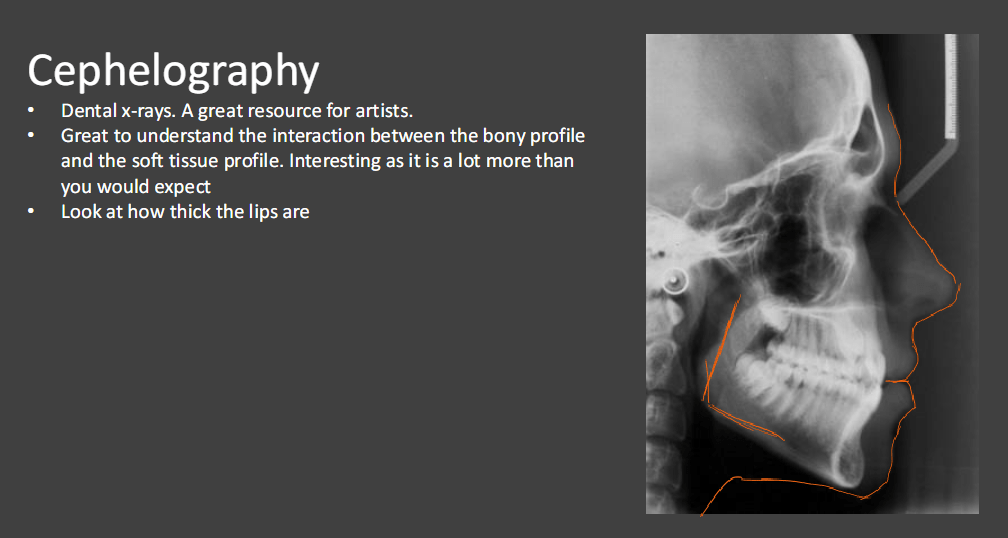
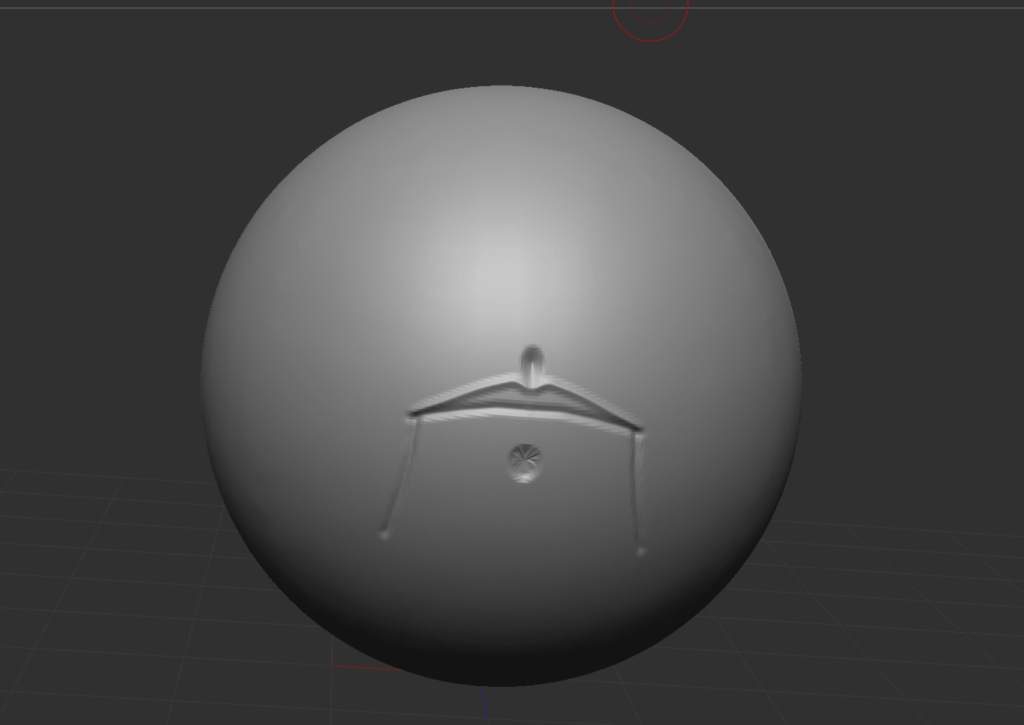
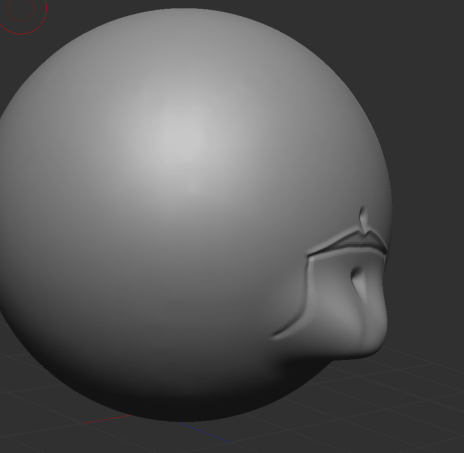
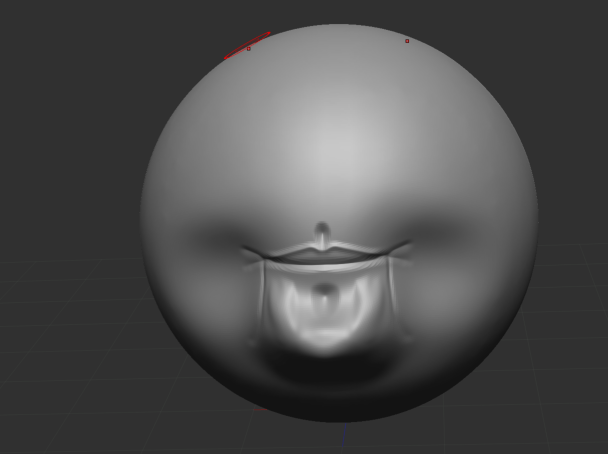
-
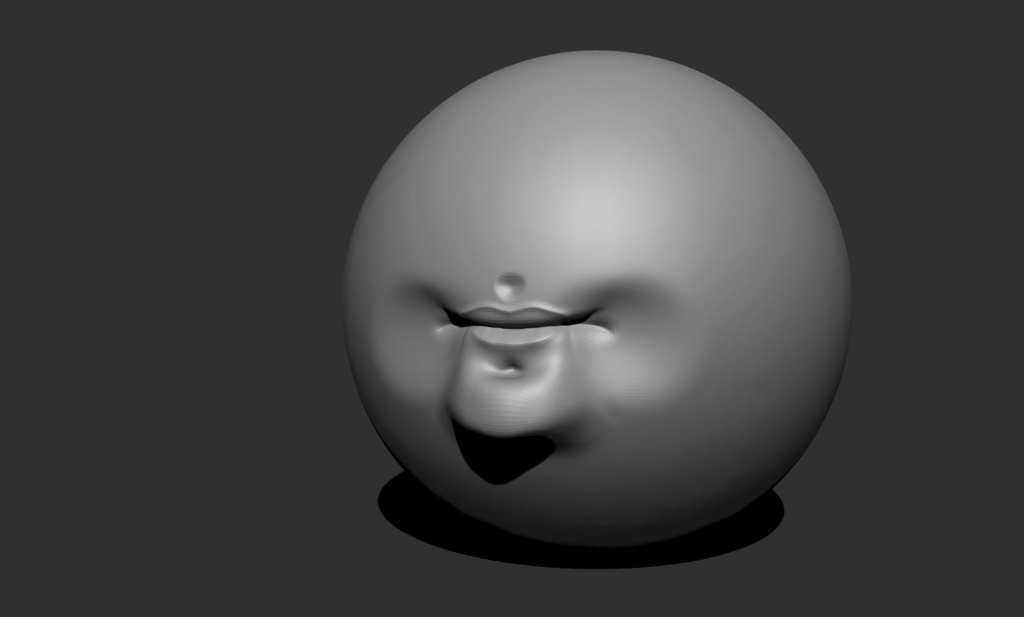
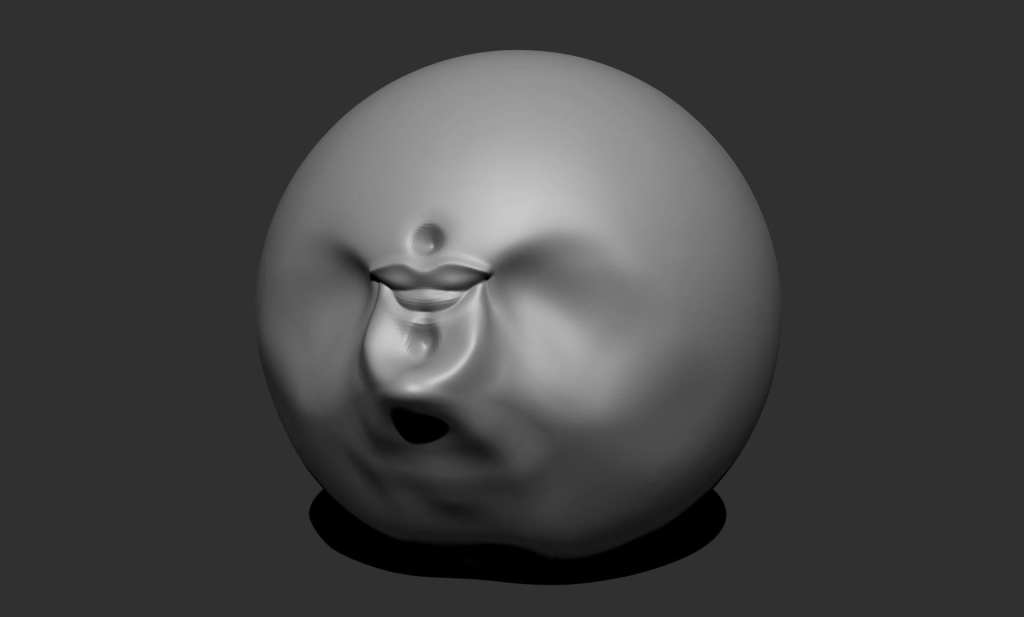
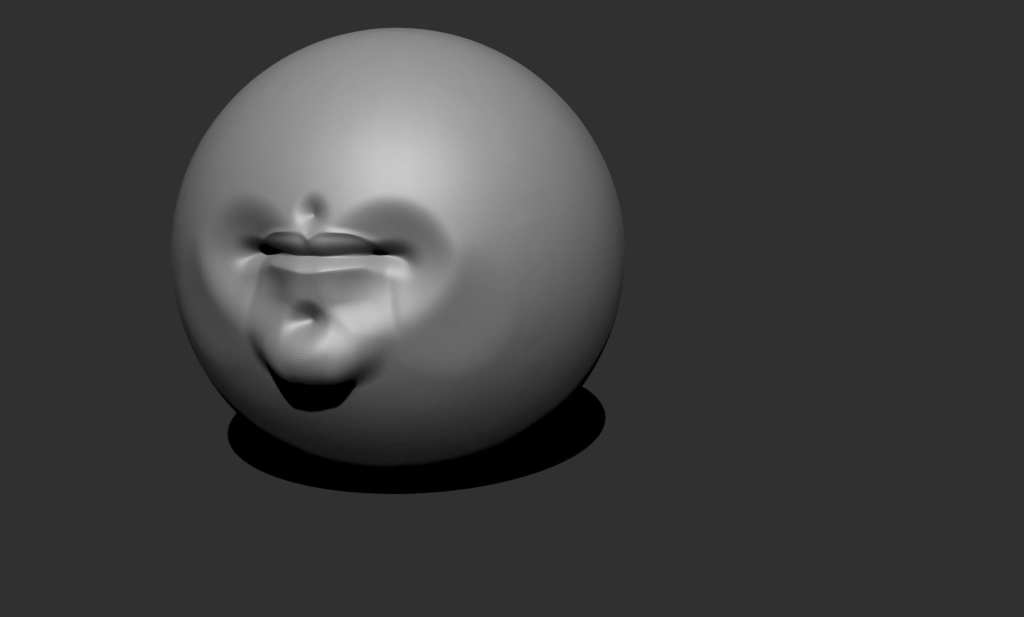
- Use ‘DamStandard’ brush make outline of a mouth. Using ‘MOVE’ make chin.
- Use DamStandard & Move brush to give some perfect outlines.
- Use ‘TrimRect’ to get rid of unwanted sphere.
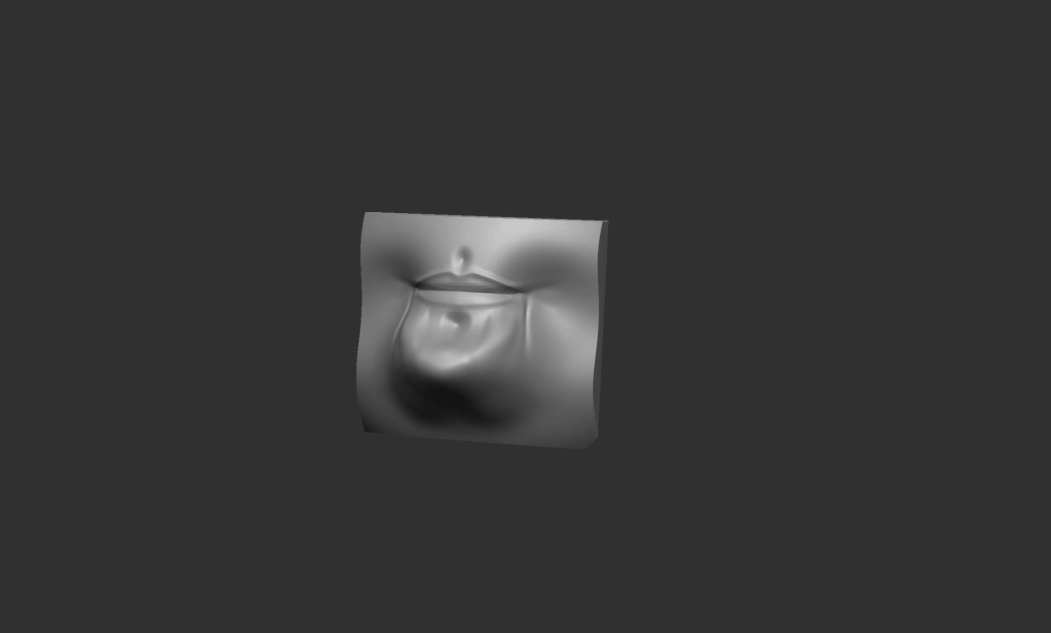
Different Mouth I Practiced
WEEK 4
Features: Ear
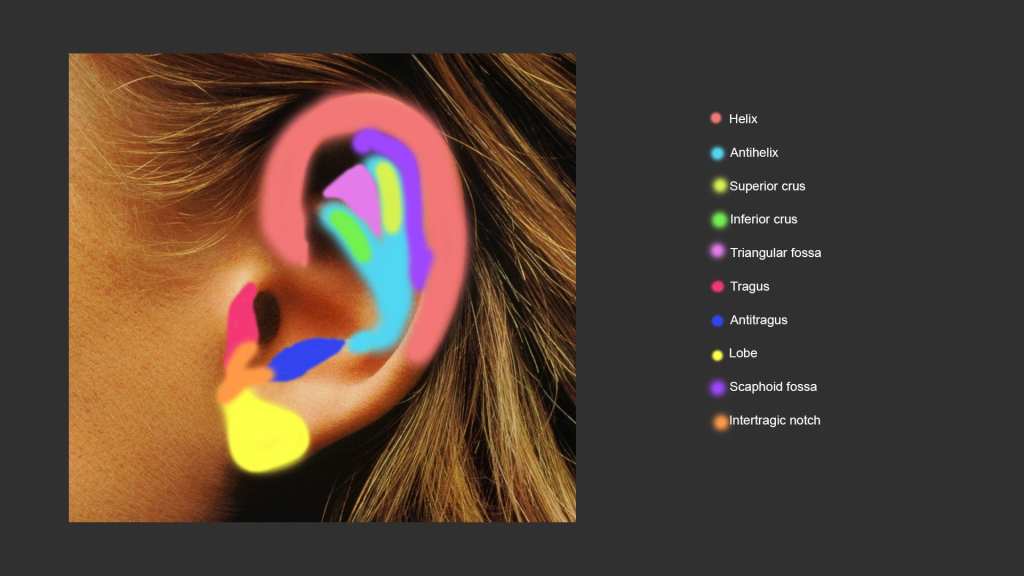
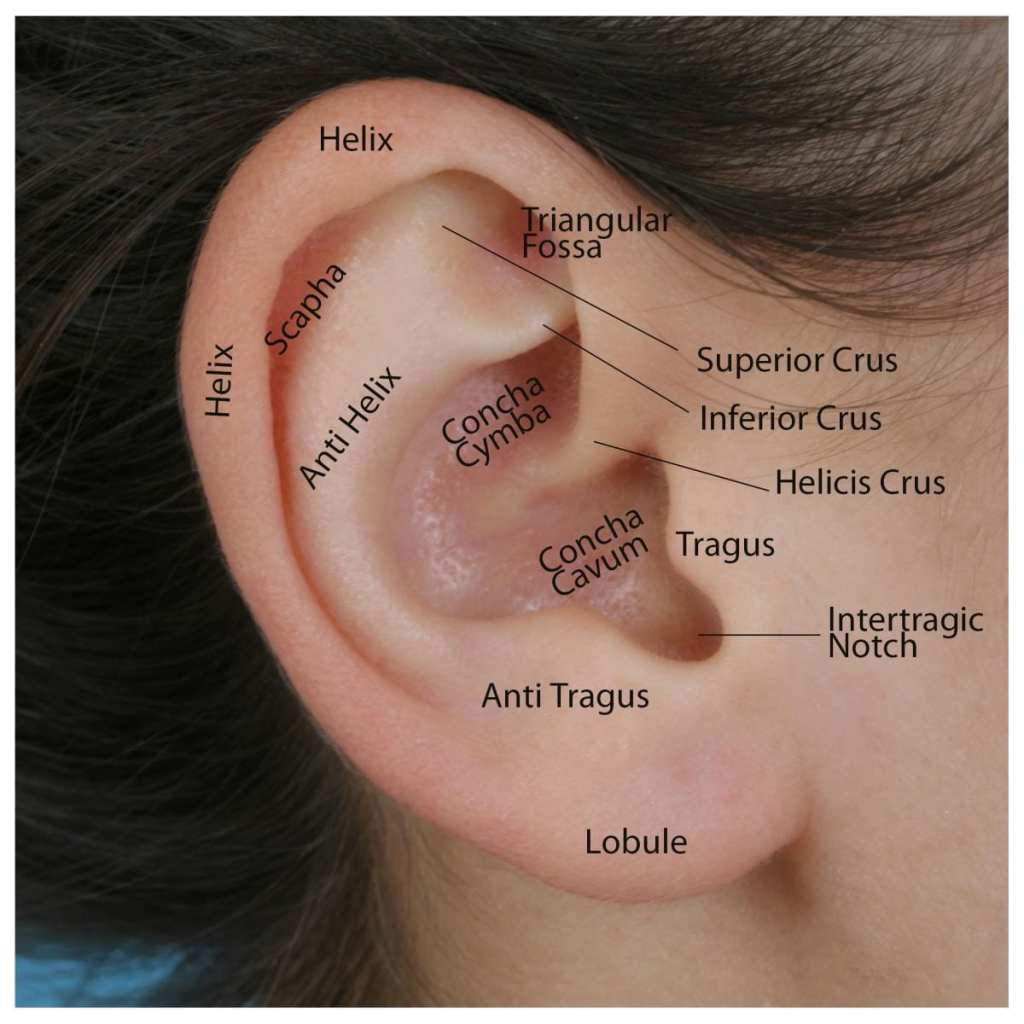
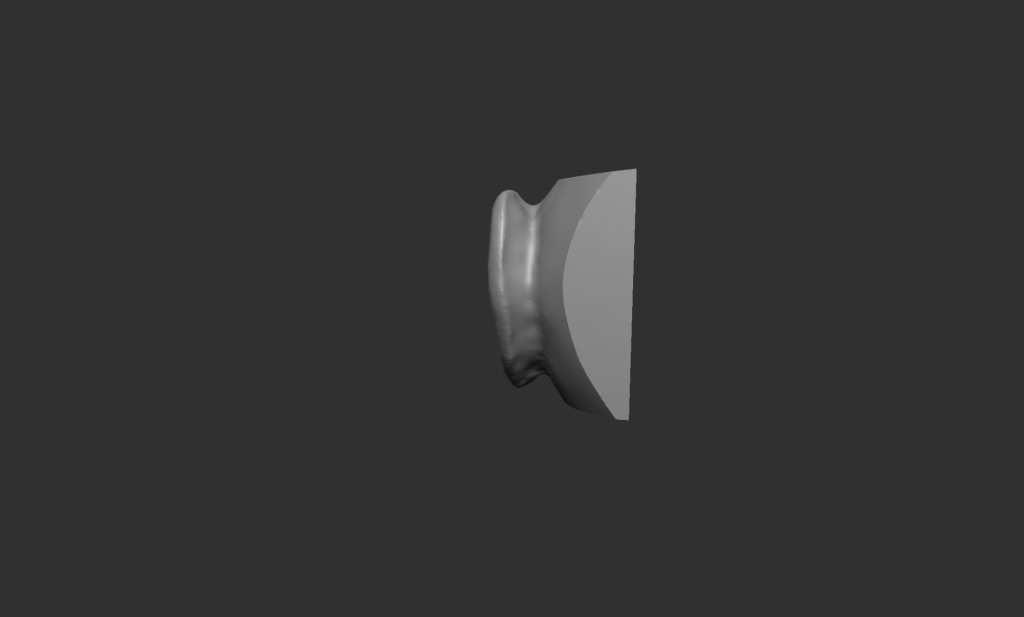
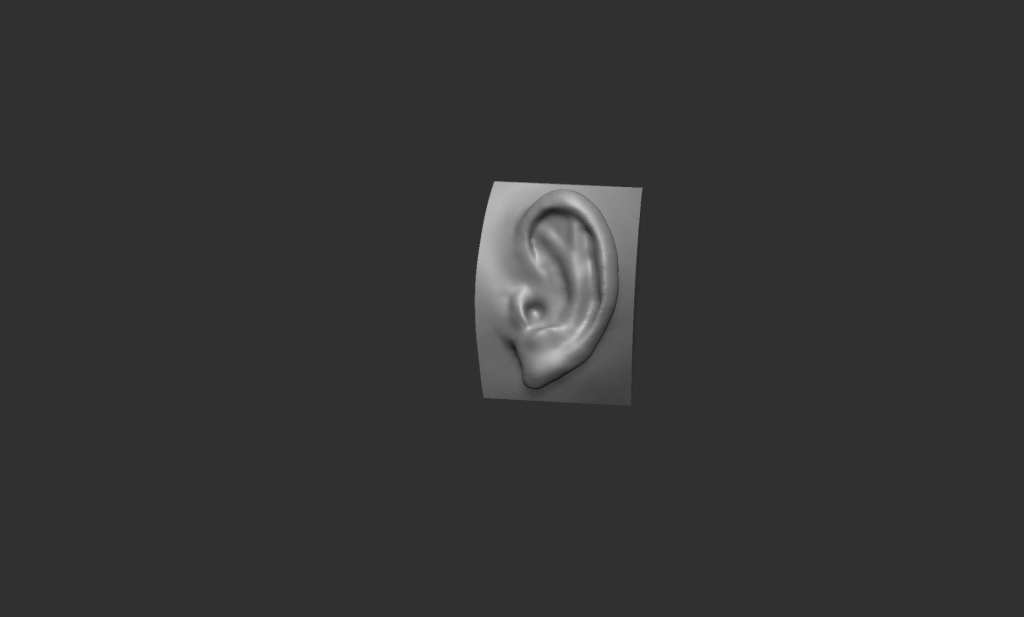
Anatomy of Ear
- Helix
- Antihellk
- Superior crus
- Inferior crus
- Triangular fossa
- Tragus
- Antitragus
- Lobe
- Scaphoid fossa
- Intertragic notch
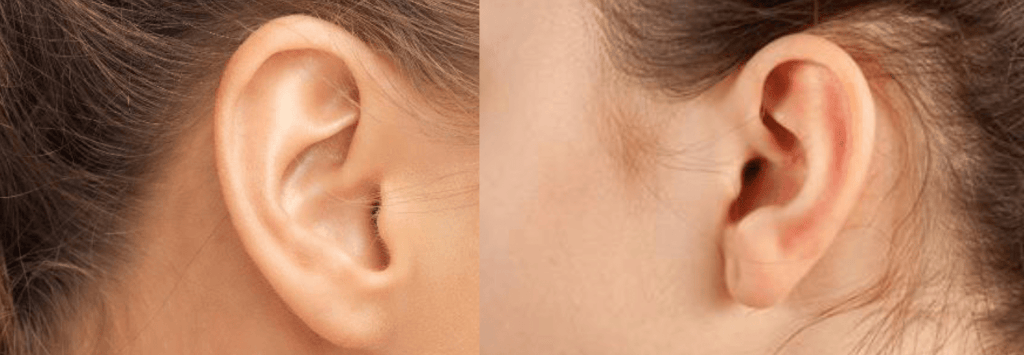
Attached vs free hanging lobes



Cauliflower ear is a condition that occurs when the external portion of the ear suffers a blow. Fluid collects under the perichondrium(the connective tissue that surrounds cartilage and helps with growth and repair).
This separates the cartilage from the perichondrium that supplies its nutrients, causing it to die and resulting in the formation of fibrous tissue in the overlying skin.
As a result, the outer ear becomes permanently swollen and deformed, resembling a cauliflower.
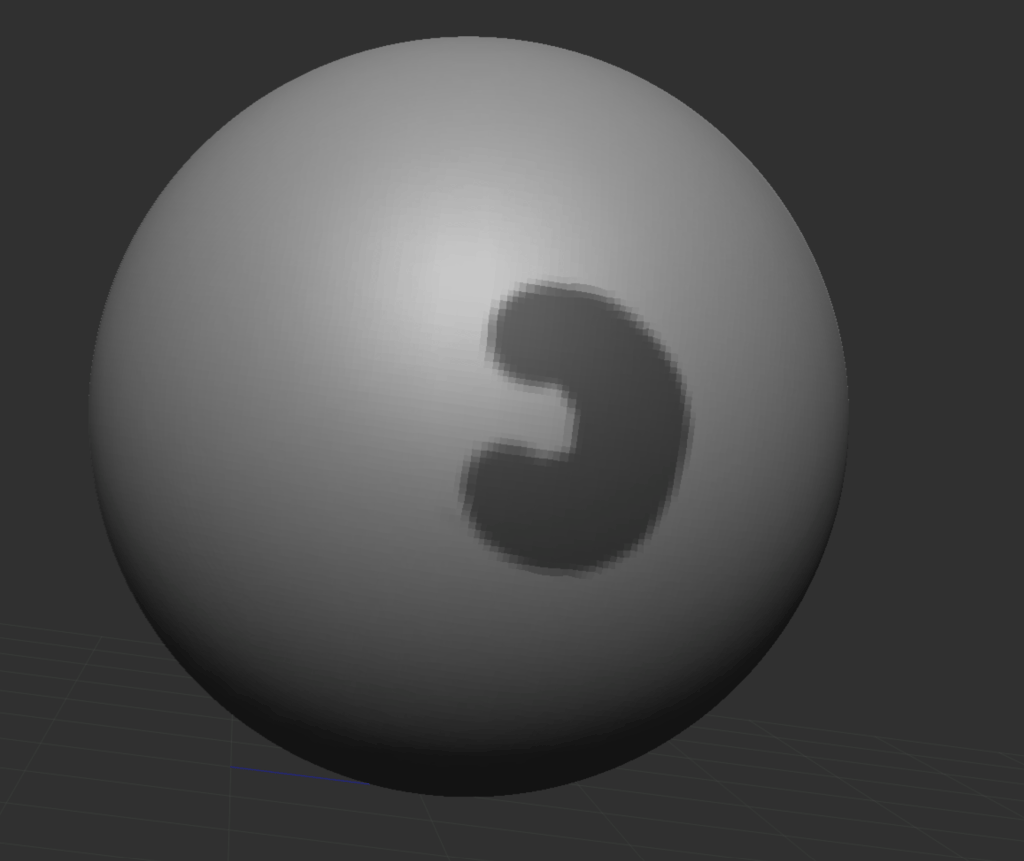
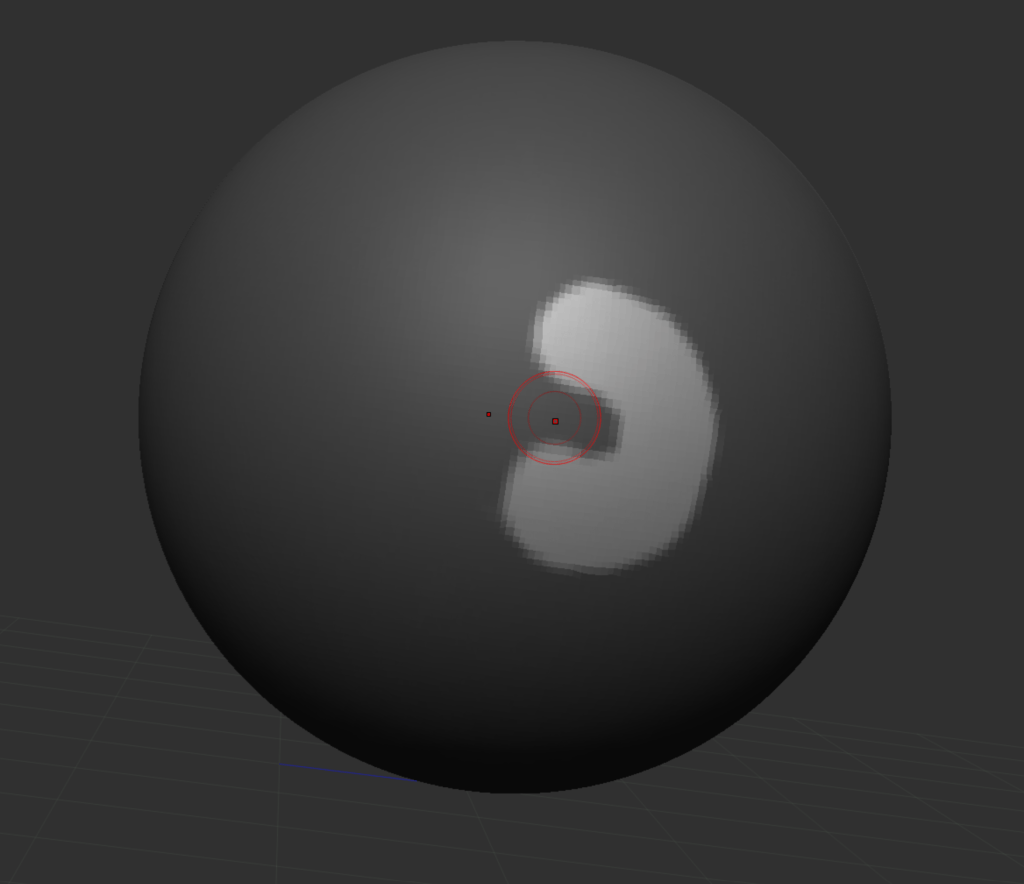
- By holding ‘Ctrl’, ‘MASK’ will activate, select area u want to sculpt.
- Then press Ctrl and it would invert the Mask.
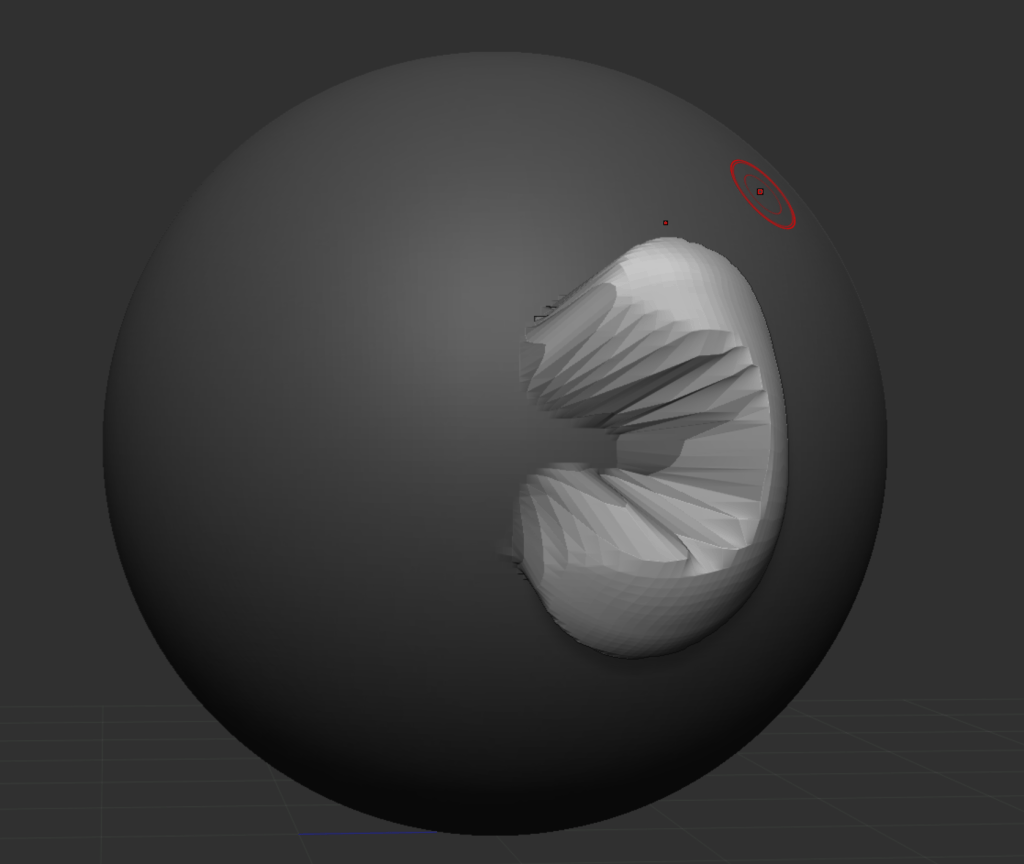
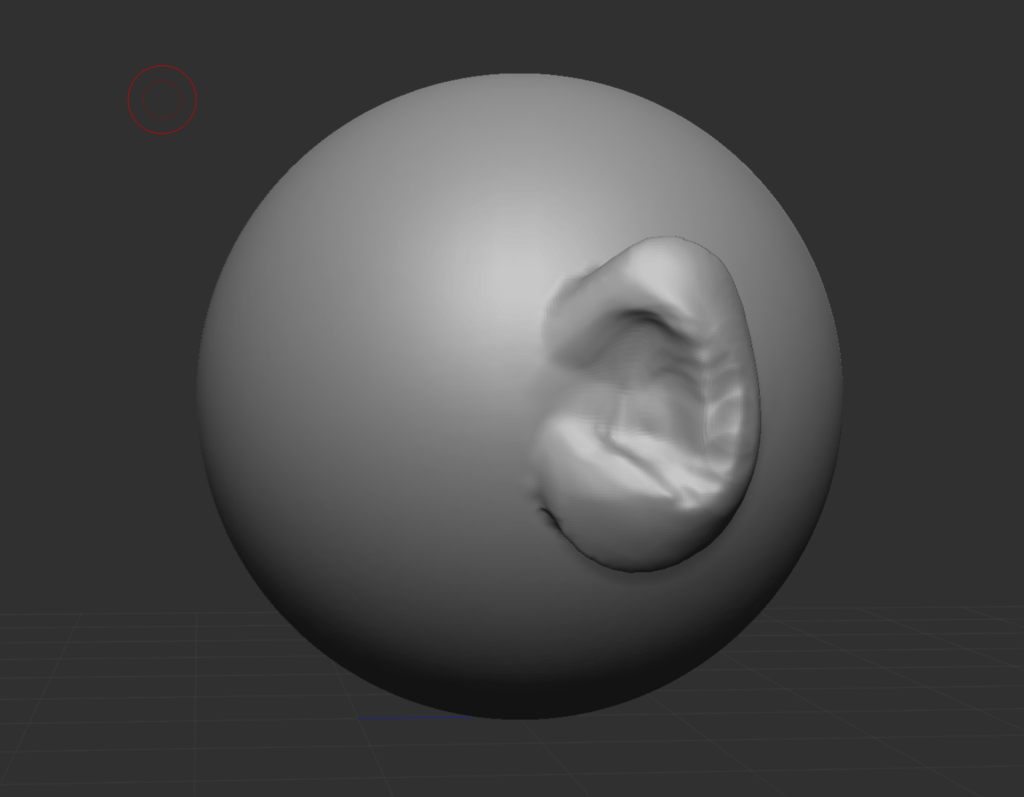
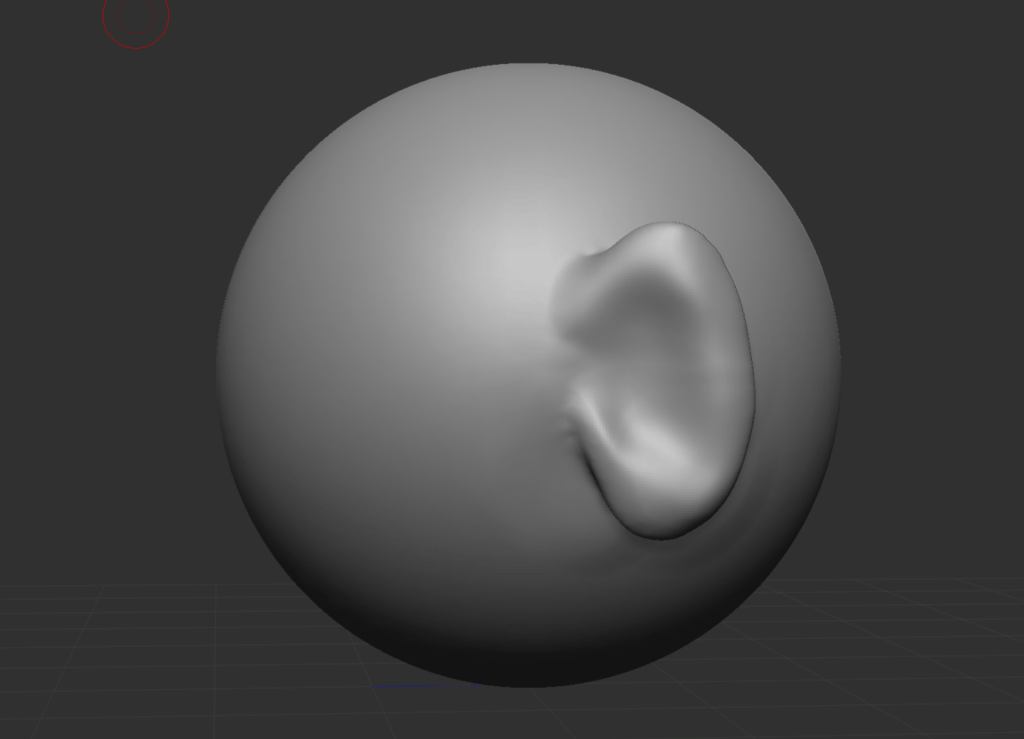
- Now Scale it out using ‘MOVE‘(B D S ) and press Ctrl to remove Mask and then hold Ctrl and click and drag it & it will increase the resolutions. Use Move to give perfect shape.
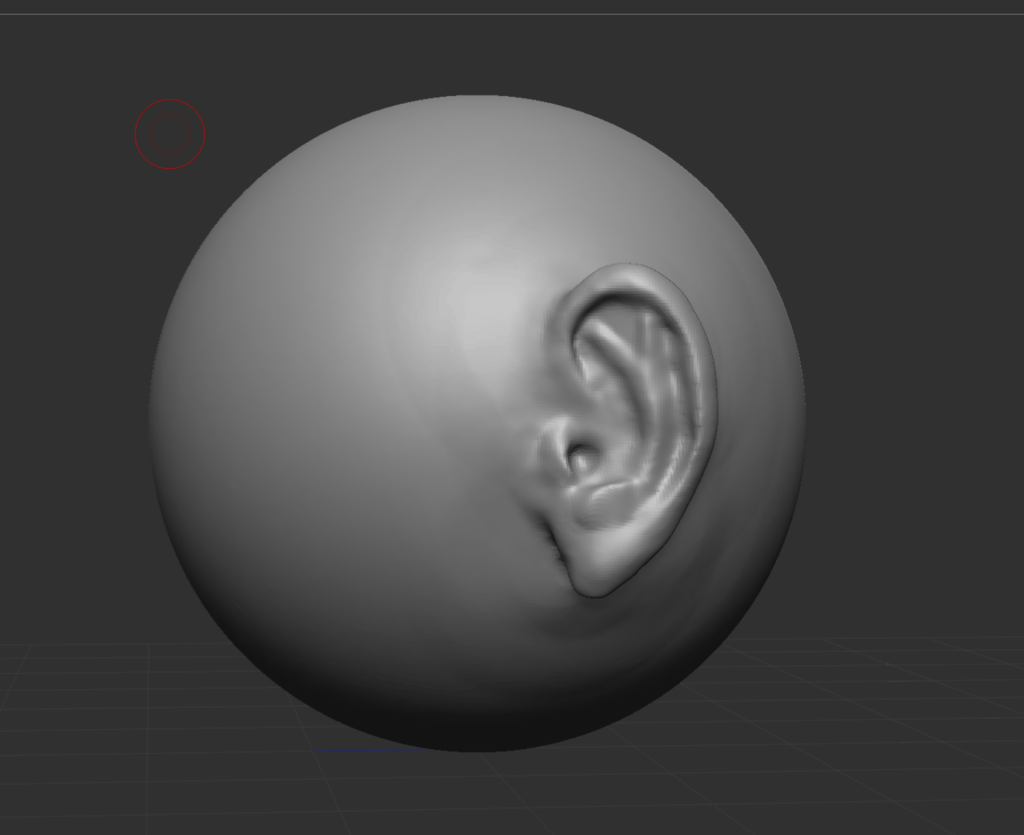
- Use ‘DamStandard‘ Brush to make Helix, Notch, Tragus and more.
- Then use ‘Trim Rect‘ to trim the sphere and then press ‘Ctrl + Shift‘ and drag the cursor to part wanna cut out.
Week 5
Features: Eye
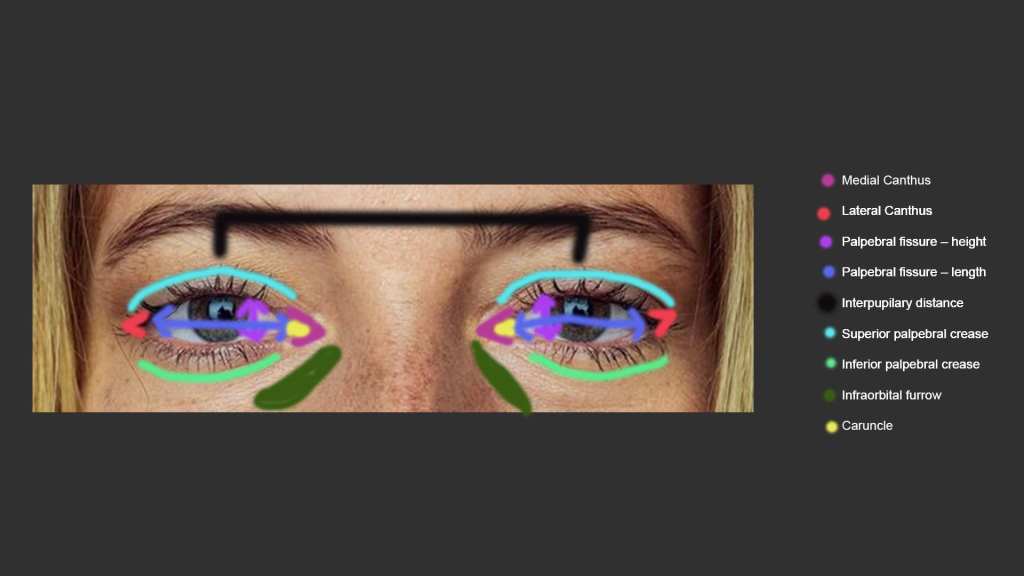
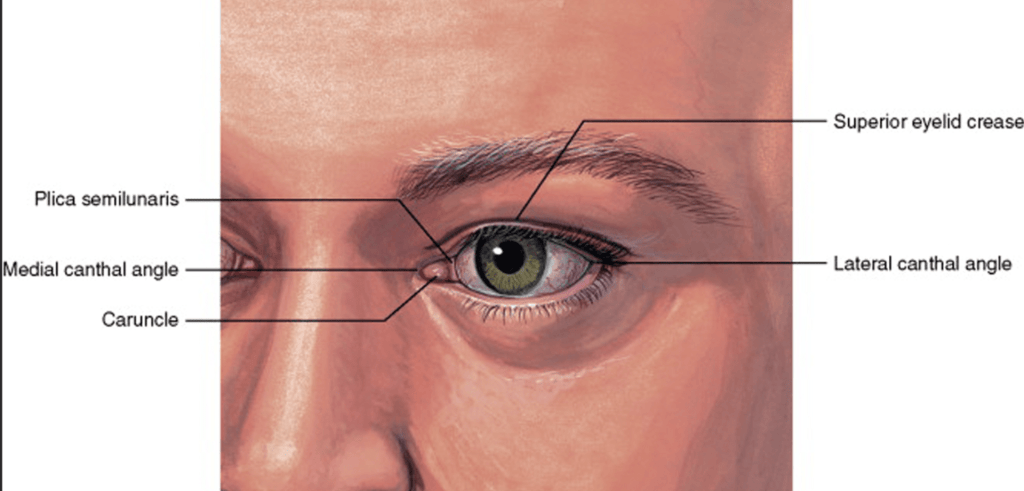
Anatomy of Eye
- Medial Canthus
- Lateral Canthus
- Palpebral fissure-height
- Palpebral fissure-length
- Interpupilary distance
- Superior palpebral crease
- Inferior palpebral crease
- Infraorbital furrow
- Caruncle
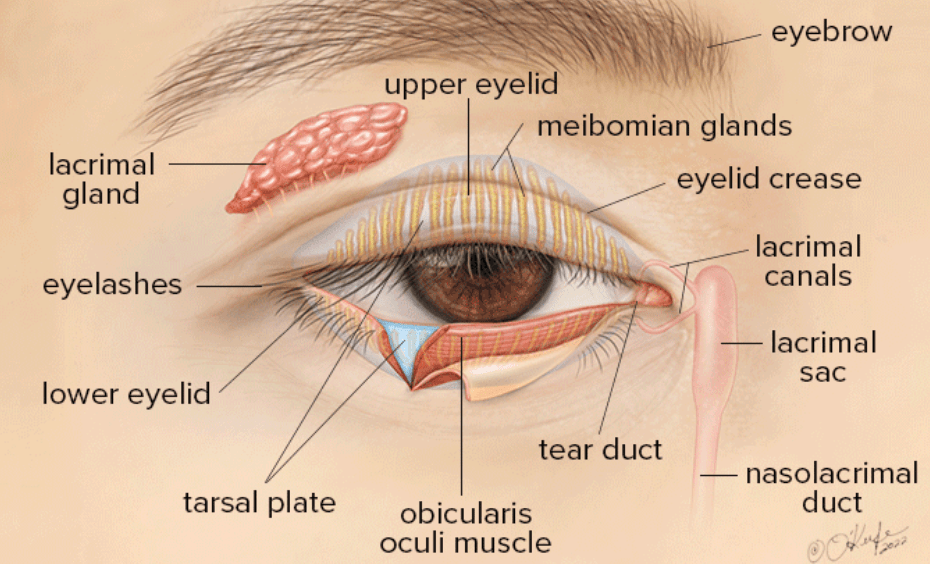
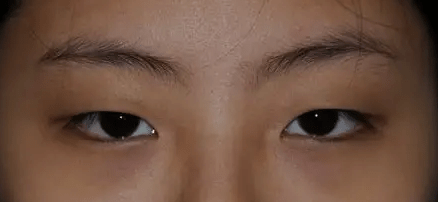
Asian Eyelids
Epicanthal Folds – skin fold which covers the medial canthus. This is also seen in new born babies.
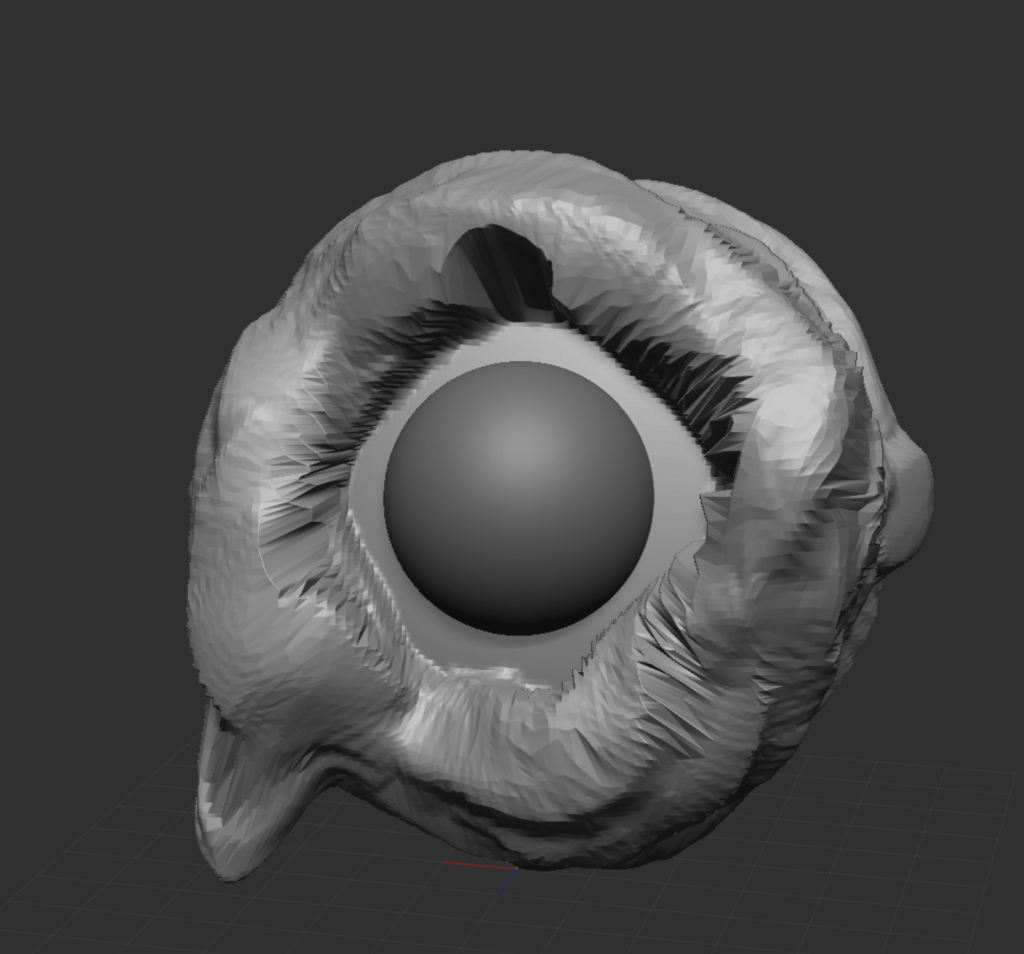
First method to make eye lid.
- Add a 2 Dyna mesh sphere.
- Hold ctrl to activate mask on 1 sphere , then use clay tool and move tool on 2 sphere to give the shape. Smooth by holding shift where needed.
- Remove mask press ctrl. Use Dam standard, move & clay tool to give perfect shape.
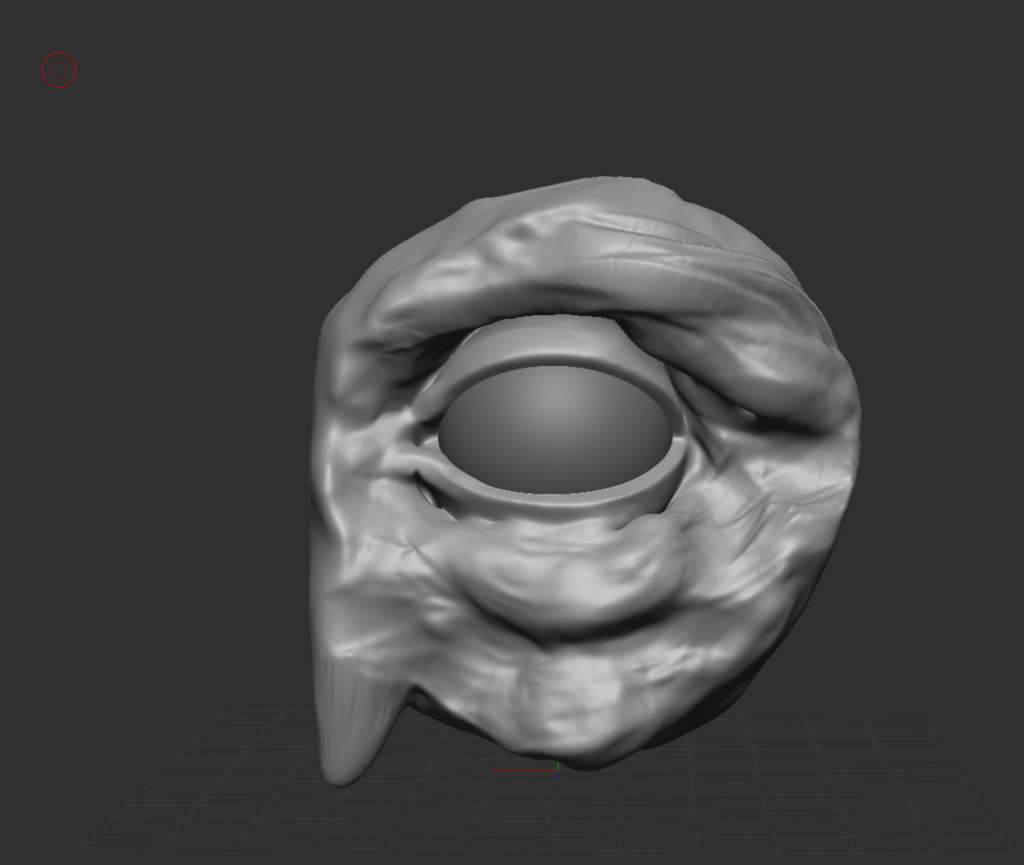
Second method
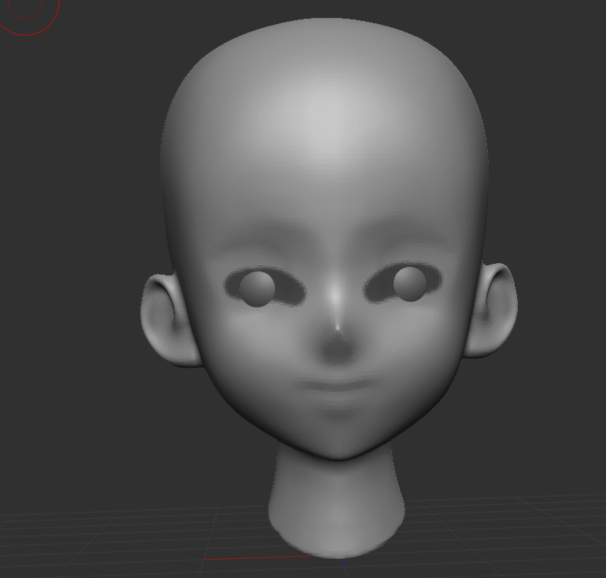
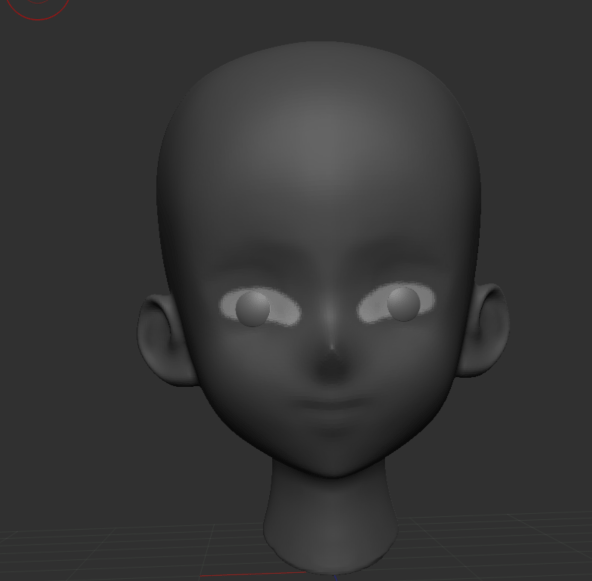
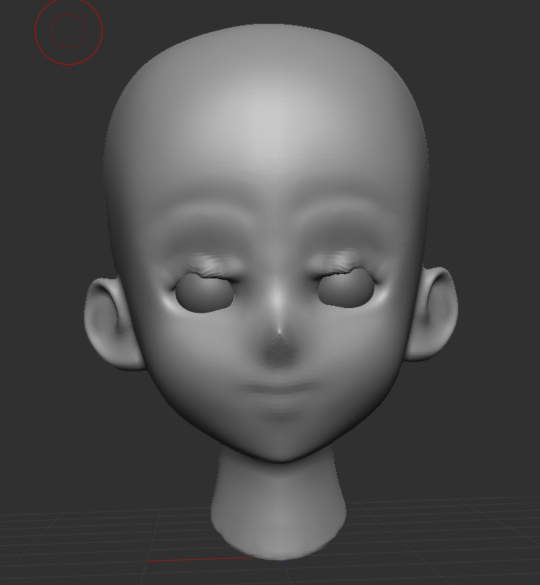
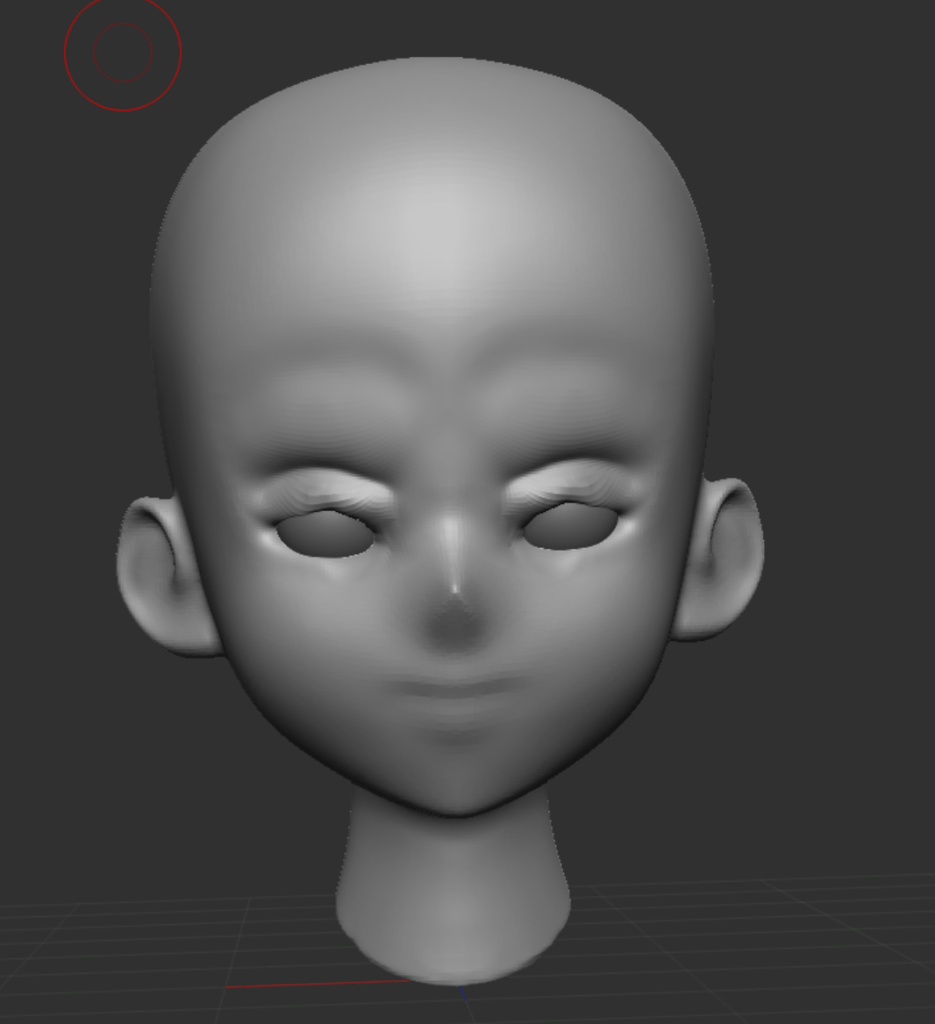
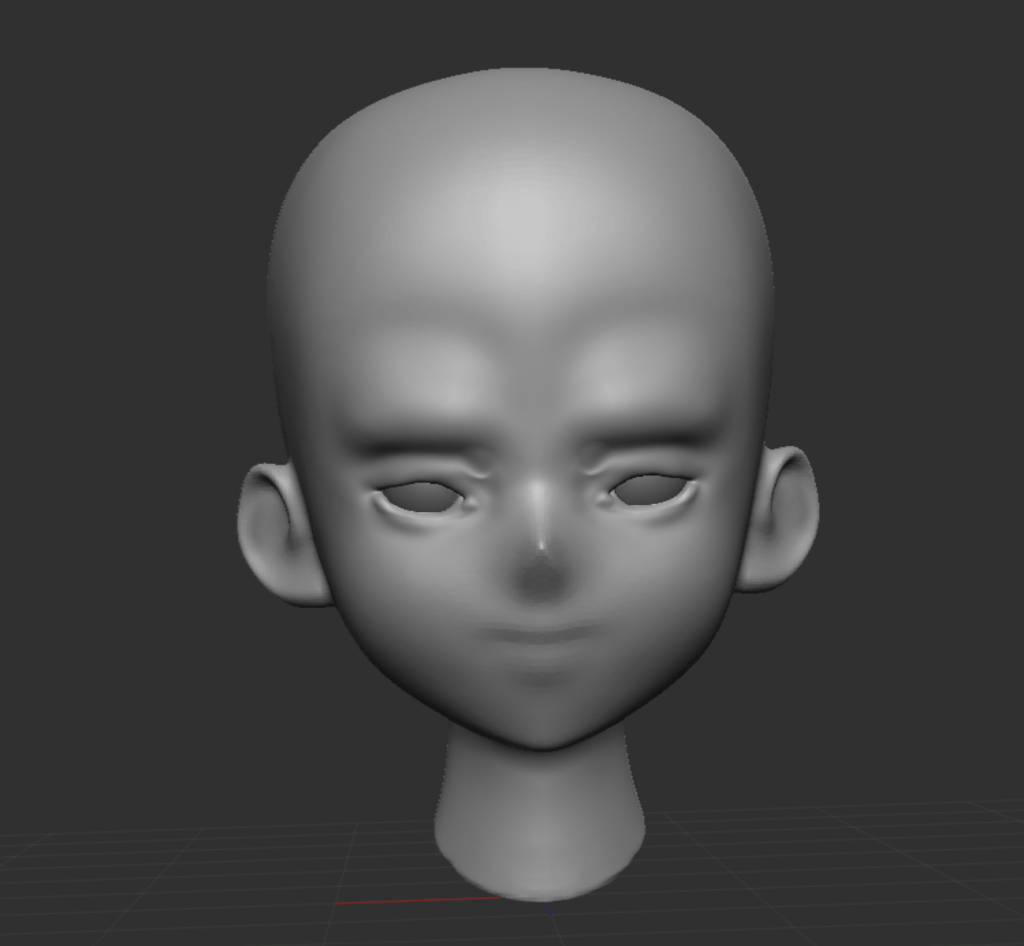
- Import Demo anime head and 2 Dyna mesh sphere.
- Hold ctrl to add mask. Select the area & press ctrl to invert mask.
- Use Dam Standard, move & clay tool to give perfect shape of eye lid. Smooth by holding shift.
Week 6
Eyeballs
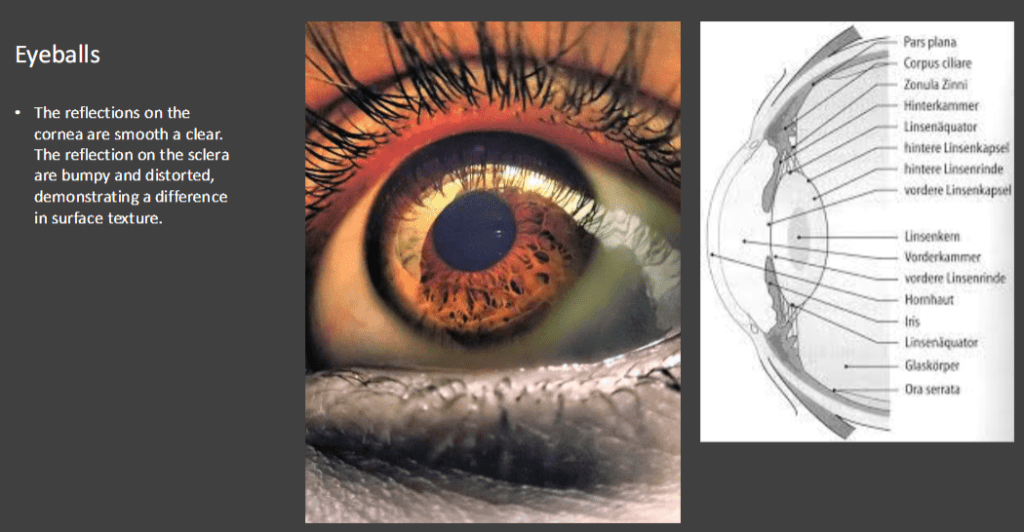
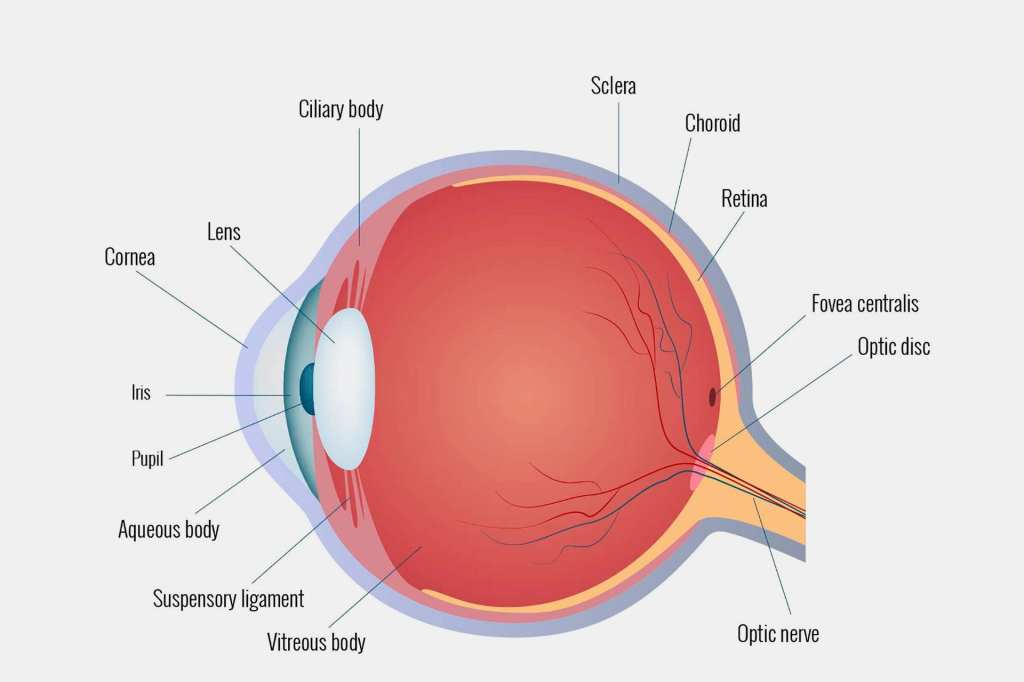
About Eye Ball
• Eyeball is not spherical (its width is wider than
its depth).
• Cornea is made of the same stuff at
the sclera.
• The cornea is clear the sclera is an
opaque white. The transition between
clear and opaque is what blurs the
edge of the iris.
MAYA
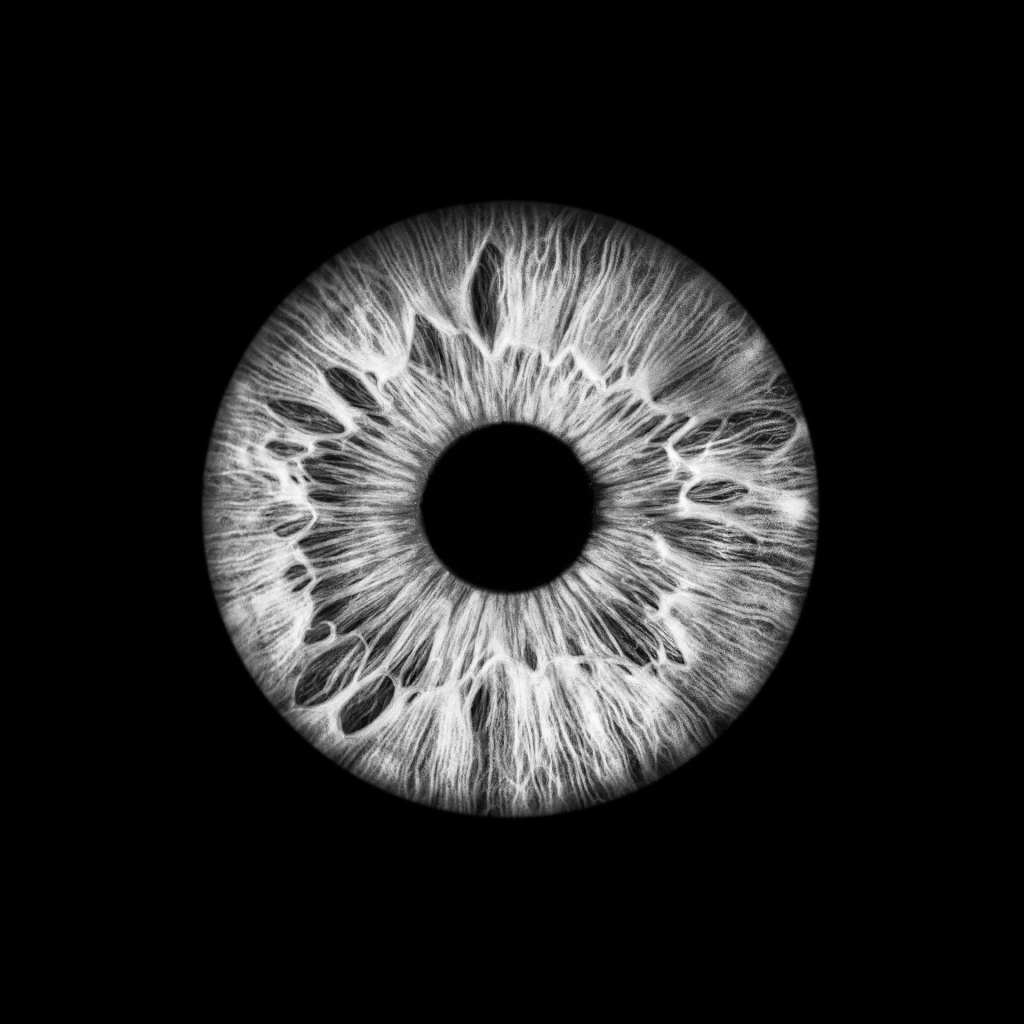
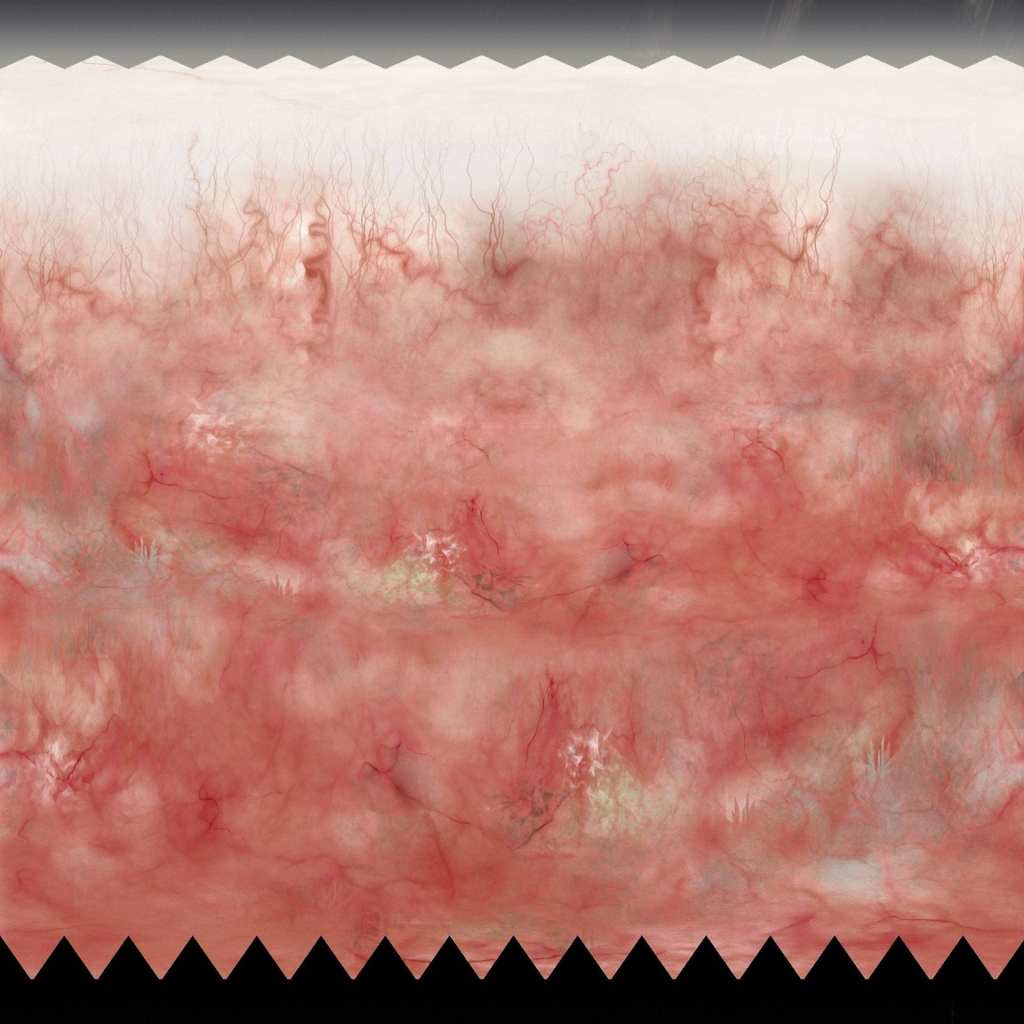
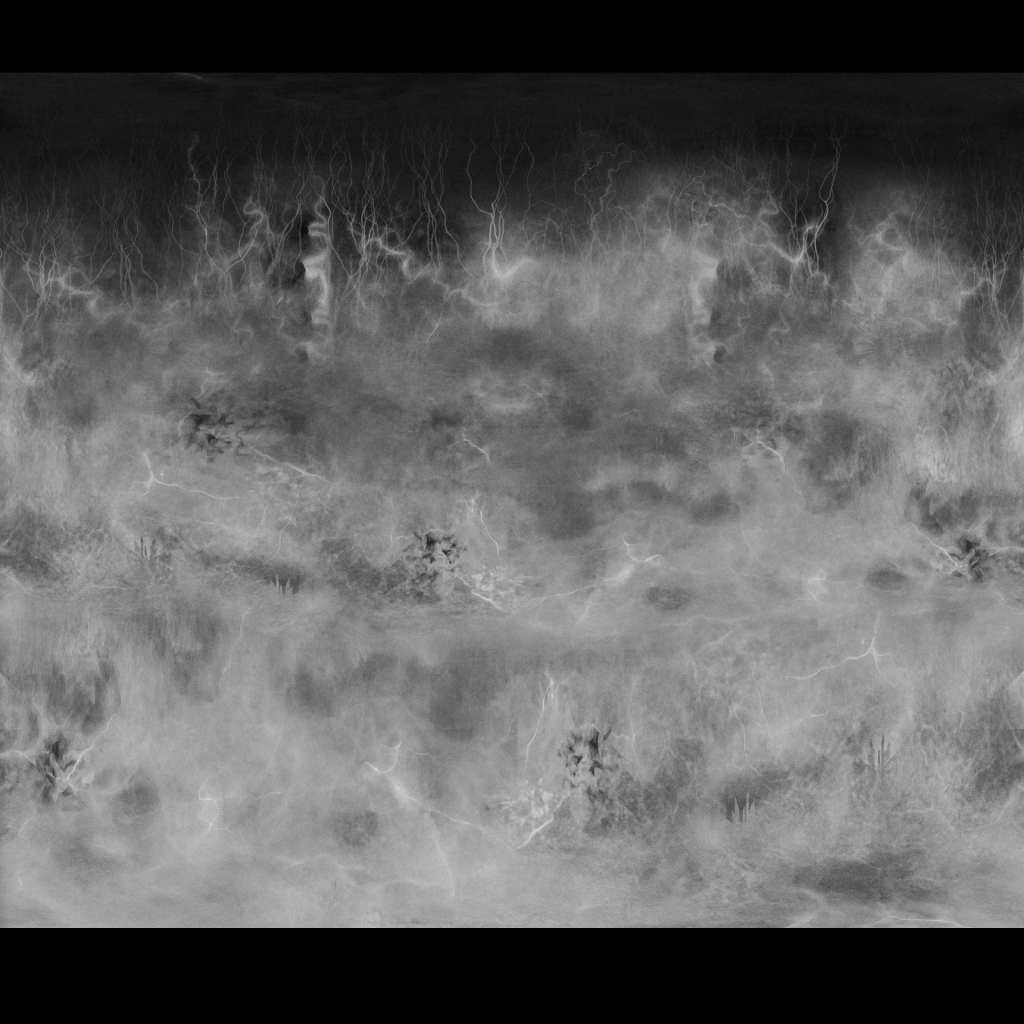
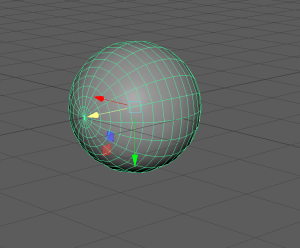
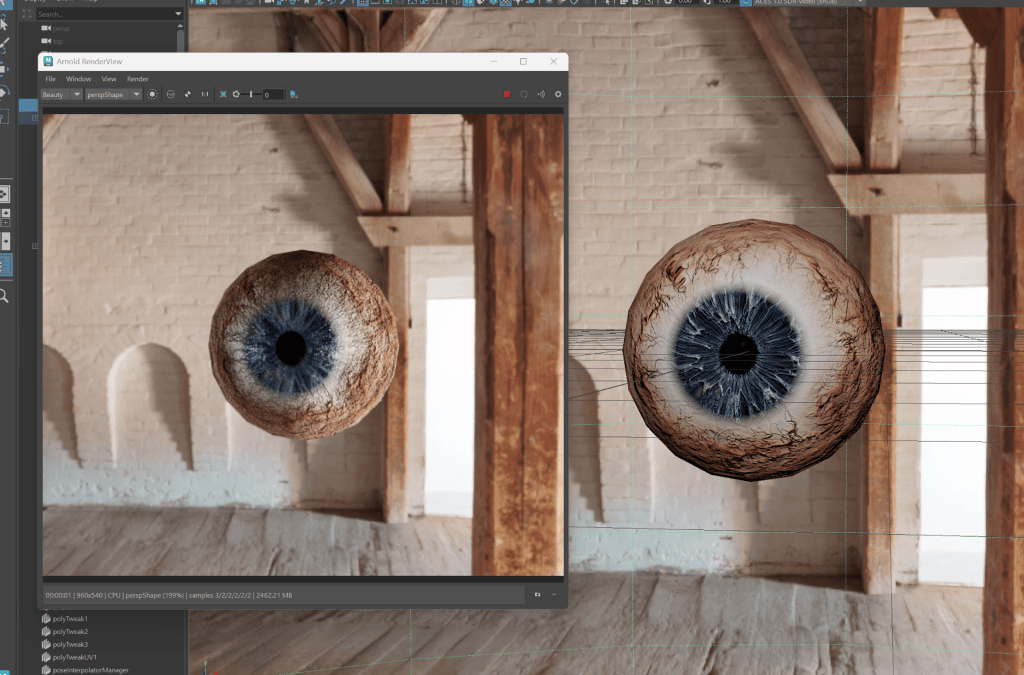
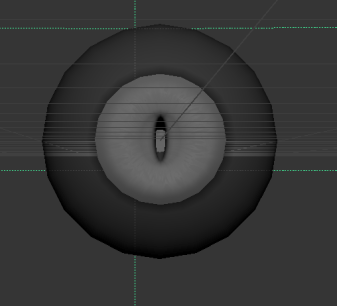
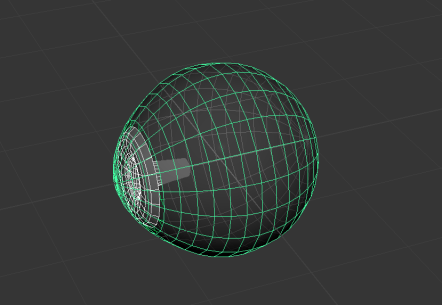
- Open Maya, Add Polygon Sphere. Rotate X-axis at 90.
- Hold right mouse button, select Face. Select more than half of sphere faces & press Delete.
- Again hold right mouse button, select Vertex. Select the centre dot, then double click on Move tool, click on Soft selection.
- Change Falloff radius to 1. Then push back the centre point to make a dump.
- Again hold right mouse button, select Face. Select the two inner Faces using shift key.
- Use Move tool & bring it back.
- Click on edit mesh, select Bevel, change Fraction – 0.2 & Segments – 5.
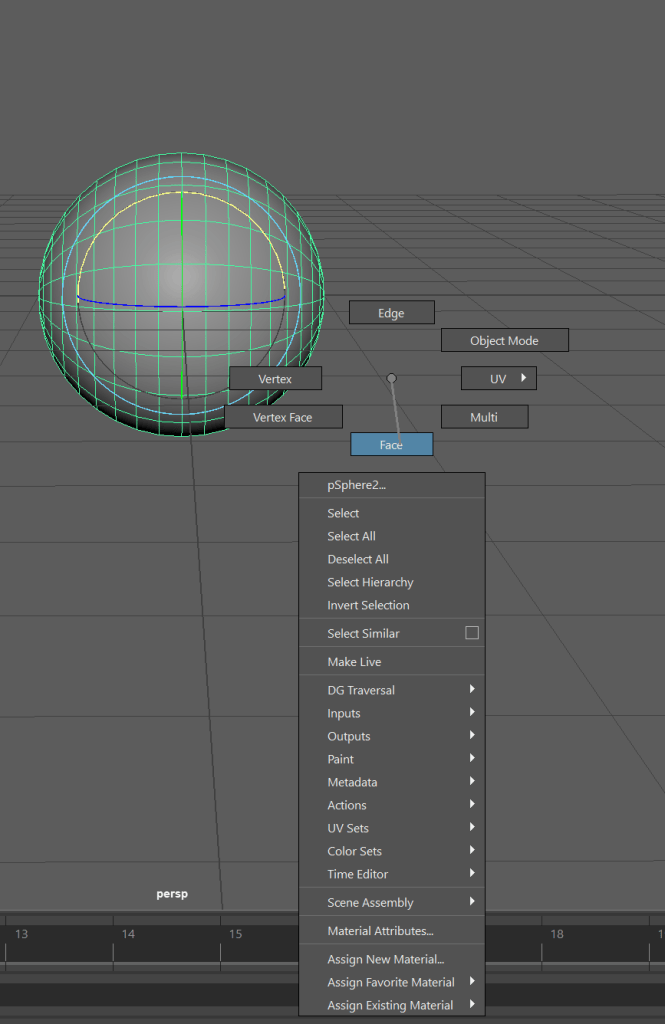
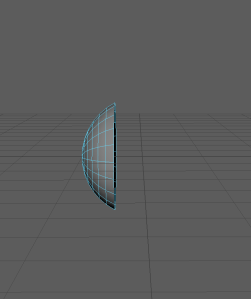
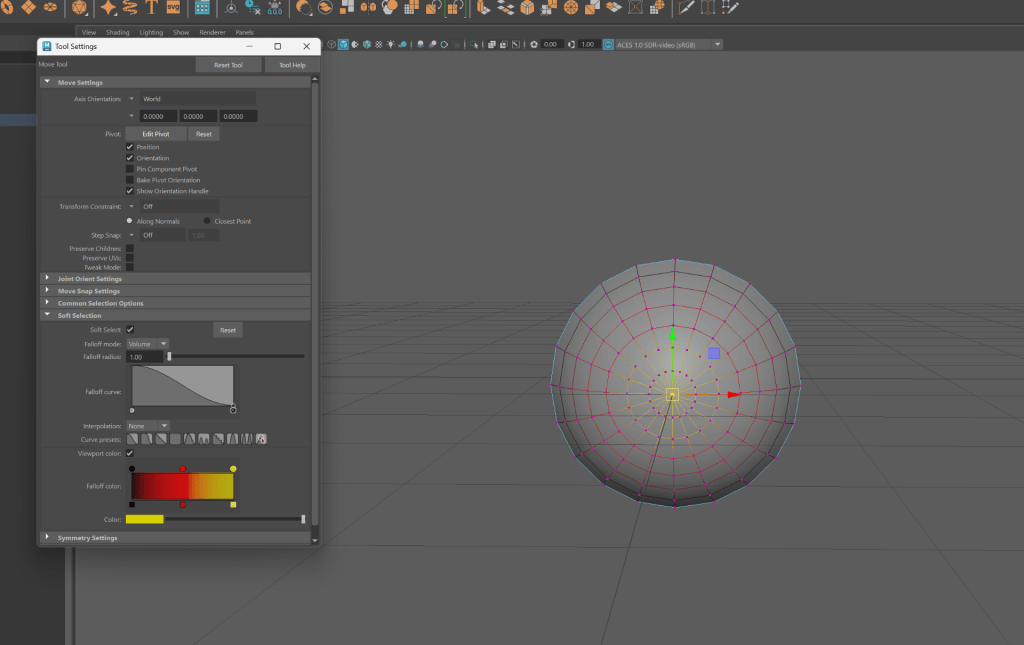
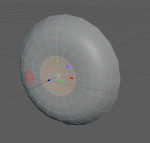
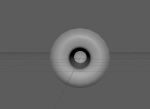
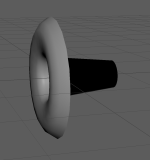
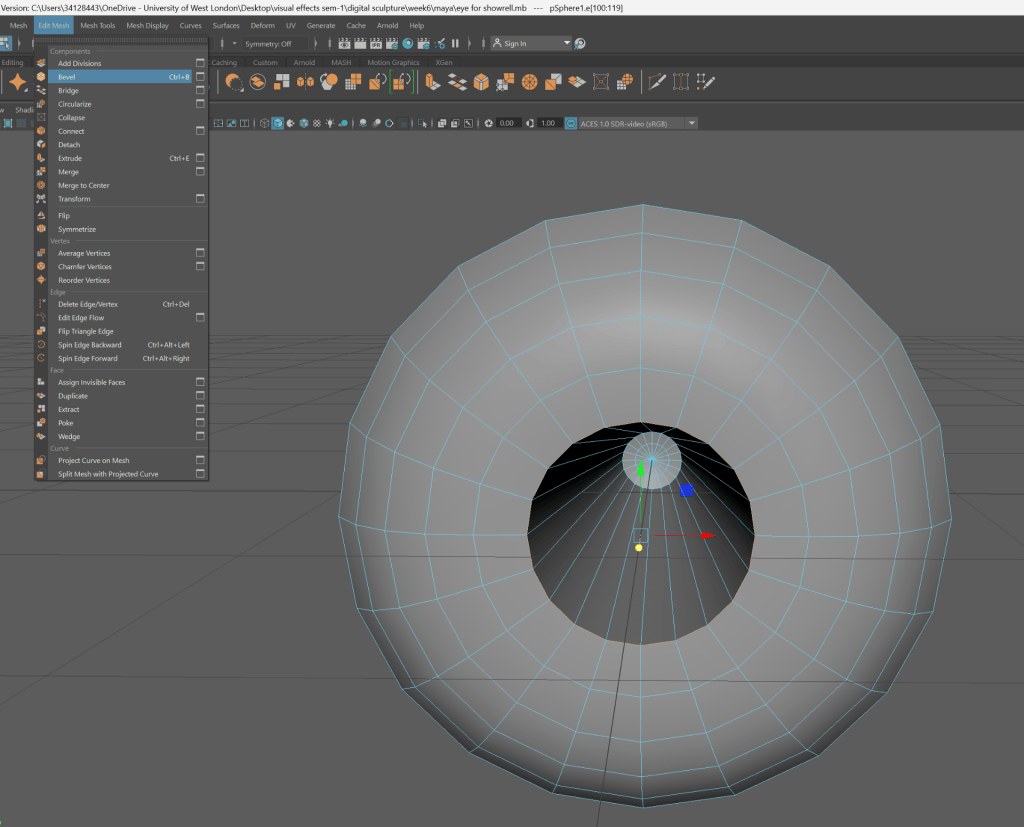
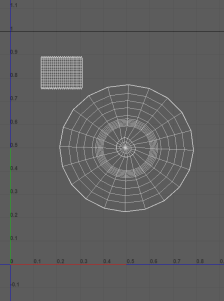
- Click on UV at top panel, select UV Editor.
- Select Camera Based in UV.
- Right click, Assign new material, Arnold, Then click aistandardsurface.
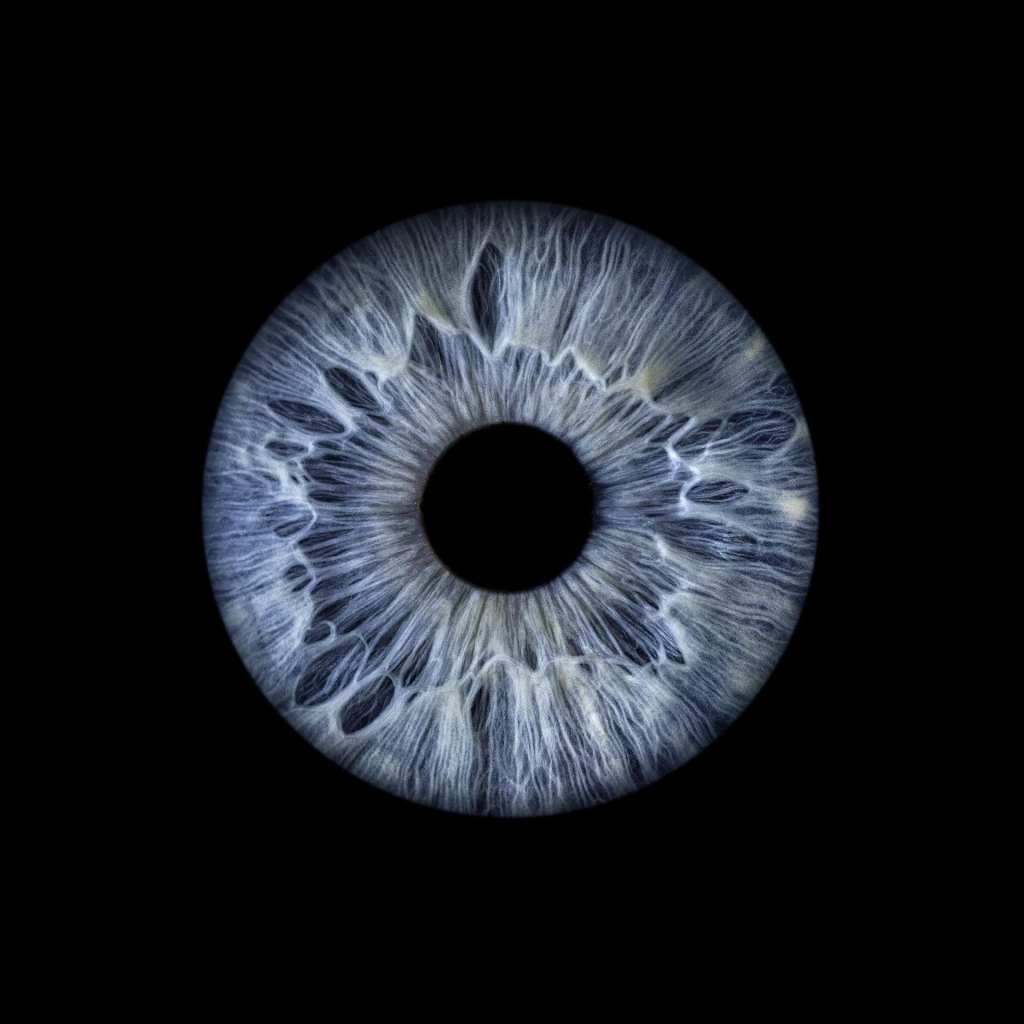
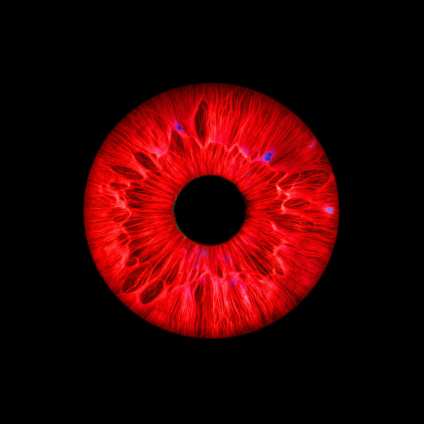
- Go to color, checker box, file, and select the Source_image_1.
- Select Textured to see the picture.
- Go to geometry, Bump Mapping, checker box, file, and select the Source_image_2.
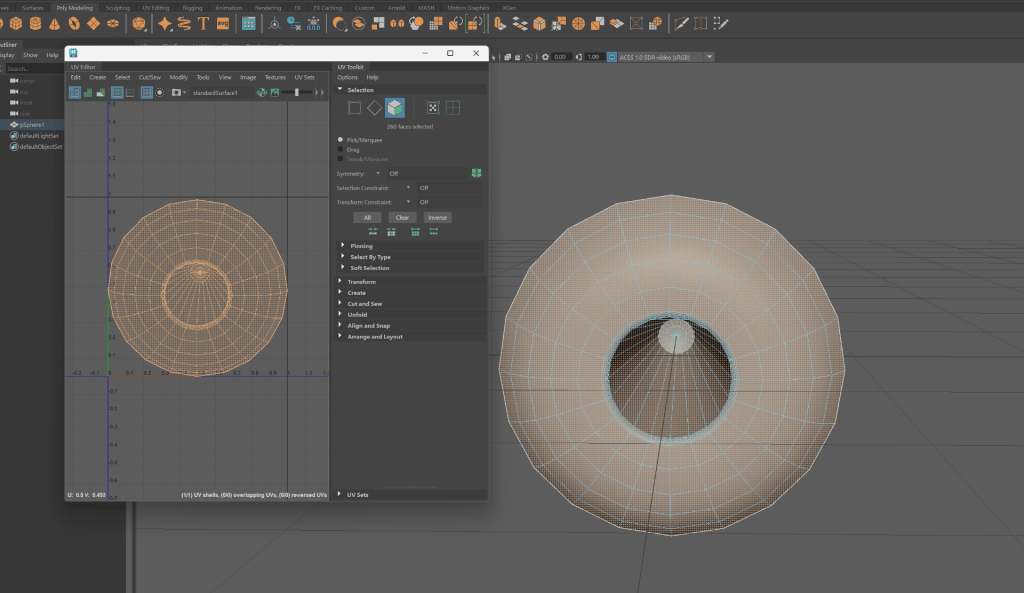
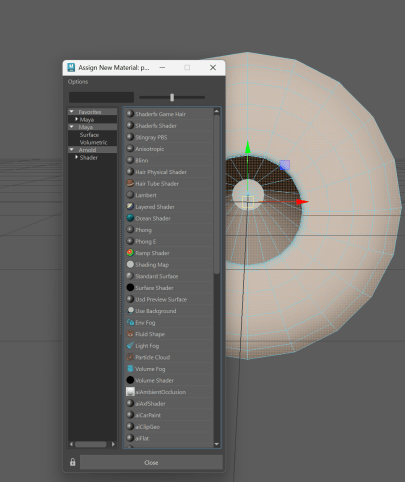
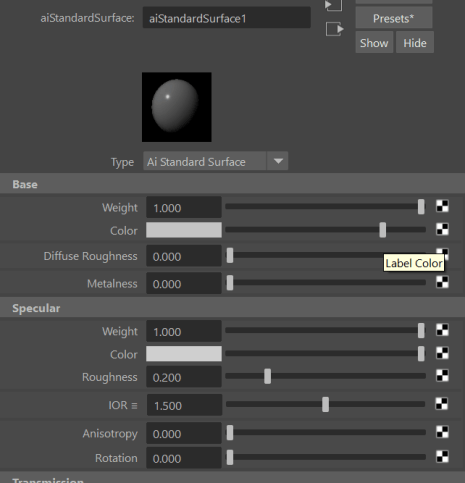
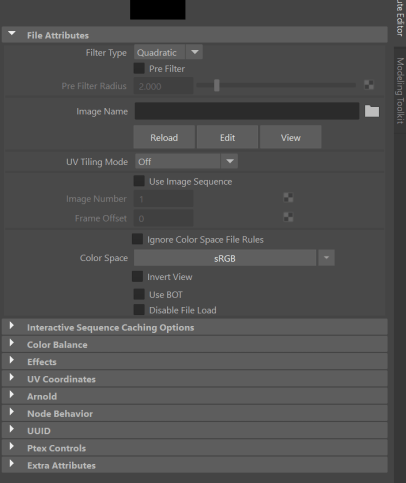
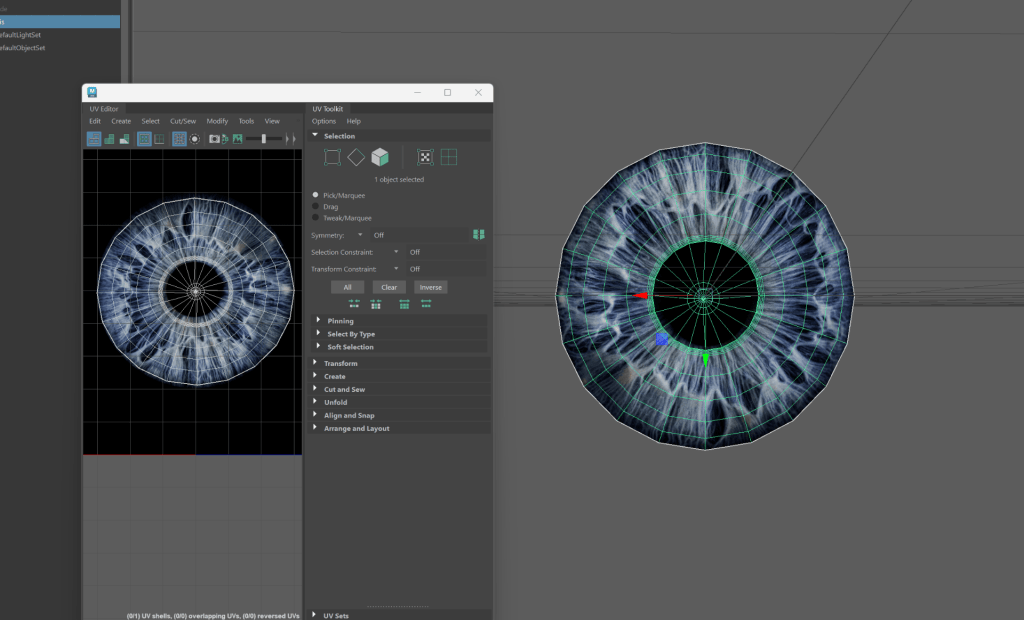
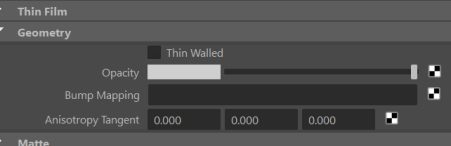
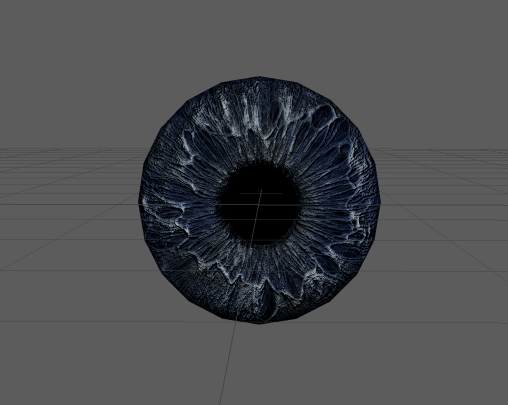
- Add new sphere, Select vertex, using soft selection, take centre point out.
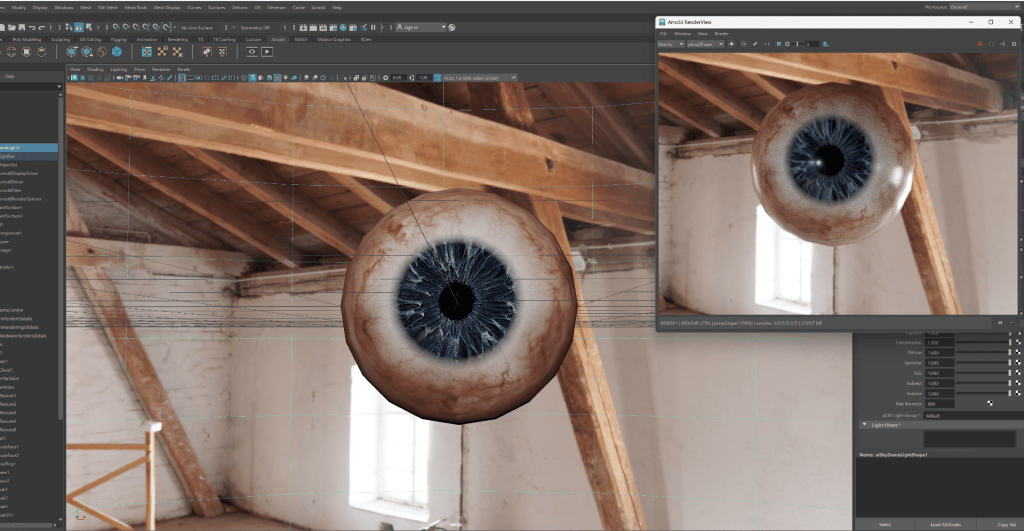
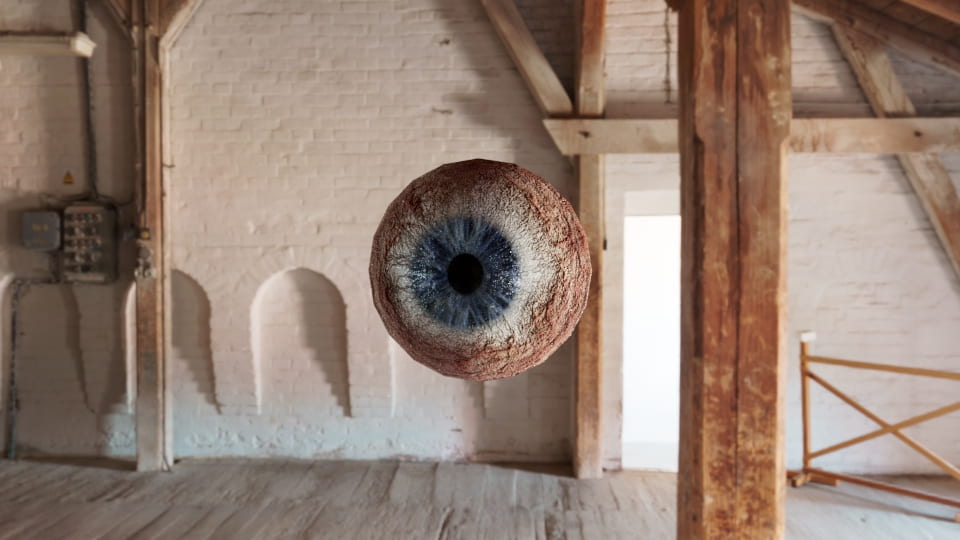
- click on arnold at top panel, select Skydome Light.
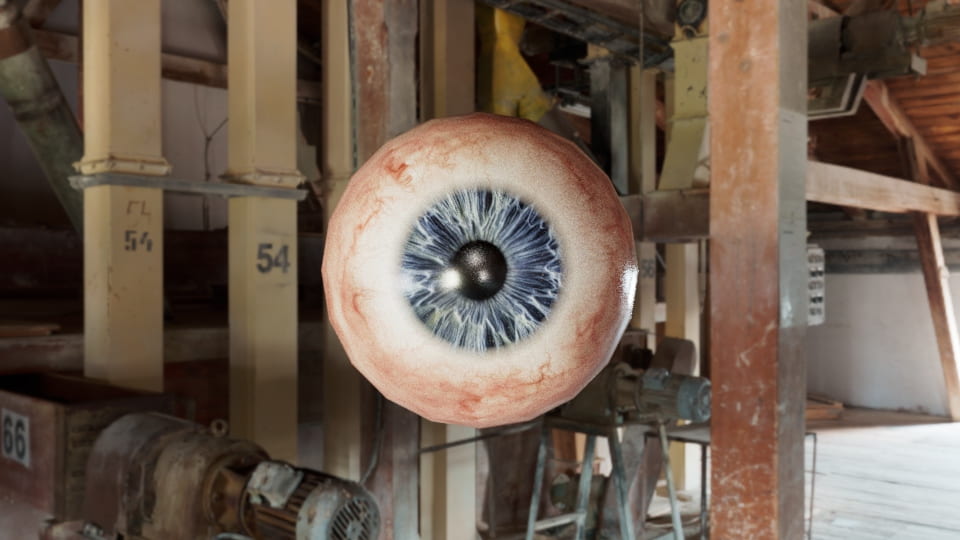
- At attribute editor, select aiskydomelightshape1, color, checker box, file, and select the wooden file.
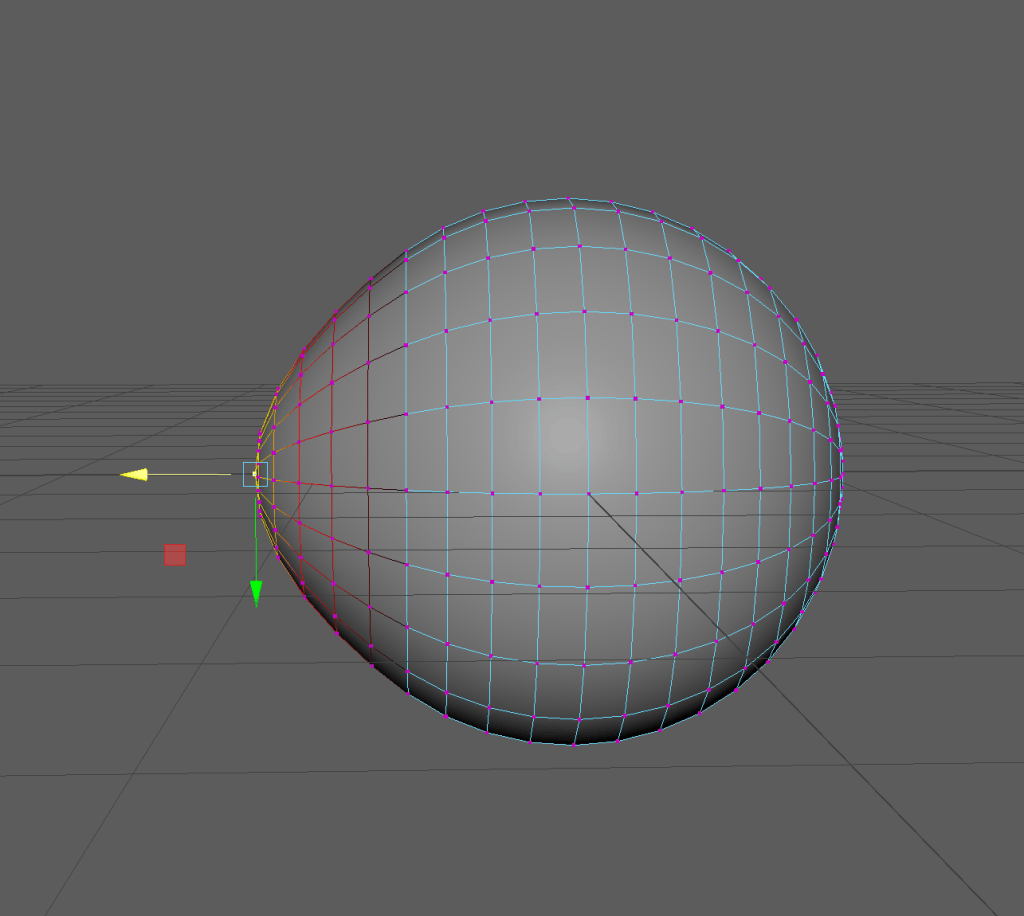
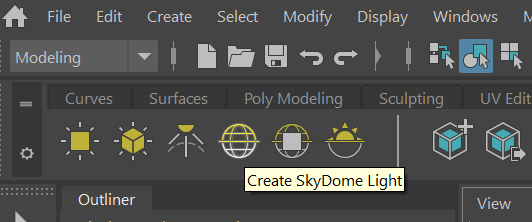
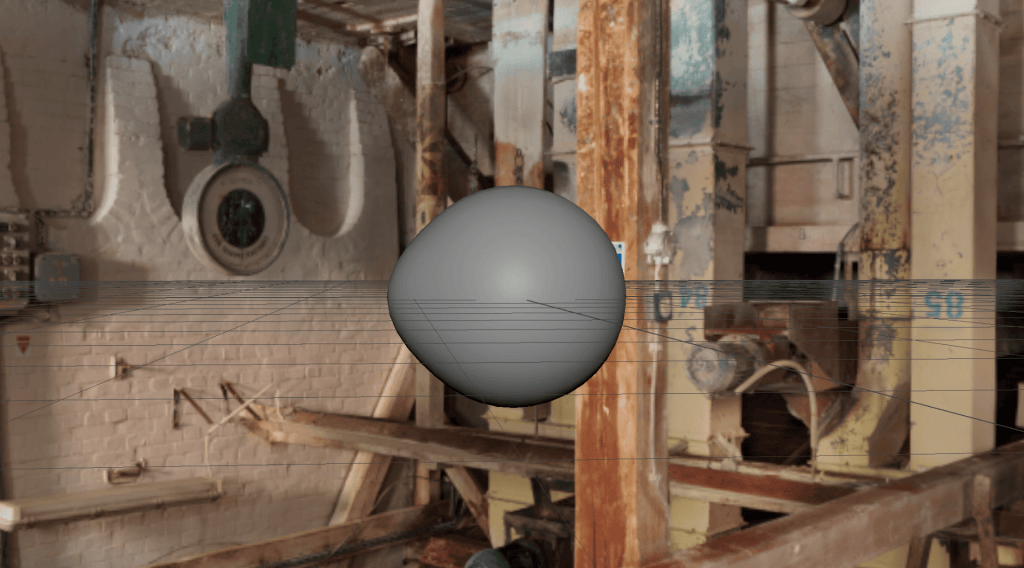
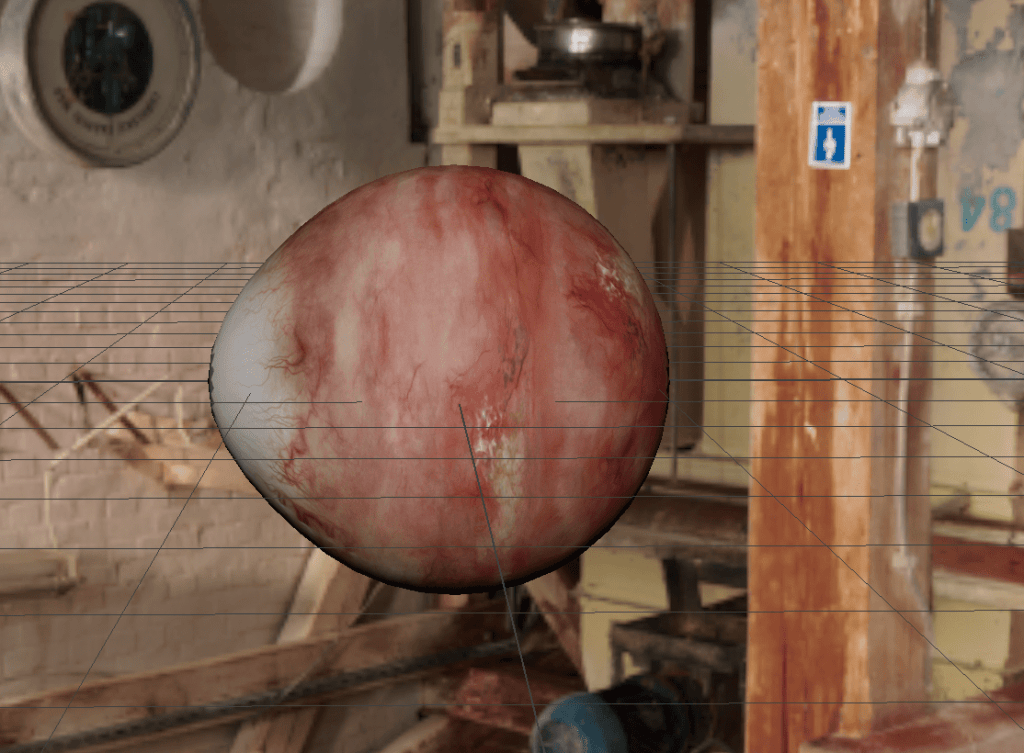
- Select sphere, StandardSurface1, color, checker box, file, and select the Source_image_3.
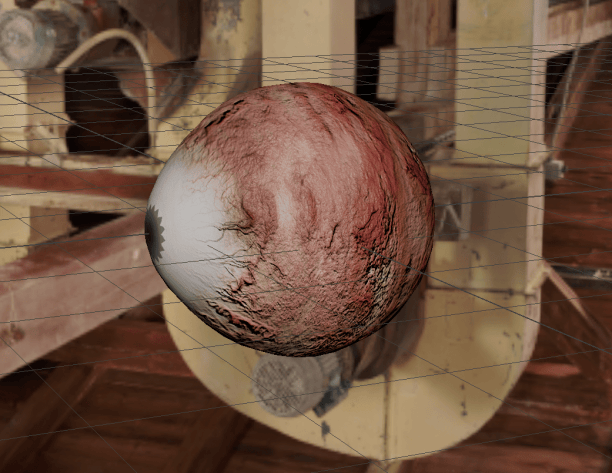
- Go to geometry, Bump Mapping, checker box, file, and select the Source_image_4.
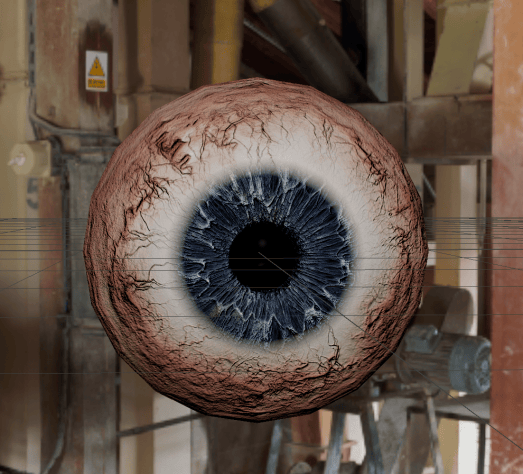
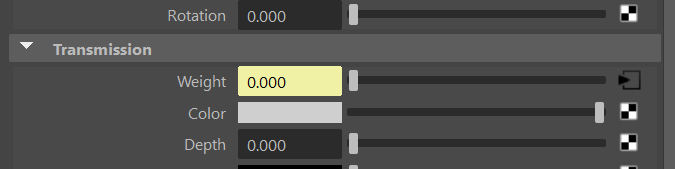
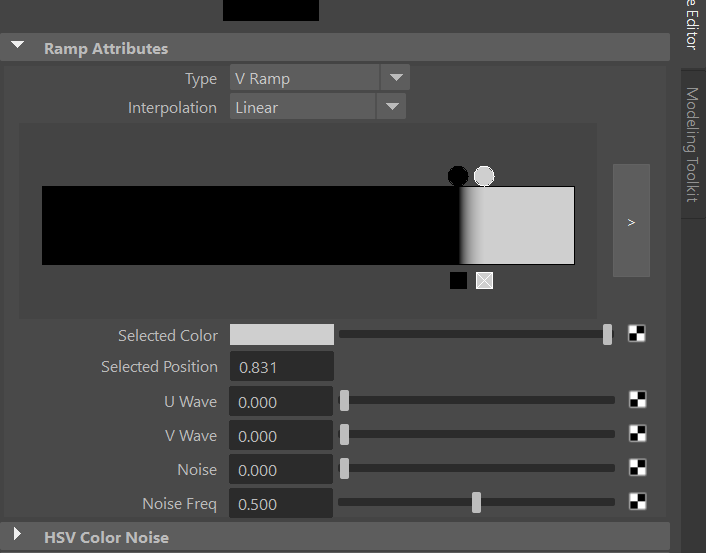
- Select Sclera And go to Transmission, weight, Ramp, adjust it.
week 7
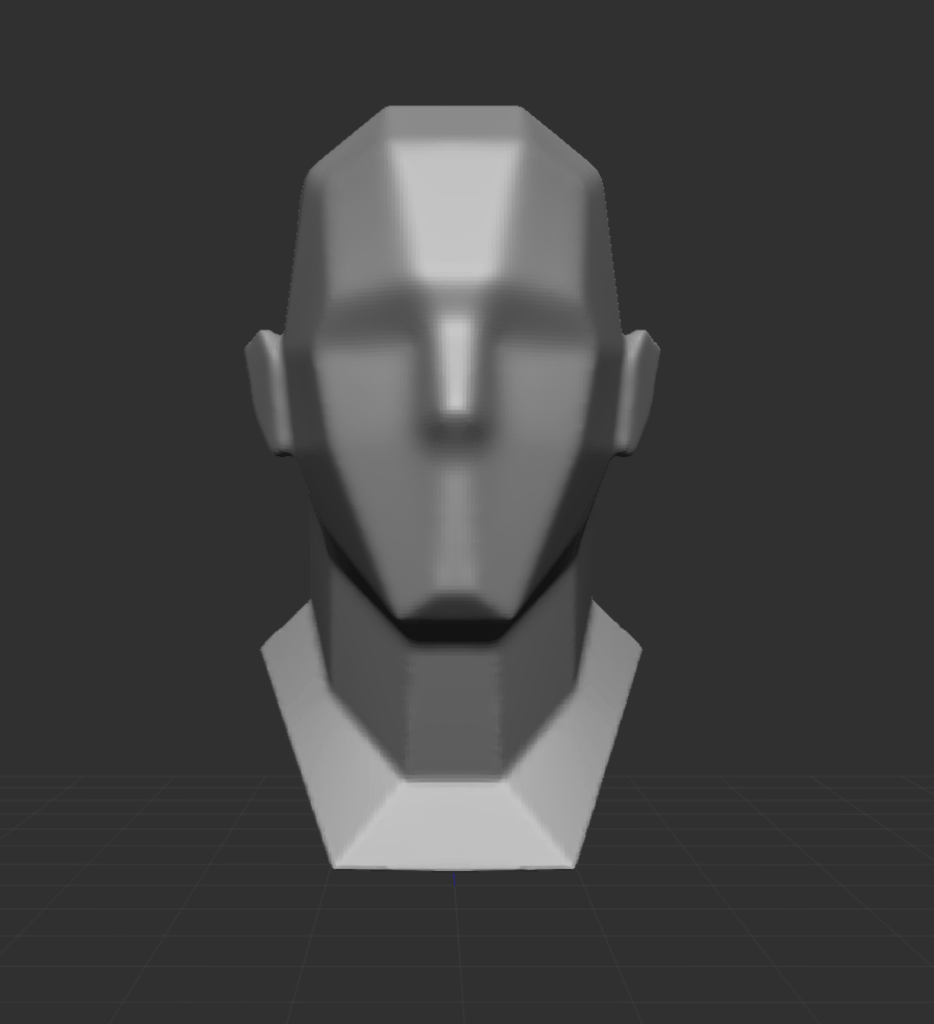
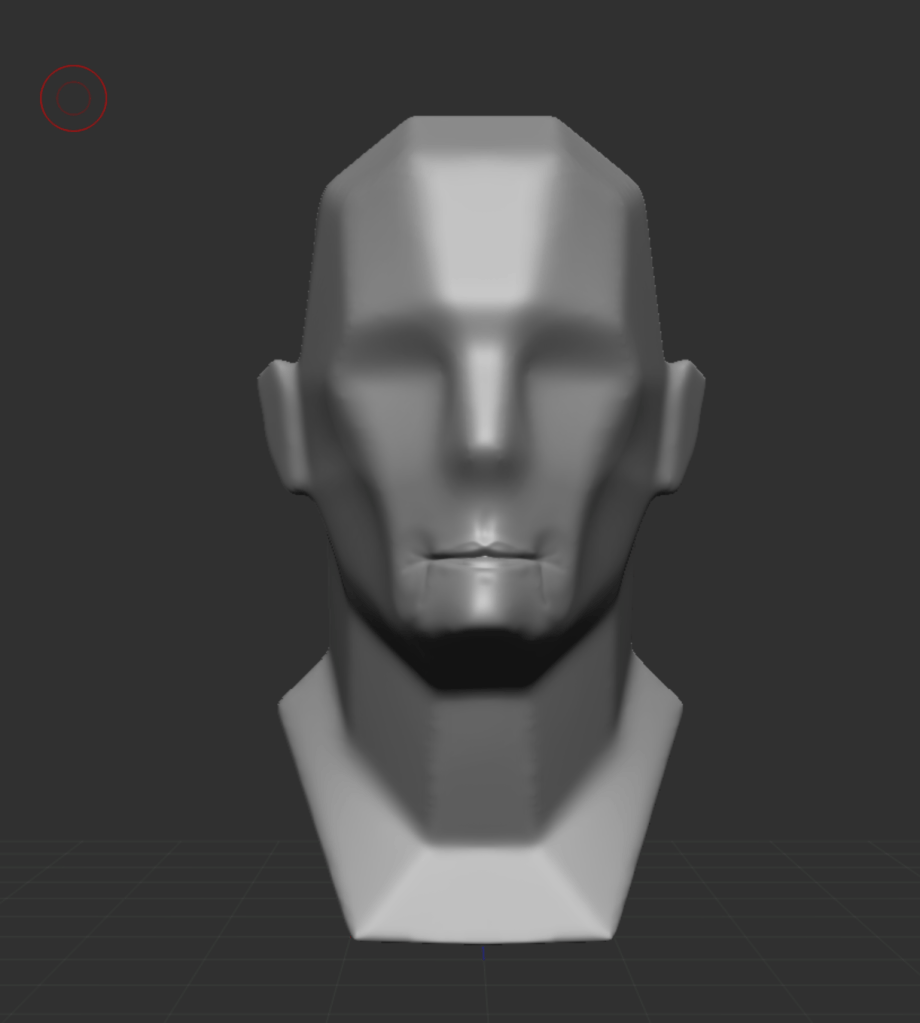
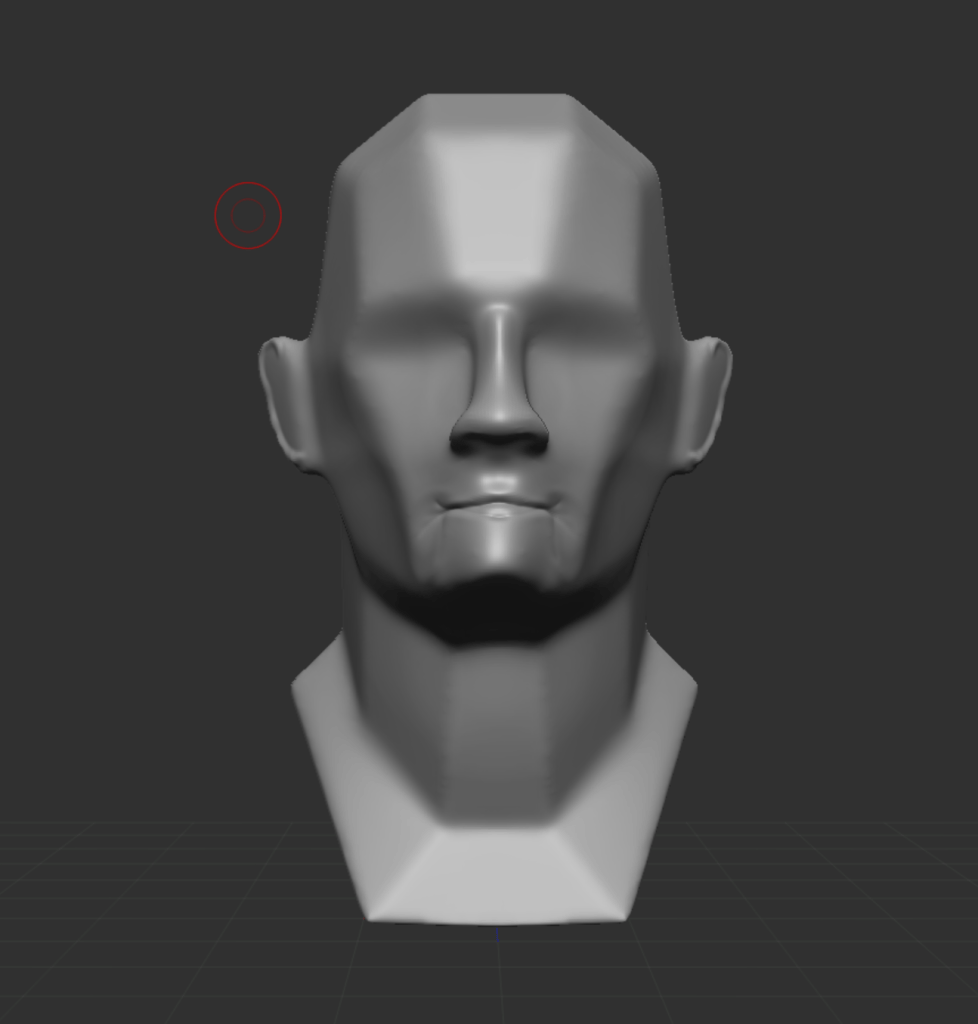
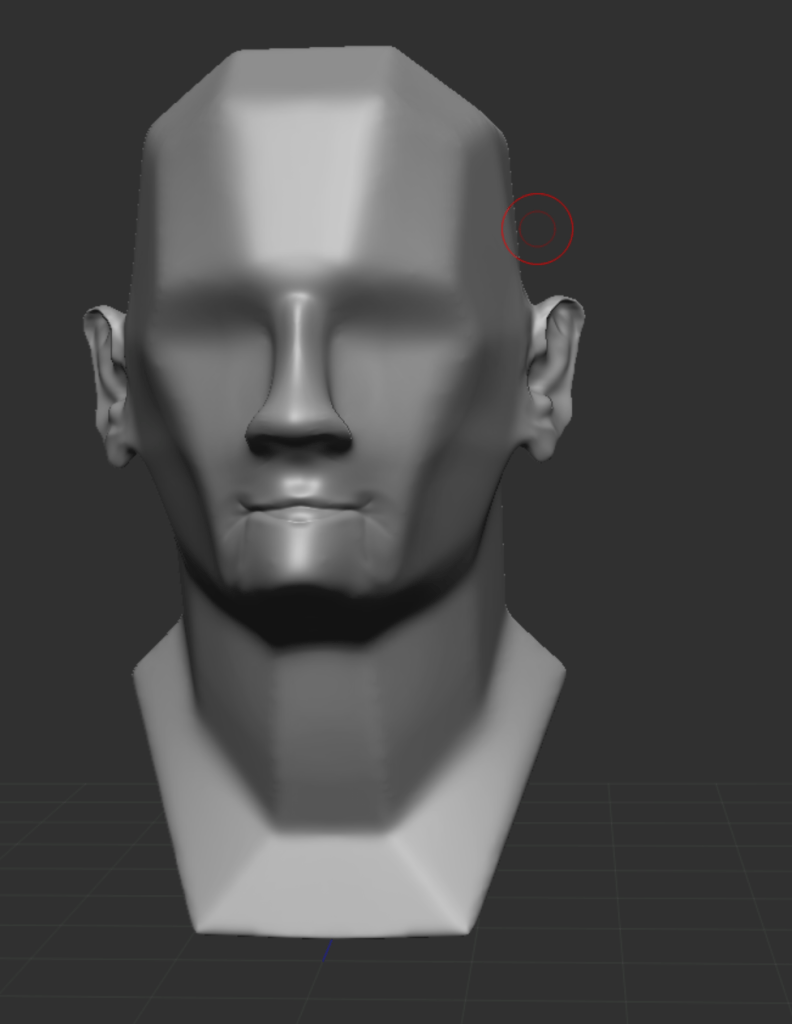
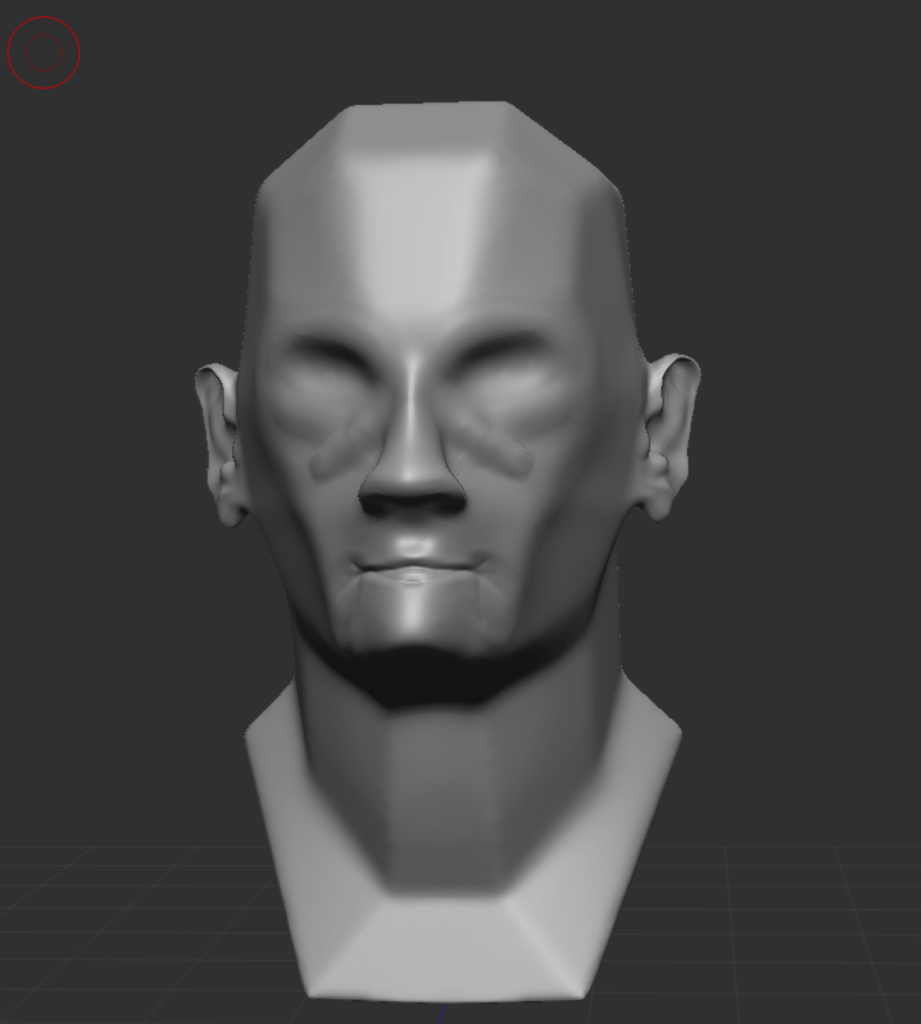
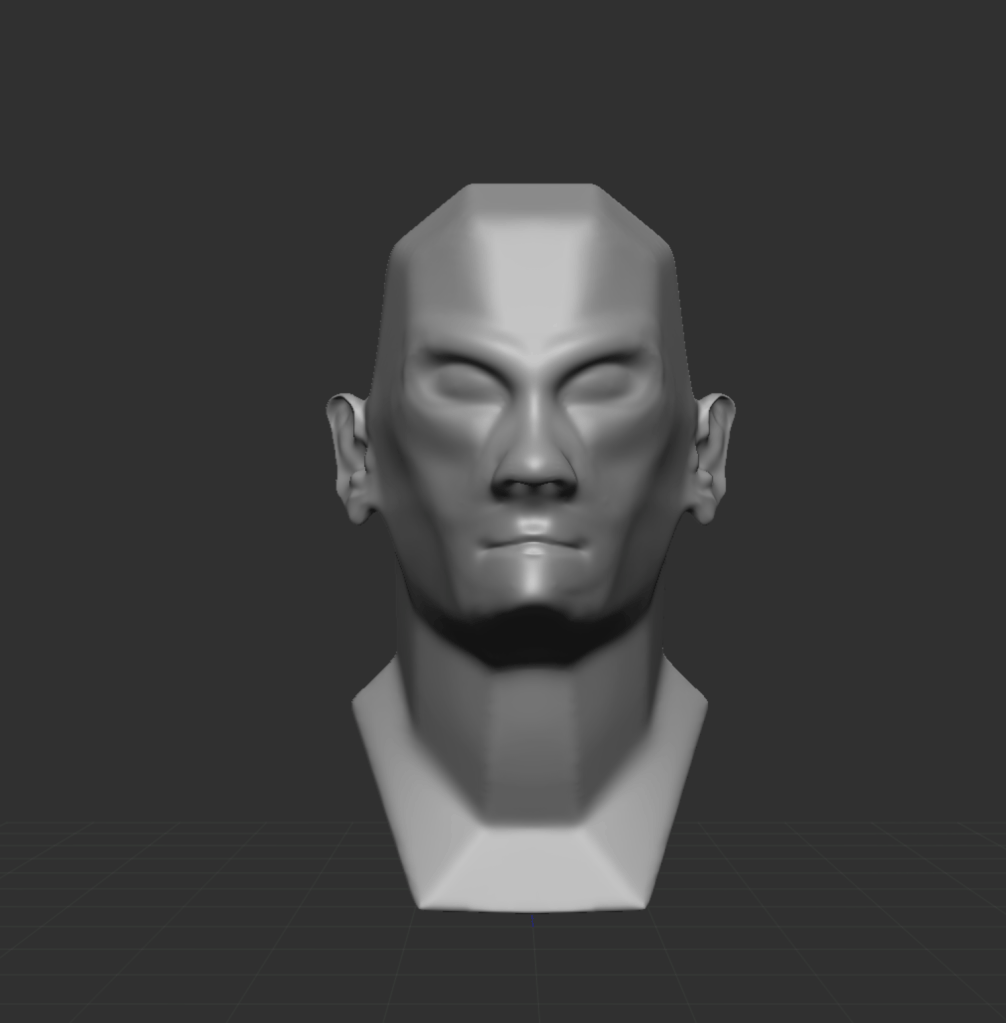
Villain: Comparative Anatomy
Zbrush Work
- Made a face form the knowledge I got from pas lessons.
week 8
Villain – Fat, Colour & Textures
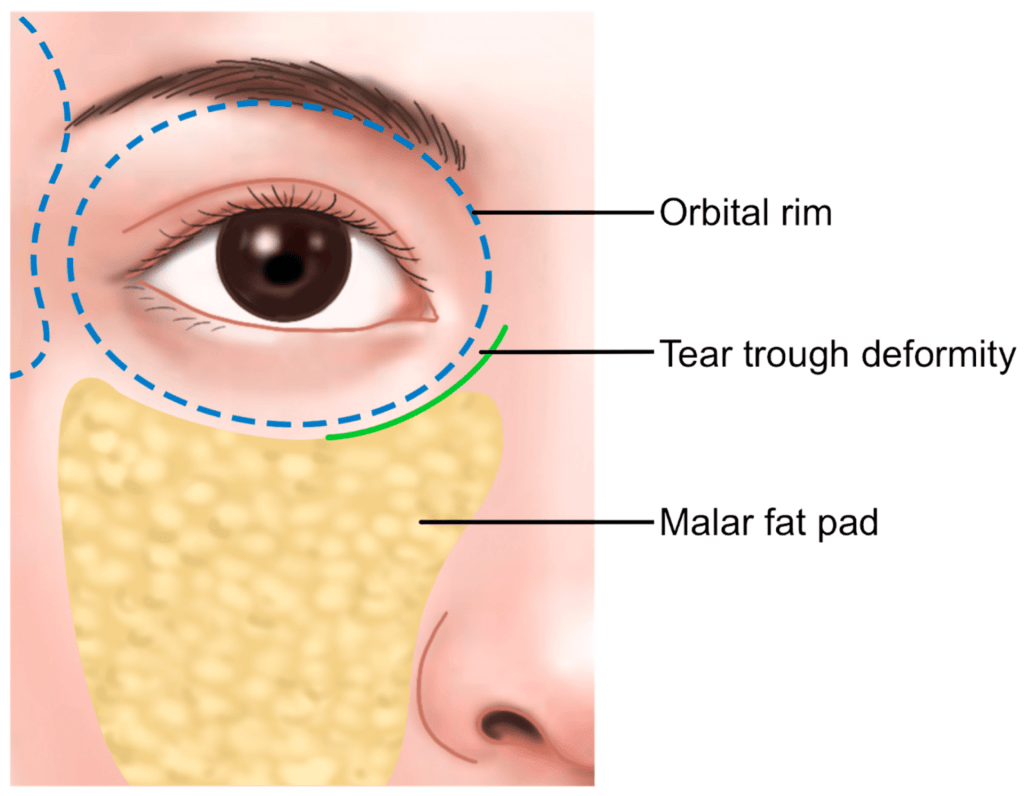
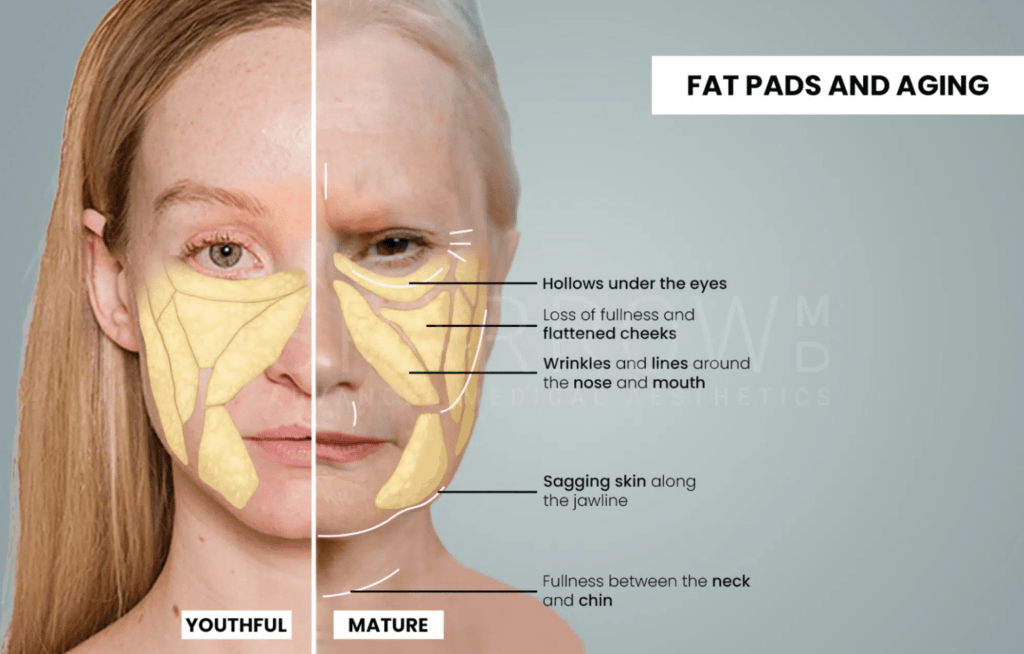
There are 2 main types of Facial fats:
- Subcutaneous Fat – resides under the skin
- – Usually deeper, closer to the skull
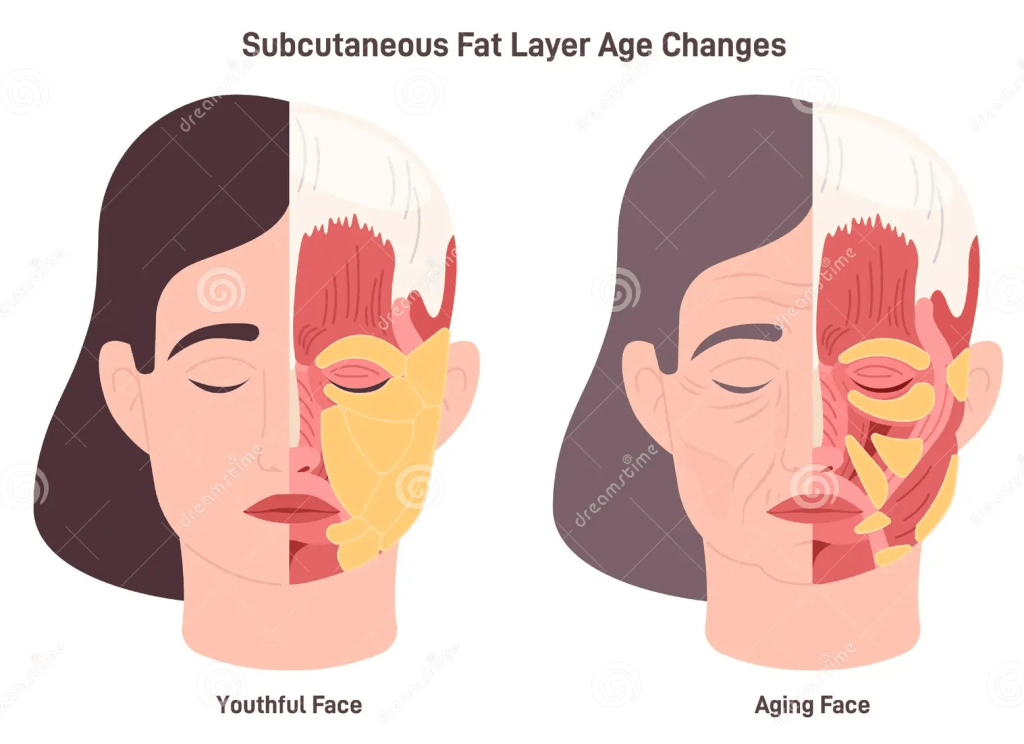
Different Fat Pads
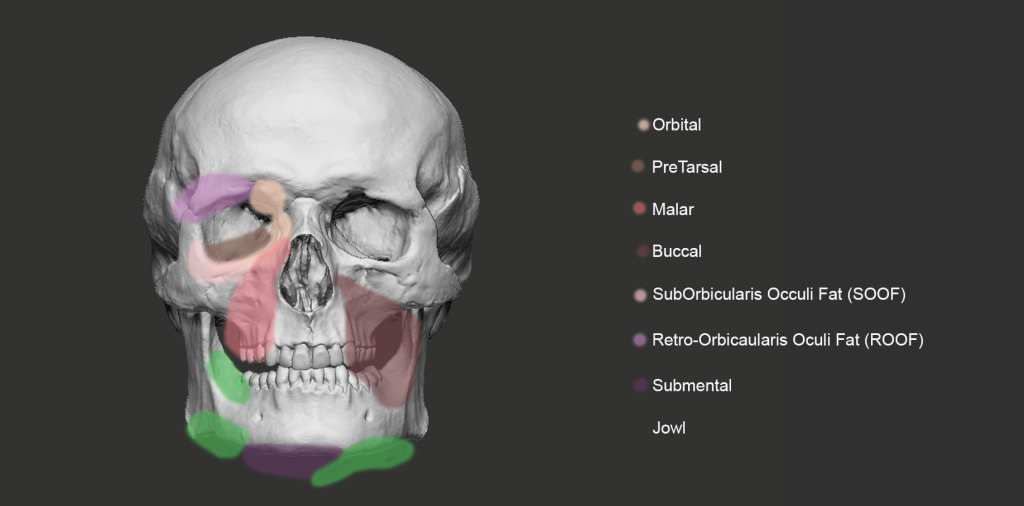
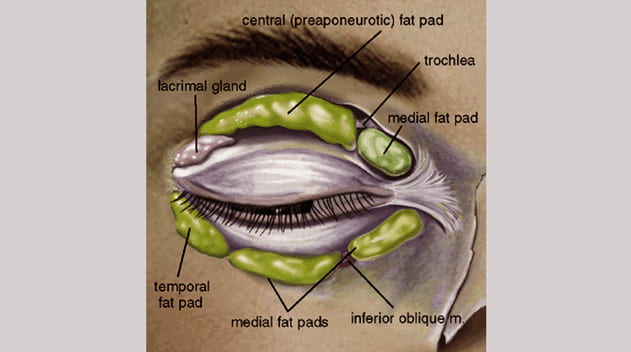
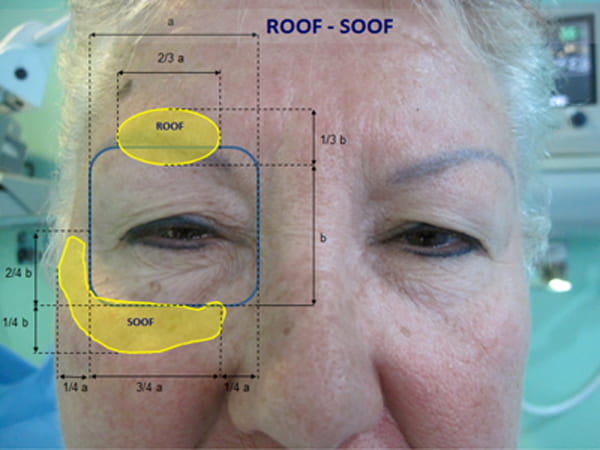

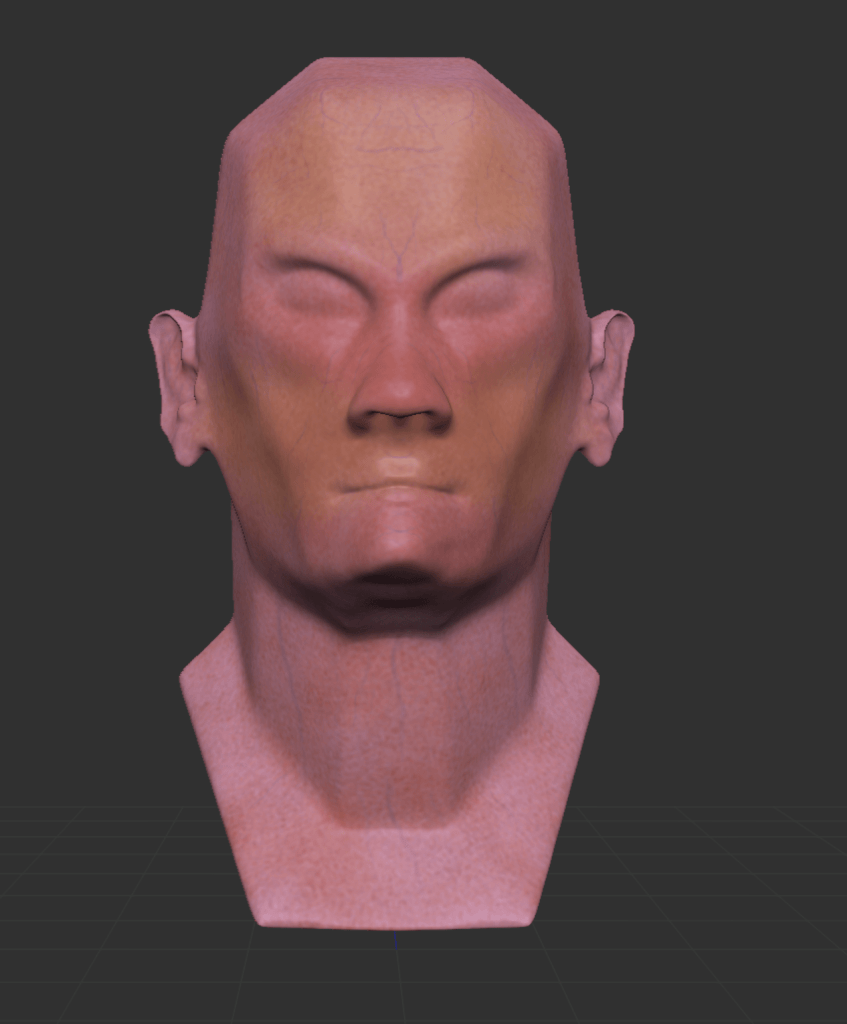
Zbrush Work
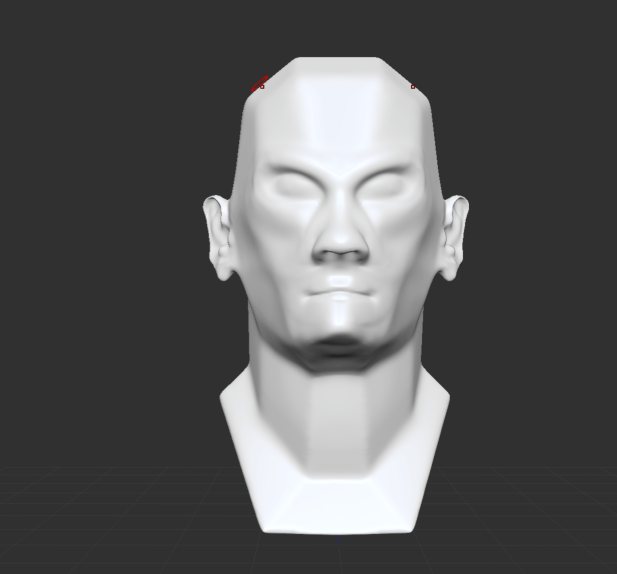
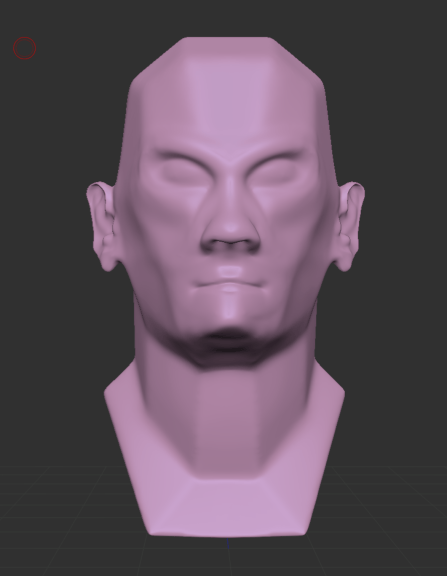
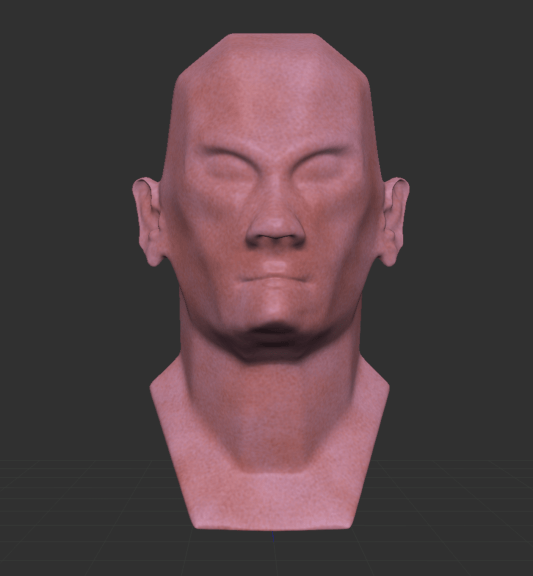

- Add any model.
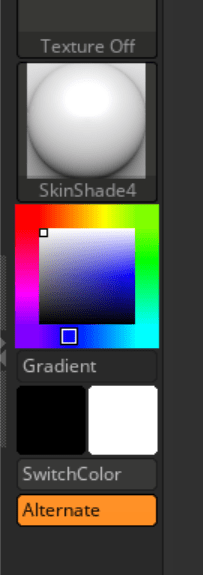
- Go to Materials and Select Skin shade 4. Change color to light pink from Gradient.
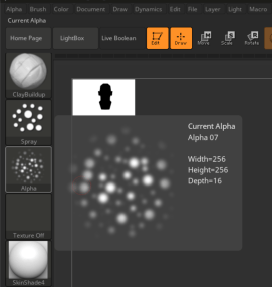
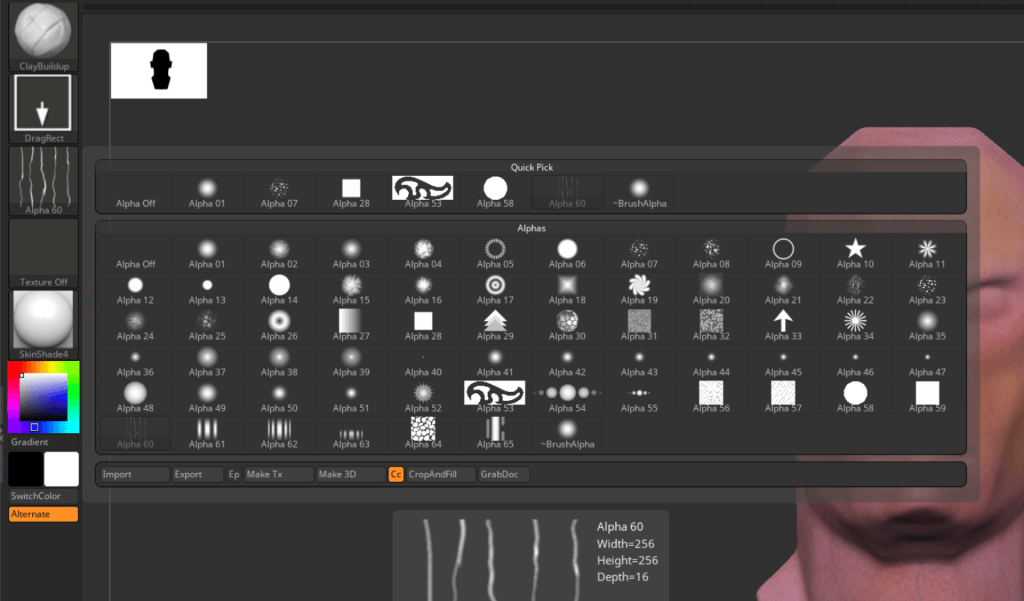
- Go to Spray Select Stroke 7 and go to Alpha and select Alpha 7. Make the skin pores.
- Before this Turn off Zadd and click on RGB.
- For Veins go to Spray Select DragRect and from Alpha select Alpha60.
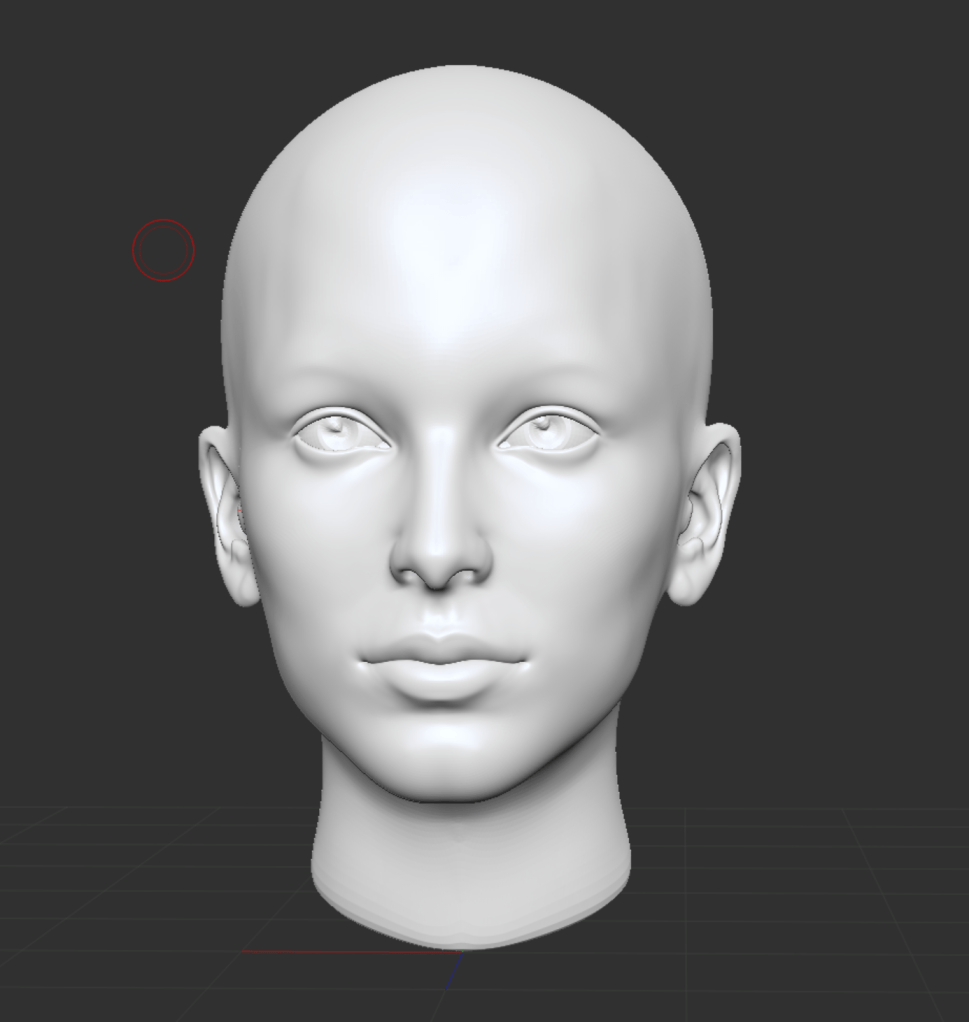
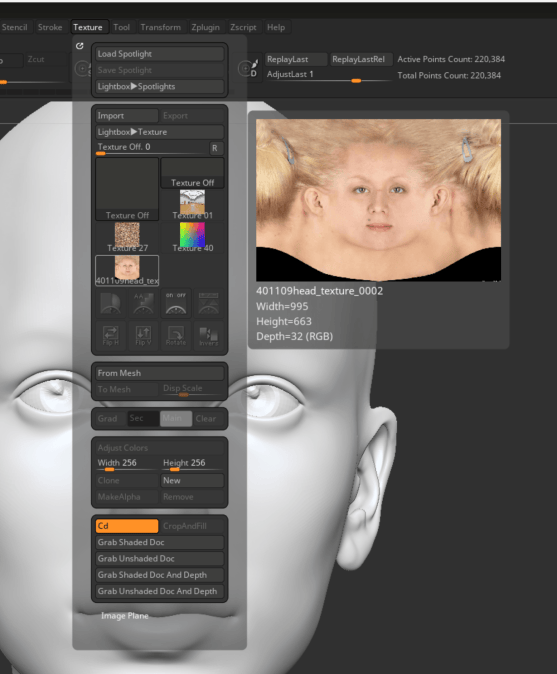
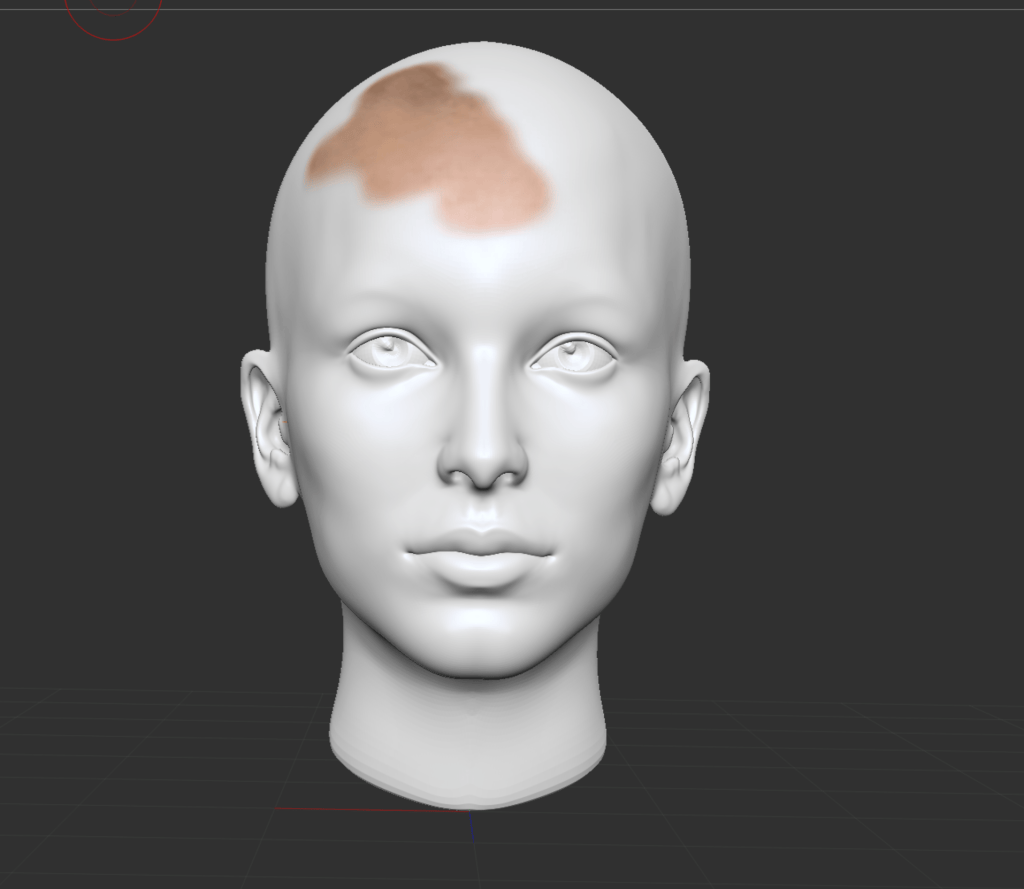
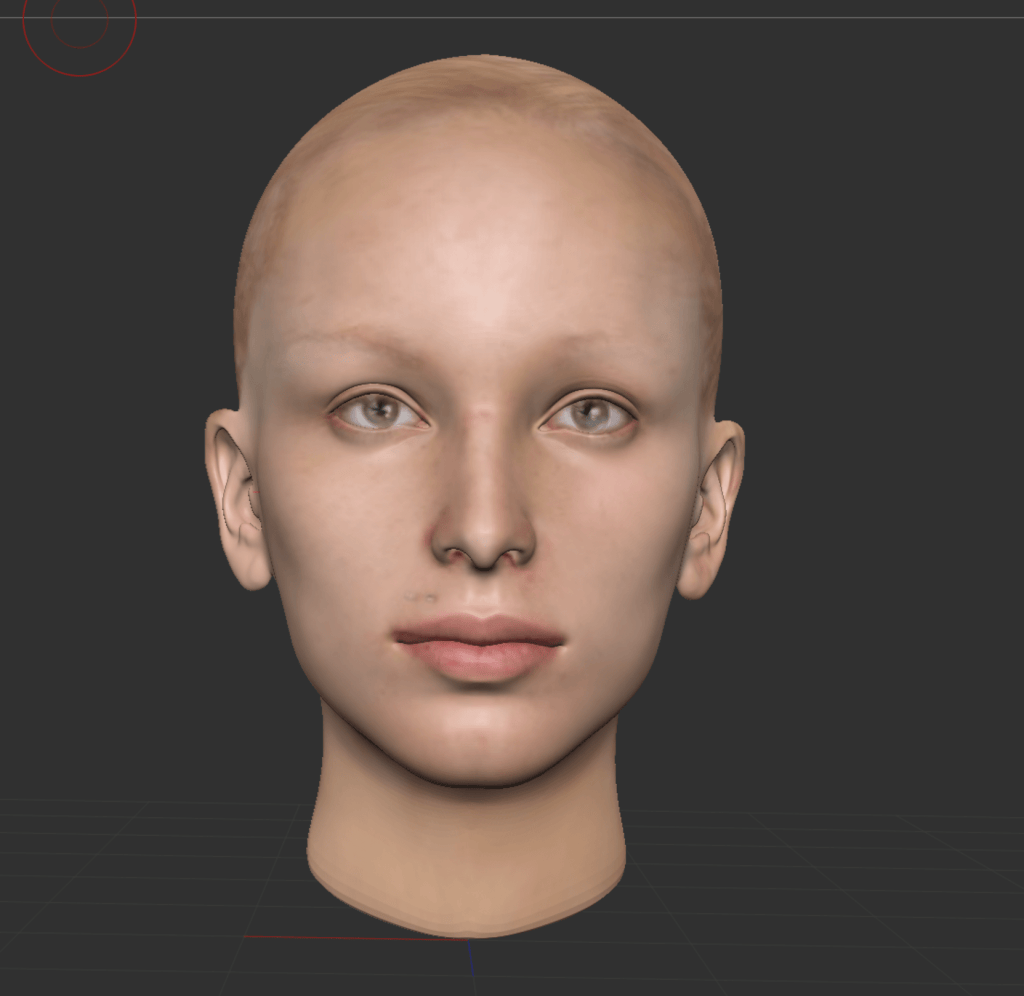
- Add Demo Head Female. Got to Subtool and click on merge to merge everything.
- Before this Turn off Zadd and click on RGB.
- Go to Materials and Select Skin shade 4.
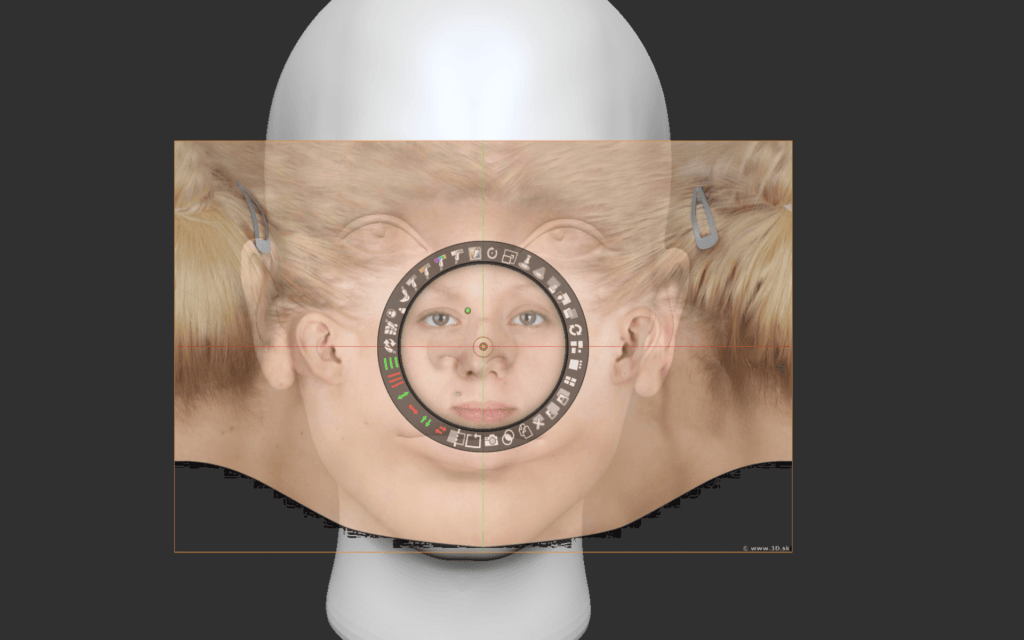
- Click on texture, then click on Spotlight, then import picture.
- Select Add to Spotlight.
- Adjust it.
- Turn on Zadd if want to Sculpt.
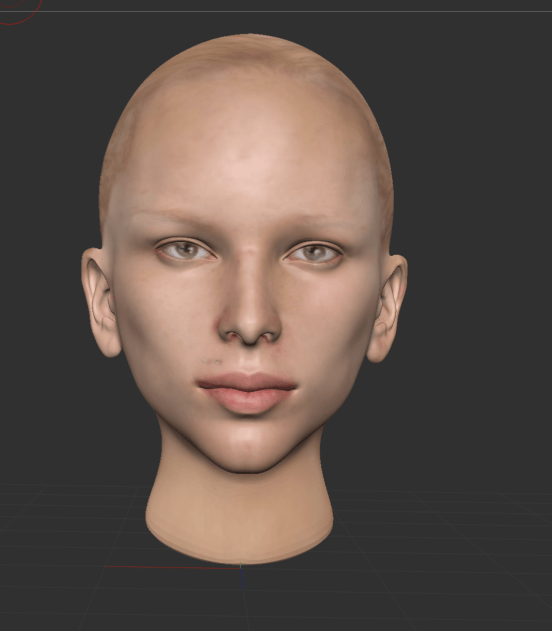
Running a tester for Scar
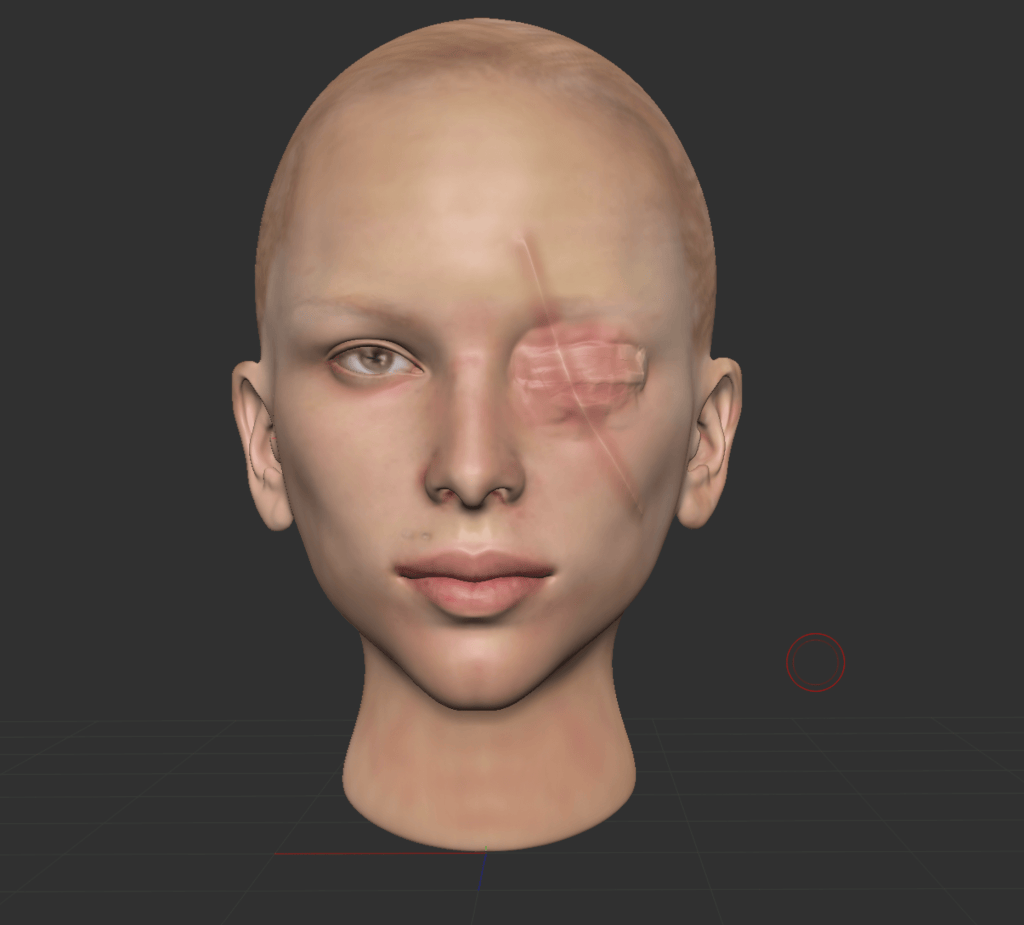
Week 9
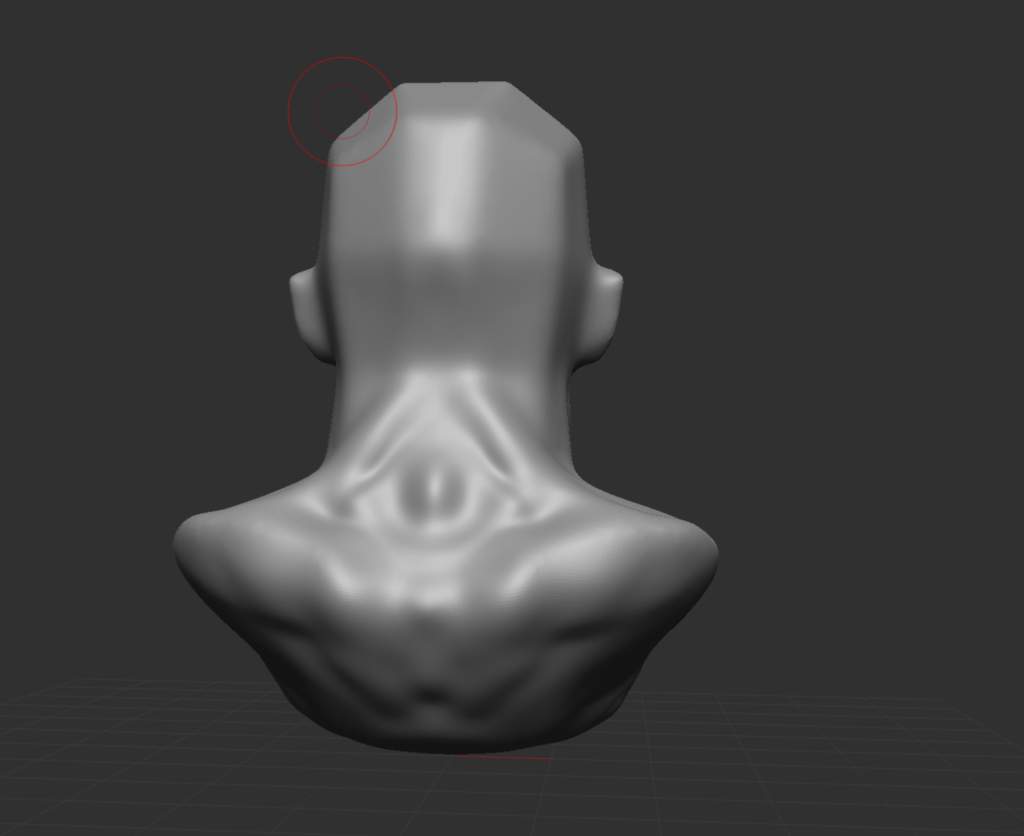
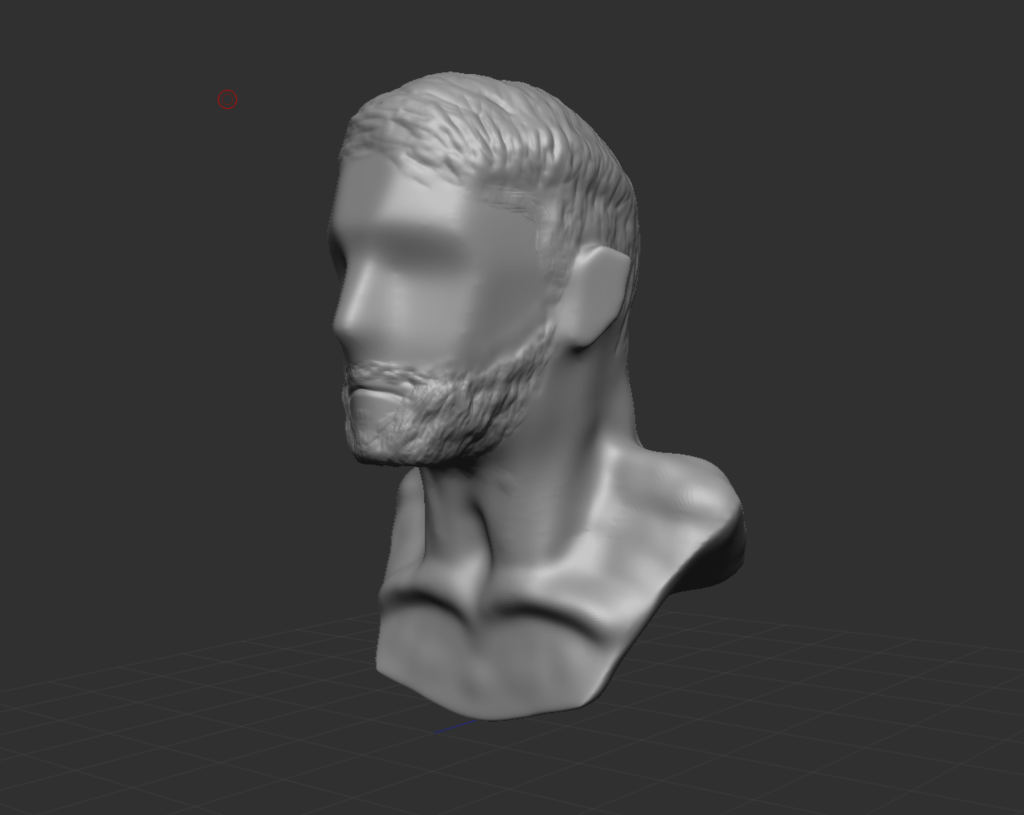
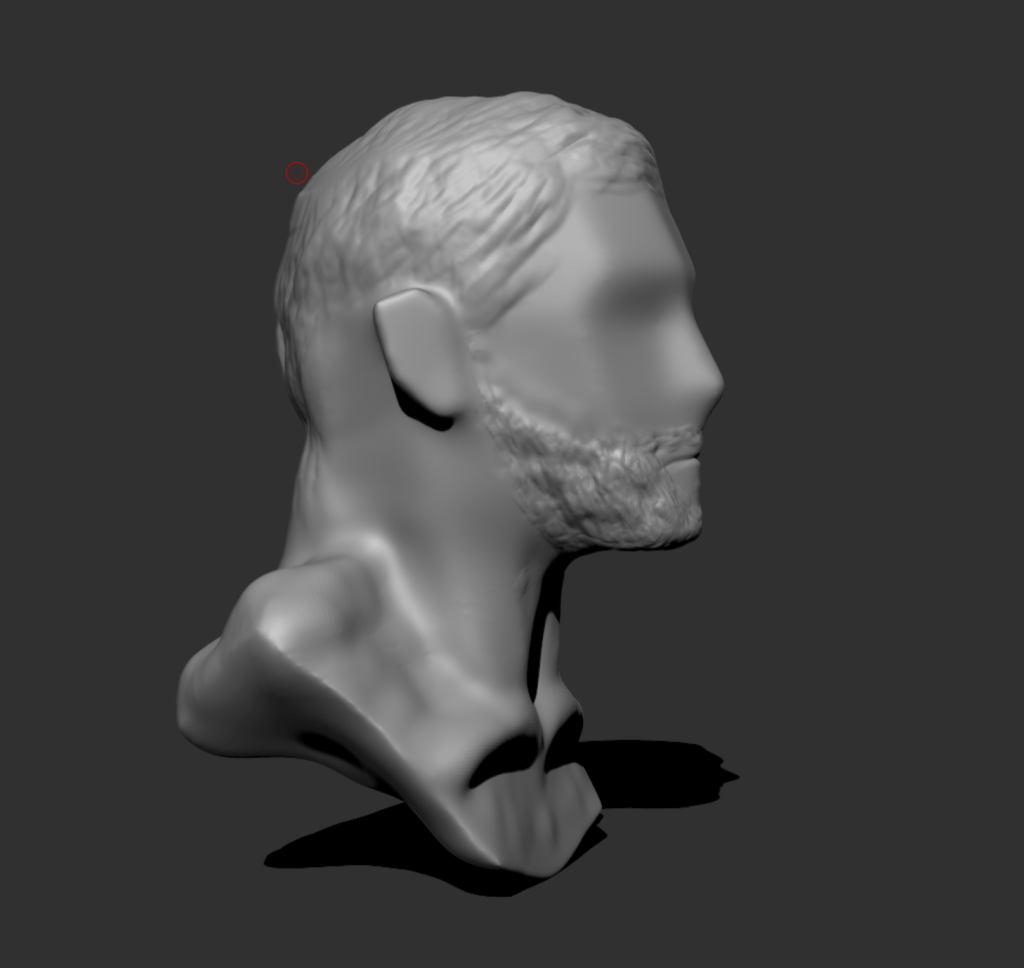
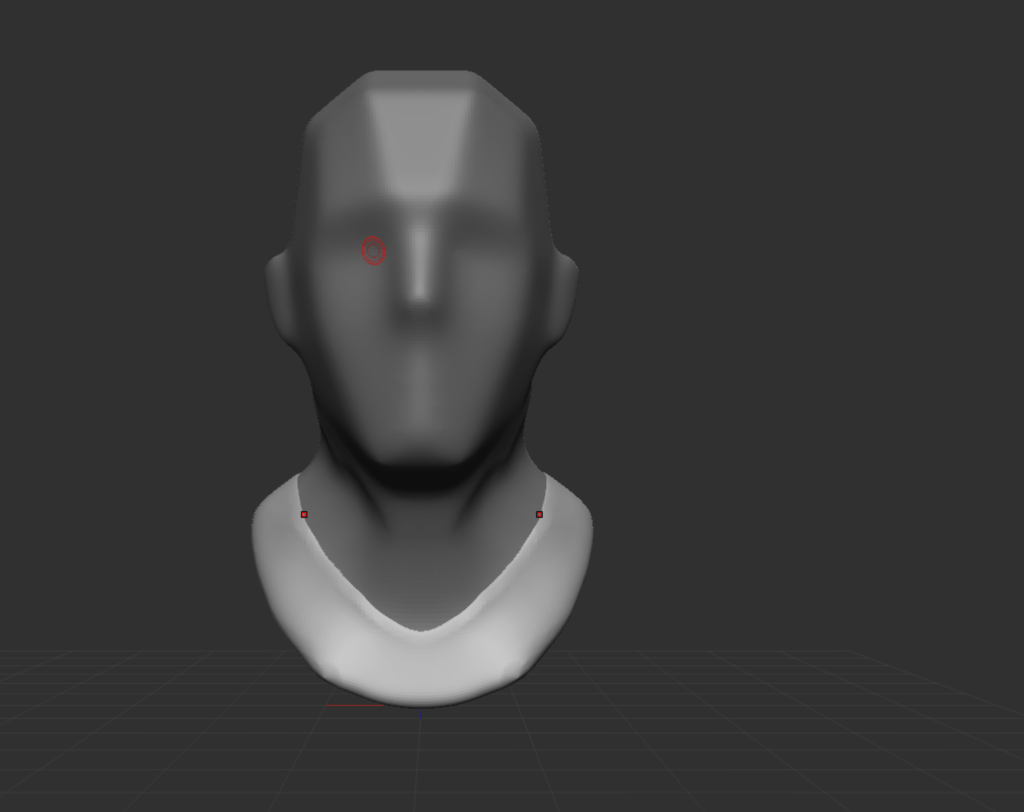
Neck
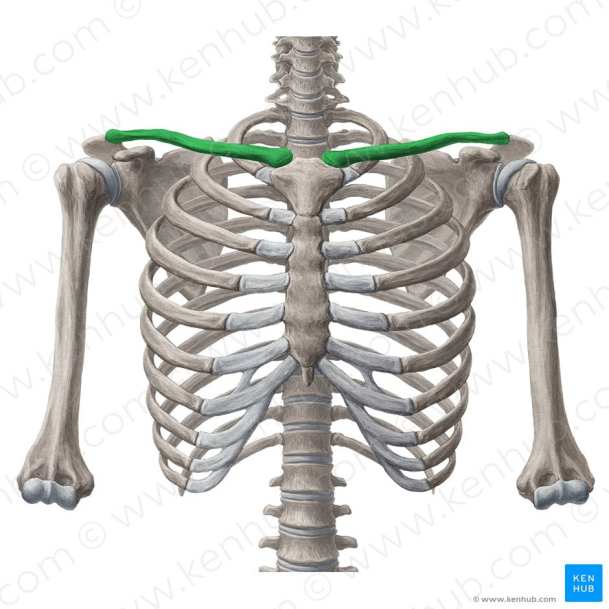
Clavicle or collarbone is a long bone that serves as a strut between the shoulder blade and the sternum or breastbone.
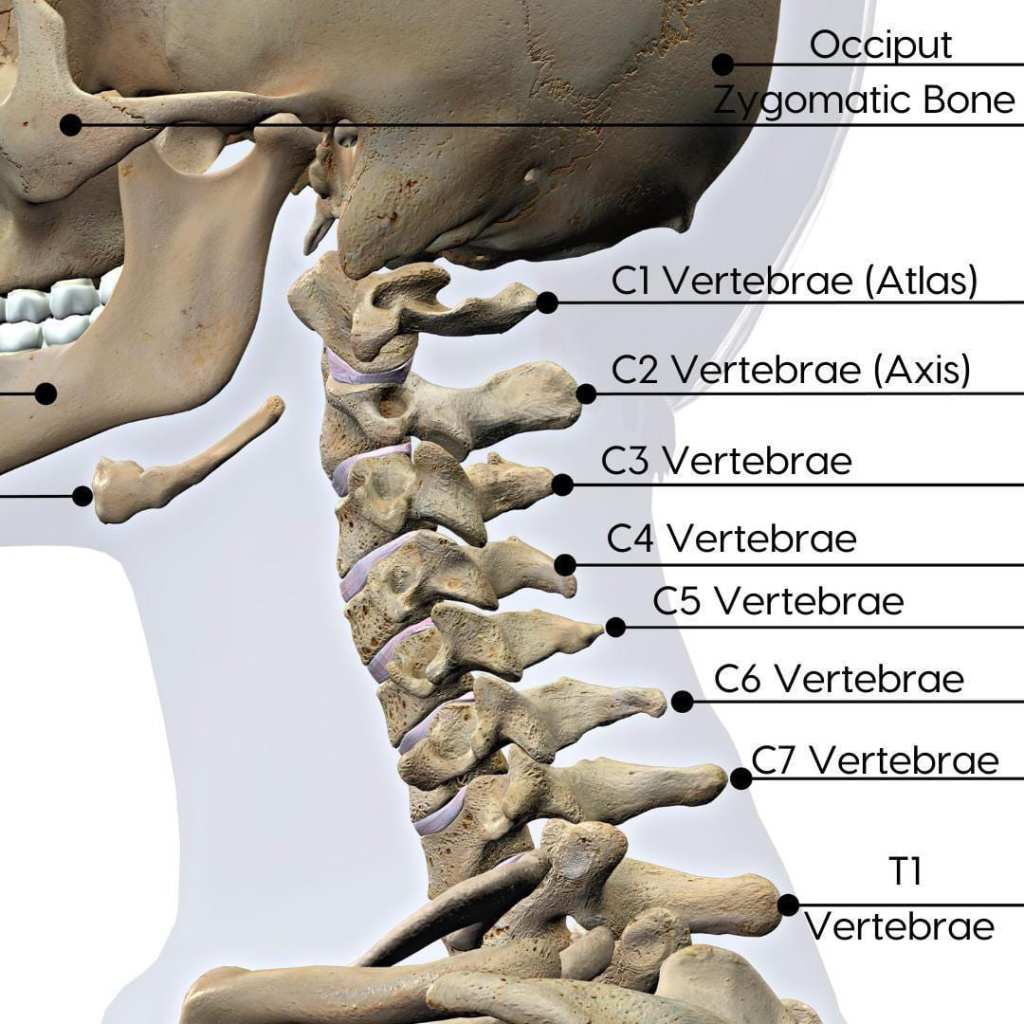
A useful landmark on the upper back in-between the trapezius muscle.
Week 10
Maya pipeline – Displacement Mapping
Week 13
Xgen Hair – Part 1
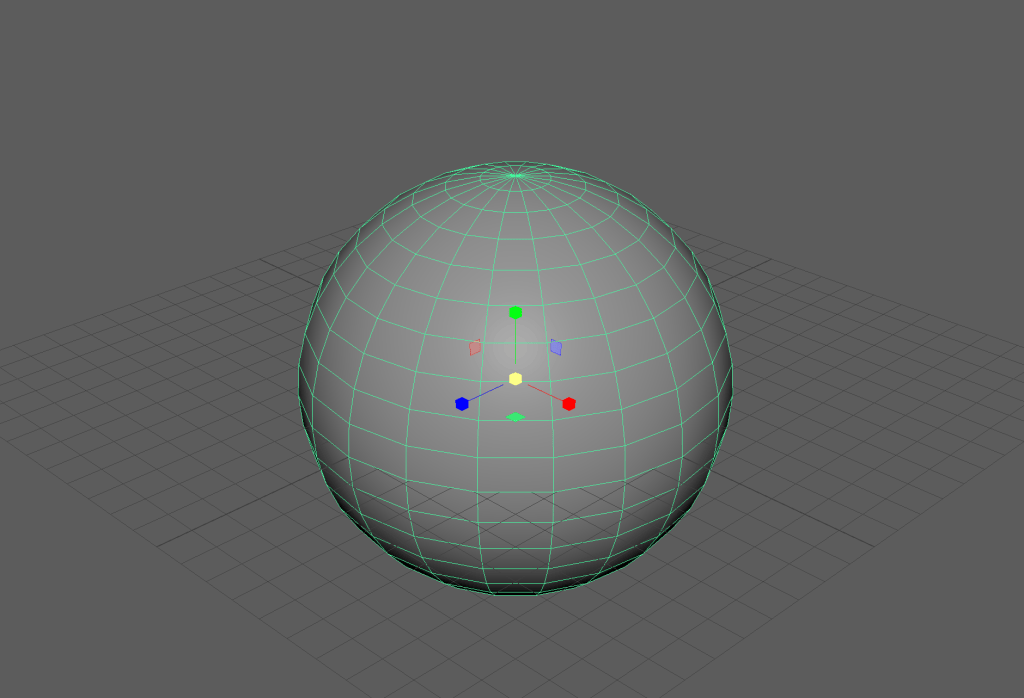
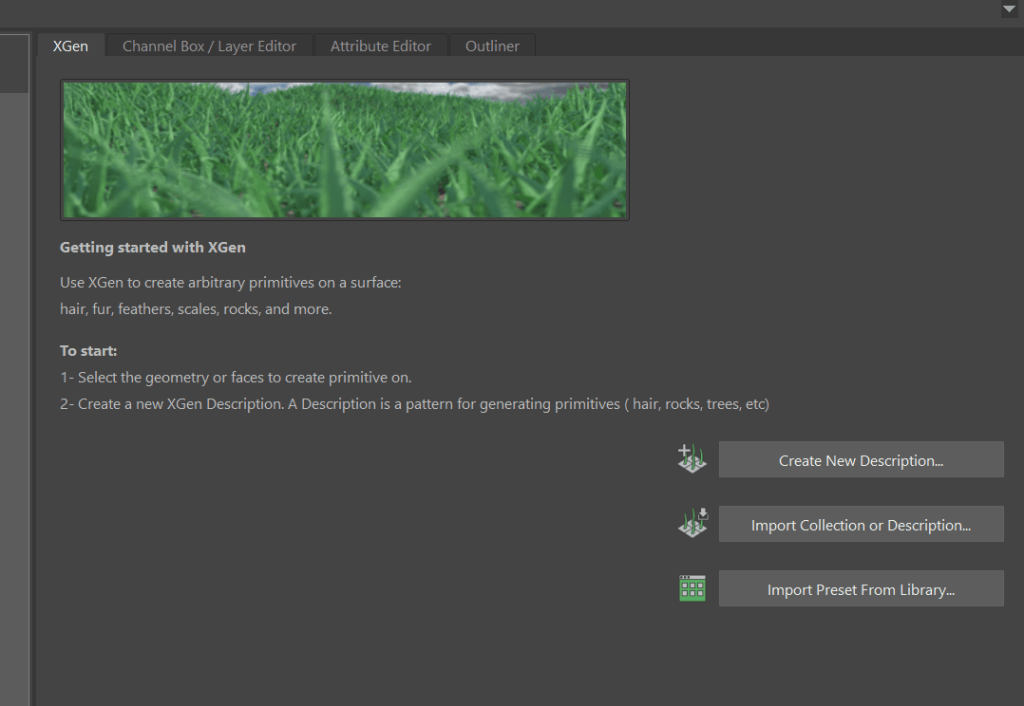
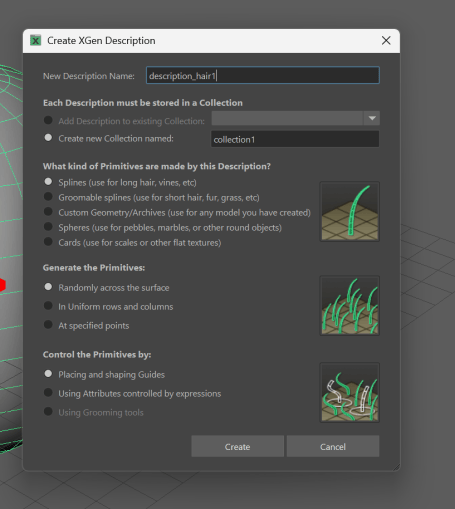

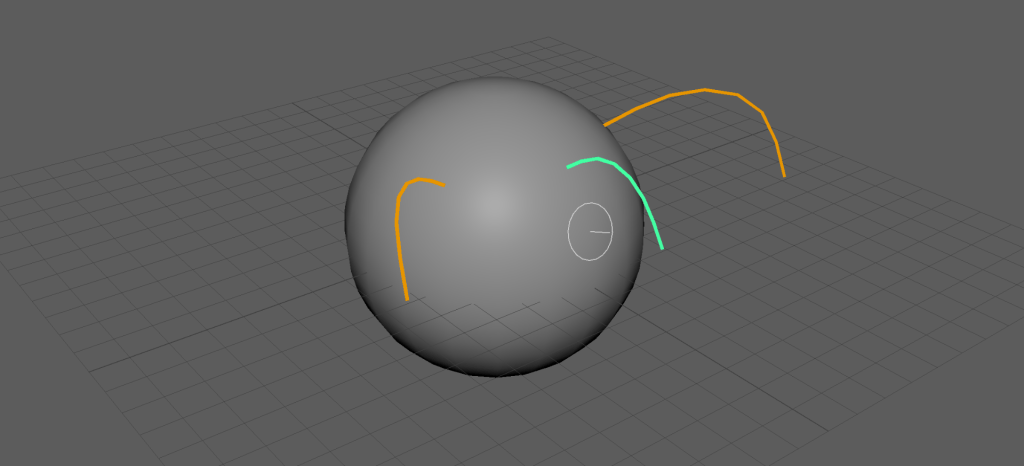
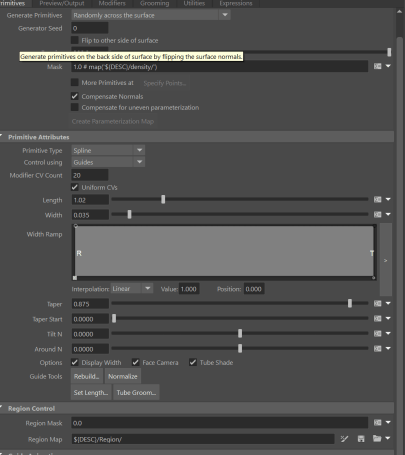
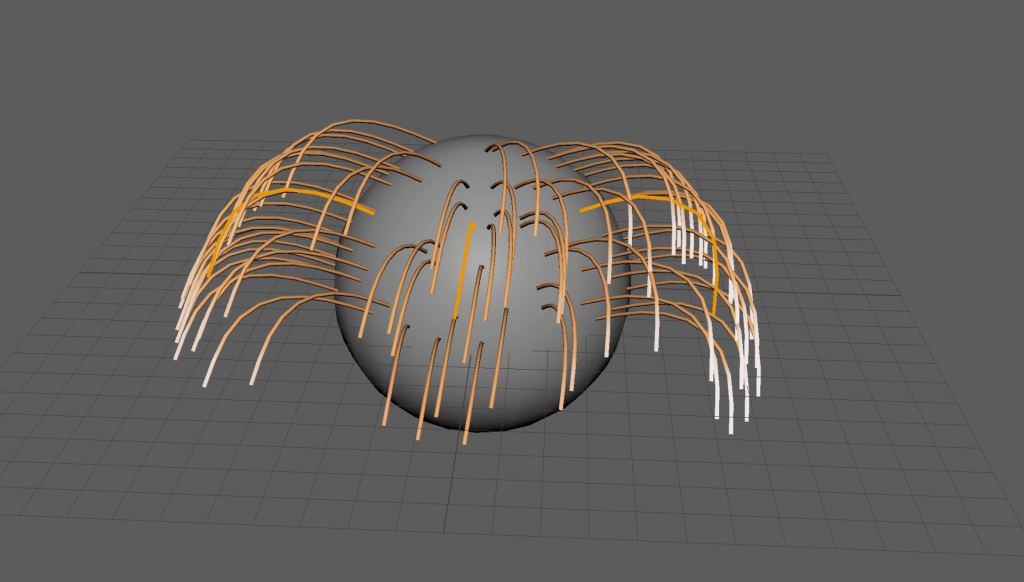
- open maya, set project.
- Import sphere, Increase its size. Go to XGen, click on Create New Description, set name & select Placing and Shaping guide.
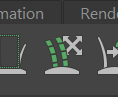
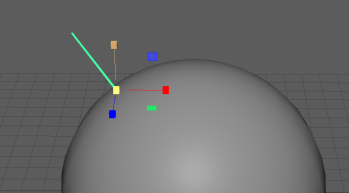
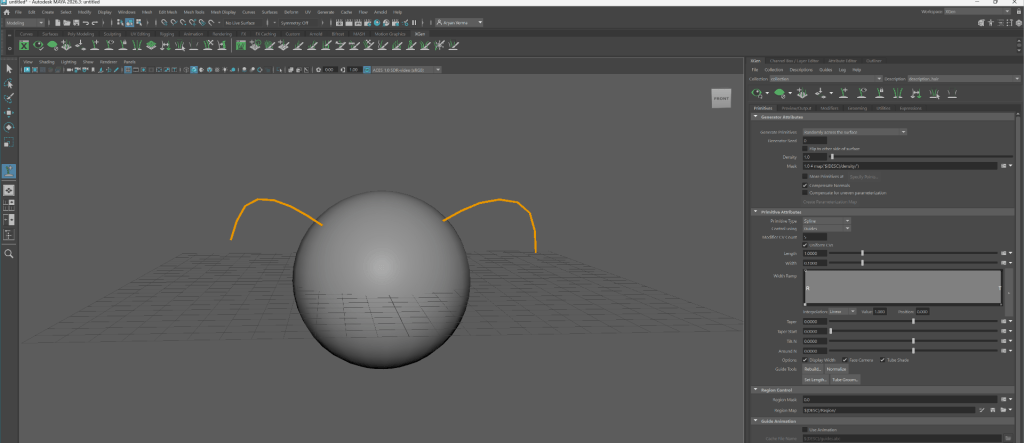
- Select Add more Guides, and click on sphere. Increase size of guide. add another. Use Sculpt guide to give shape.
- Adjust it.
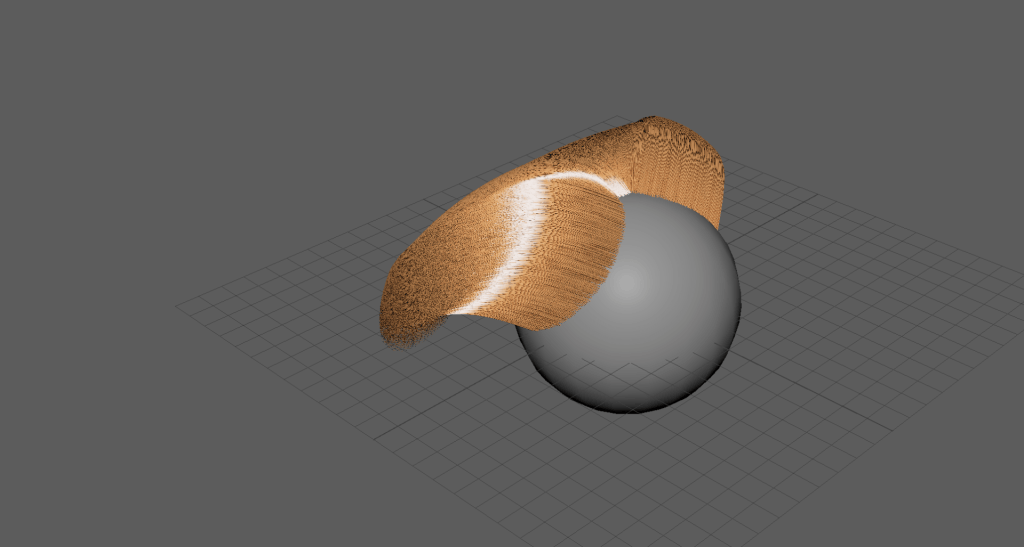
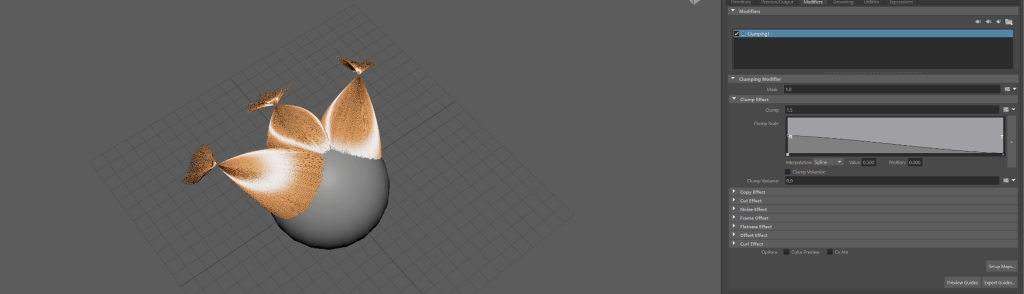
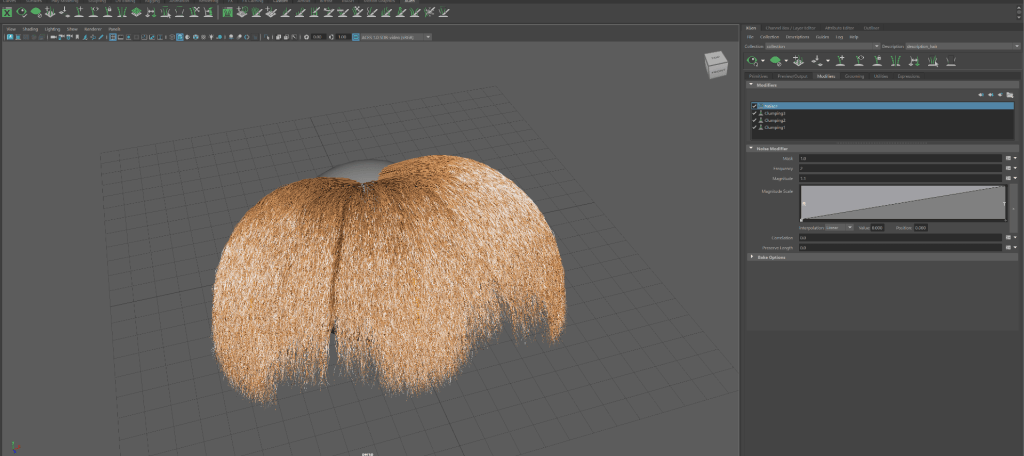
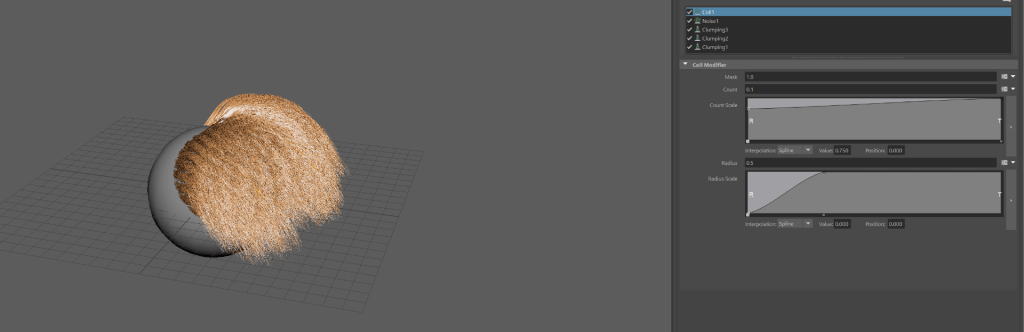
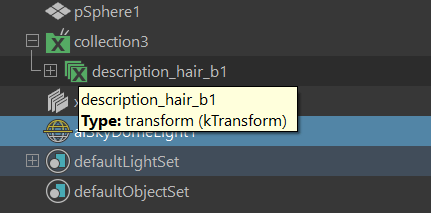
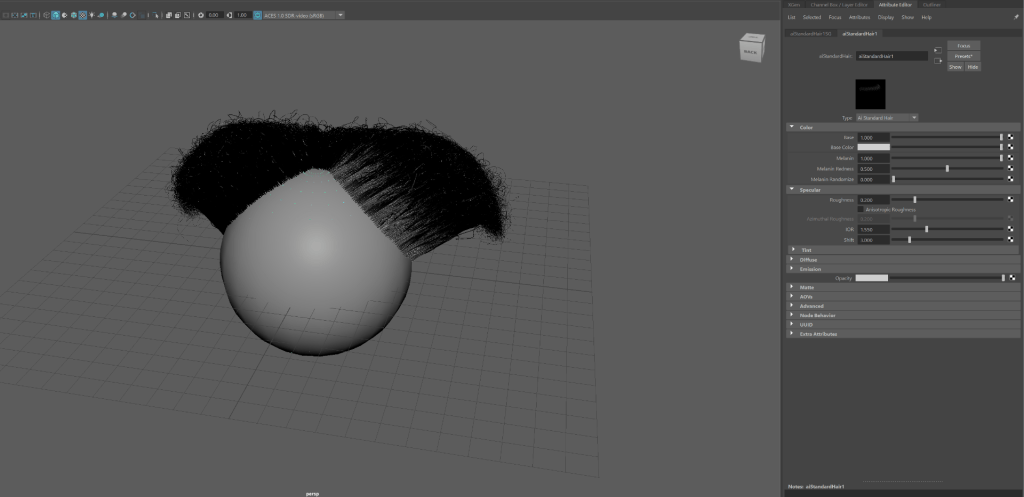
- Click Modifiers, Select Add new modifier, adjust Clump, cut, noise, coil.
- Go to outliner, select description_hair.
- Right click, select assign new material, select aistandardhair.
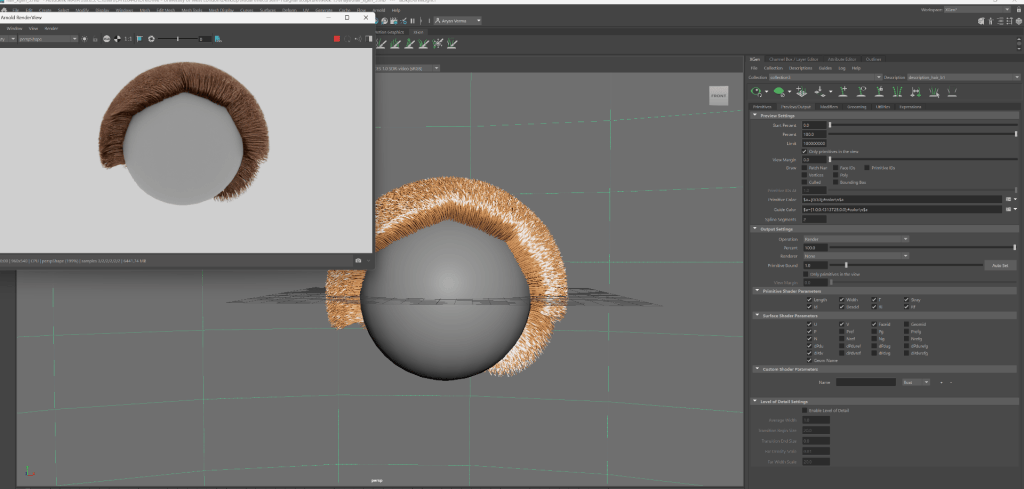
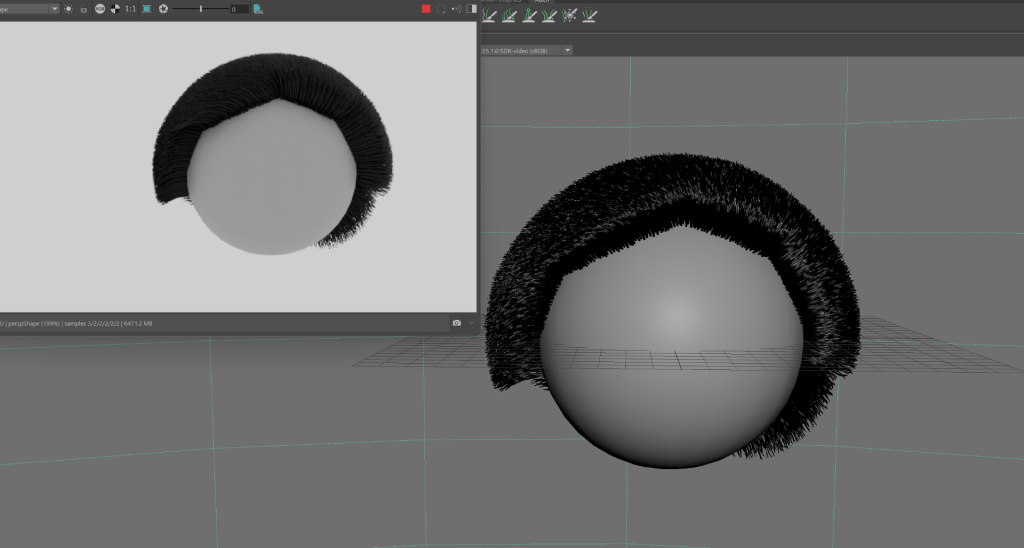
Final Output –
Assignment – Villain
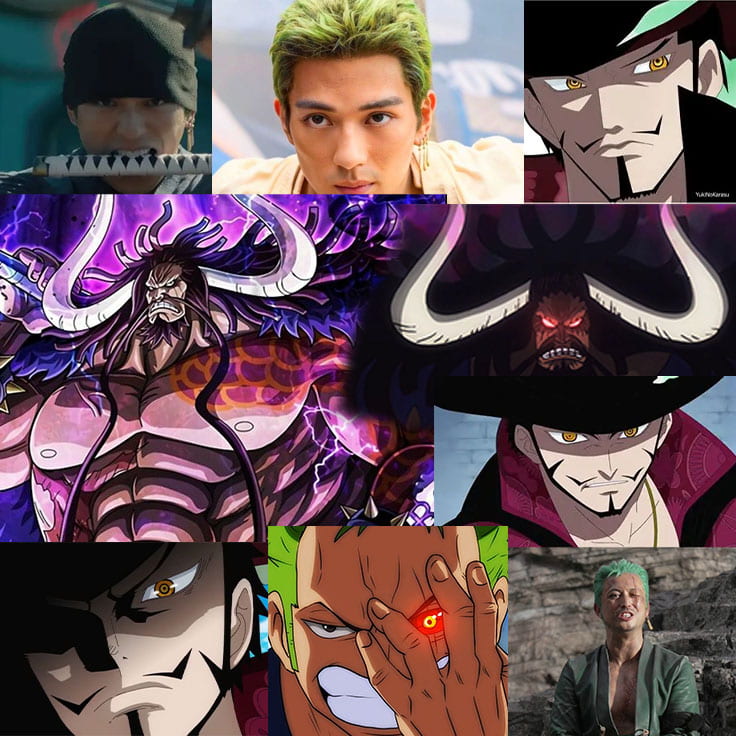
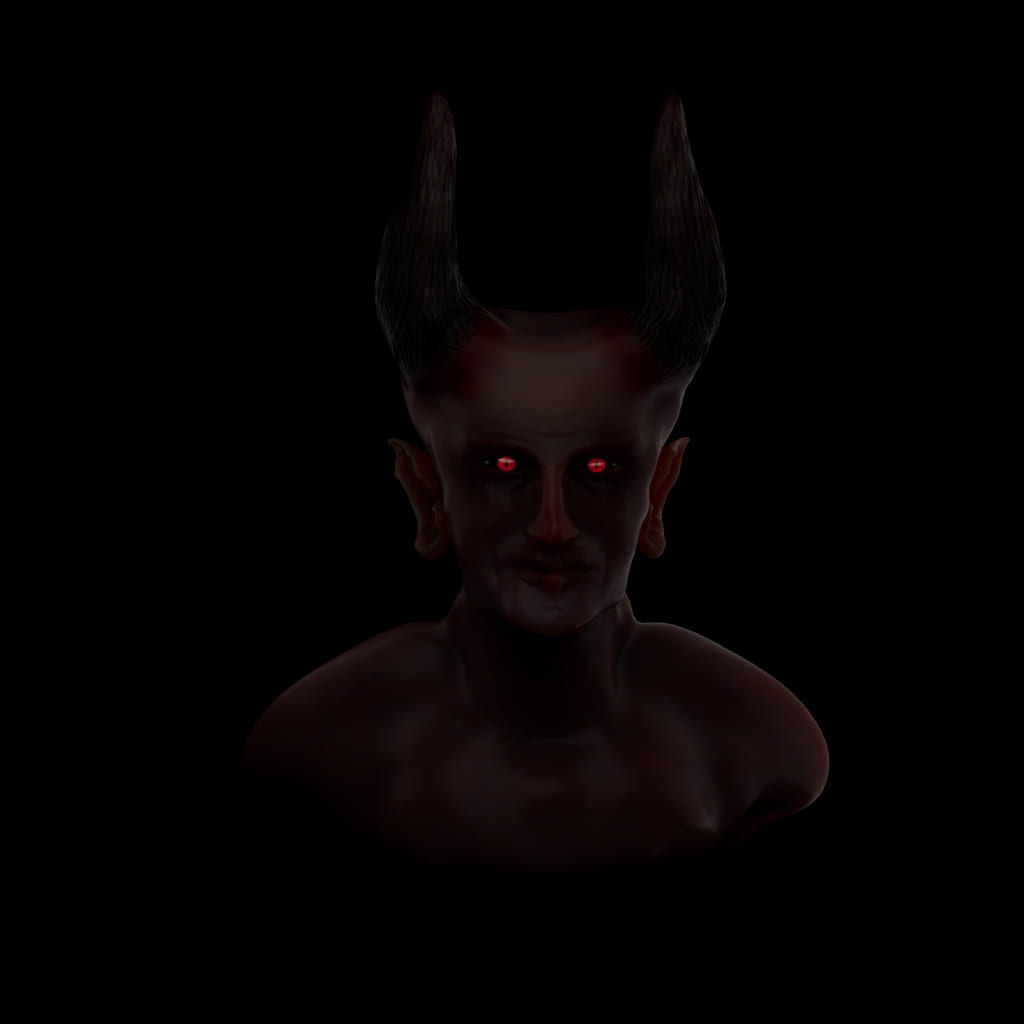
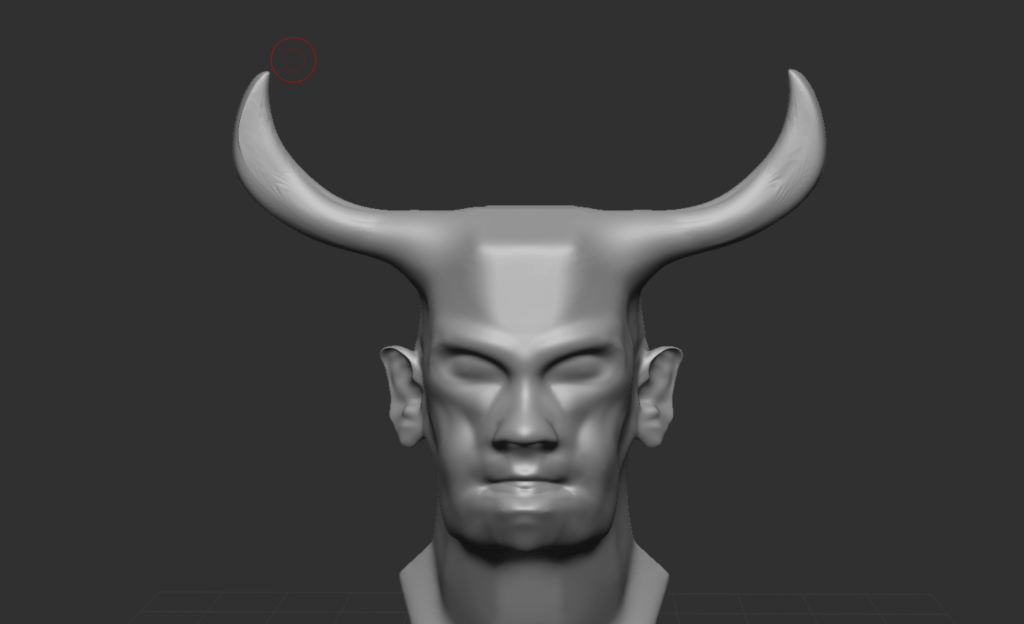
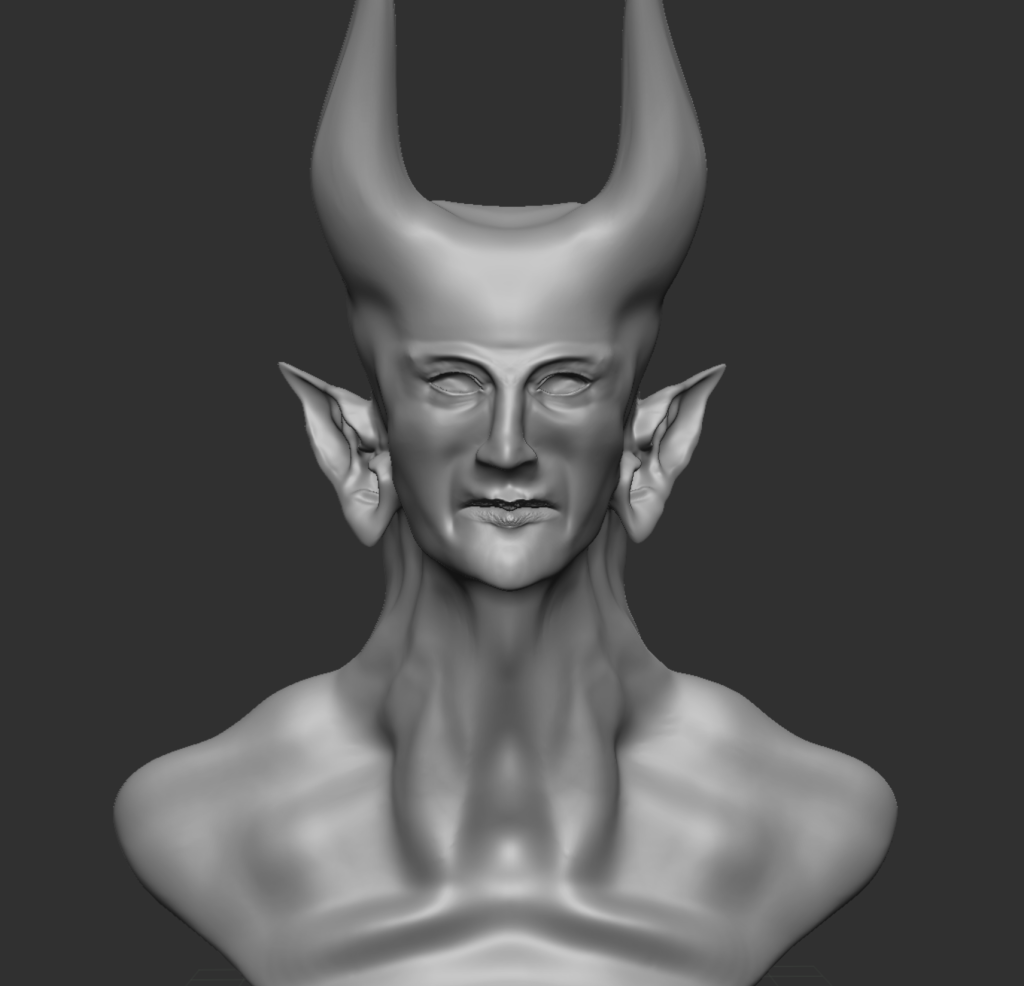
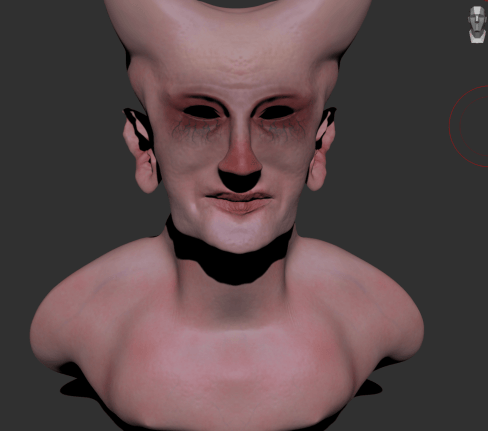
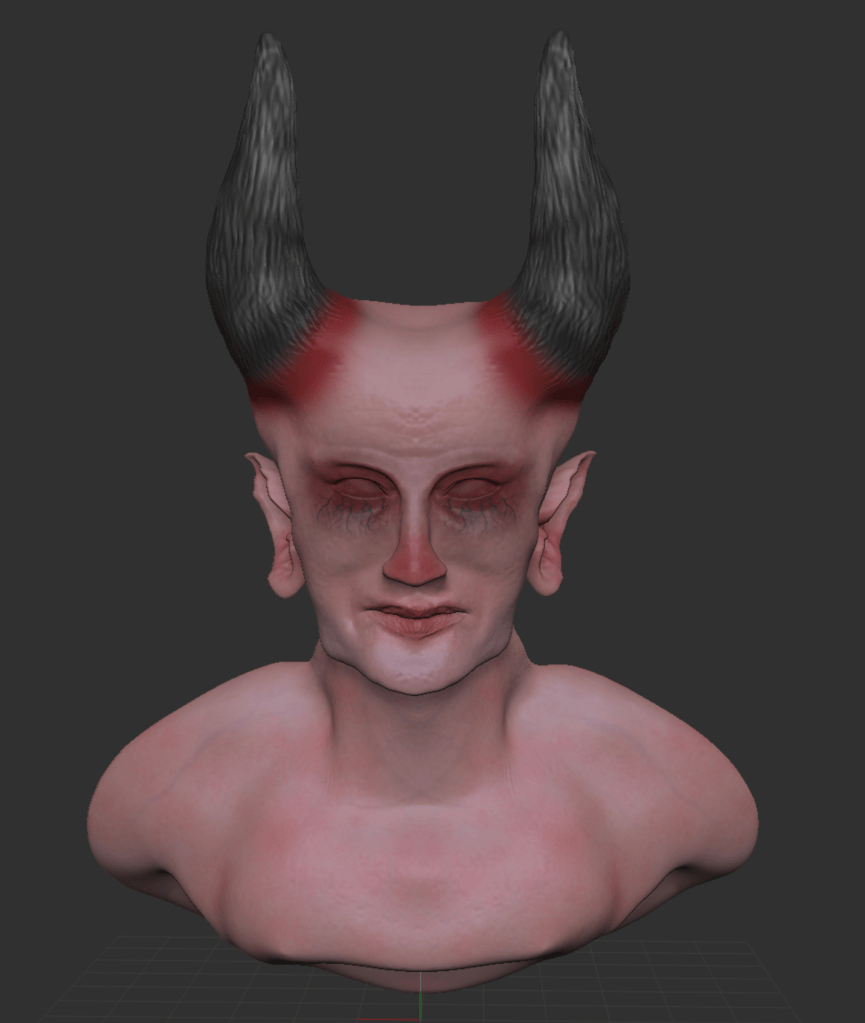
I plan to give my villain, face of Kaido with horn and moustache. Scar on left eye like Zoro (Roronoa Zoro). Eyes like Hawkeye (Dracule Mihawk).
Running a tester for Horn
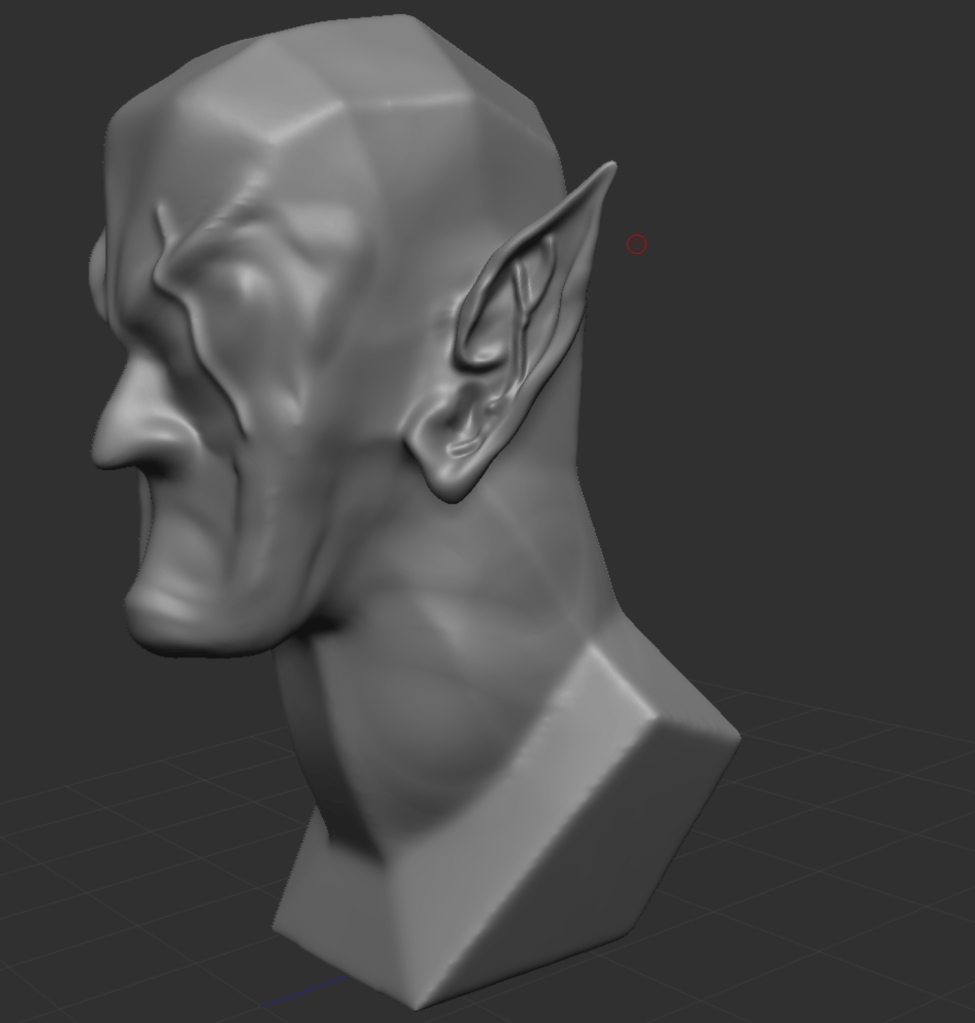
Running a tester for ears
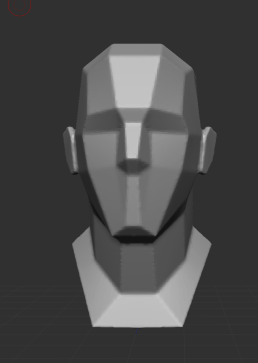
- Open Zbrush, Import model.
- Sculpt face using Every tool/brushes known.
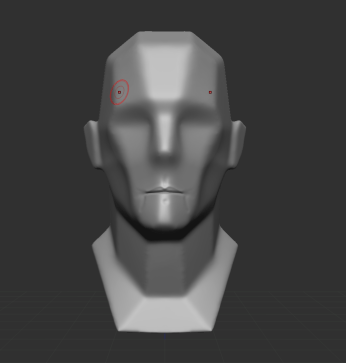
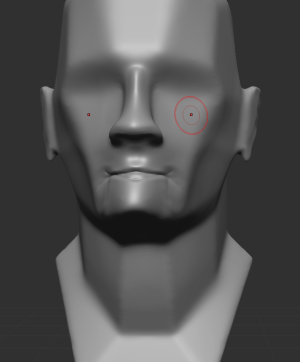
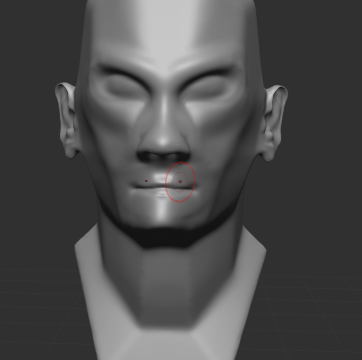
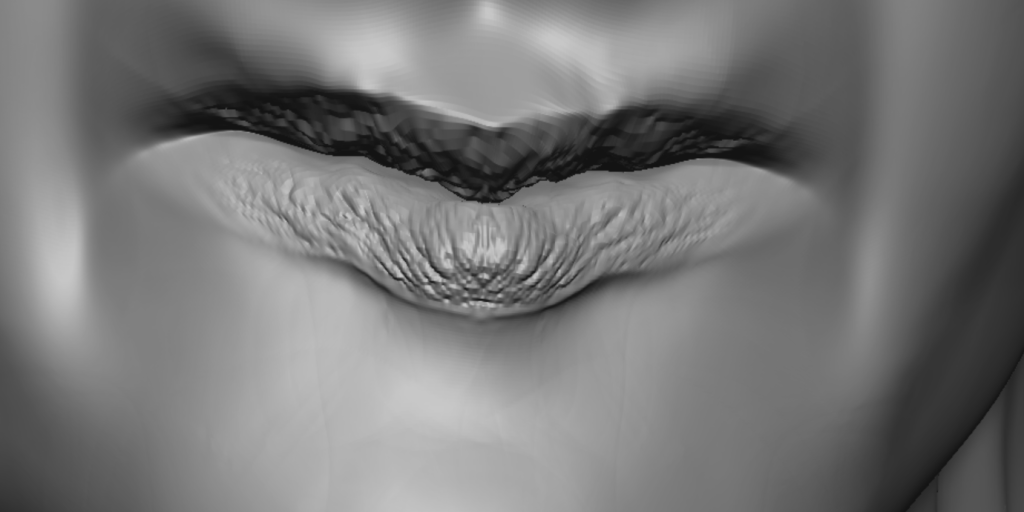
- Used SnakeHook to built horns.
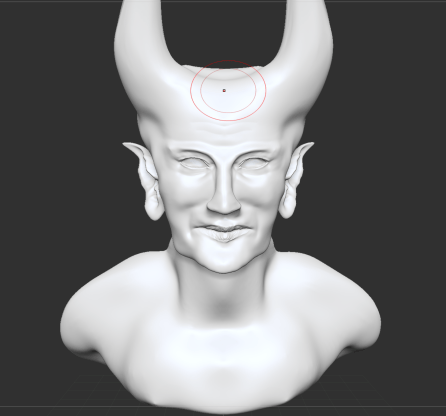
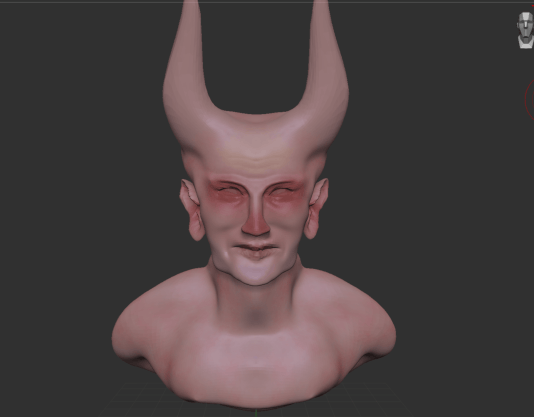
Add skin texture and colours:
- Go to materials, select Skinshade64.
- Select color. Then go to color, select color again, click fill object.
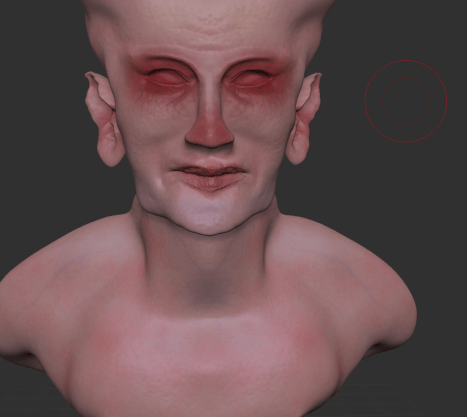
- Select color spray then select aplha64 brush.
- Used different brushes and colors.
To open model in maya:
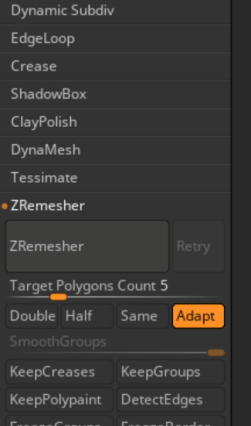
To export model in may, it should be a low poly model.
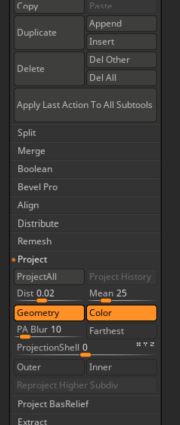
- Duplicate the model. select geometry, click ZRemesher to make it low poly.
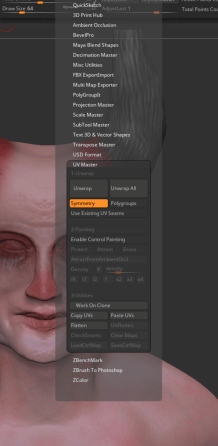
- Now go to Zplugin, select UV Master, Unwrap.
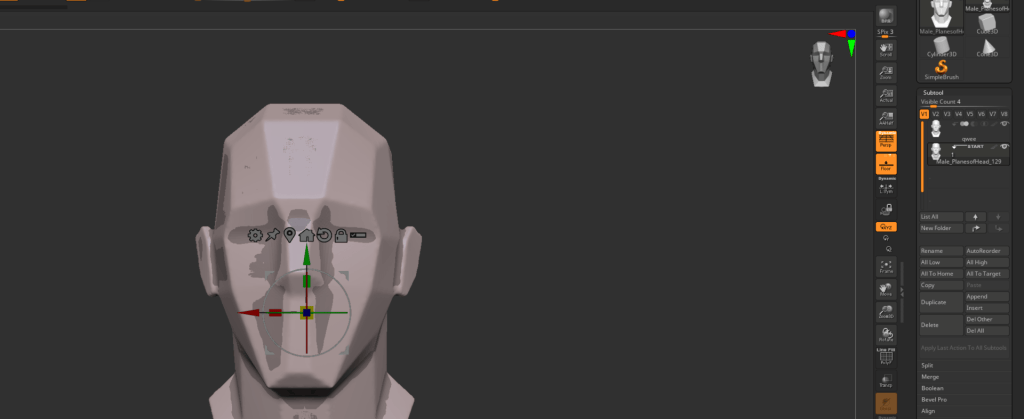
- Go to subtool, project, project all( make sure both model is visible)
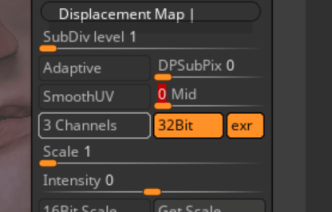
- go to Zplugin, select multi map exporter, click on all map exporter.( make sure mid in displacement map is 0)
- now click on export, save file in .obj.
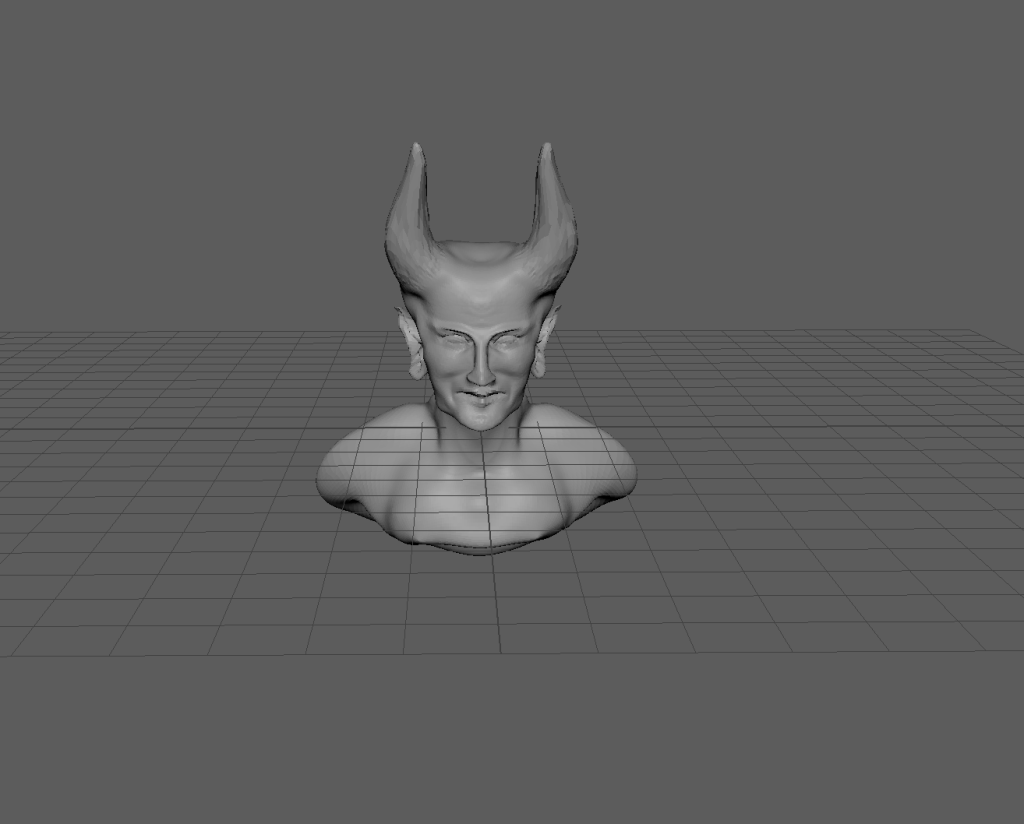
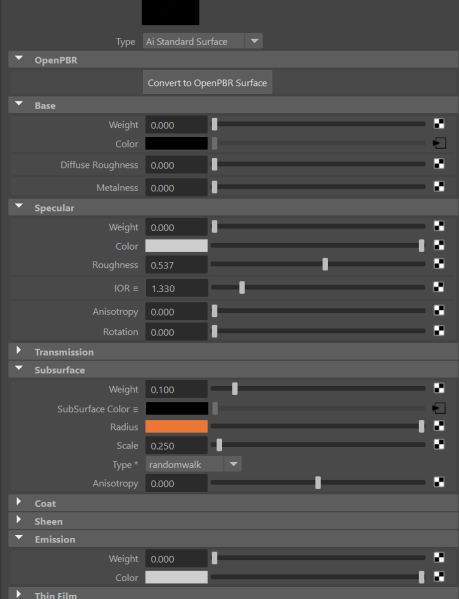
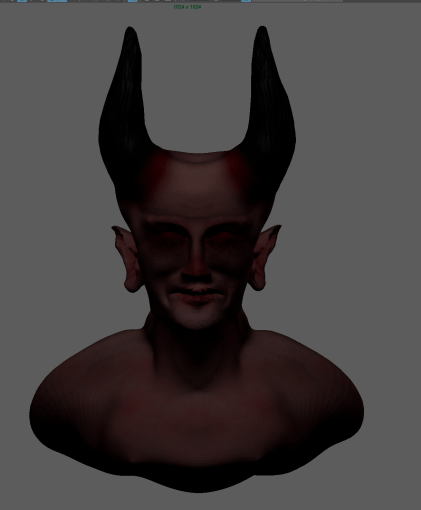
- Open maya, import the file, add material on it using aistandardsurface.
- Adjust settings.
Adding Eyeball :
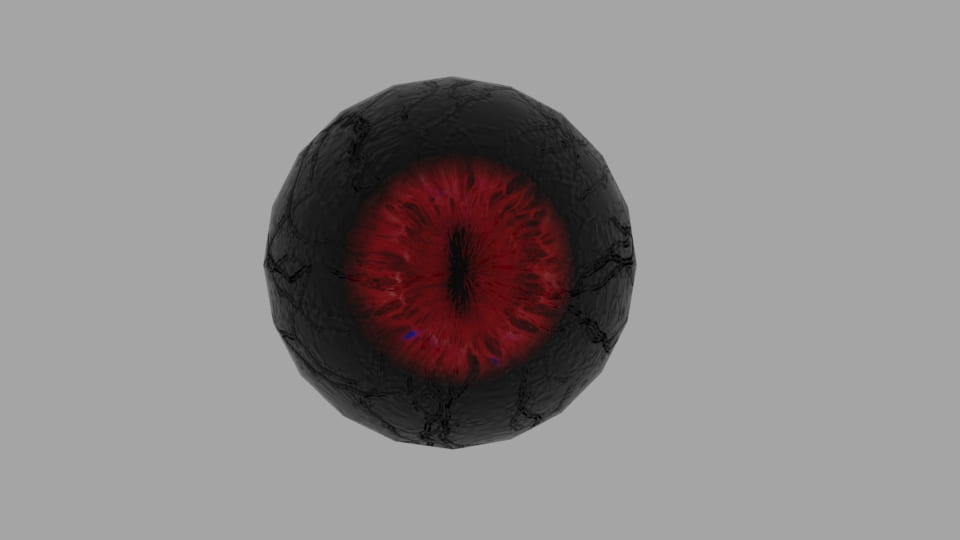
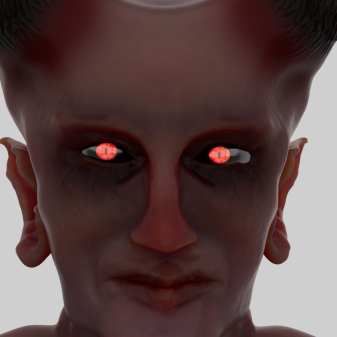
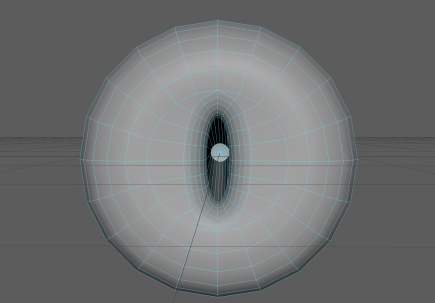
- Made the Eyeball
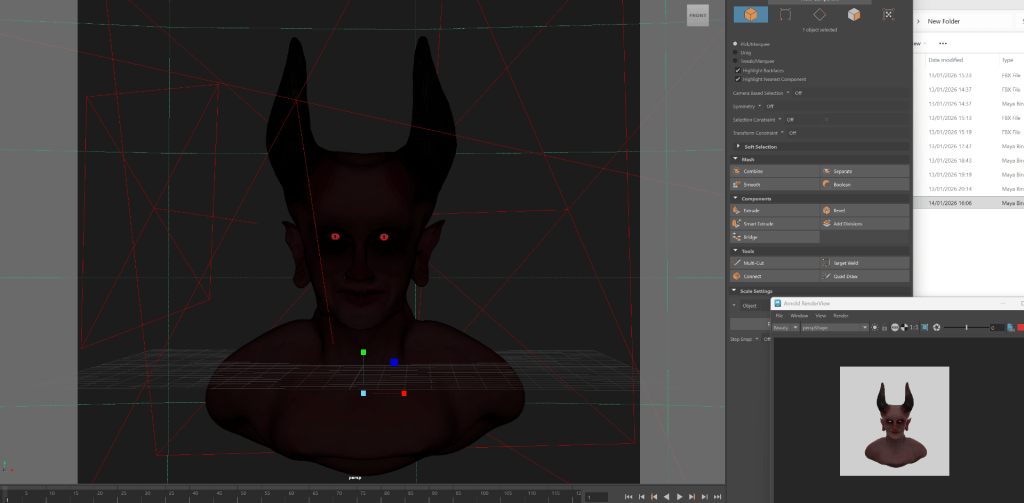
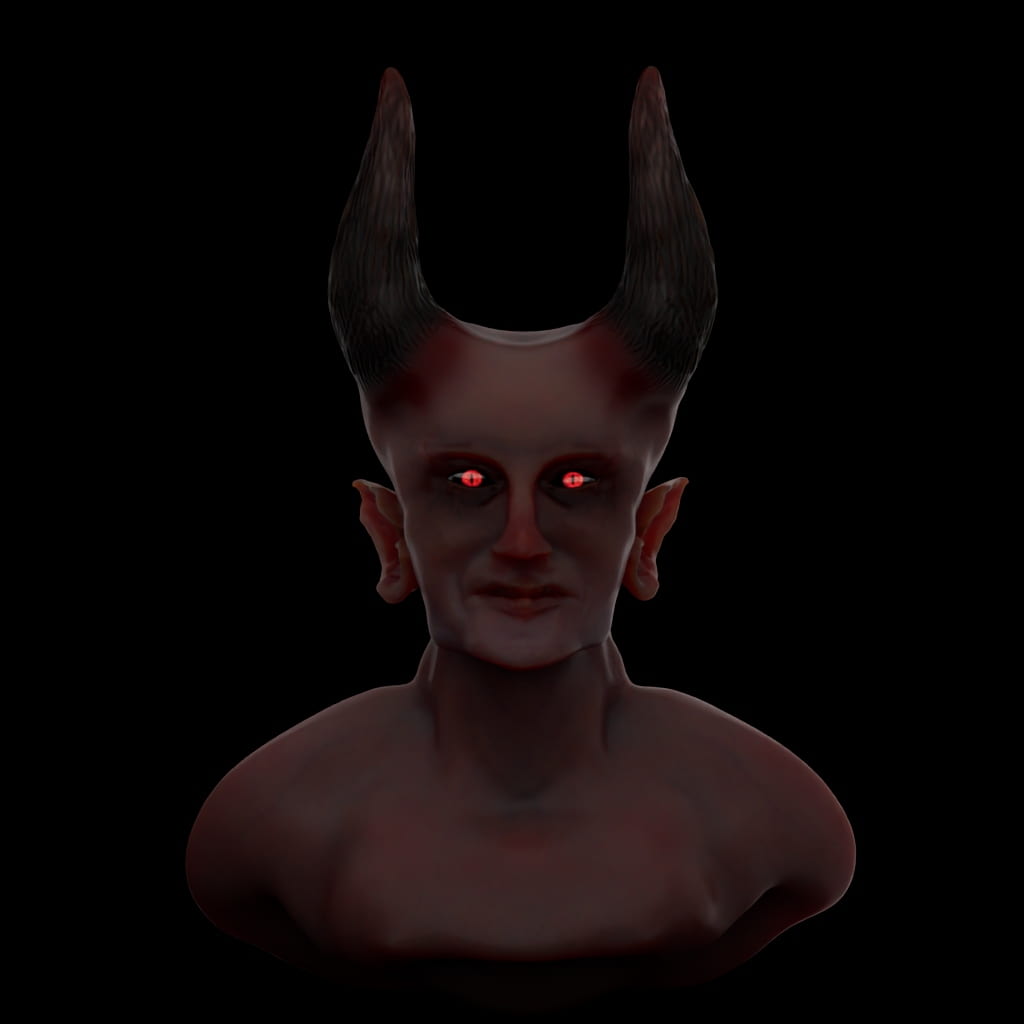
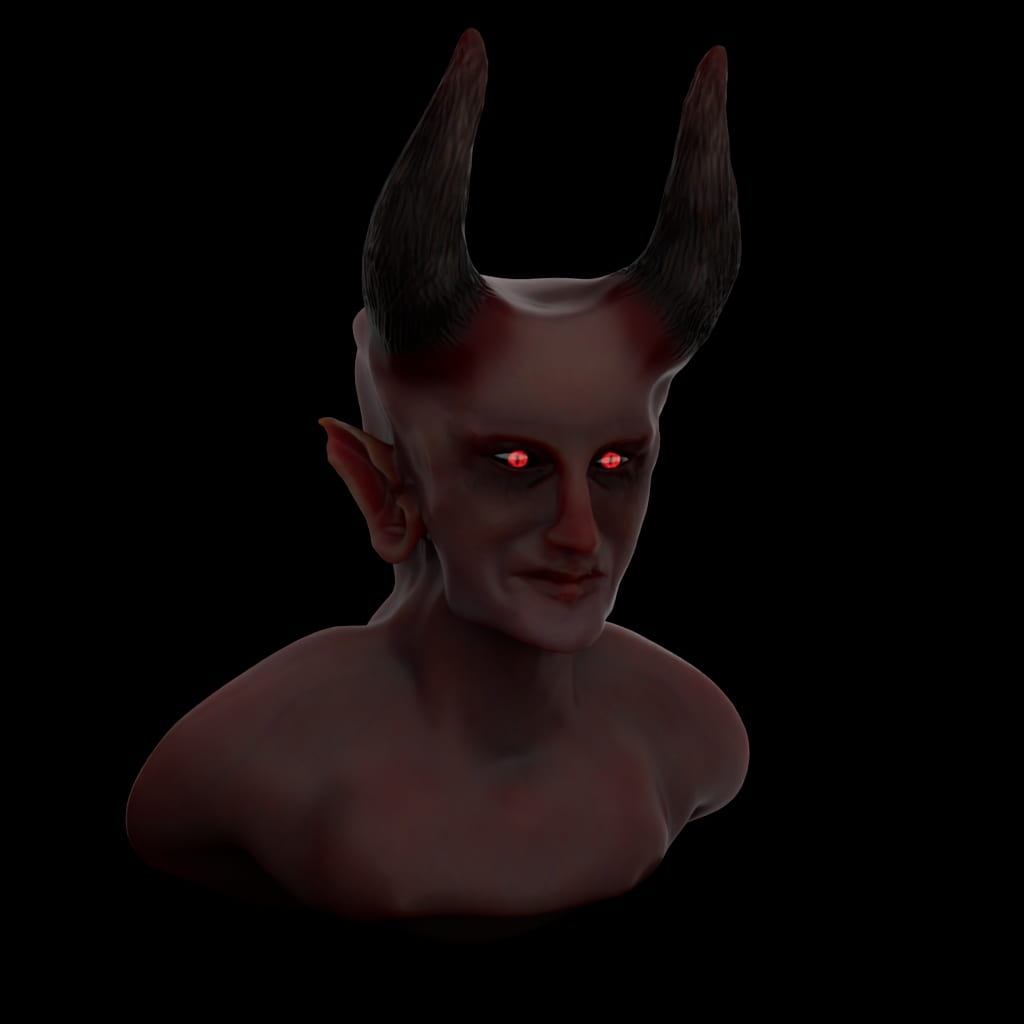
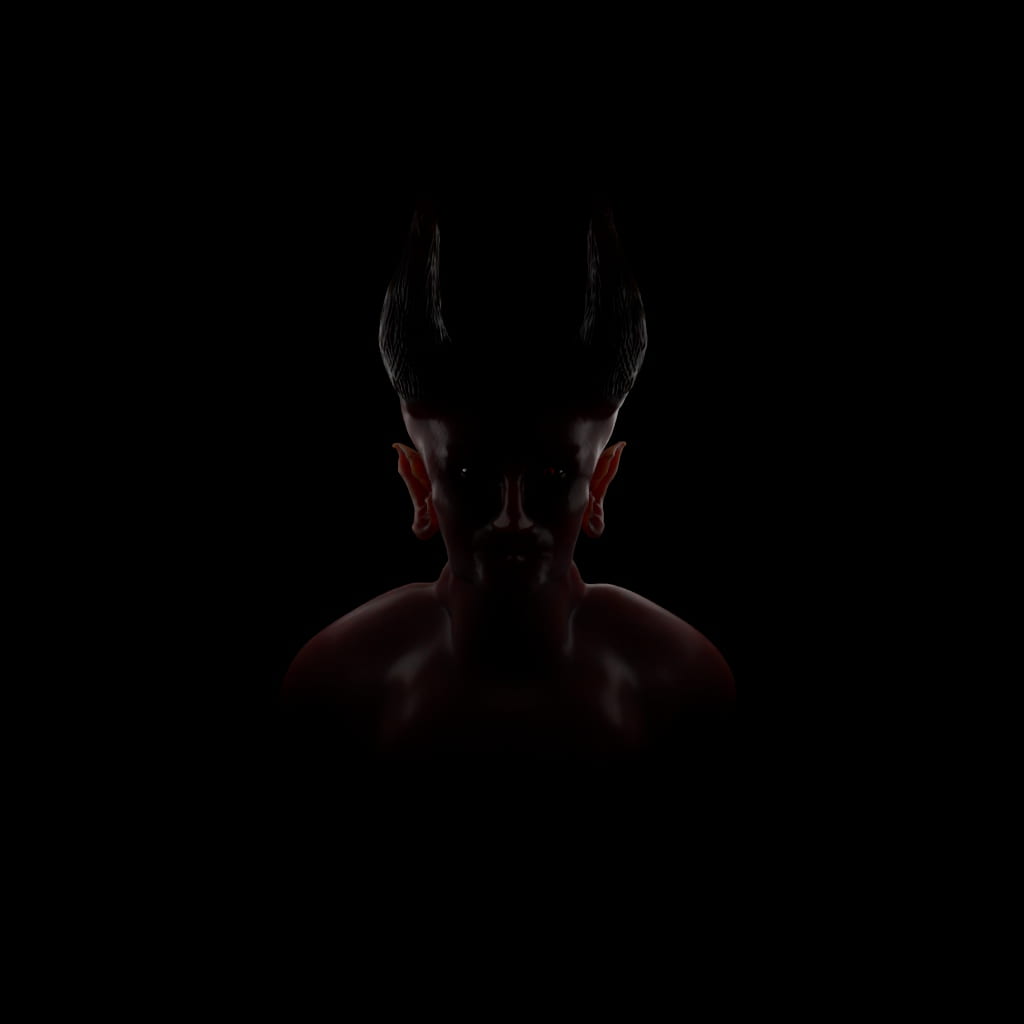
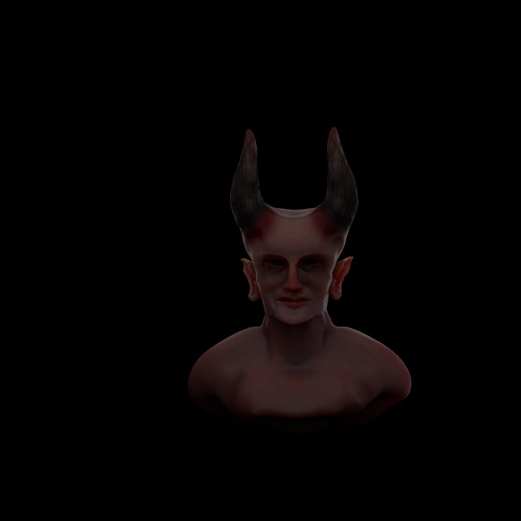
Rendered Images: