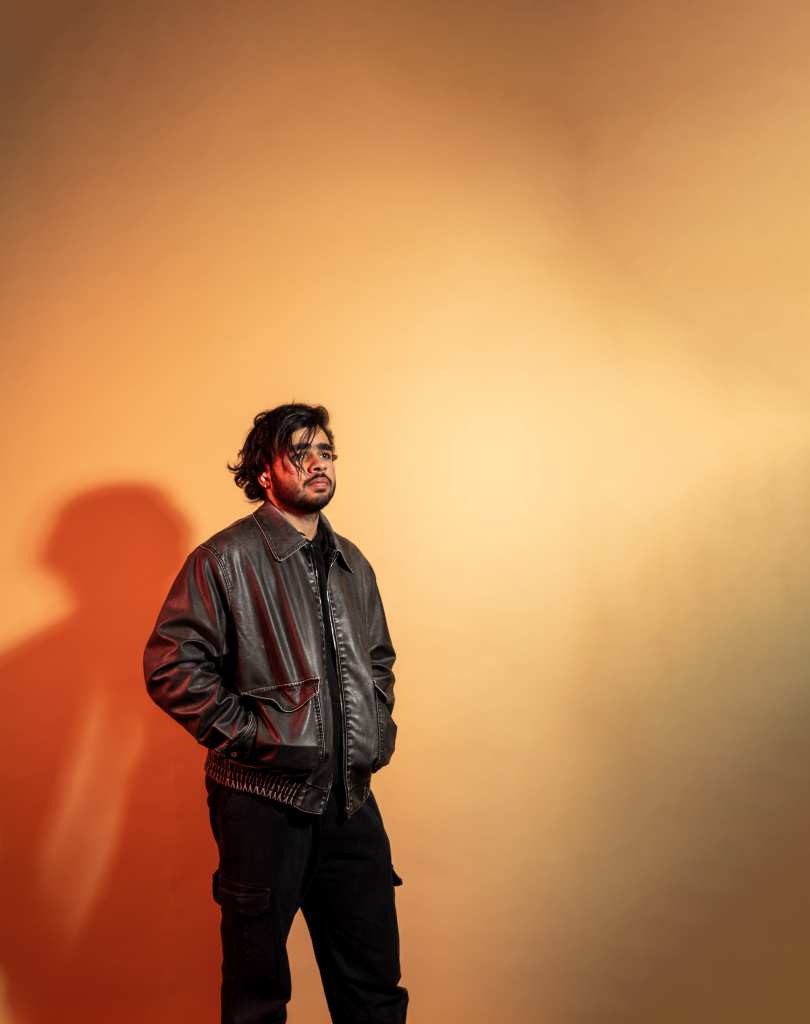
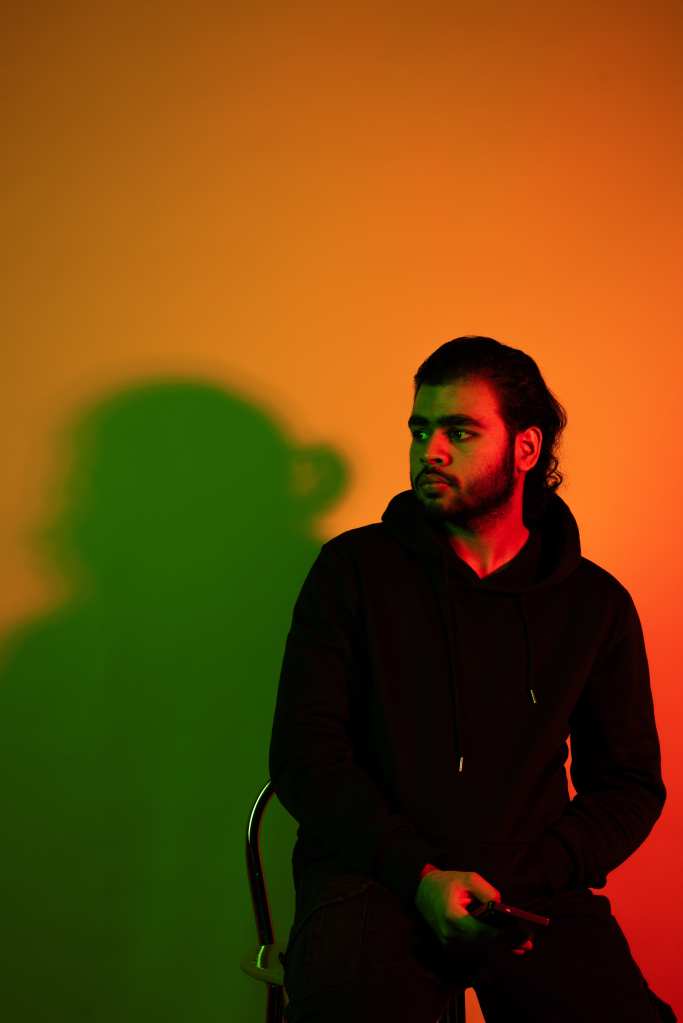
Week – 1
Introduction to the module
This session was divided in two parts, first part, we meet Daniel Silas Our module Lecturer. He told what we will learn in this module, assessments, about photography, narrative, storytelling and more. We had done some group activities, we formed groups of two and tell our thoughts about “What does the process of learning look like?” my answer was “ by doing practice and practical” we can learn thing fast and remember for longer duration.

BTS

- Covering wires, so nobody fall.


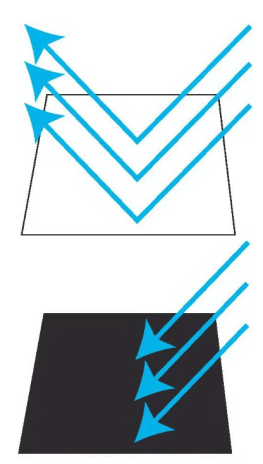
This is second part, we learn how to use camera, learn about how reflection of light work, black background absorbs light and white background reflects light. Learned how to change frame, how light can effect and Safety hazards.
These were taken in class
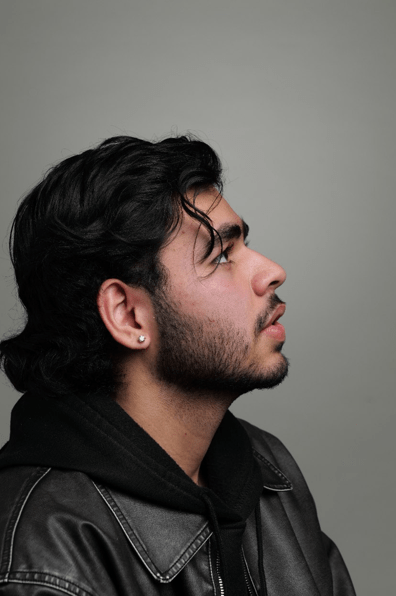
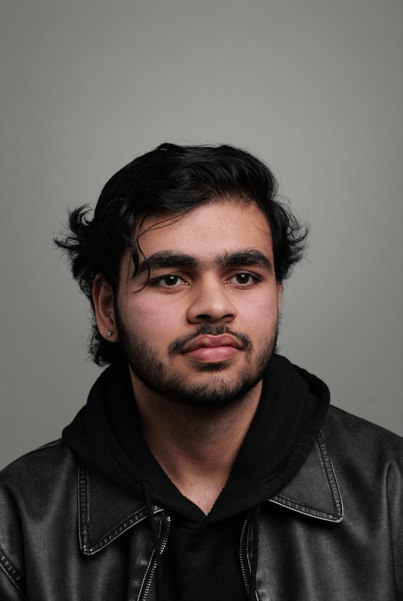
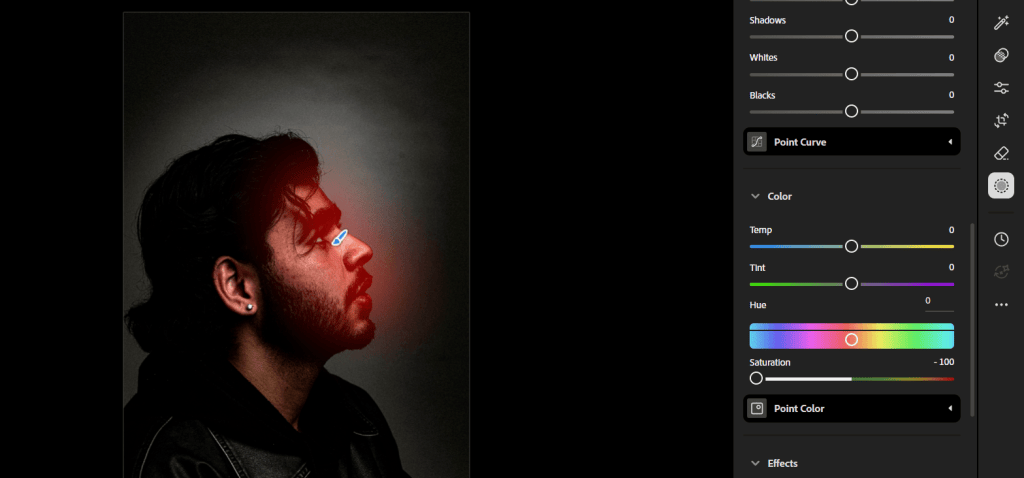
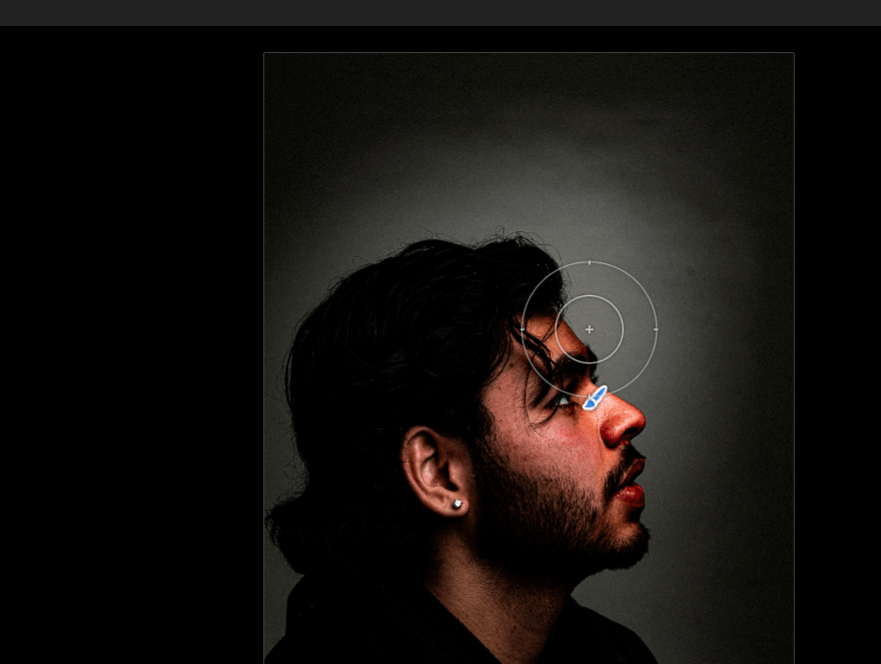
- used masking, edit, quick action to do this.
- I masked front area of my face to make it red with help of hue.
Result
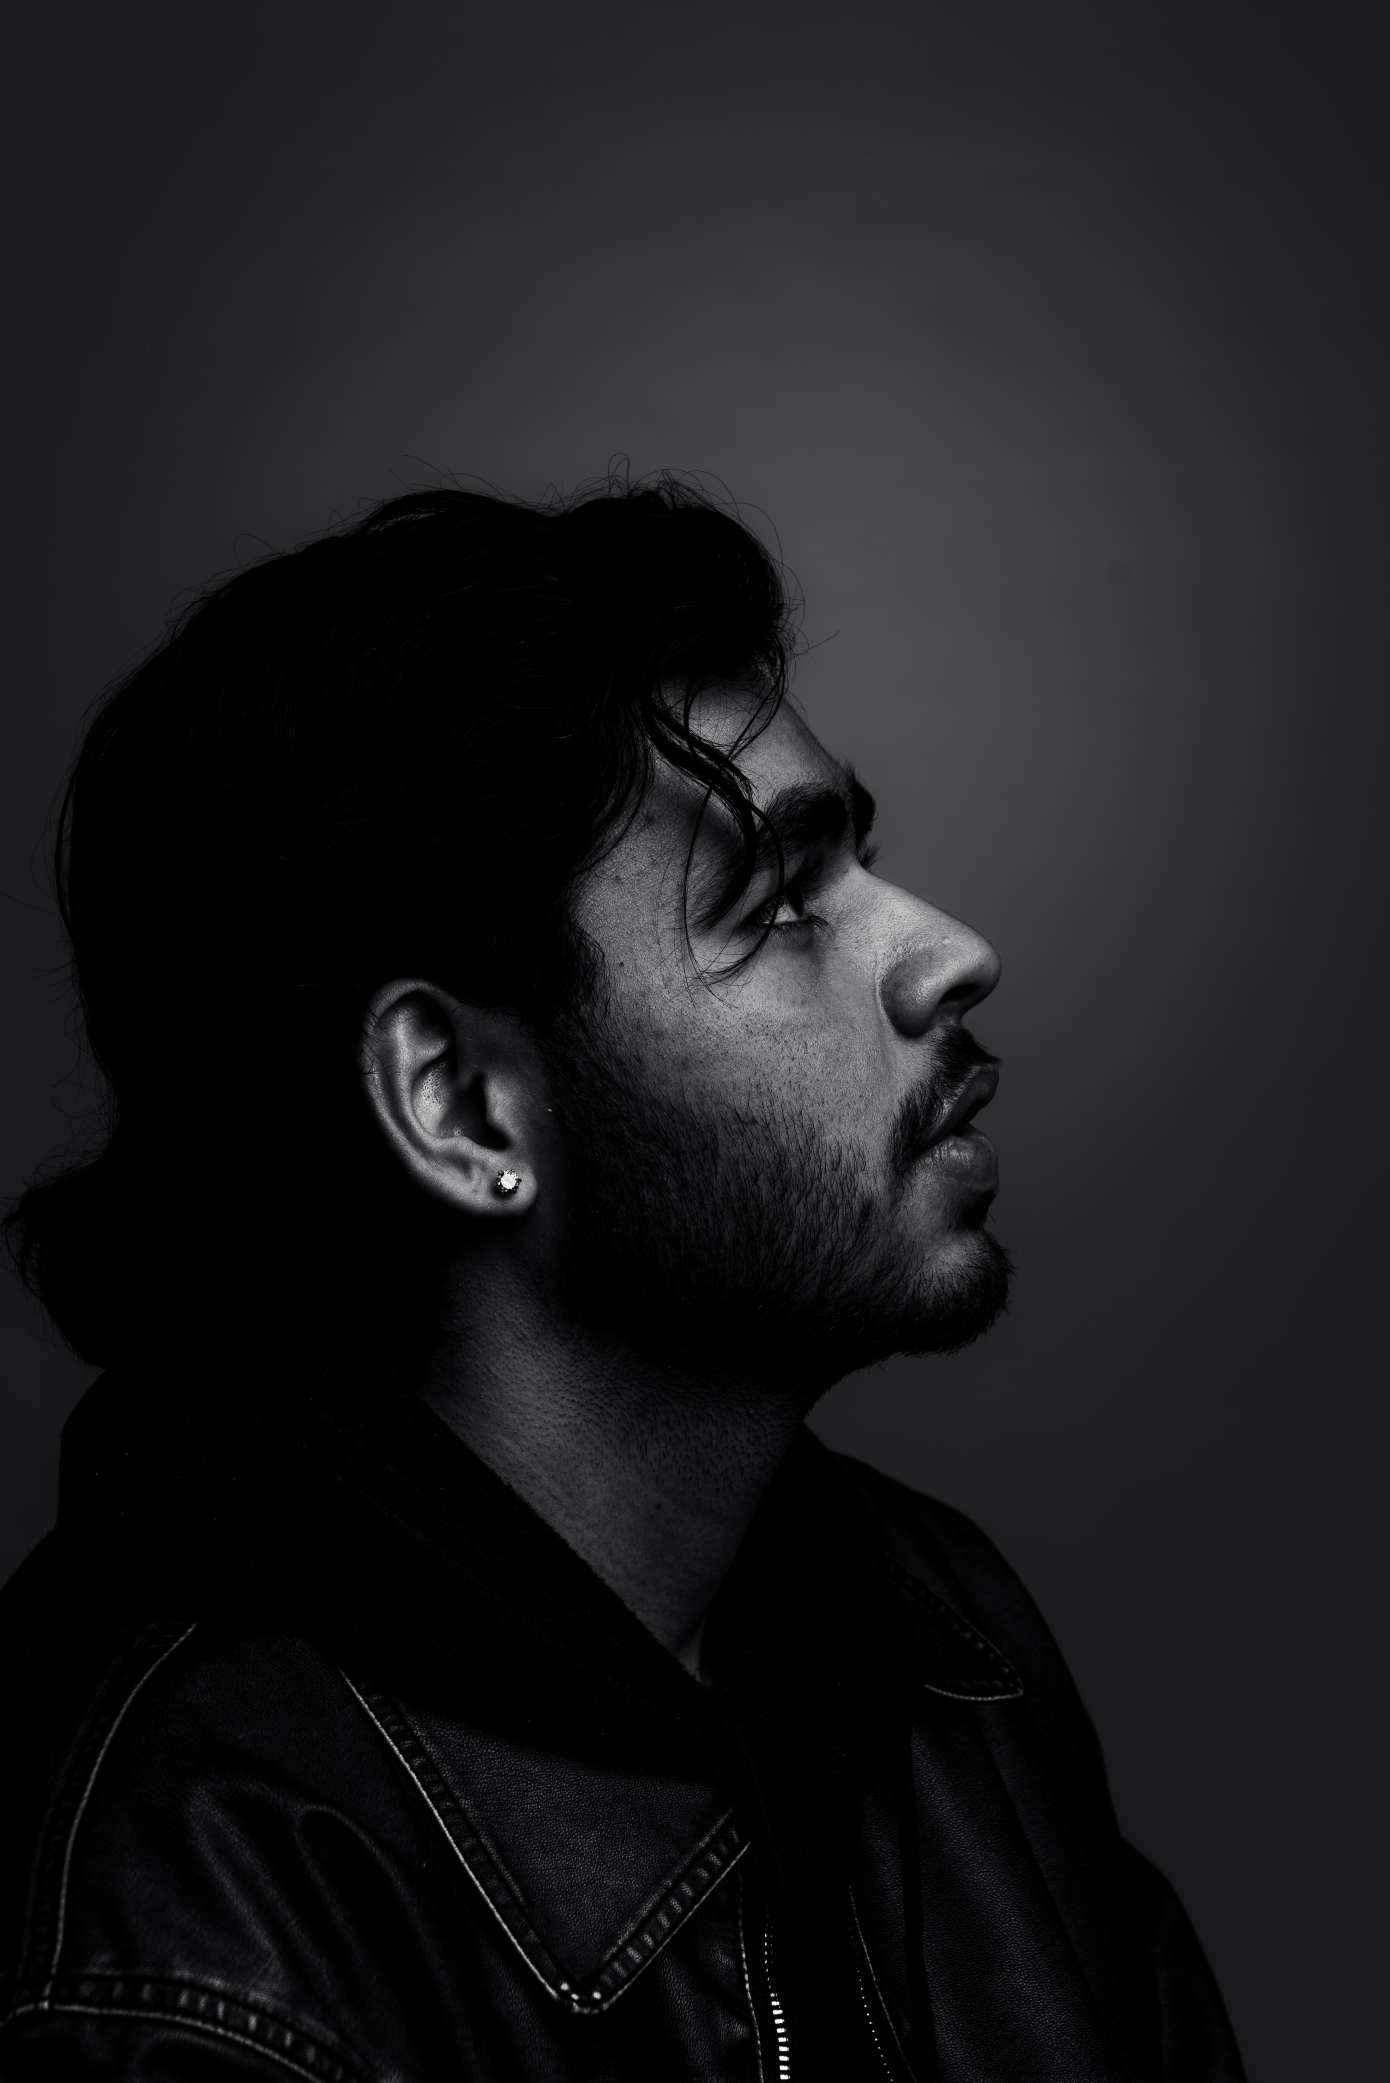
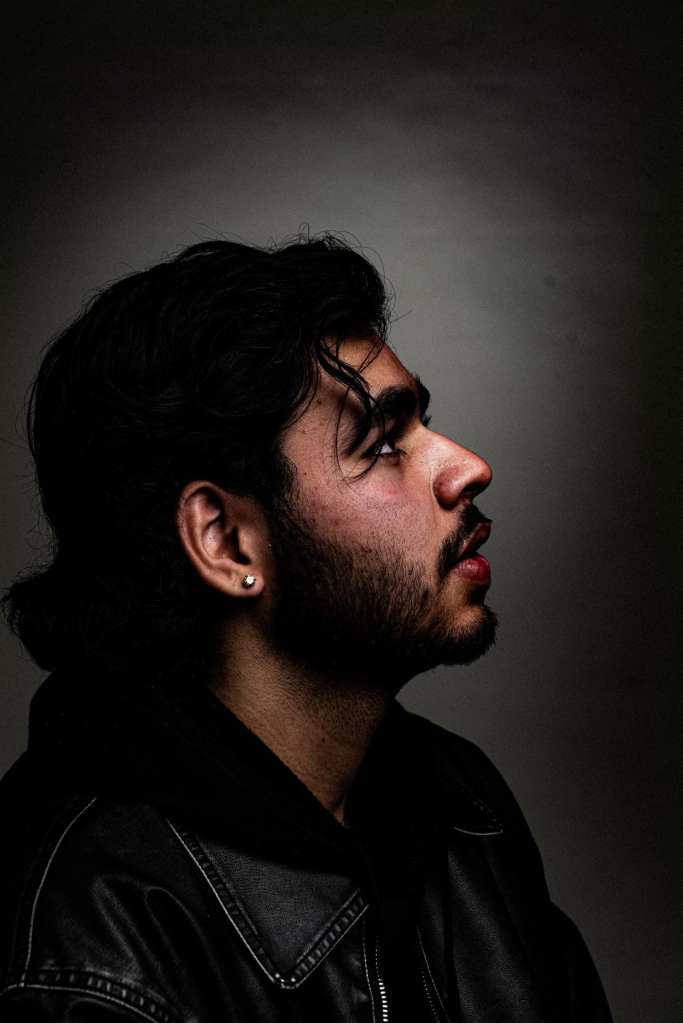
Love doing experiment with pictures in lightroom.
Week 2
Introduction to Photography
We learn about three Pillar of Photography
- Shutter Speed
- Aperture
- ISO
Shutter Speed
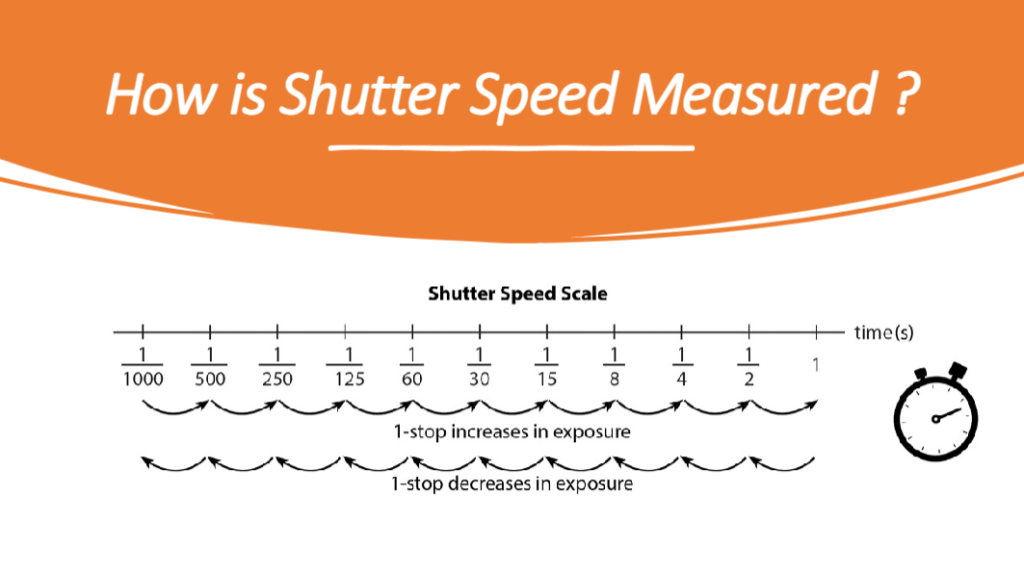
It is the length of time taken by camera shutter to open. When we use a long shutter speed exposing to any moving subjects, the object will appear blurred, creating motion blur. Fast shutter speed (e.g., 1/1000), freezes motion, used for sports or action shots. Slow shutter speed (e.g., 1s) creates motion blur, good for low-light photography. It also effect exposure, faster the speed dark is the image, while slower the speed brighten the image came. Sports car/bike usually go at 1/500 or higher, Human walking slowly is 1/250 is normally fast enough.
Aperture
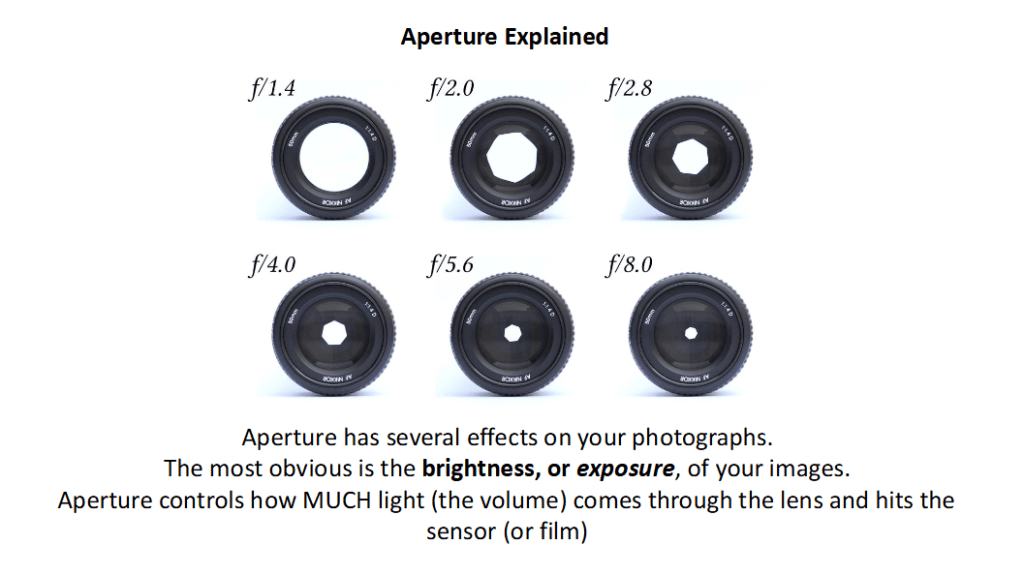
It controls the volume of the light, that come through the lens and hit the sensor.
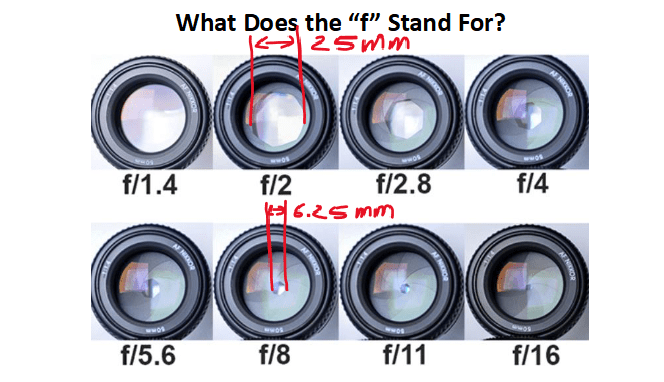
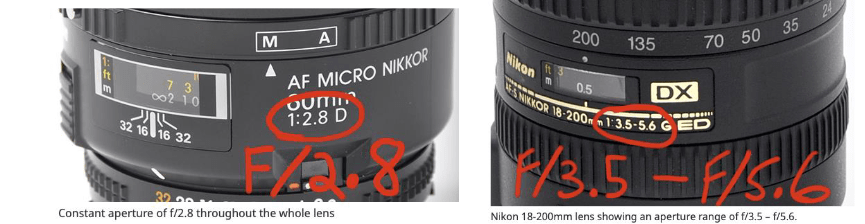
F stands for focal length. The f–stop is the number that your camera shows you when you change the size of the lens aperture.
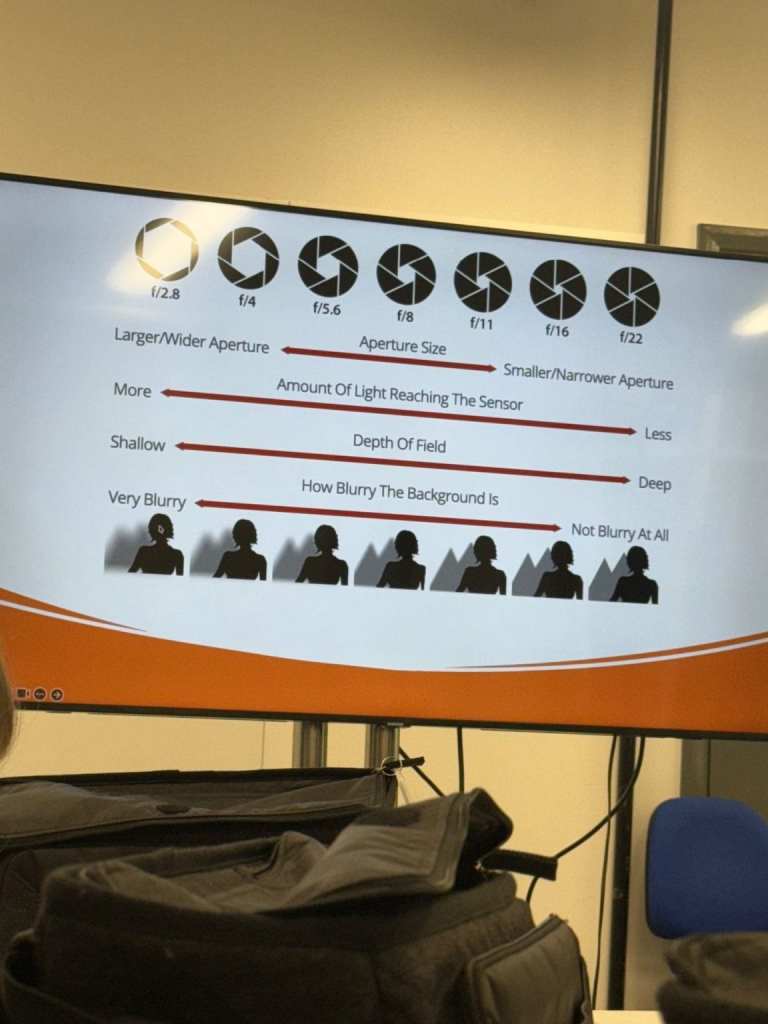
Image credits goes to NEKAIRA
ISO
Stands for “International Organization for Standardization”, is your camera’s or film sensitivity to light. a lower ISO value means less sensitivity to light, while a higher ISO means more sensitivity.
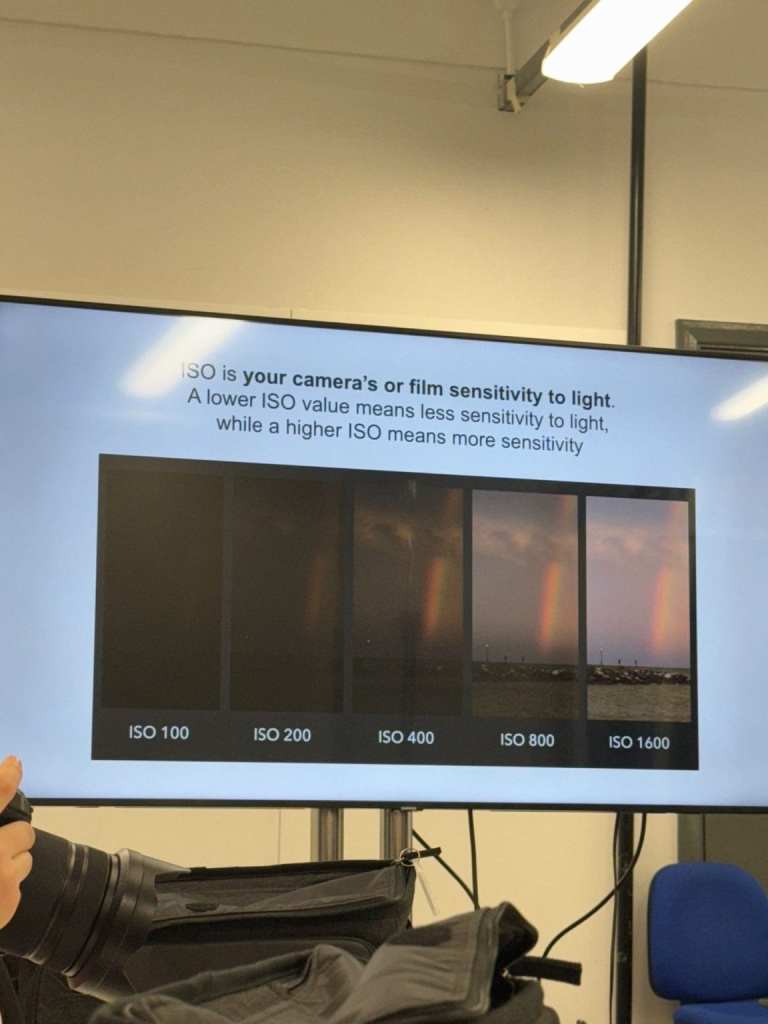
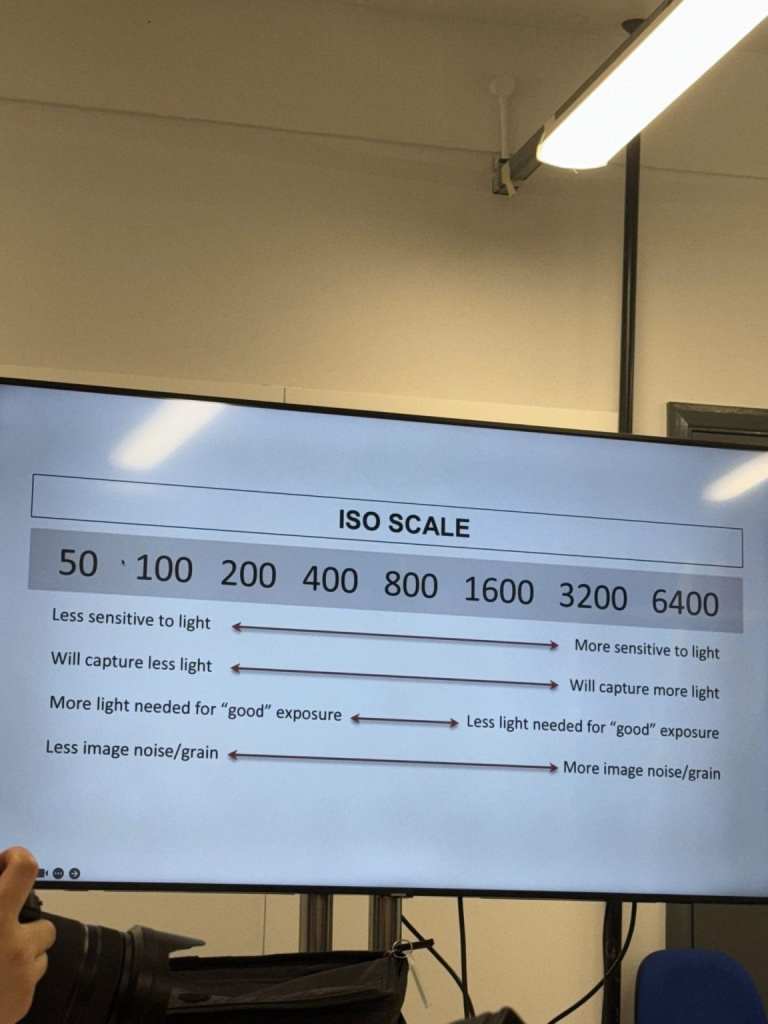
Image credits goes to NEKAIRA
Working with camera:
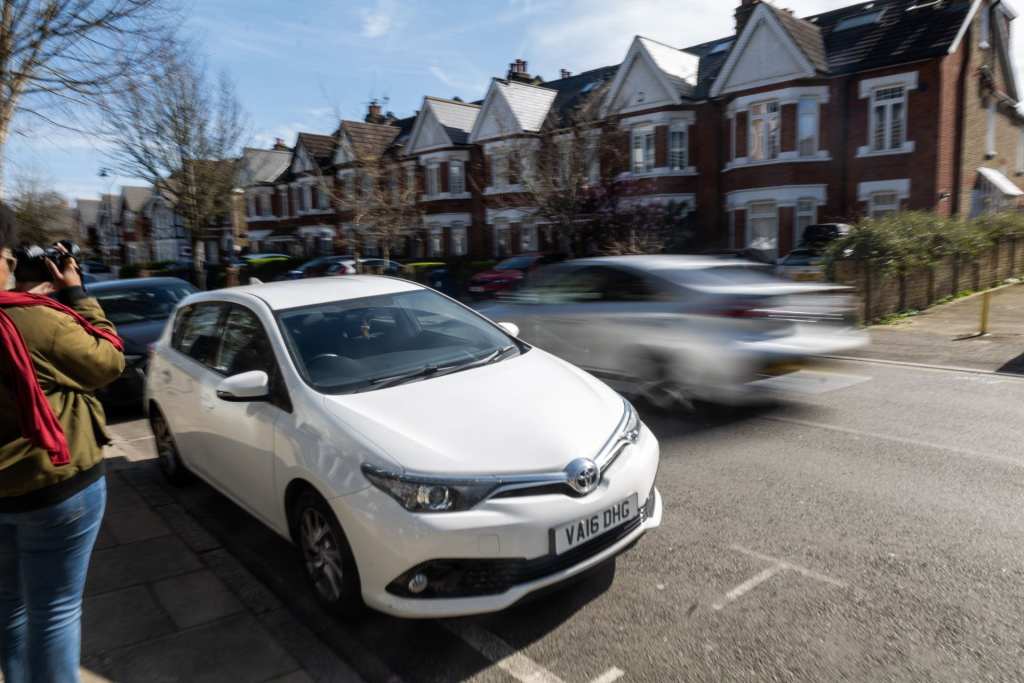

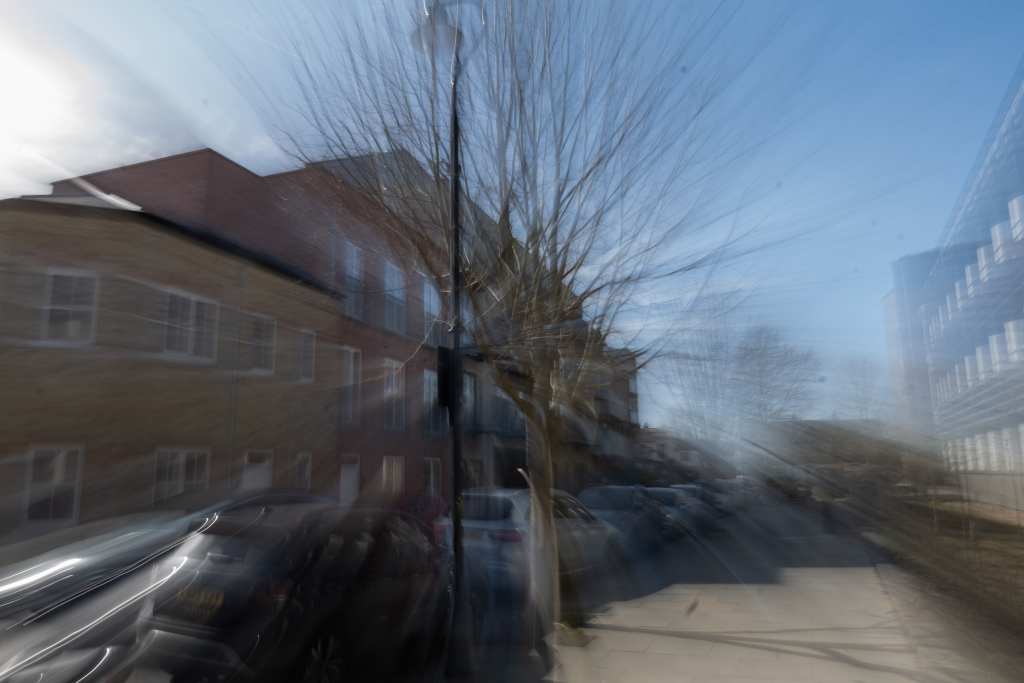
DOF (DEPTH OF FIELD)
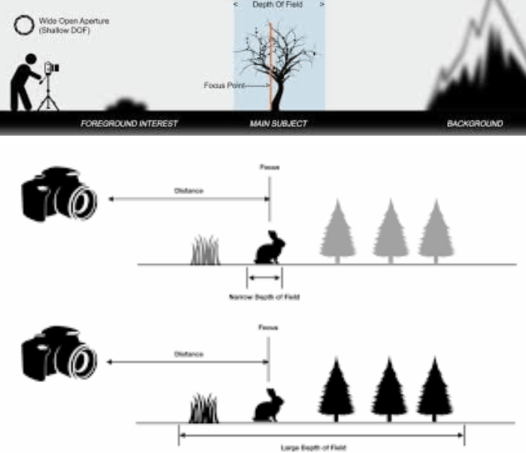
Depth of field can be large or narrow. It only has a small amount of the image in focus whereas the former has a sharper scene. To say in simple words, the distance between the nearest subject in the photo that is in focus as well as the furthest subject in focus. This is controlled by the focal length, aperture and distance.
Week 3
Camera Lenses and Camera shots and angles
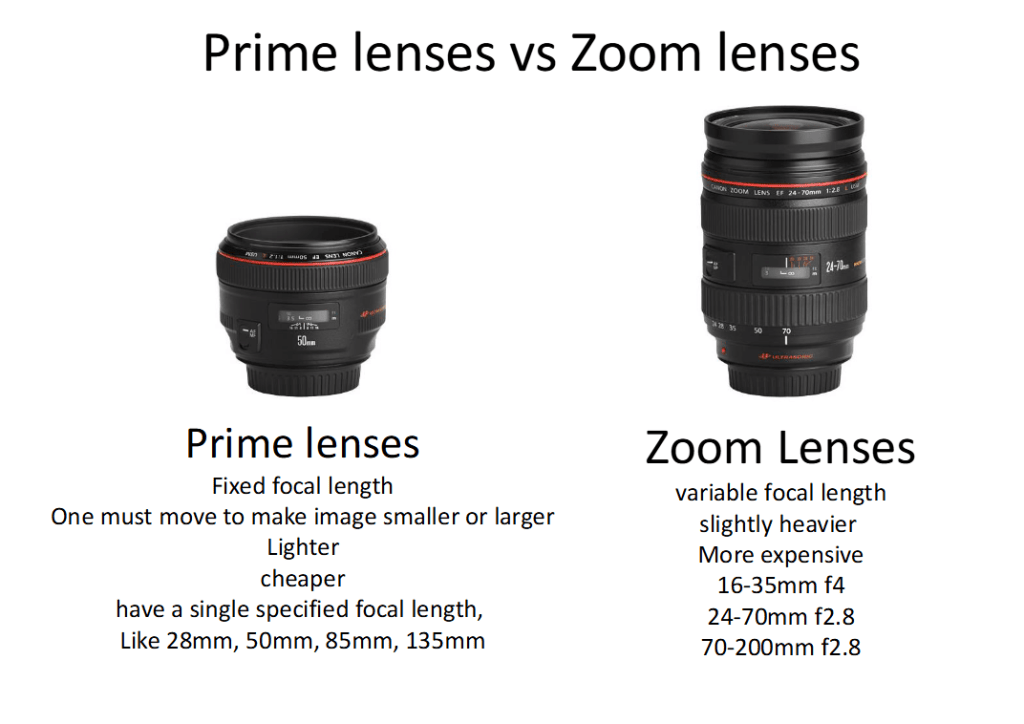
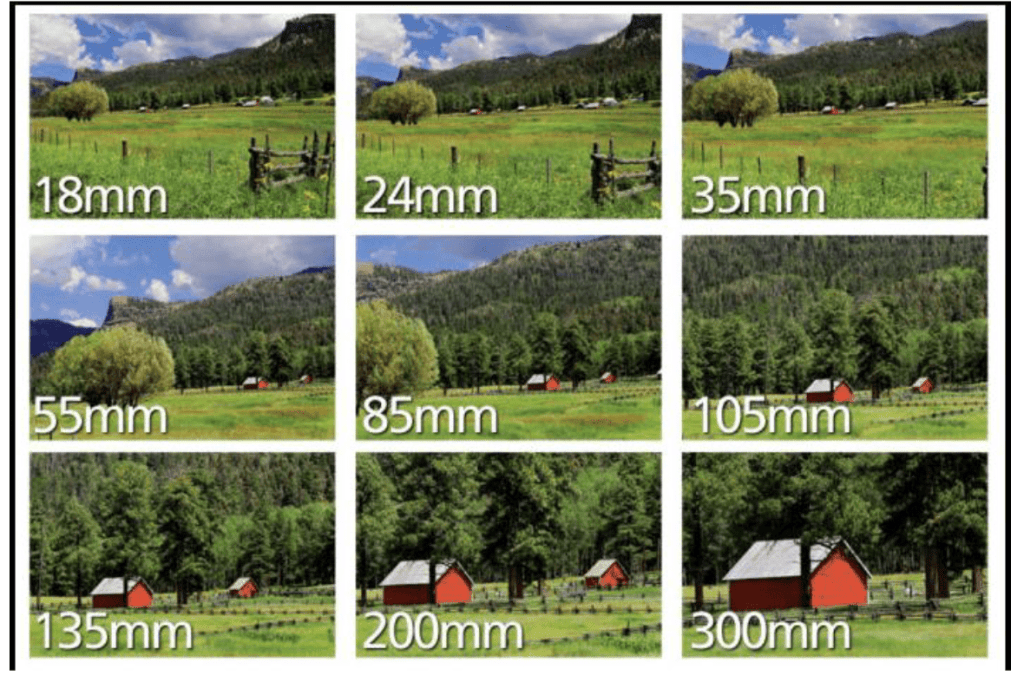
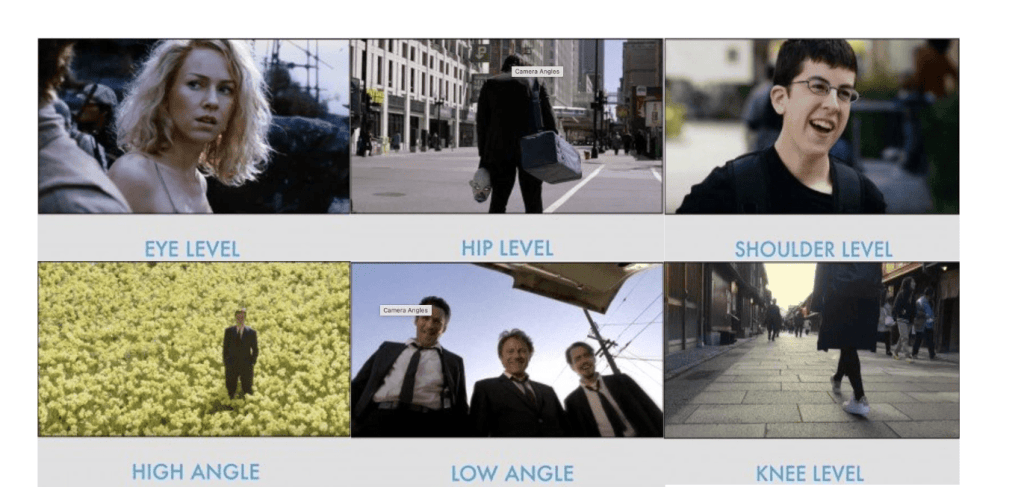
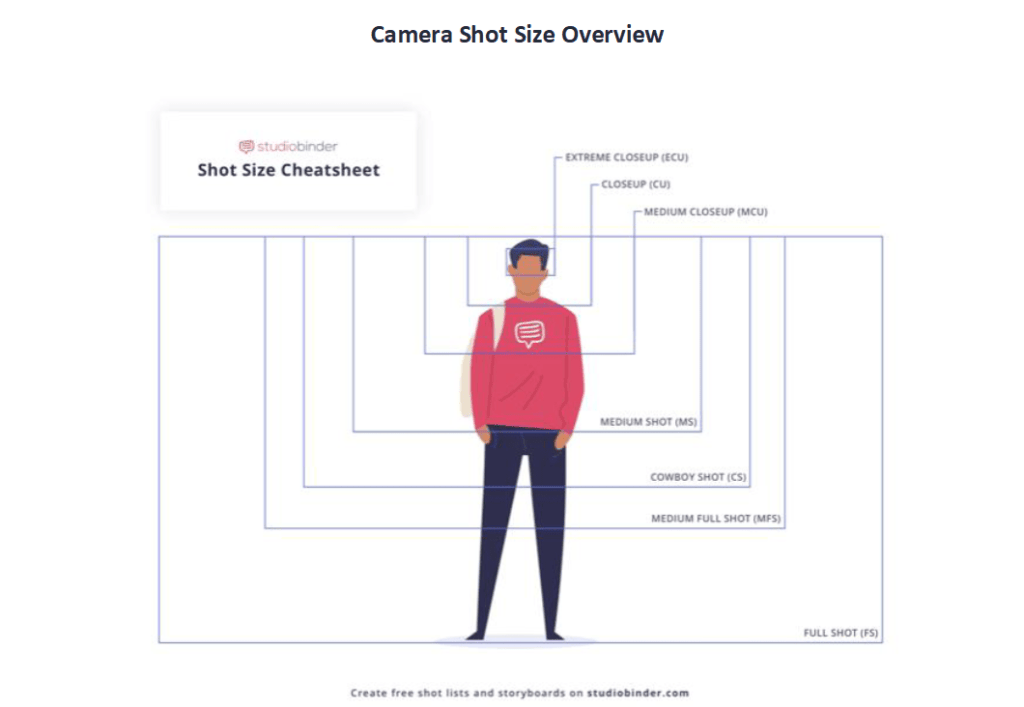
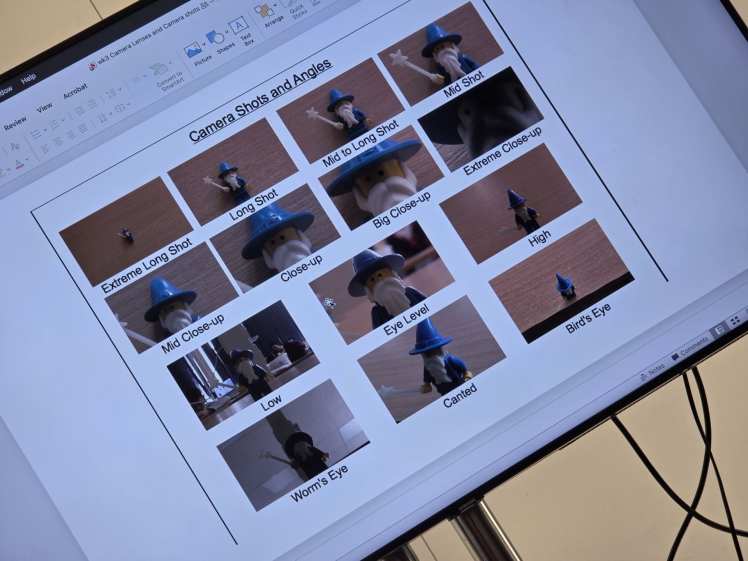
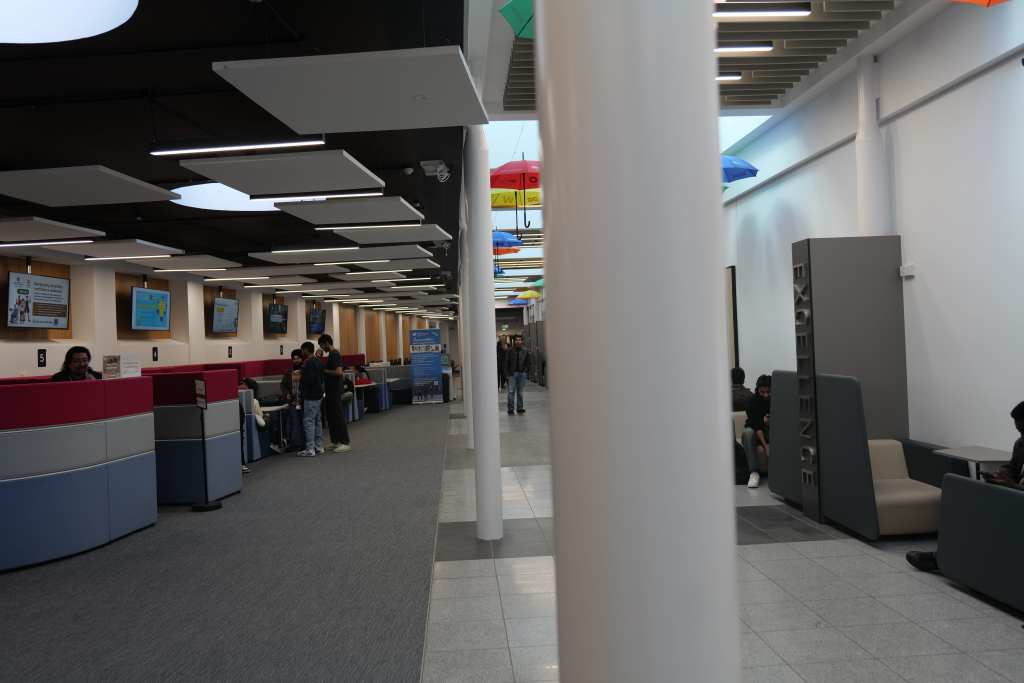
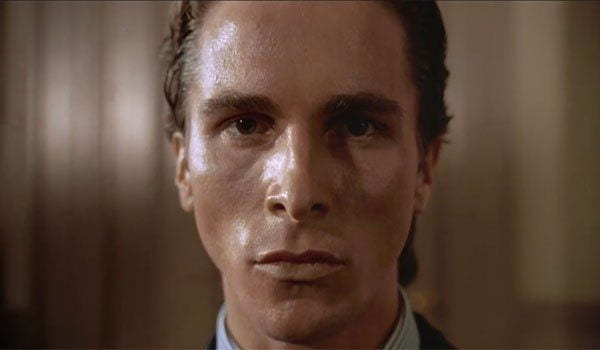
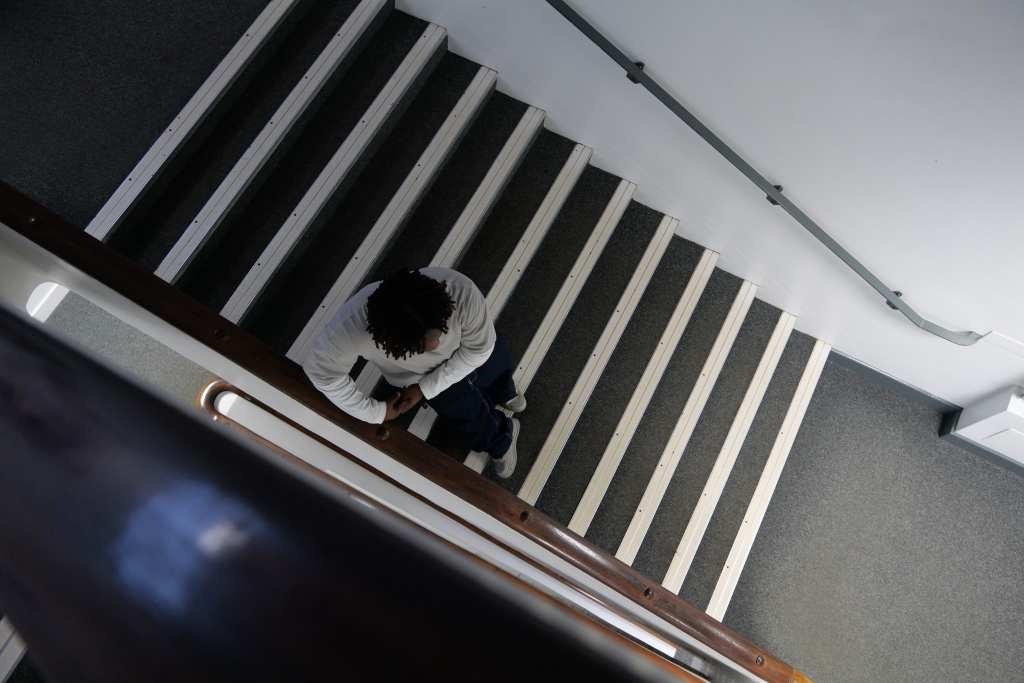
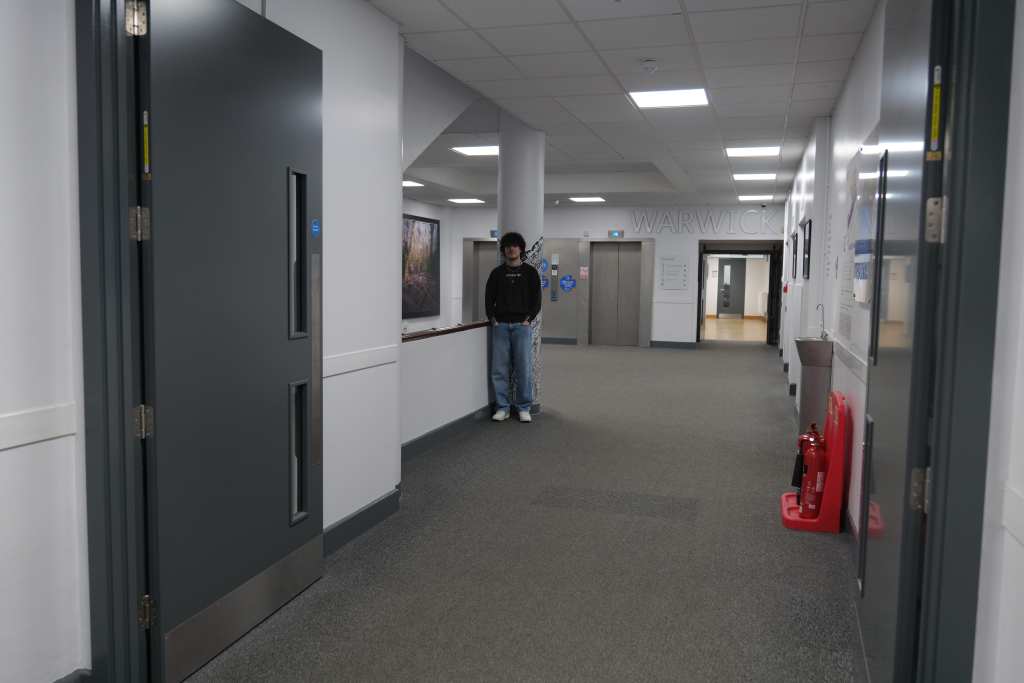
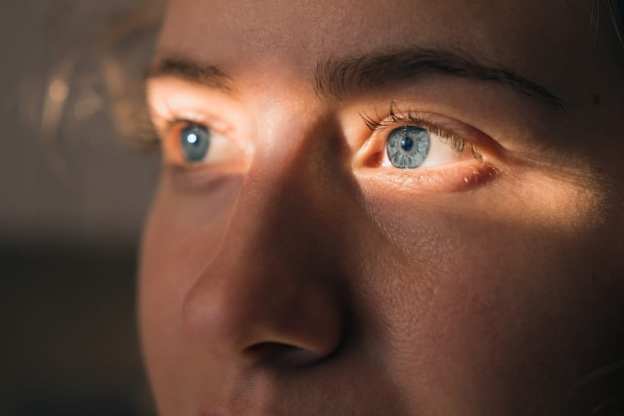
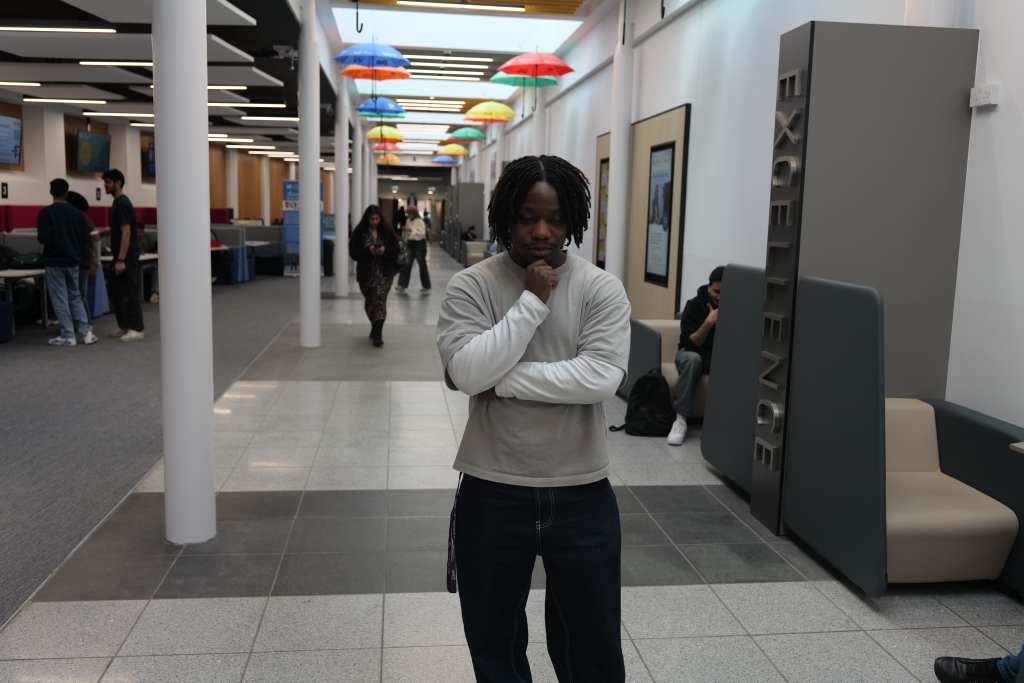
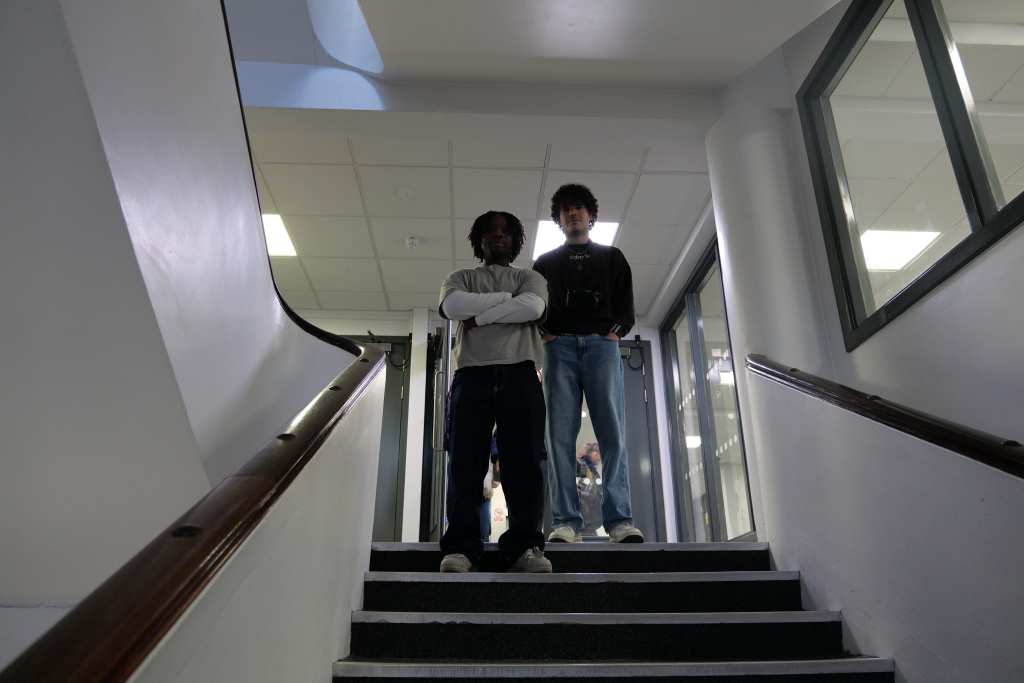
This lesson was different camera lenses used, different shots can be take, Camera angles used in cinematography, eye level, hip level, knee level and more. we learn about shot size like long shot, extreme long shot, full shot, medium shot and more.
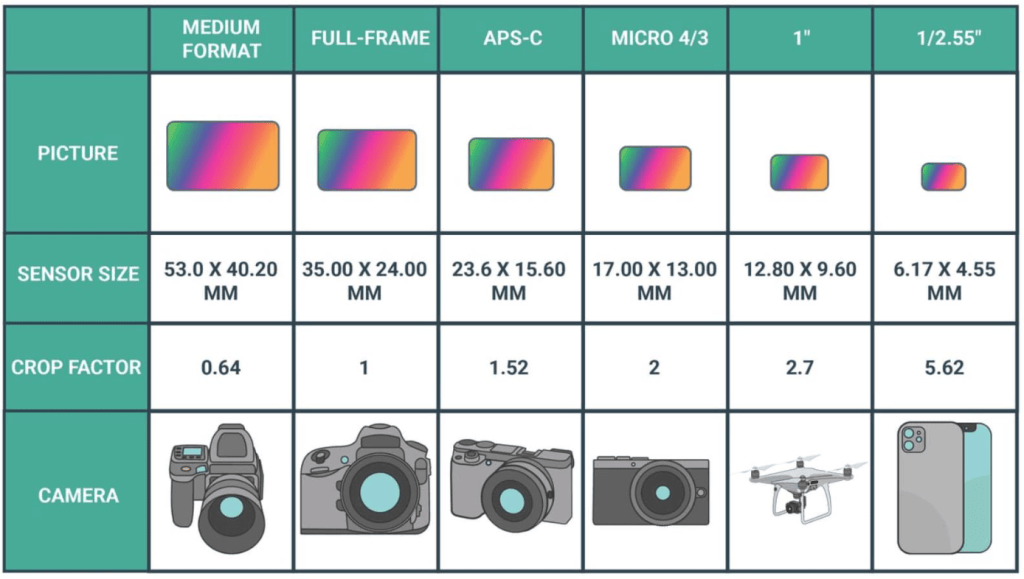
In second half we form two groups of three and take different shot and angles.
Group Activity
Week 4
This week we learn about Storyboards and Photo essays. How they are essential to create a Story with just images. we saw work of our alumni and great companies. Later we form two groups and create a storyboard. I was in grp B.
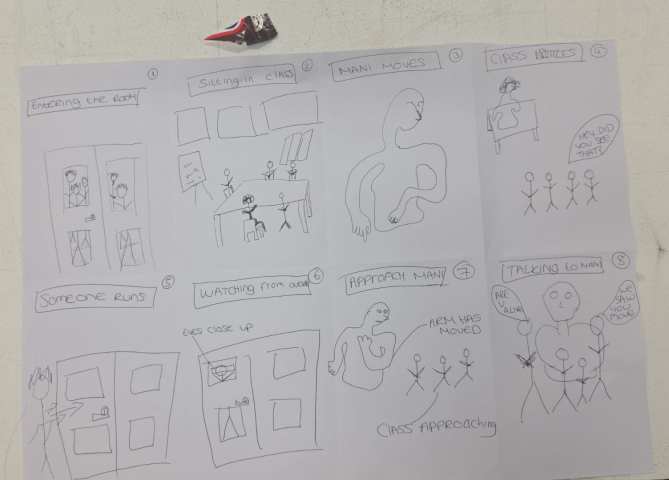
It starts from, a group of student enters the classroom. Take there seats, waiting for teacher to come in and to starts there lecture. Suddenly a mannequin moves and whole class notice the movement and they get shocked and scared. One of them got too scared that he ran out of the class. He is too scared but also curious to see what happens next. Everyone approaches the Mannequin and his arm moved again and whole class saw this clearly. Now Everyone is trying to ask questions to him and even the student who ran out of the class came in to talk with mannequin.

After tossing we went with group a idea. Well whole class play an essential role to shot this from director to talent to lightman. I work on the lightings.
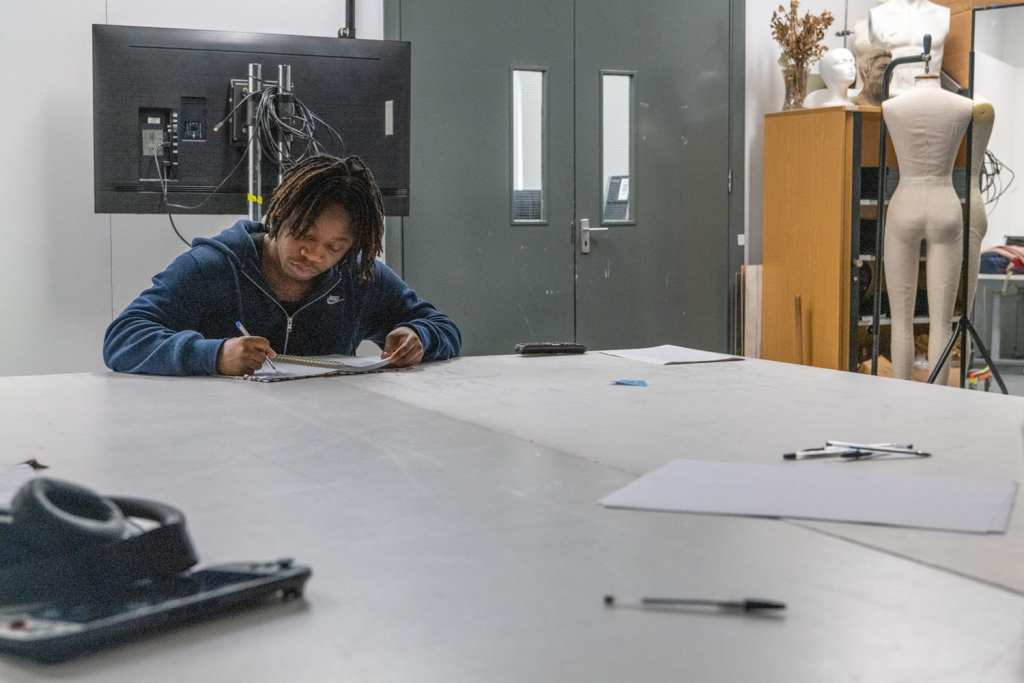
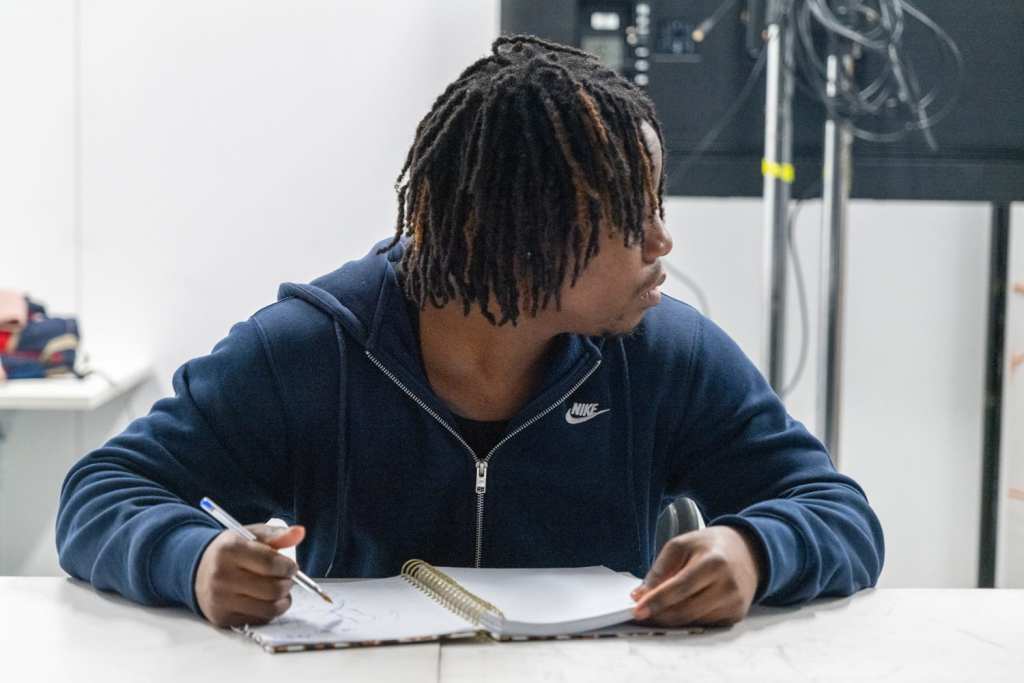
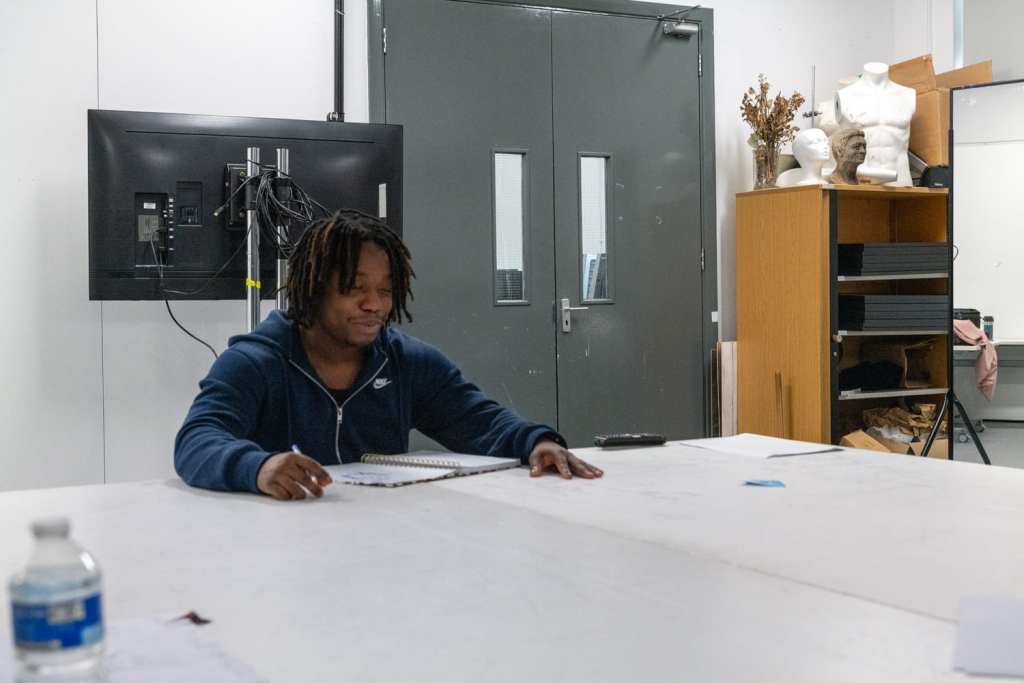
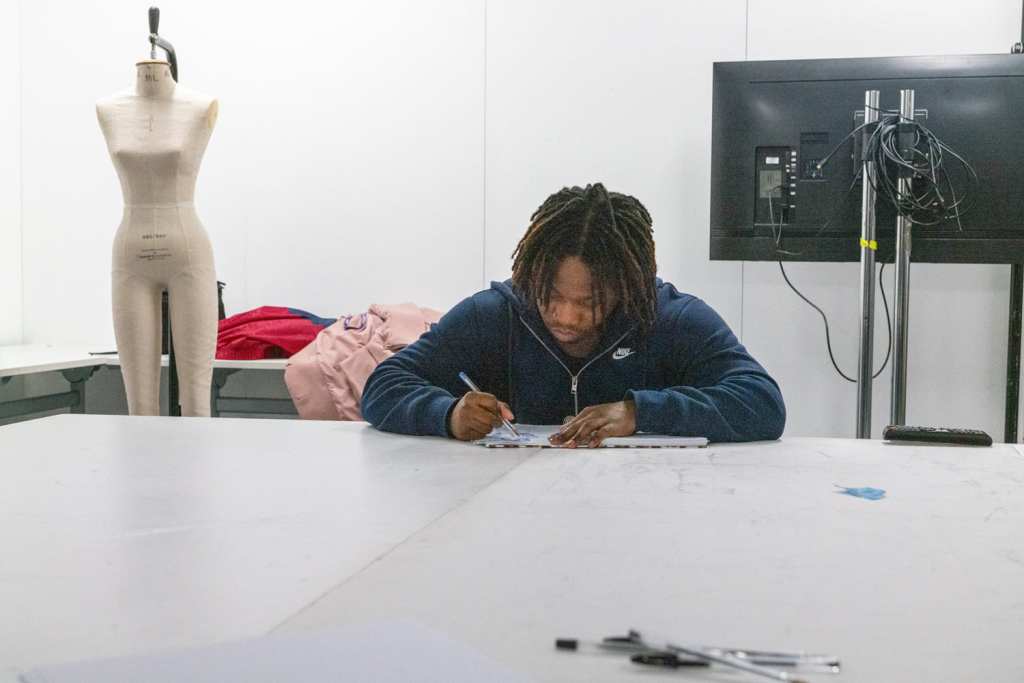
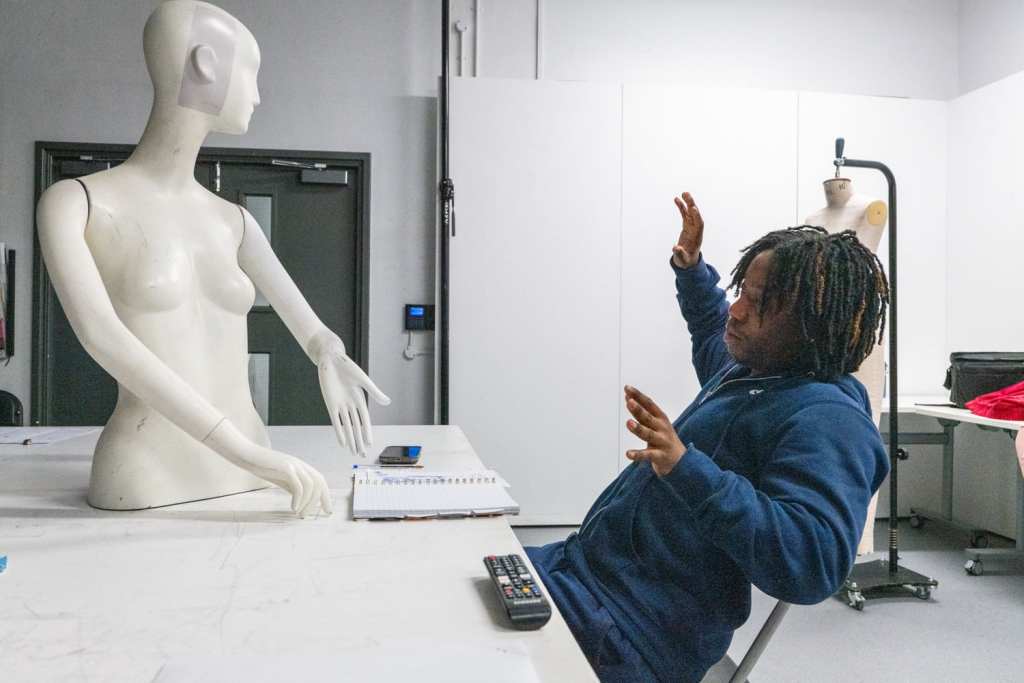
This whole story was about Mannequin vanish, change its position twice and come upfront of the student after a black-out. the student notice movement of Mannequin twice but ignores and focus on his work. Shocked when the Mannequin come in front of his face.
we discuss about our 1 assignment.
Week 5
Composition and Sequencing
This lesson was about Composition and Sequencing. We took different shots for both Composition and Sequencing.
Composition
To understand composition in terms of photography we talk about the placement of objects and items, here we just not talk about centre of photo but every frames within the photo.
Composition is arranged for visual elements within a frame where the eyes of viewer’s automatically be drawn to most Interesting part.
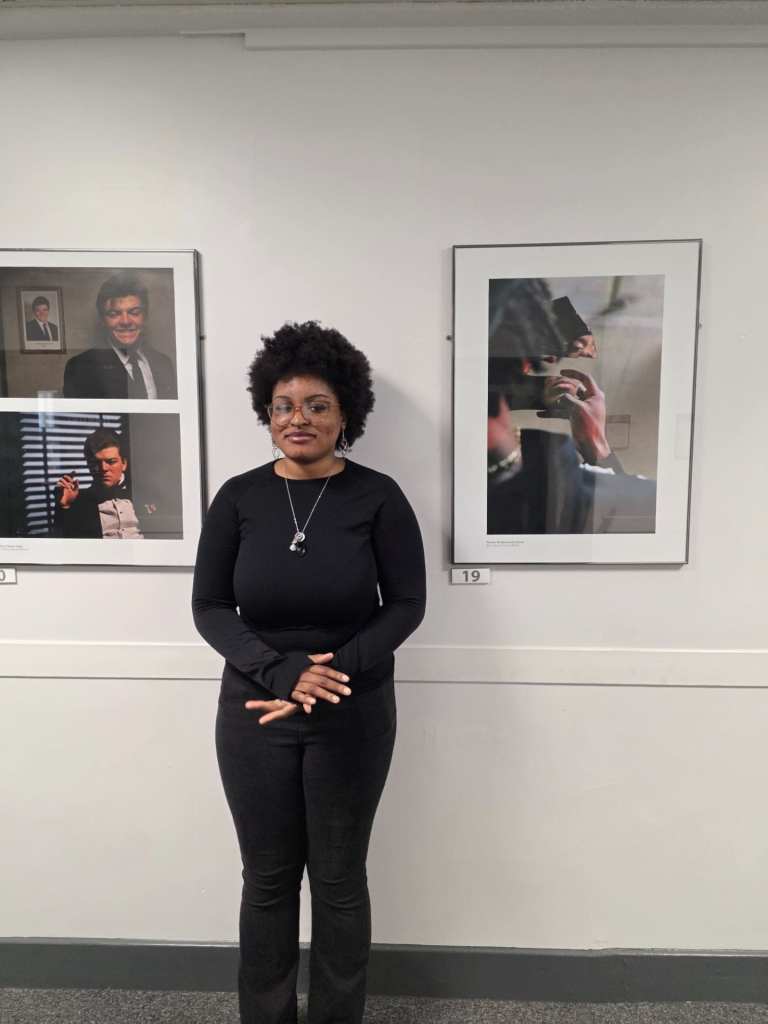
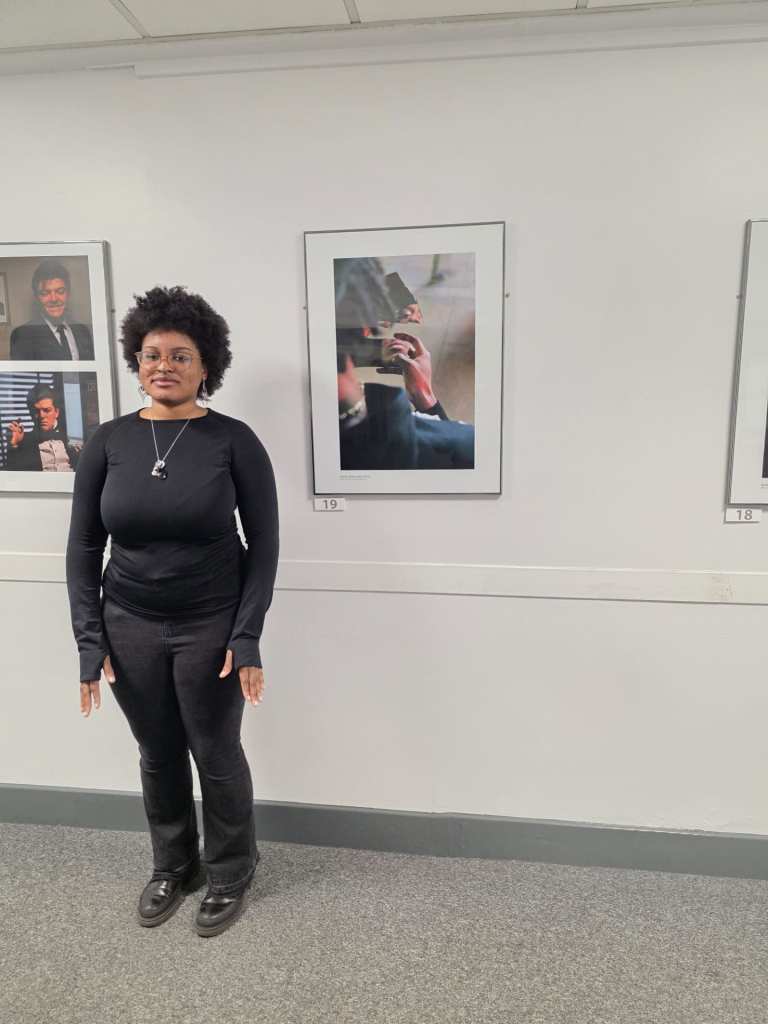
Rule of third – place model on the intersection.
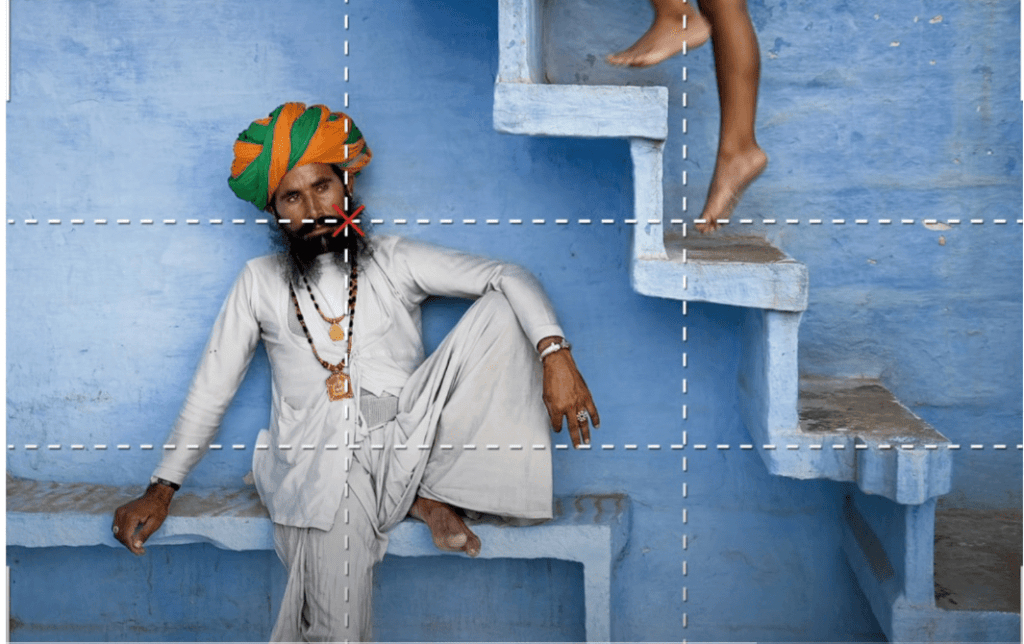
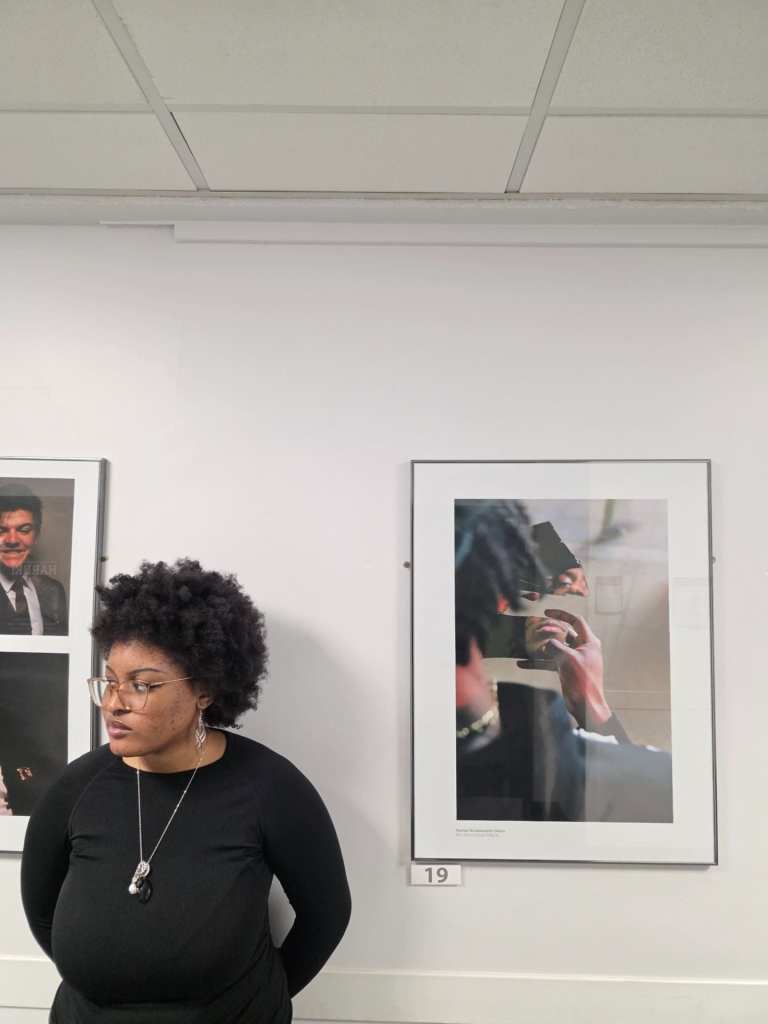
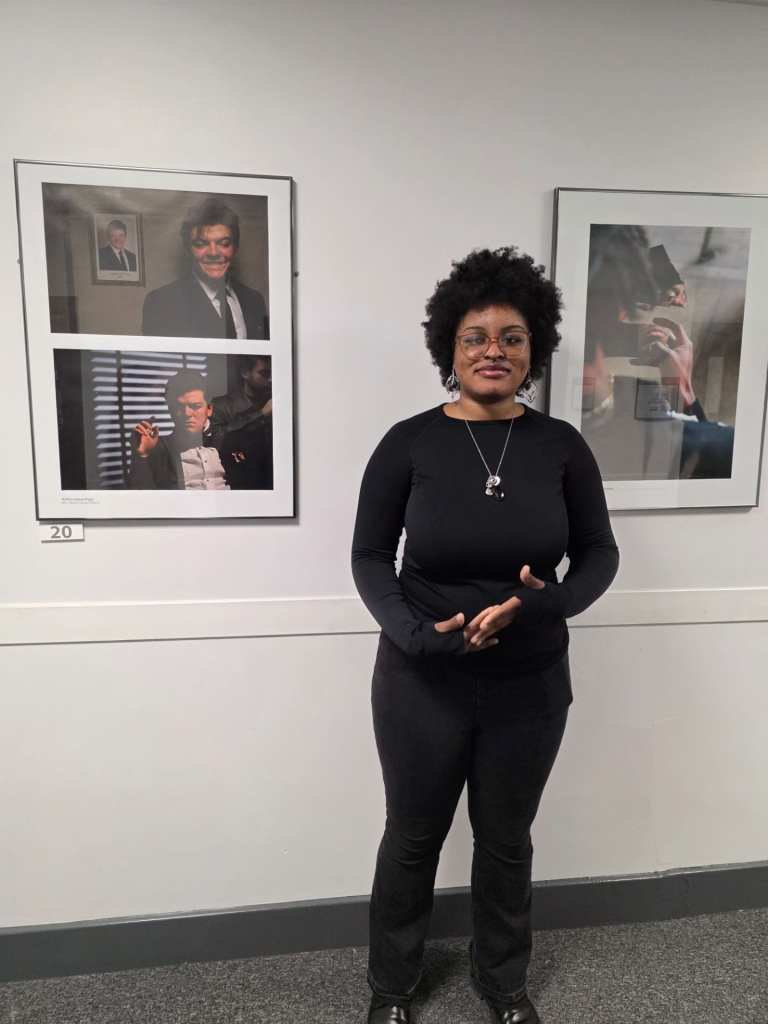
Center of dominant eye – Place dominant eye in center of the photo
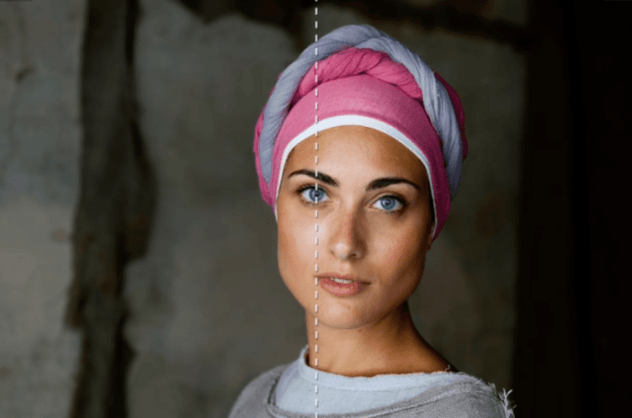
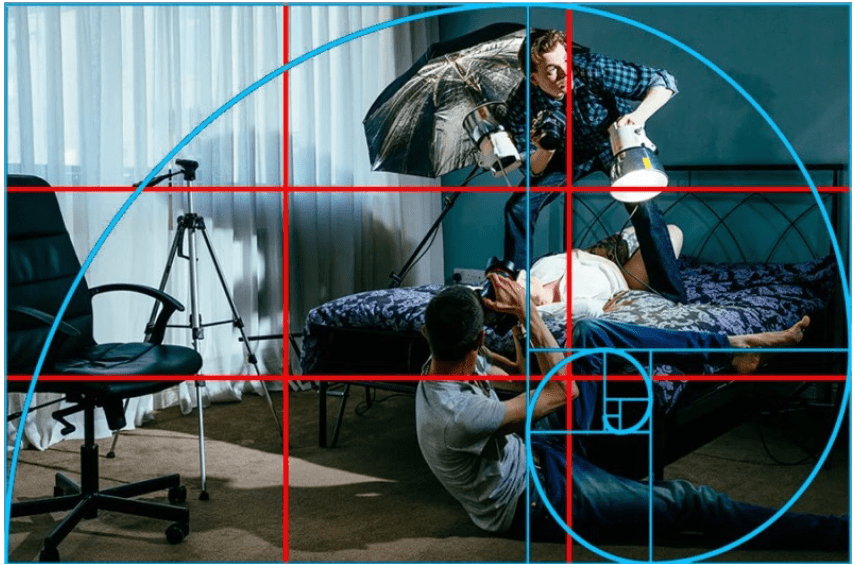
Golden Spiral Ratio – rule is derived from the golden ratio (also called divine proportion), which is
much more intertwined in our lives than we realize. To visualize the golden ratio, consider the
rectangle below.
Sequencing
A method of photography which involves capturing a series of images that narrates a story.
Sequence Work – this tells about change of floor numbers.
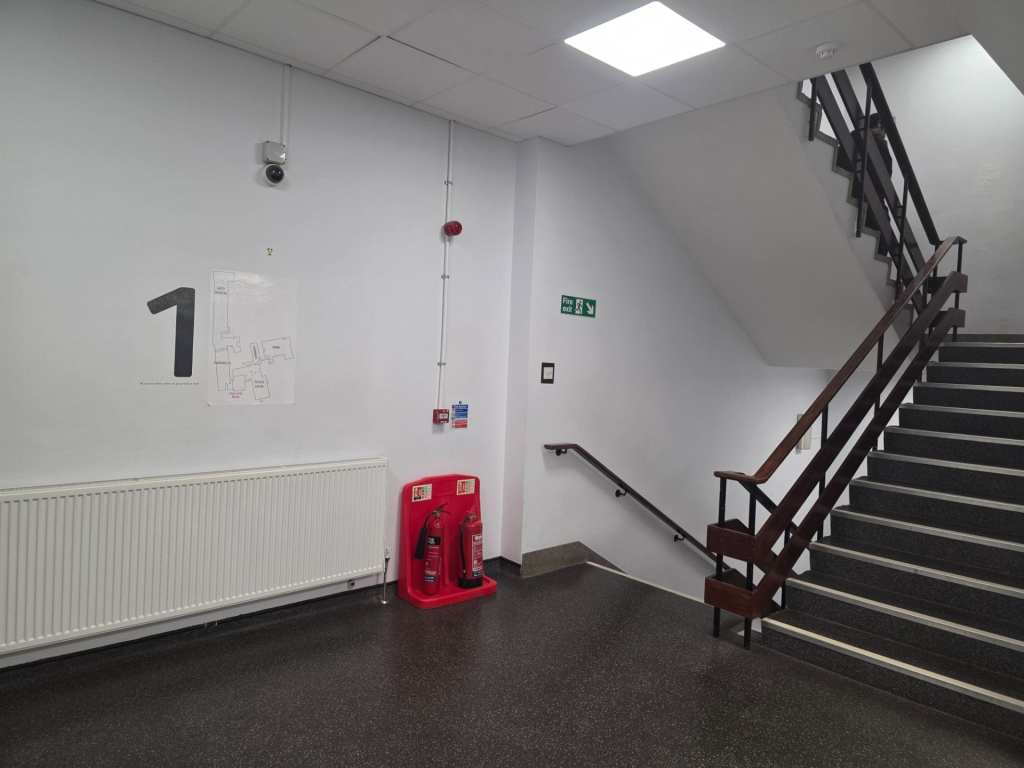
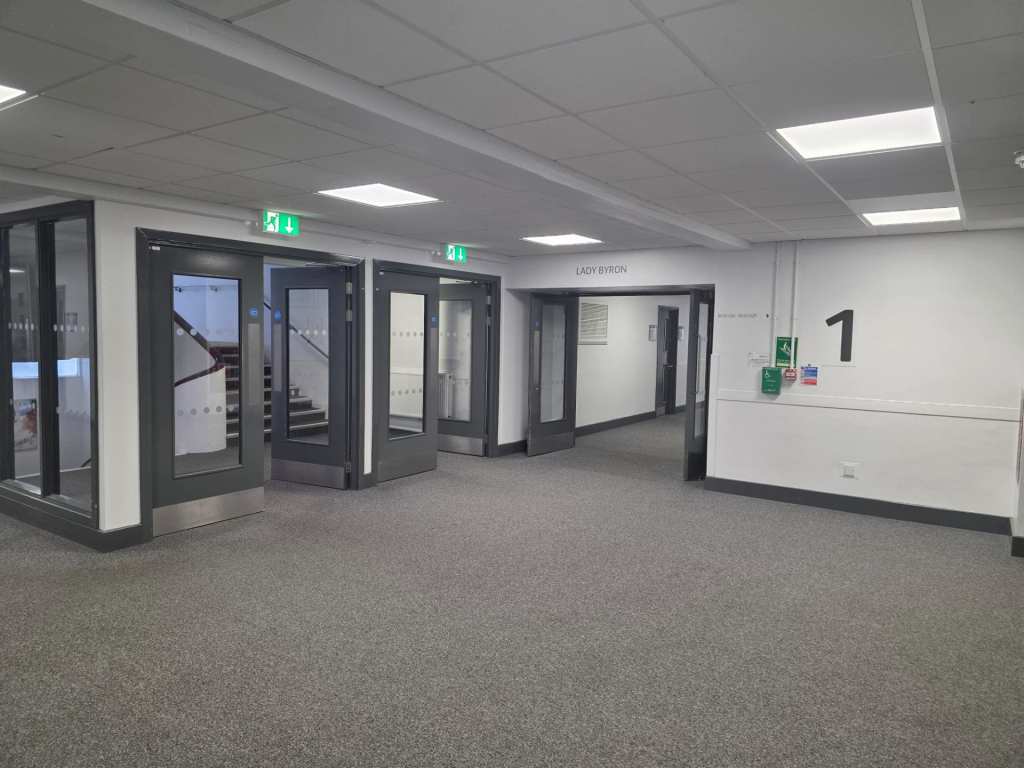
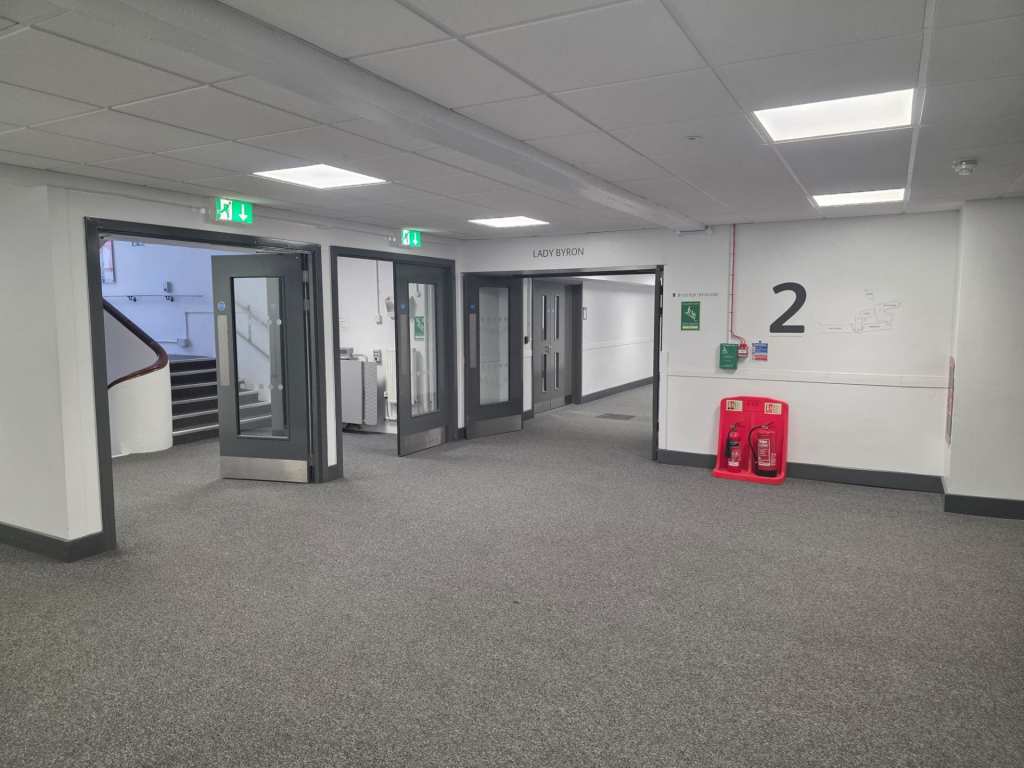
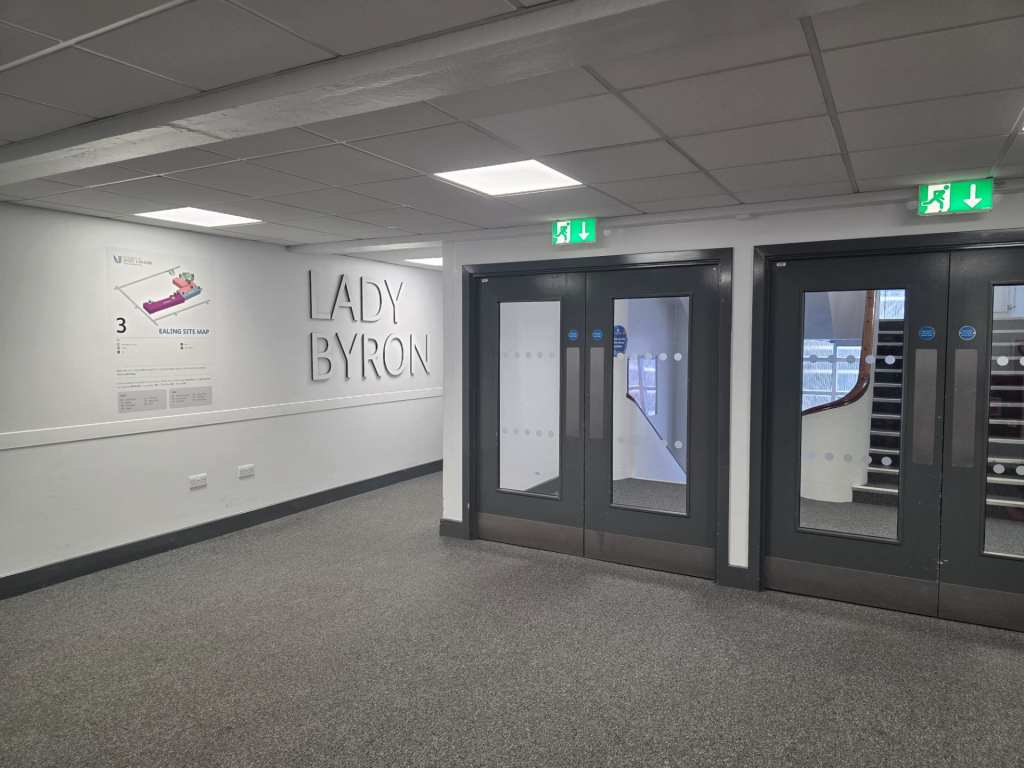
This tells to go to third floor, we have to go through first and second floor and vice versa.
Week 6
Photo Essays & Storytelling
This was to tell more about sequencing. we took a lot of picture in this session.
I take many shots but these are some I like.
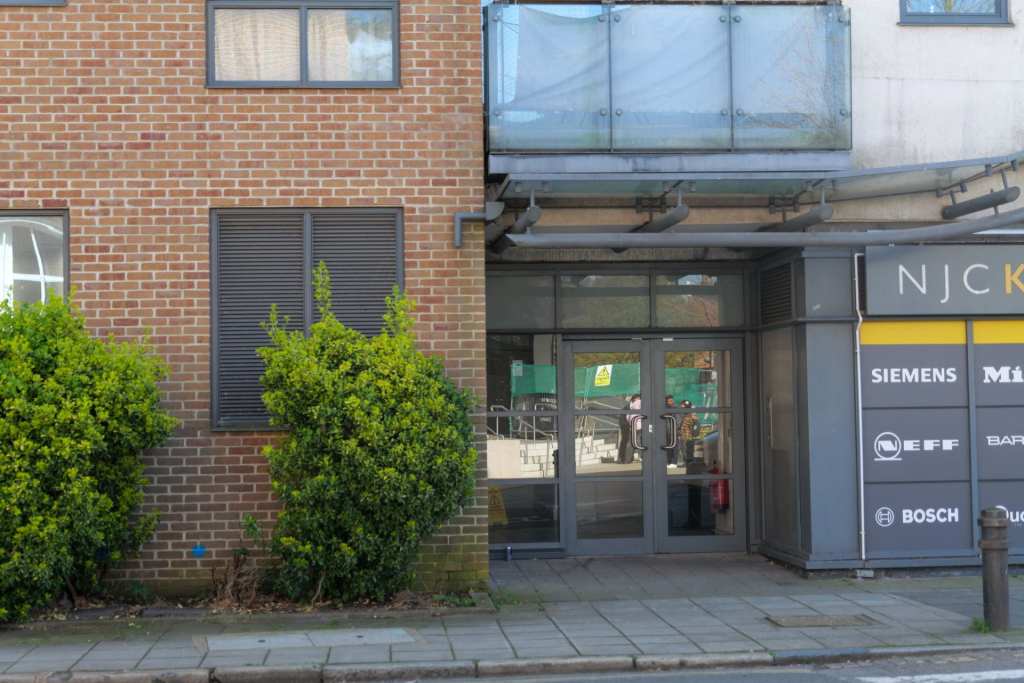
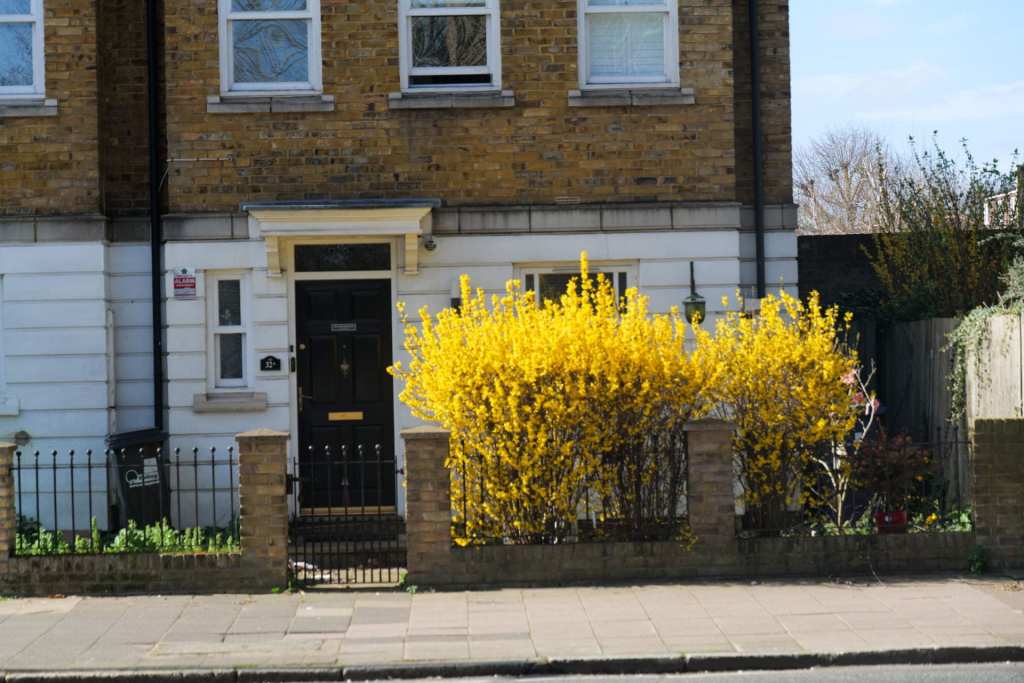
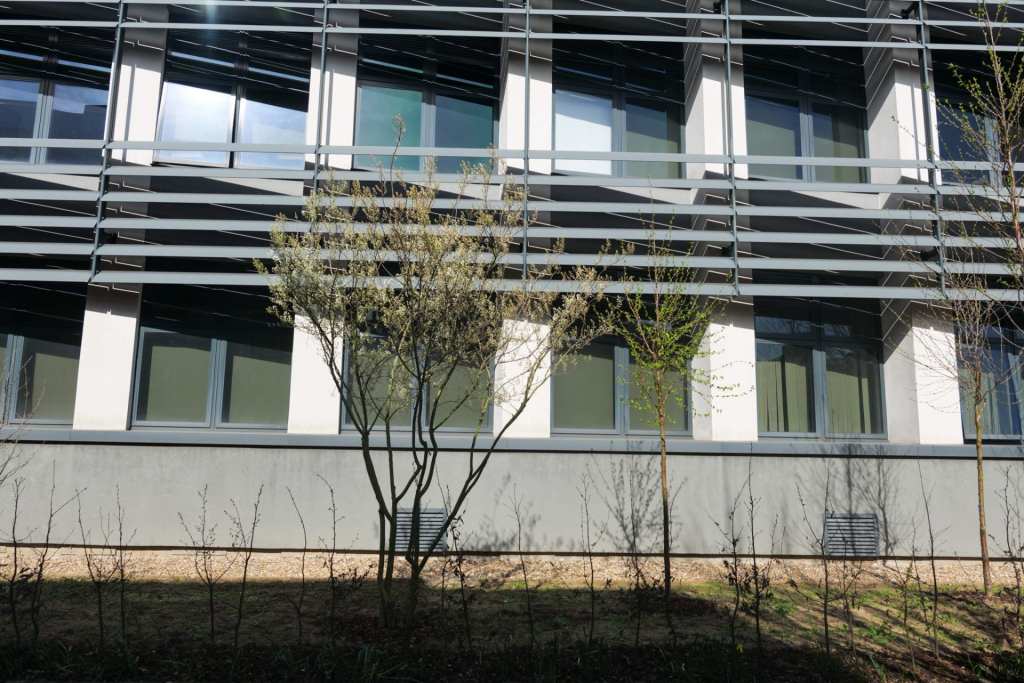
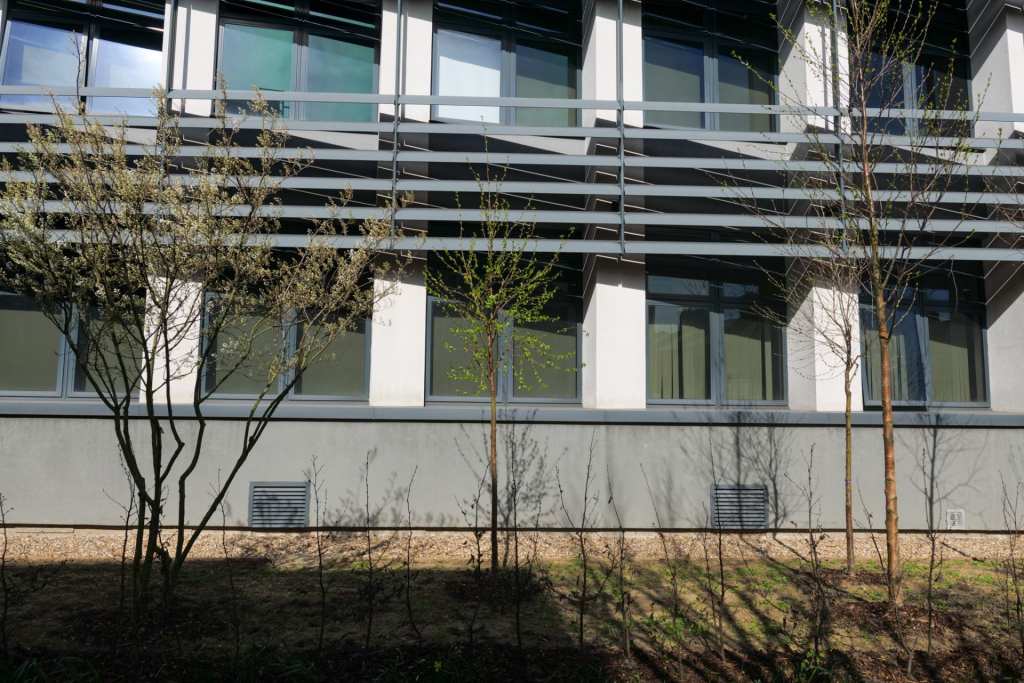
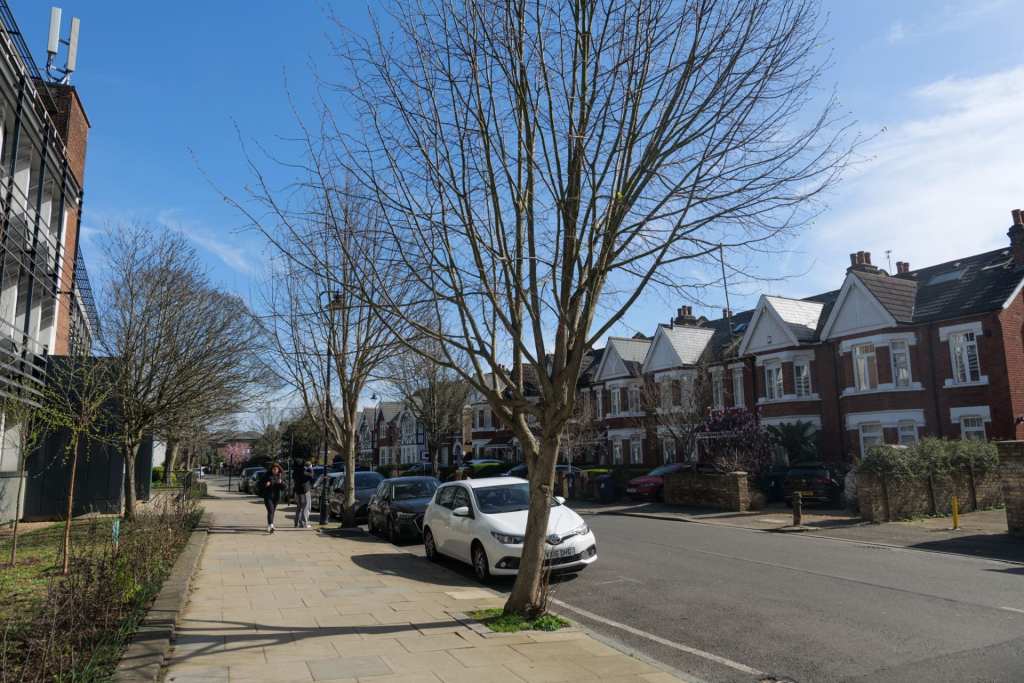
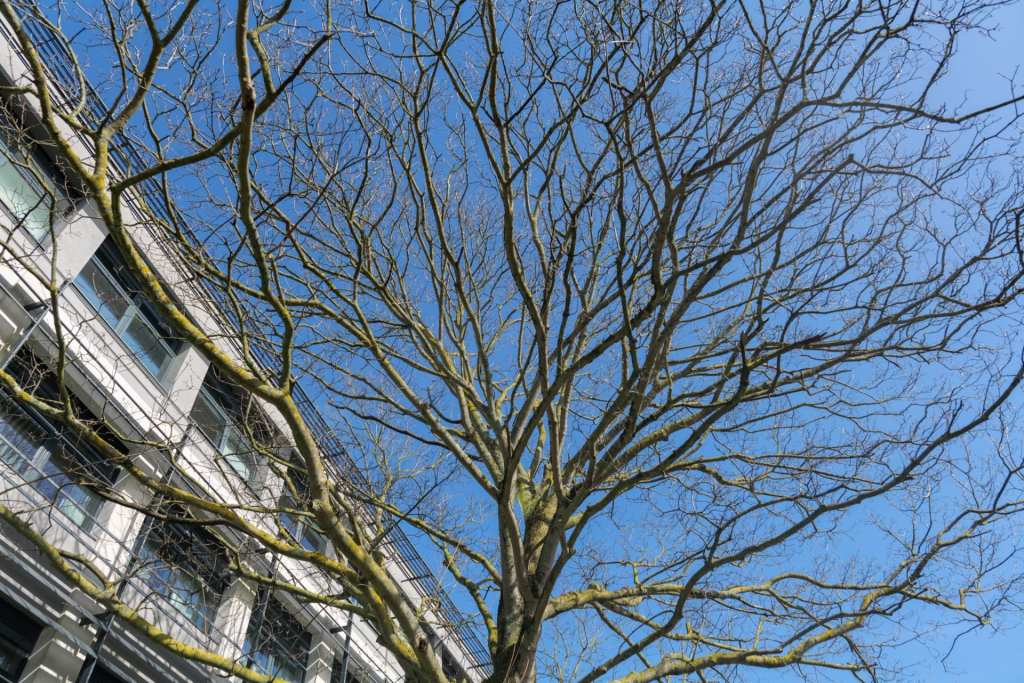
Here I was telling how autumn season, with the time all leaves shed off from trees and when spring came, new leave grows.
Week 7
Sequencing and Seriality
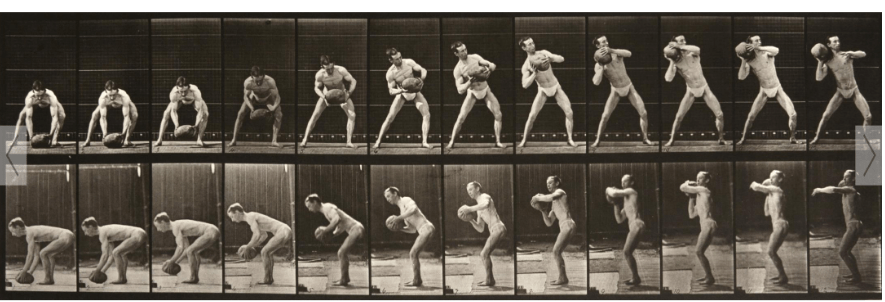
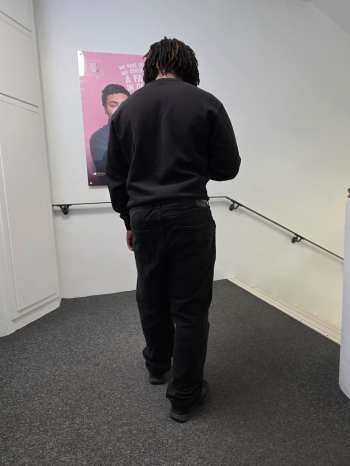
We learn about linear sequencing, conceptual sequencing, out of order sequencing. we have done a task as well.
I choose linear sequence. It shows a person going downstairs.
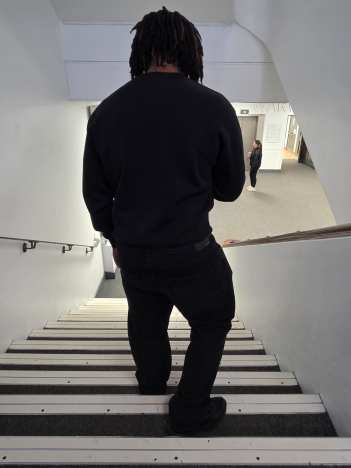
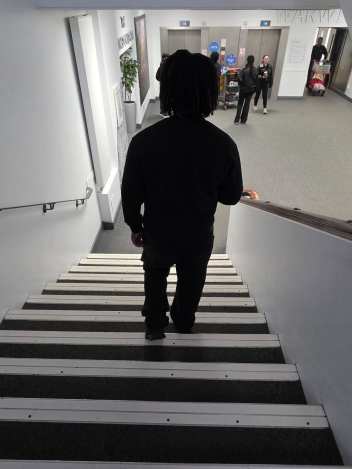
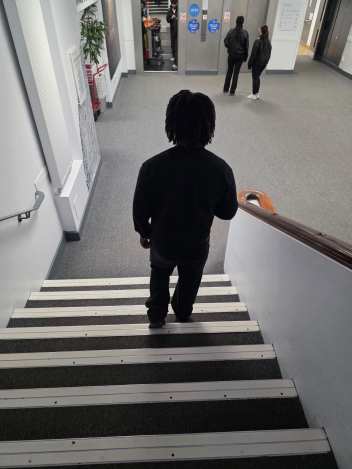
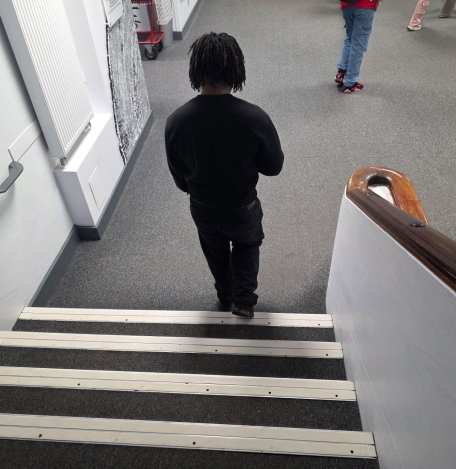
We also have research about artists that relates with 1 assignment idea.
Researching about the Artist.
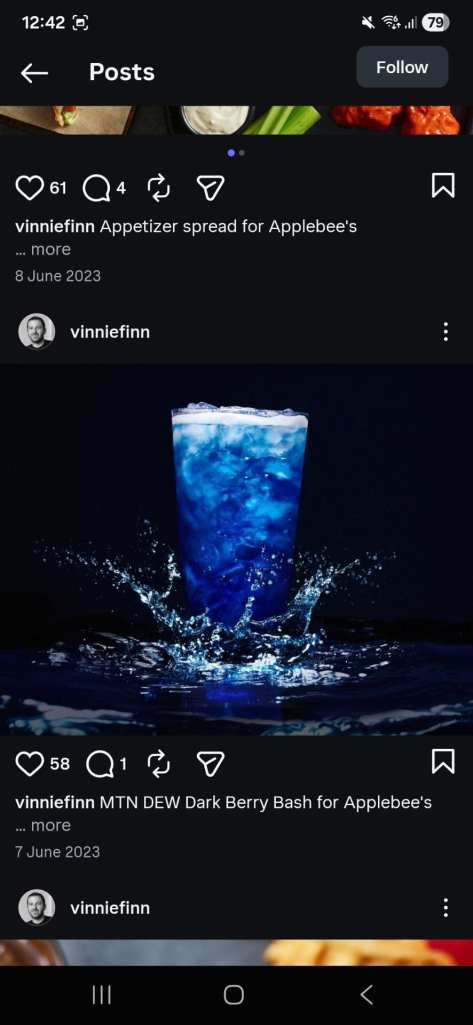
Vinnie Finn
- He is a Photographer & Director, he takes photos of food and beverages. He worked with pizza hut and shot 250+ photos for their Brand.



Week 8
Lighting
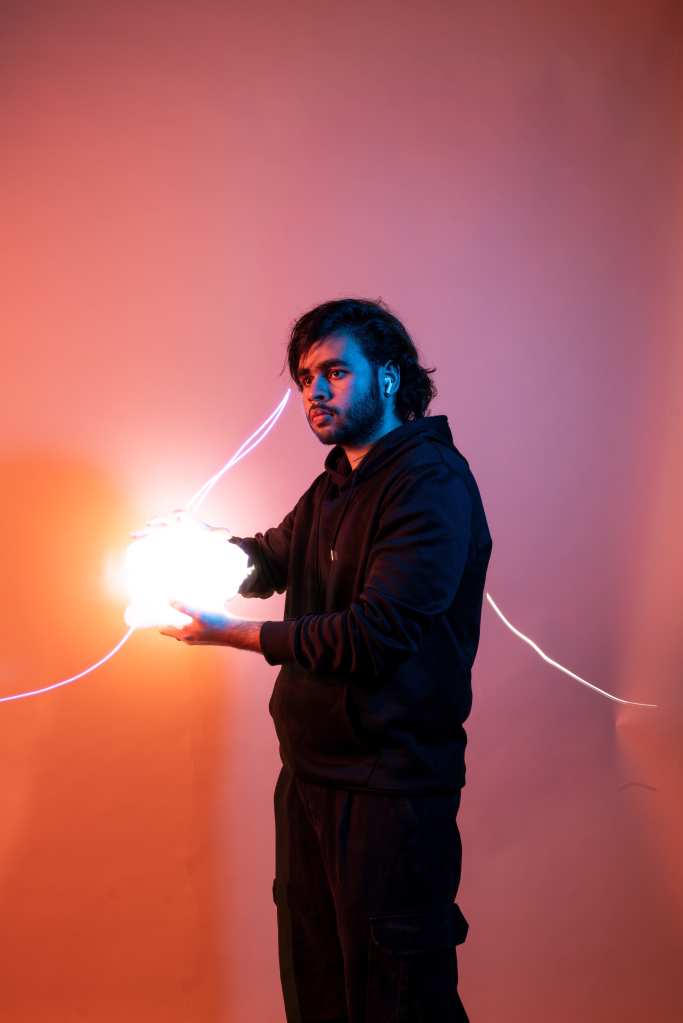
Todays lesson was about lighting, how a story can be given meaning or depth based on the shadows or by adding more light in the image. we also look, how we can manipulate the shutter speed to capture light and to create ghosting effects, light paths and brightness on objects.
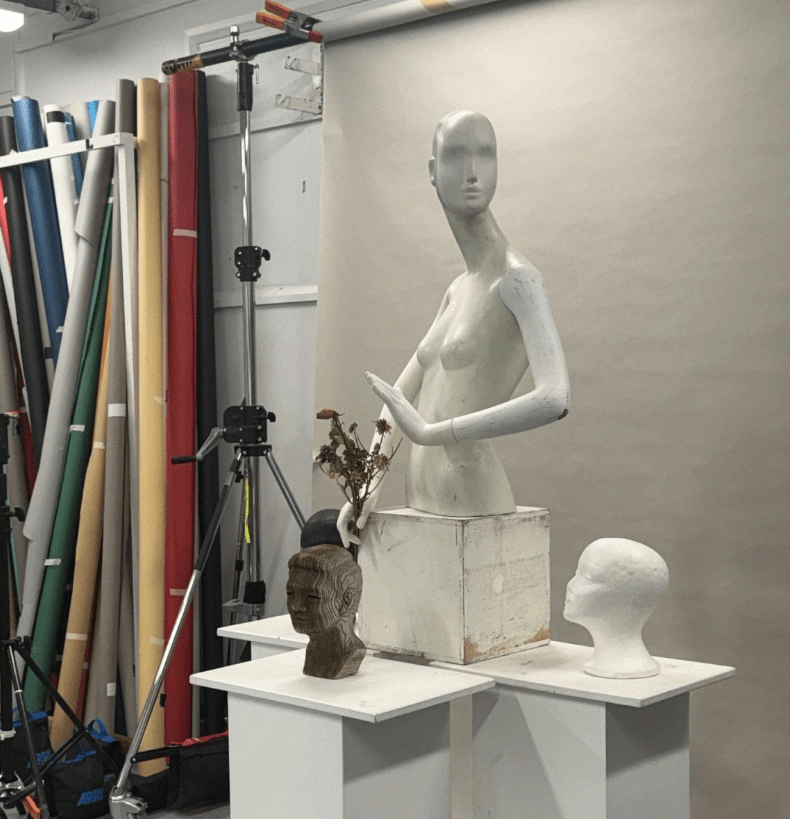
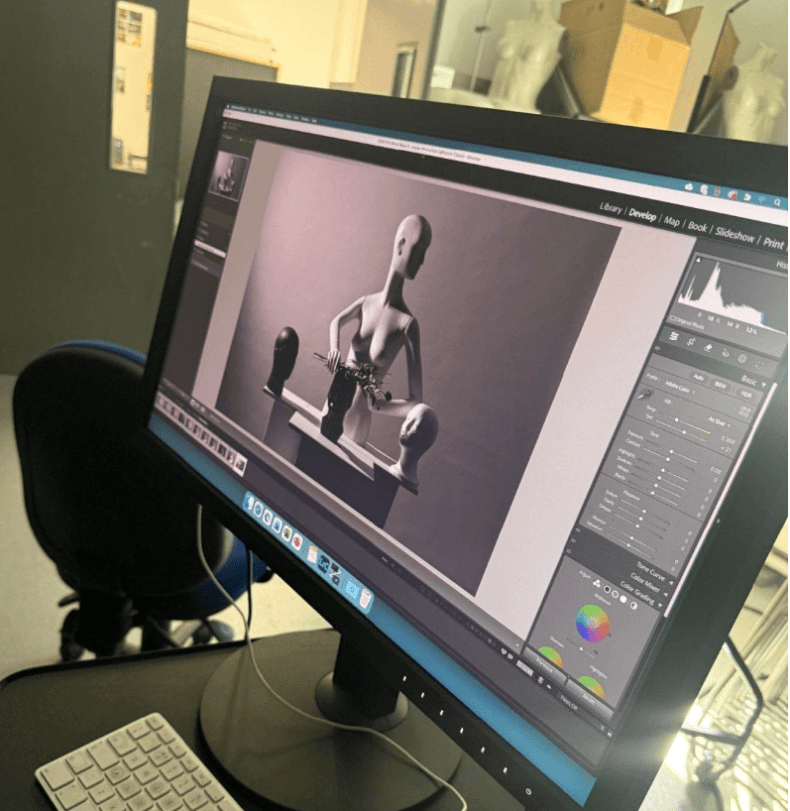

This was used with slow shutter speed.
Week 9
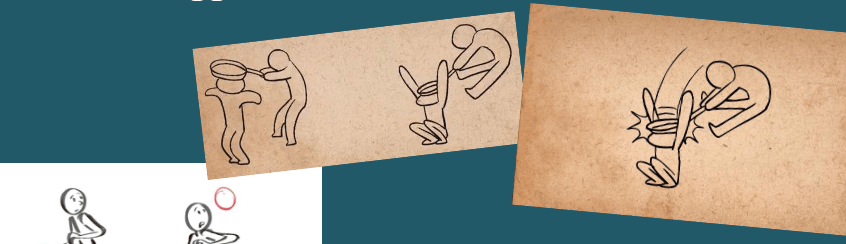
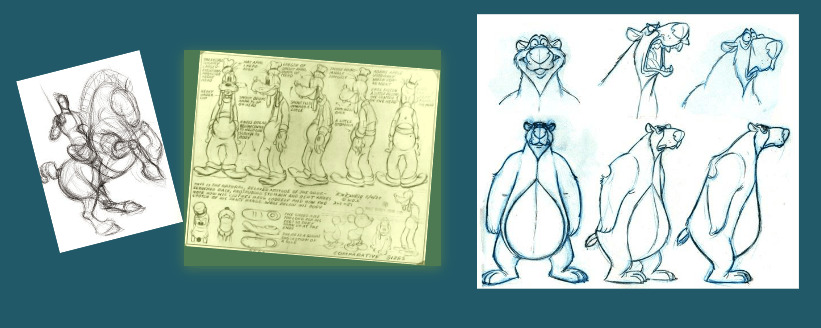
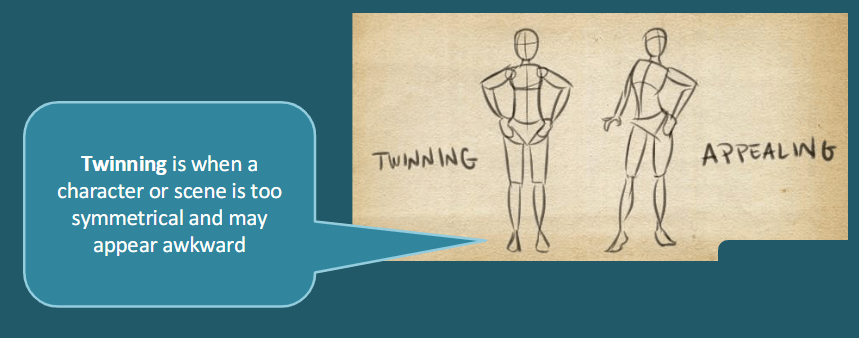
Animation
What is Animation?
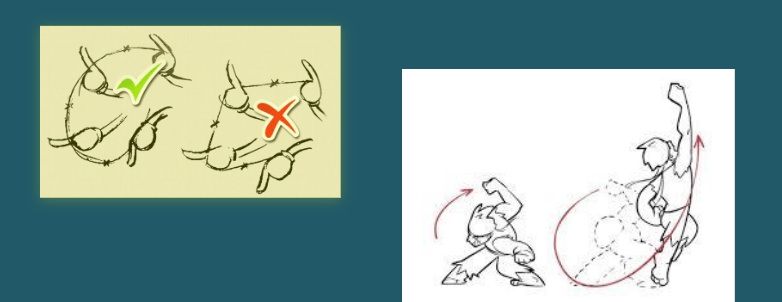
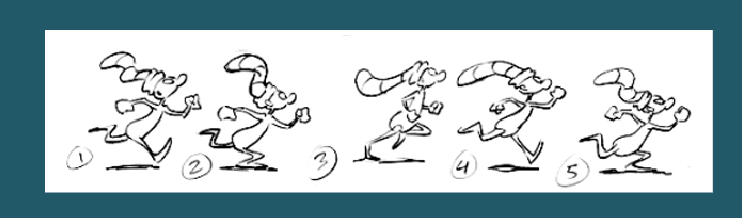
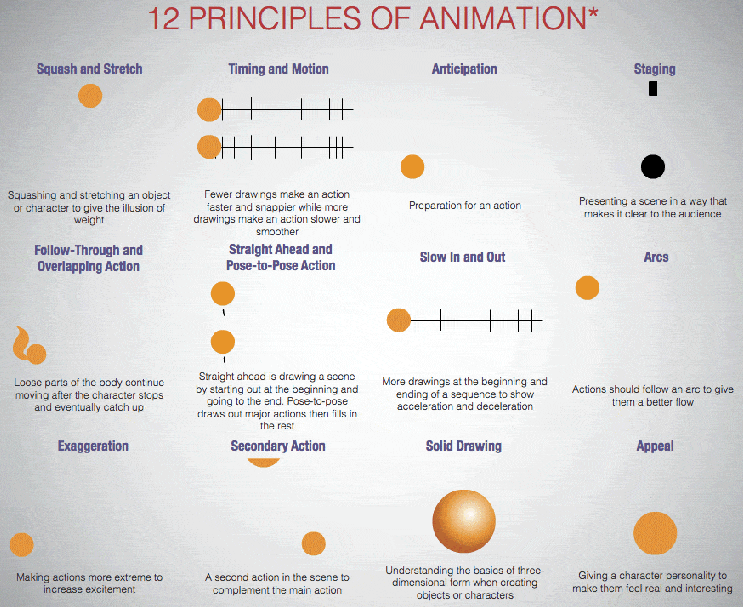
12 Principals of Animation
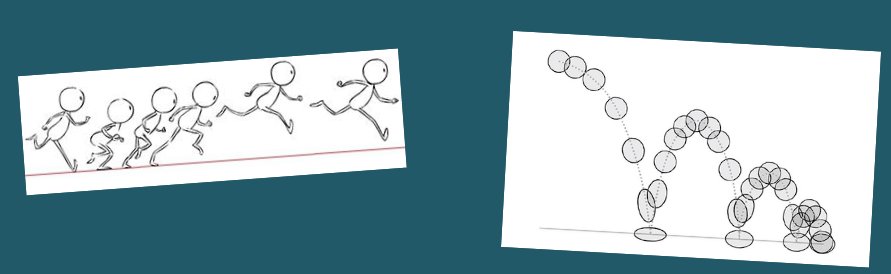
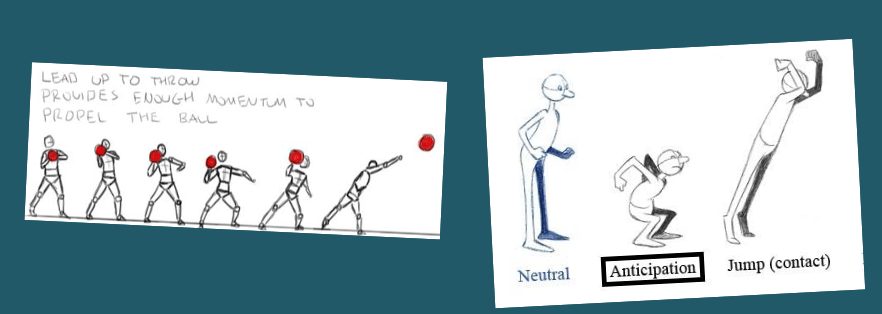
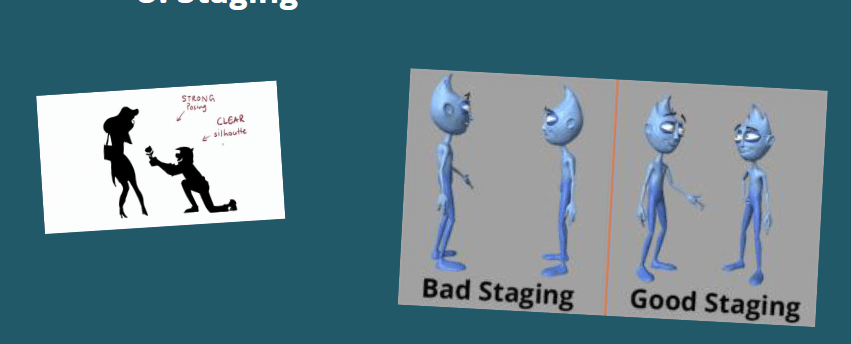
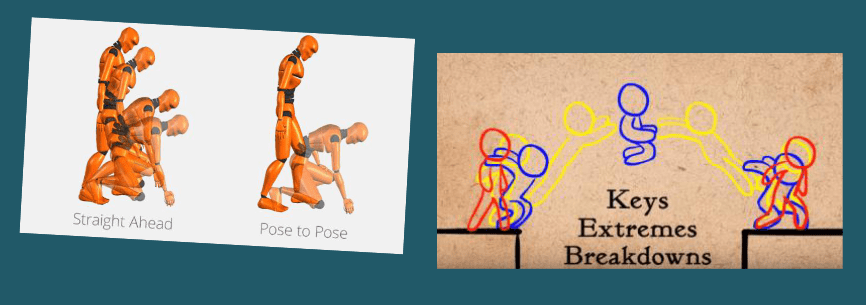
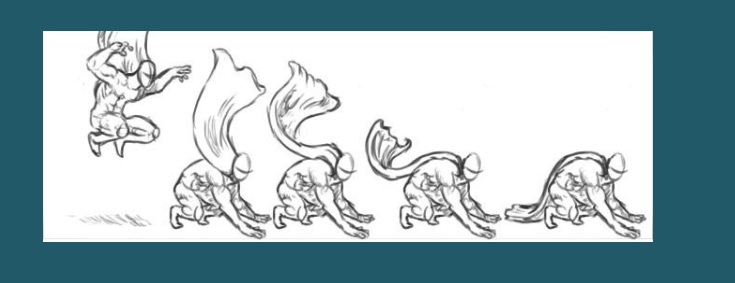
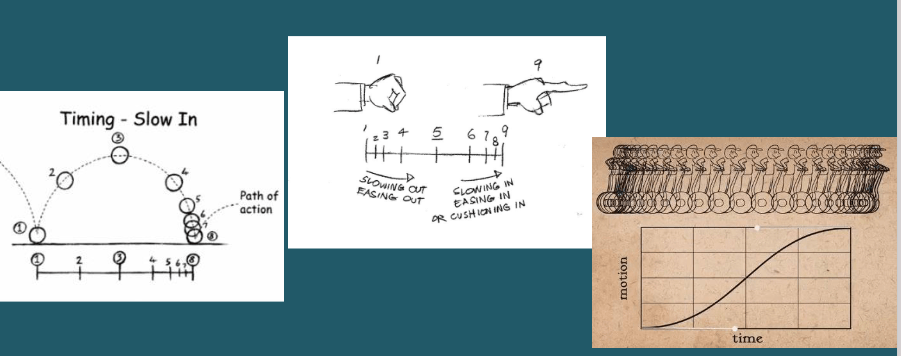
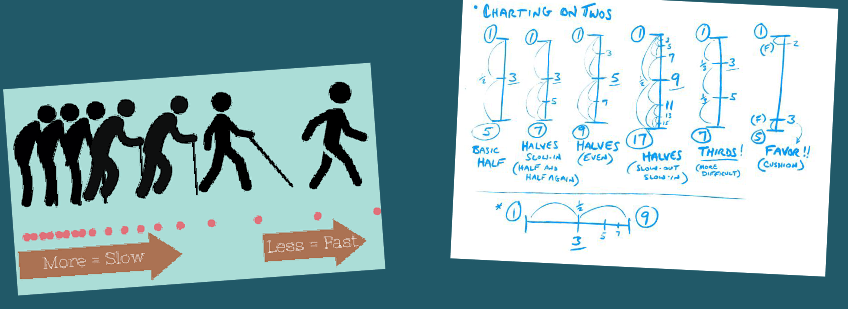
6. Slow In and Slow Out – The movement of objects in the real world, such as the human body, animals, vehicles, etc. need time to accelerate and slow down.
Week 10
Lighting set ups
Split Lighting – effectively ‘splits’ the face into two halves: one lit, the other in shadow.

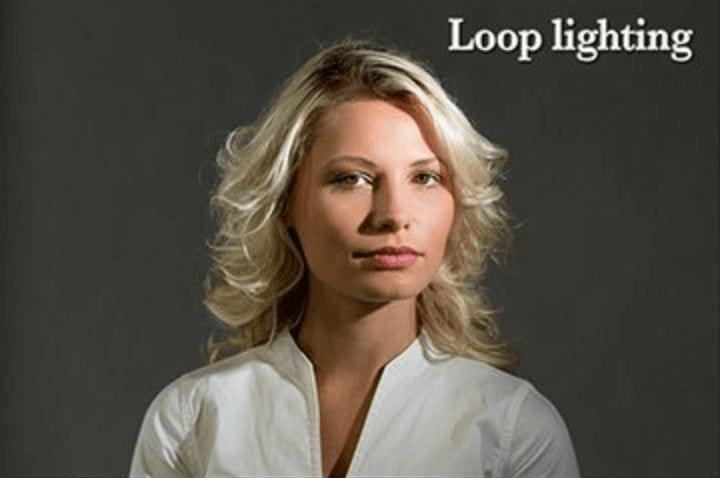
Loop lighting – subtly defines facial features with soft shadows on the cheek opposite to the lighting.
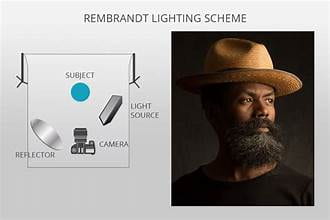
Rembrandt lighting – This portrait lighting technique is similar to loop lighting but with a distinctive triangle of light on one cheek, formed where the nose and cheekbone shadows join.
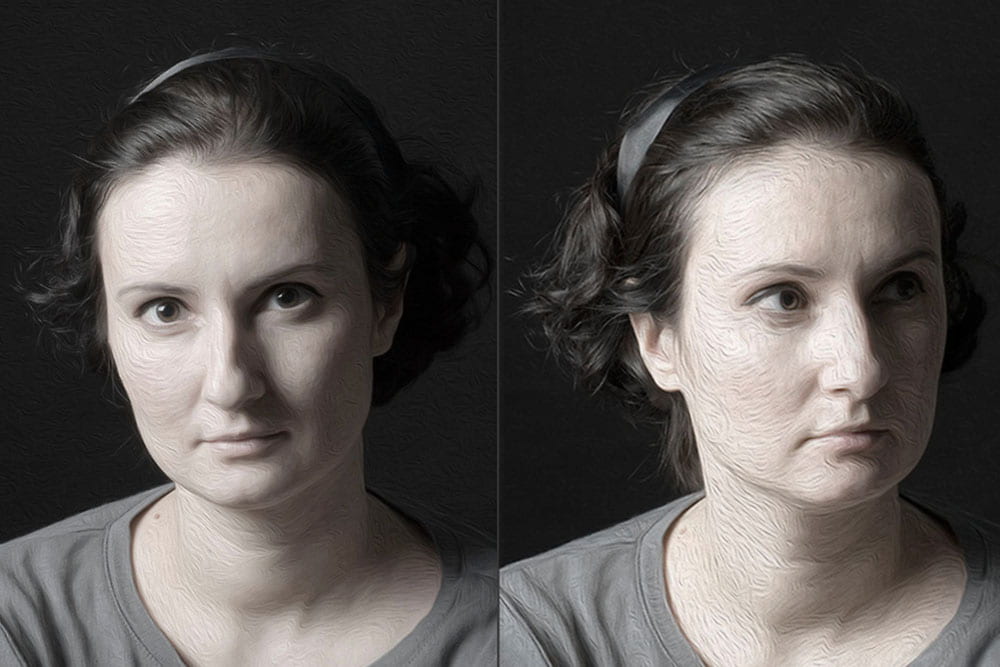
Broad lighting – is any style of lighting—split, loop, Rembrandt—in which the brightest side of the face is angled more towards the camera.
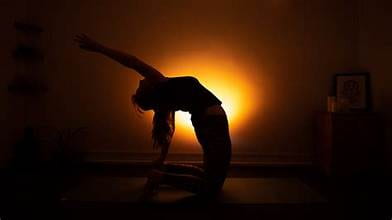
Back lighting – (also known as rim lighting, hair lighting or edge lighting) involves lighting the subject from directly behind.
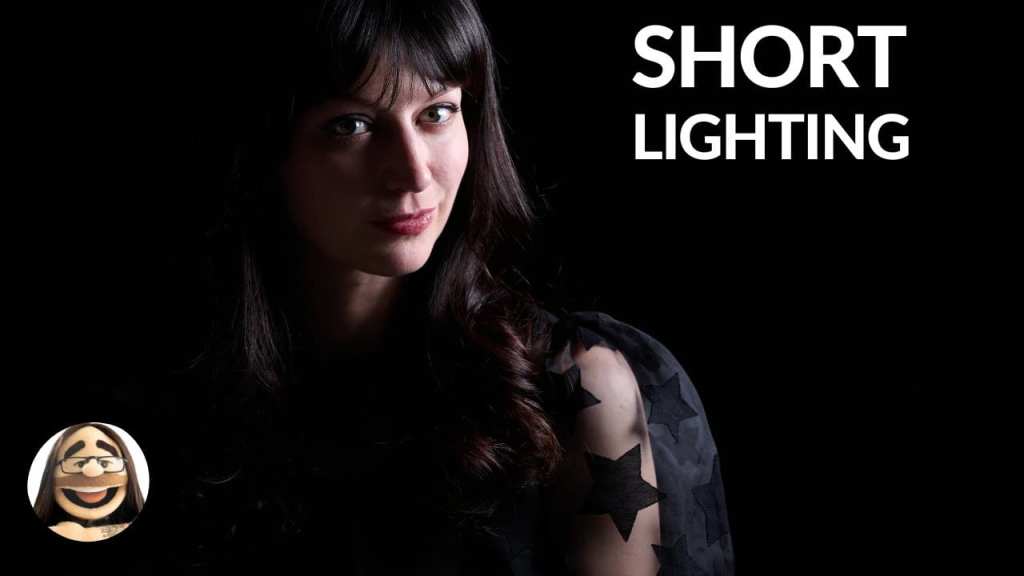
Short lighting – is basically the opposite of broad lighting. It describes any lighting style—split, loop, Rembrandt—in which the darker side of the face is angled more towards the camera.
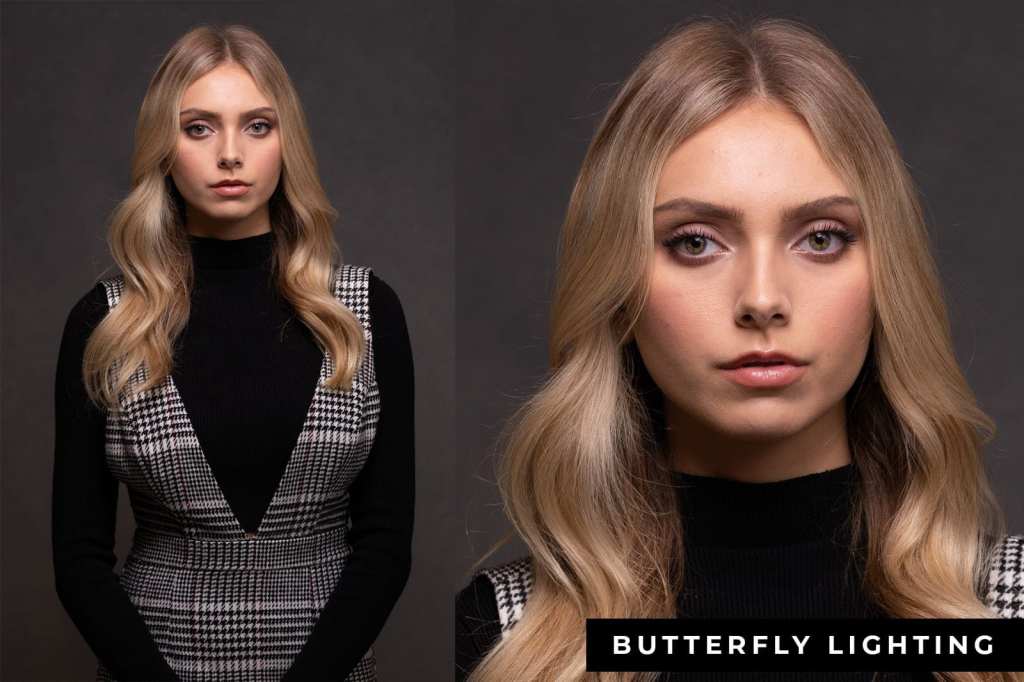
Butterfly lighting – is distinguished by the butterfly–like shadow it creates under the subject’s nose, along with soft, subtle shadows under the chin and cheek bones.
We have done work on assignment 2 as well.

Assignment – 1
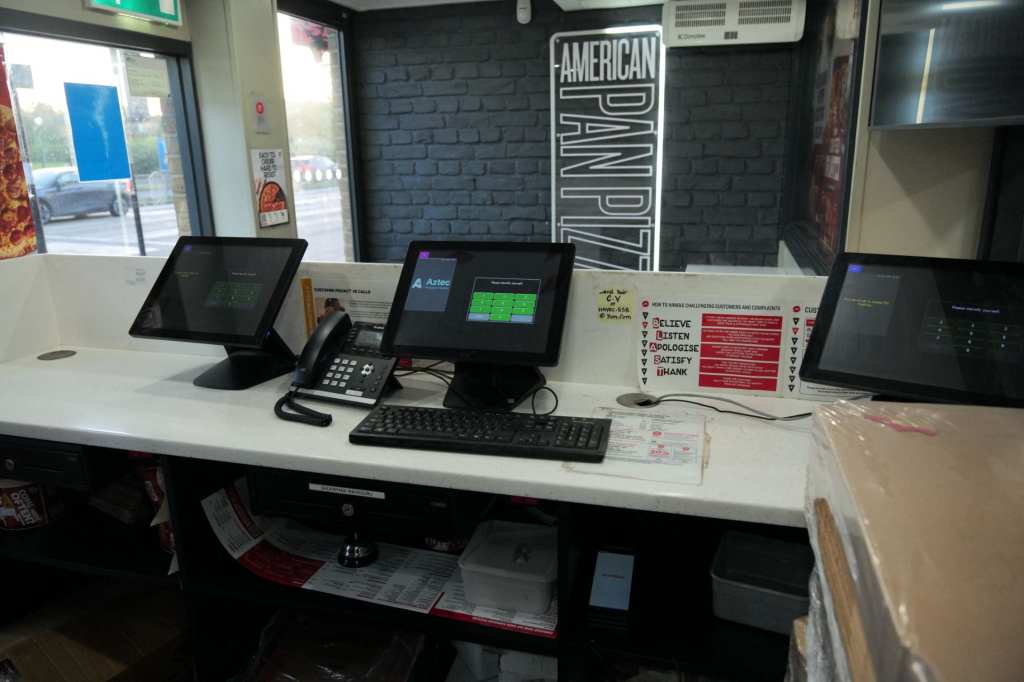
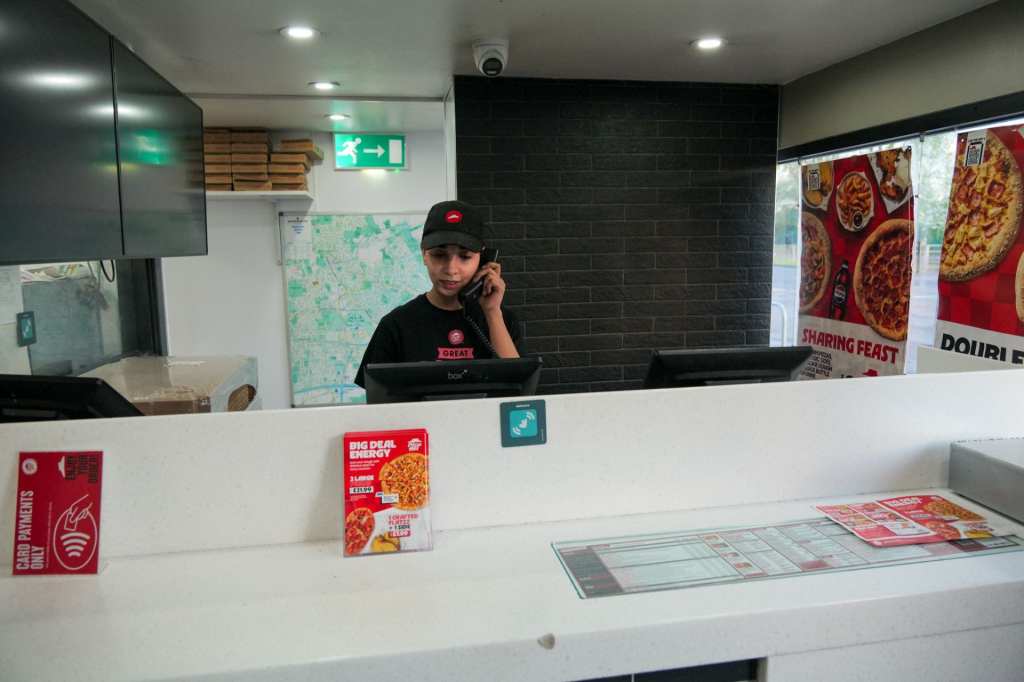
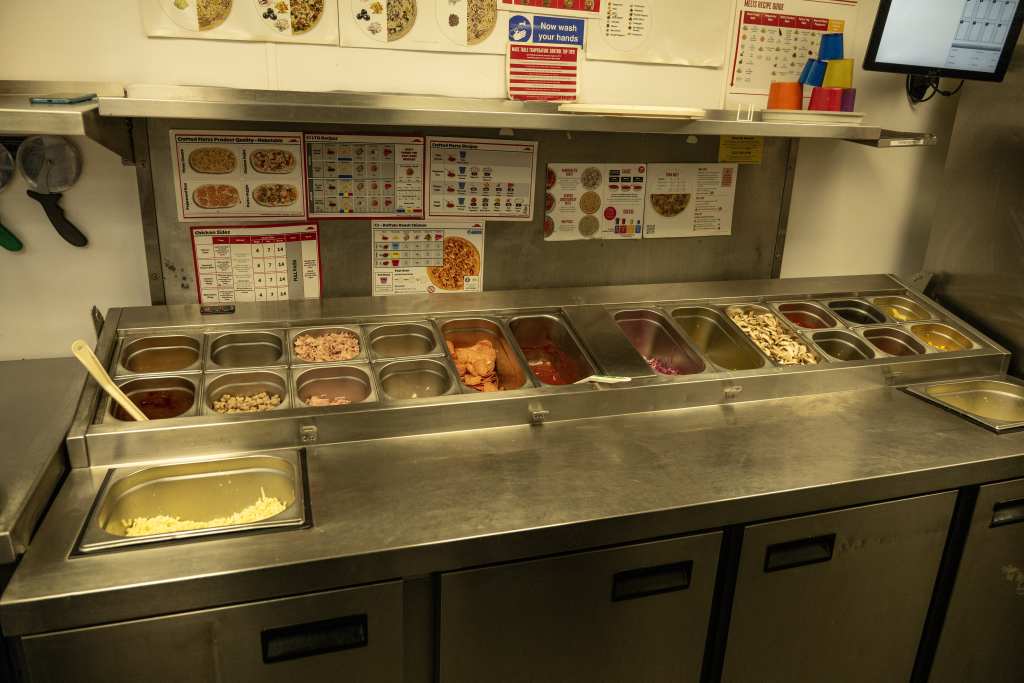
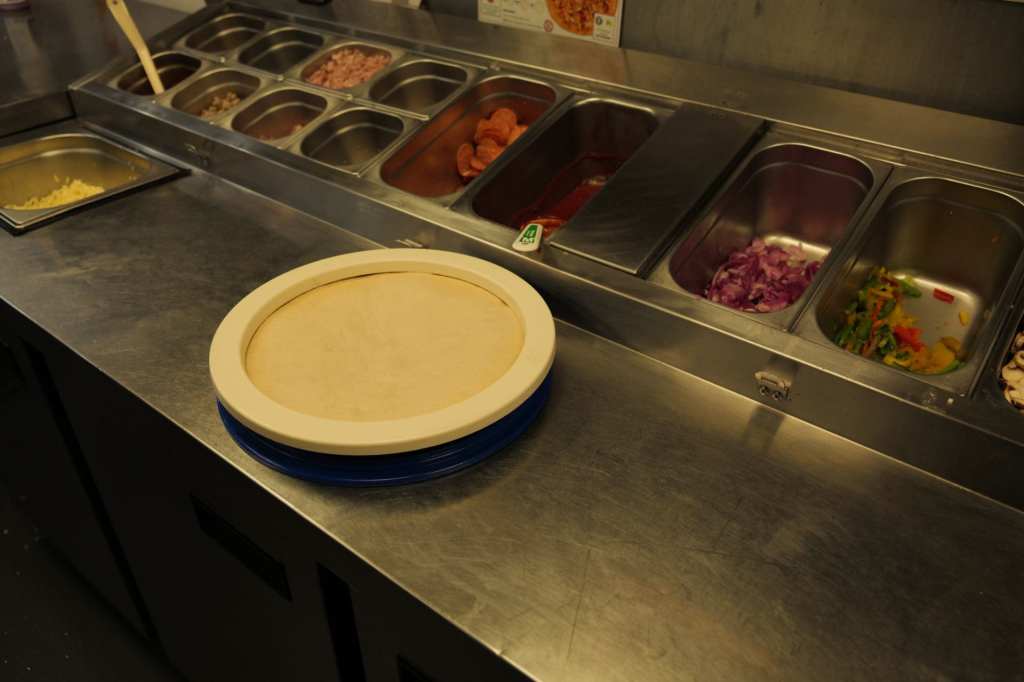
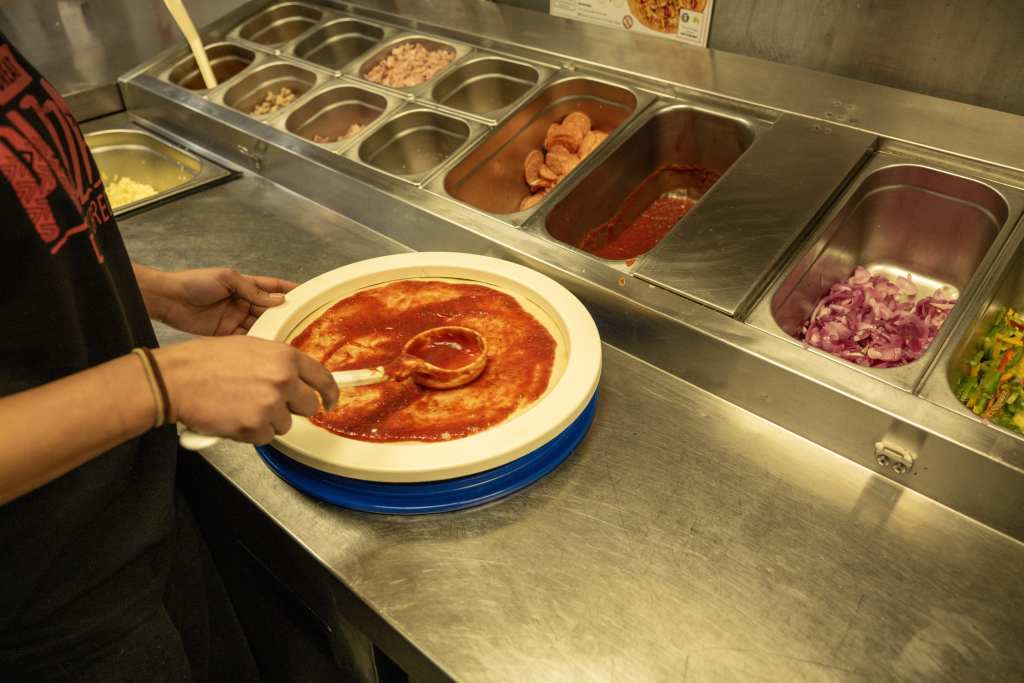
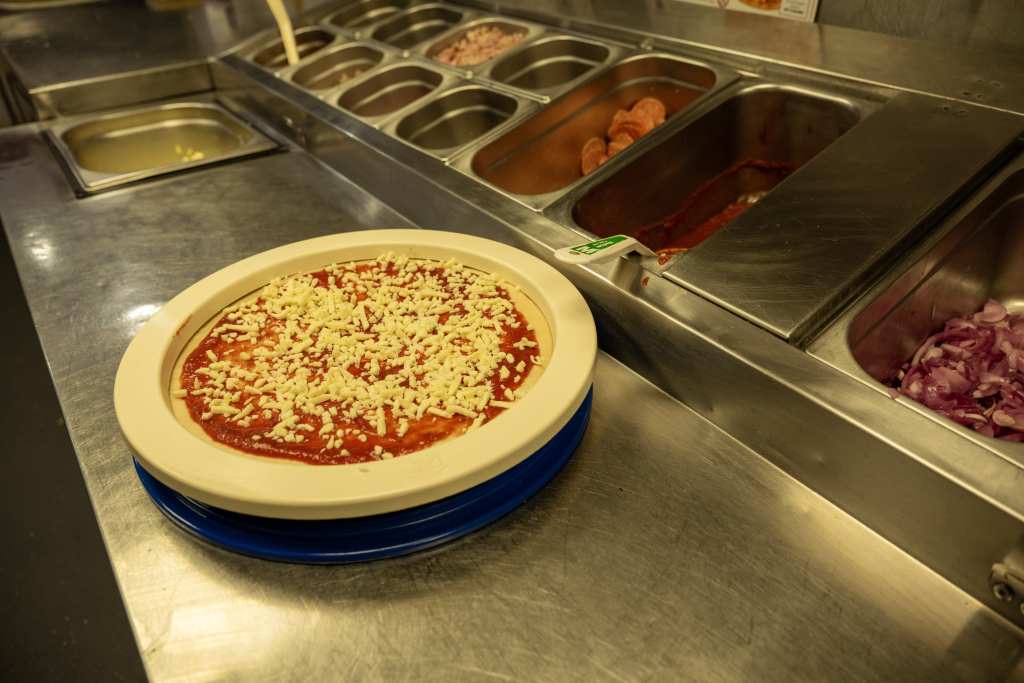
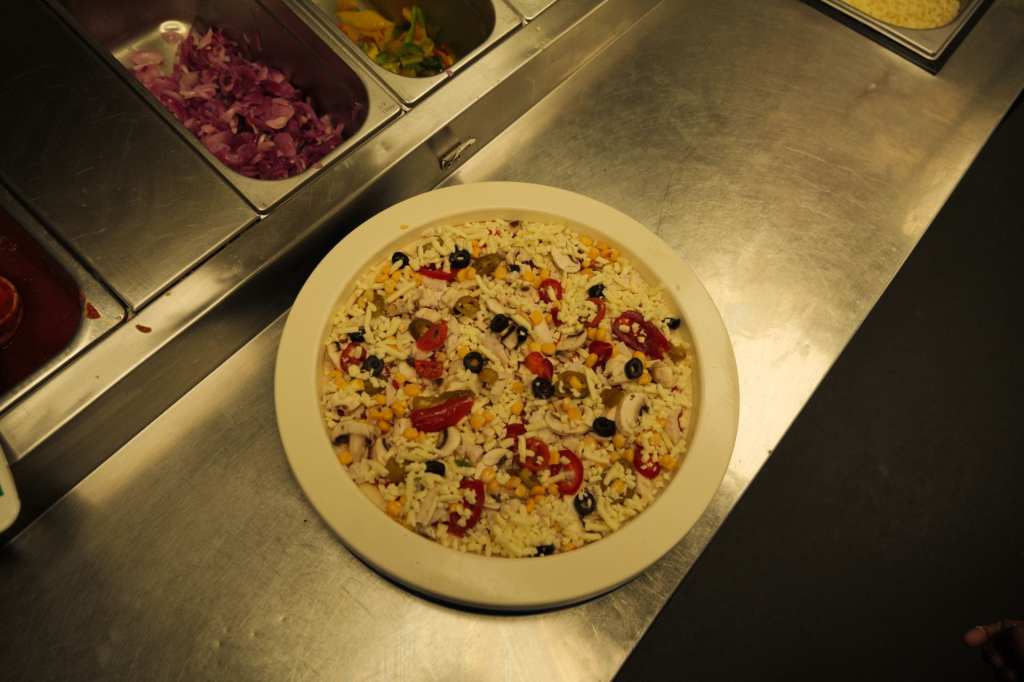
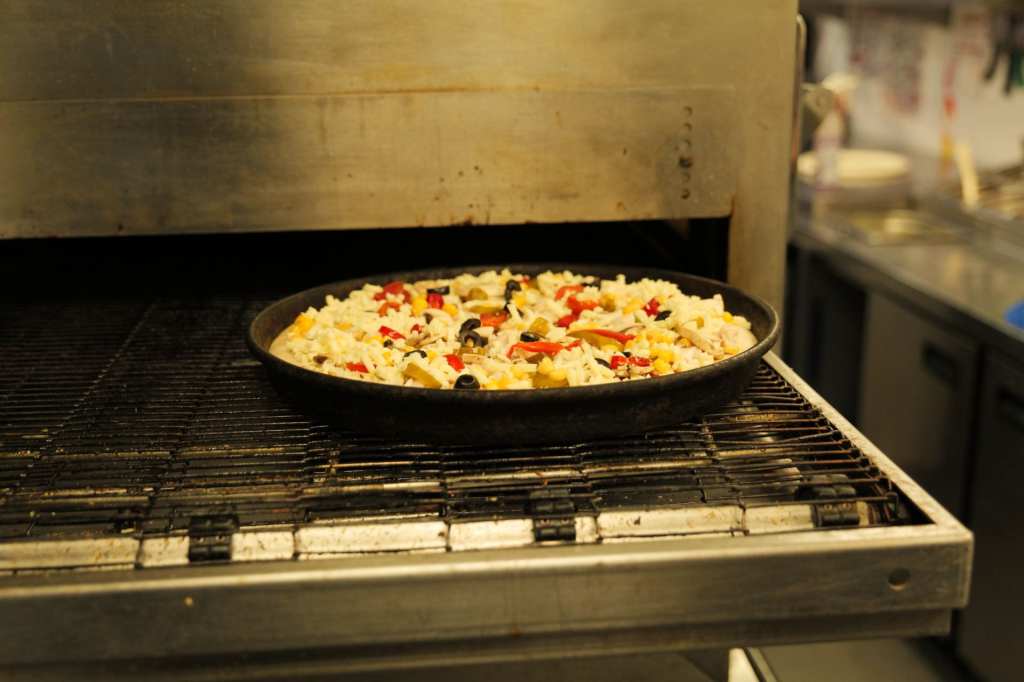
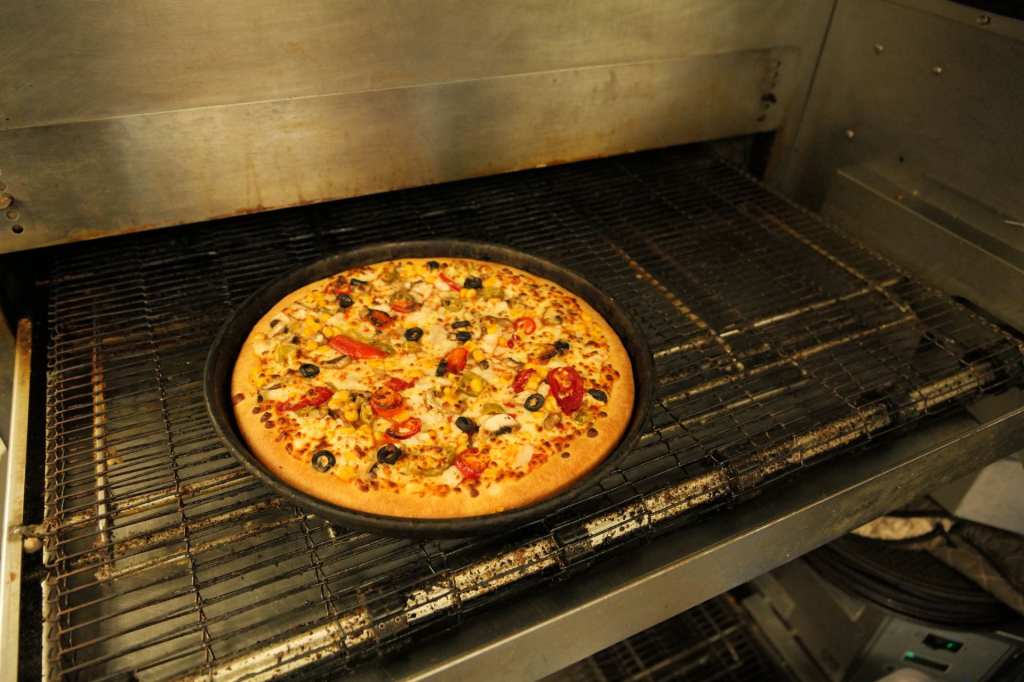
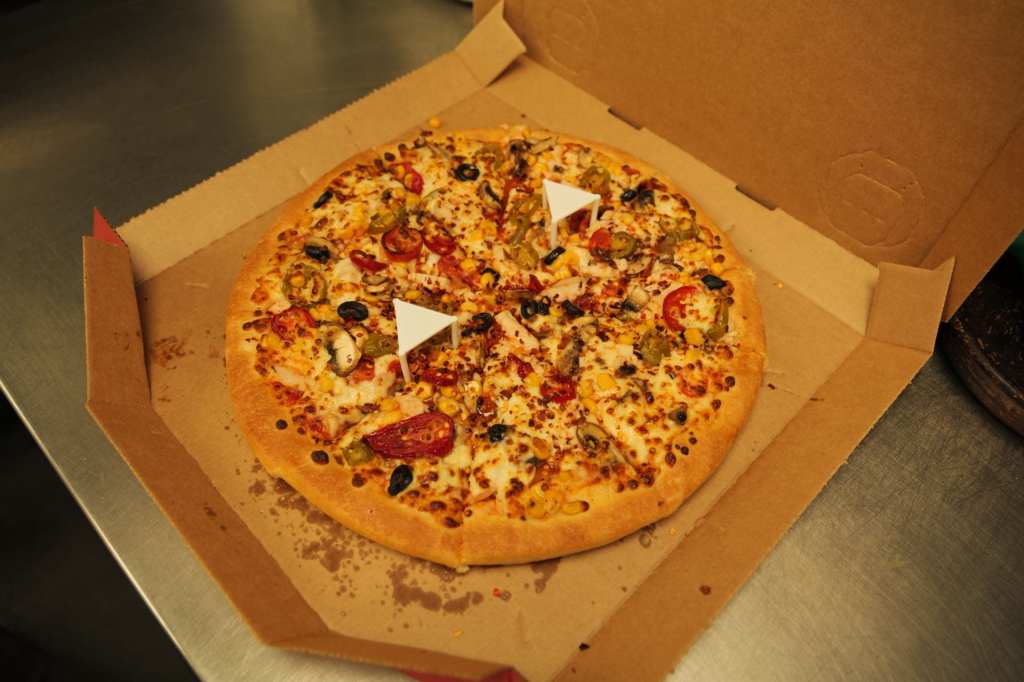
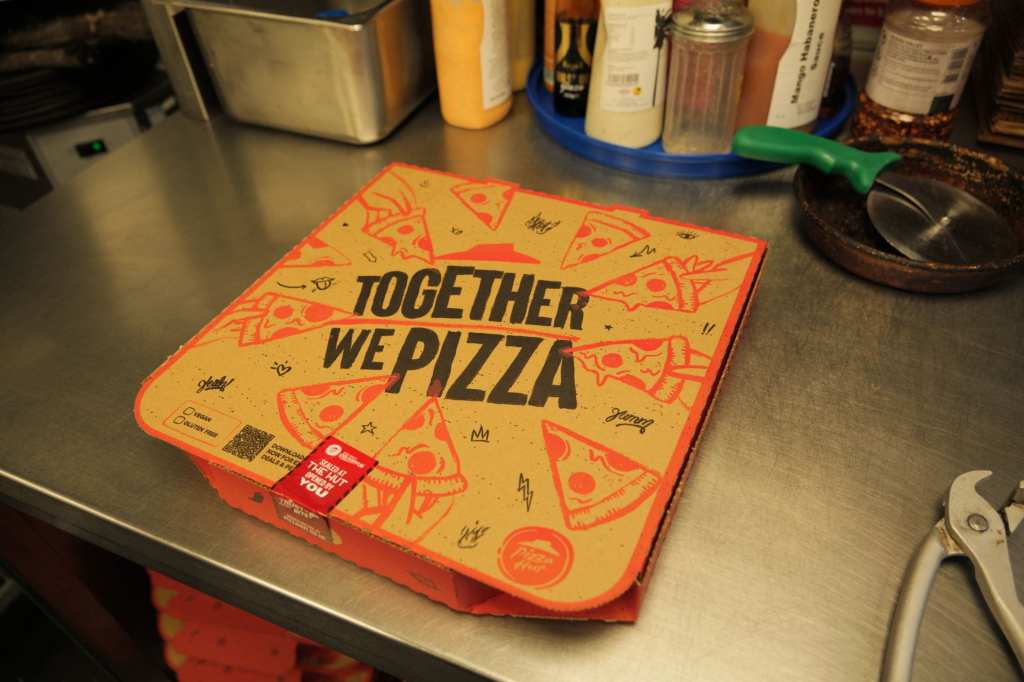
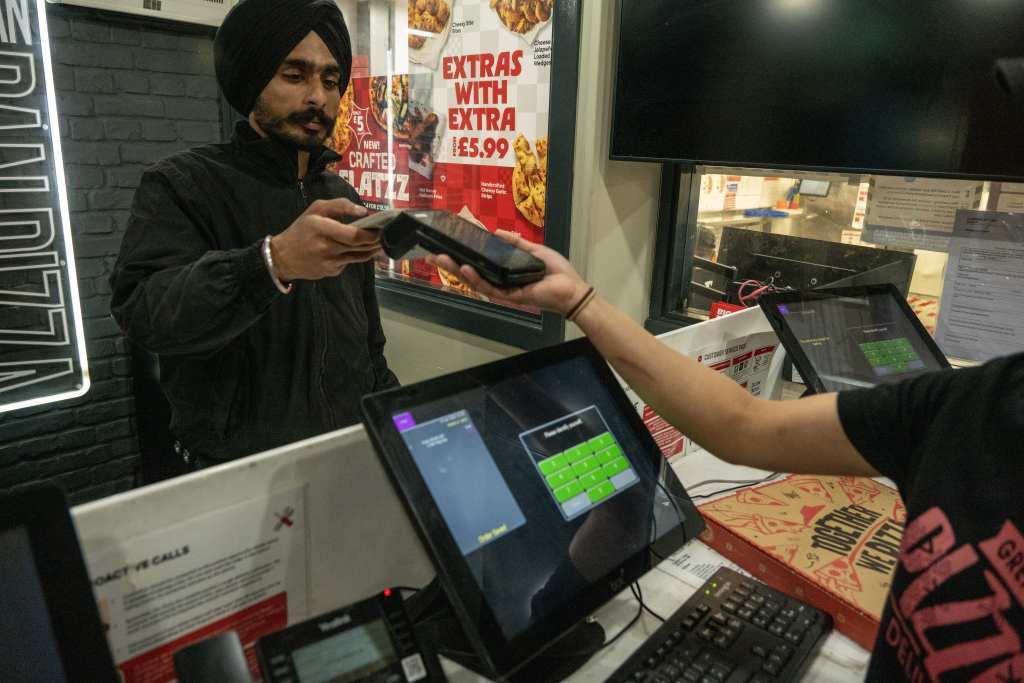
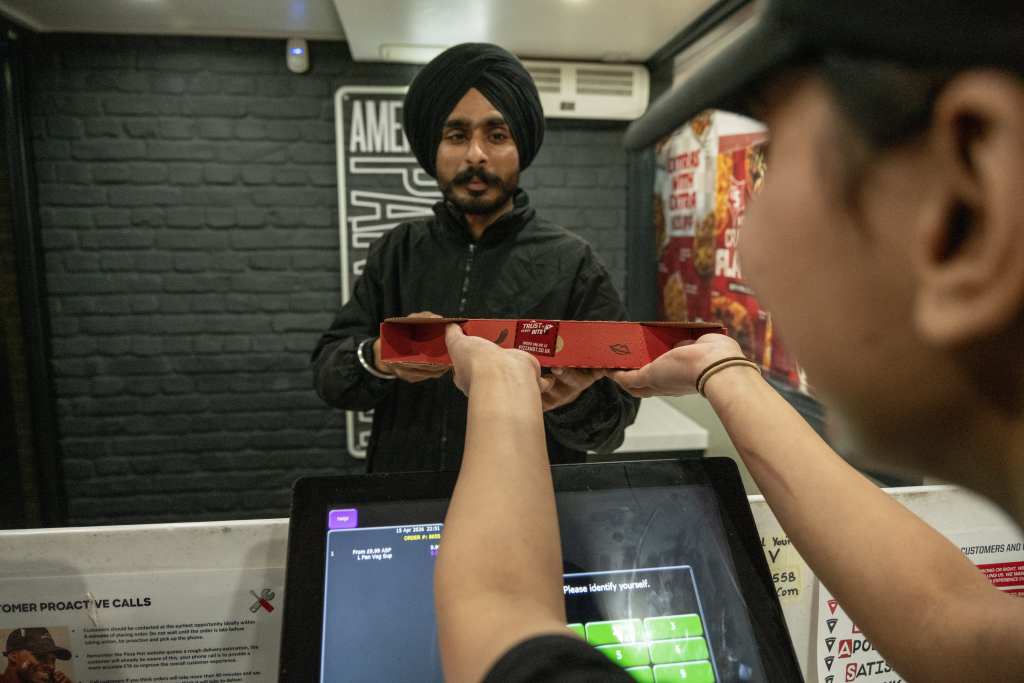
Different shots of How a pizza is ordered, baked and delivered to customer.
Storyboard
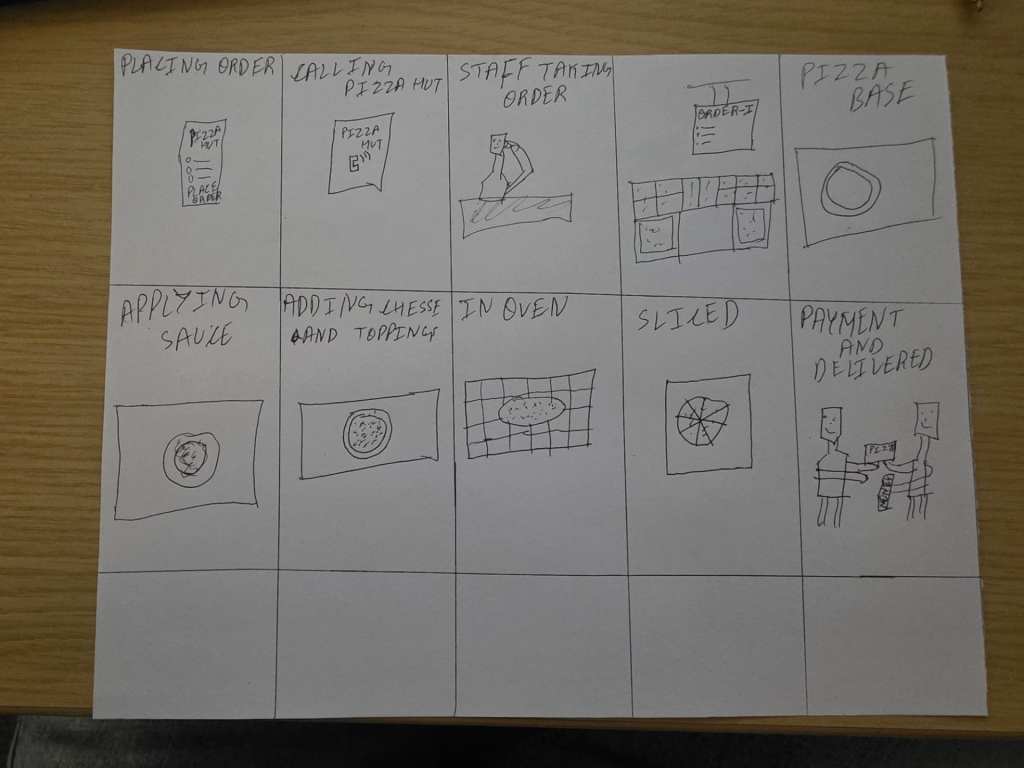
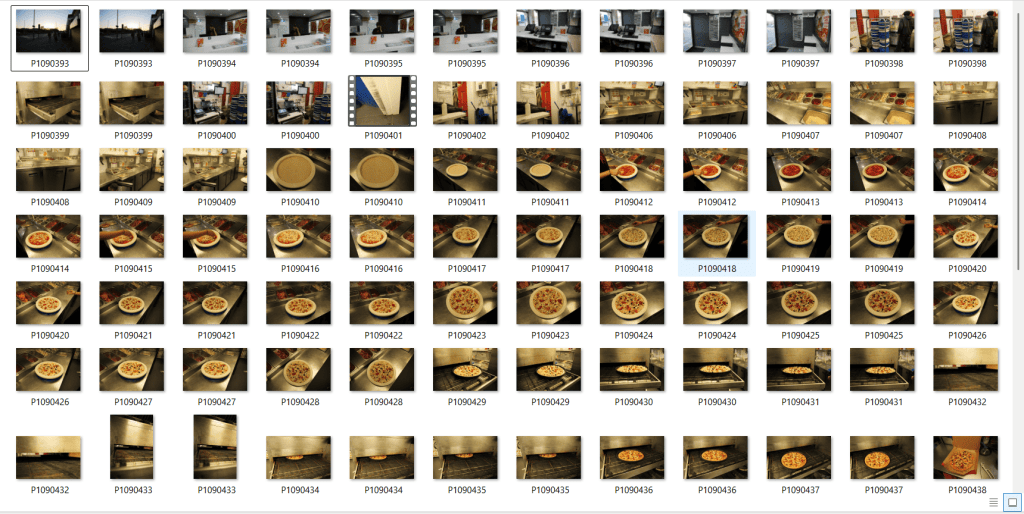
Hungry! let’s order pizza, staff from pizza hut picks the phone. Add your order in system. pizza maker got the notification of order. He brings the pizza base, spread pizza sauce and toppings on it. Place pizza in oven. 10 min passed. He took the pizza cutter and ready to cut the pizza, add garlic sprinkler, Pack the pizza, seal it. add dips if ordered. click bake on system to let the customer know the order is baked and he can come in to collect. Give the bill, assess the money, give the pizza. It’s done.
Assignment – 2

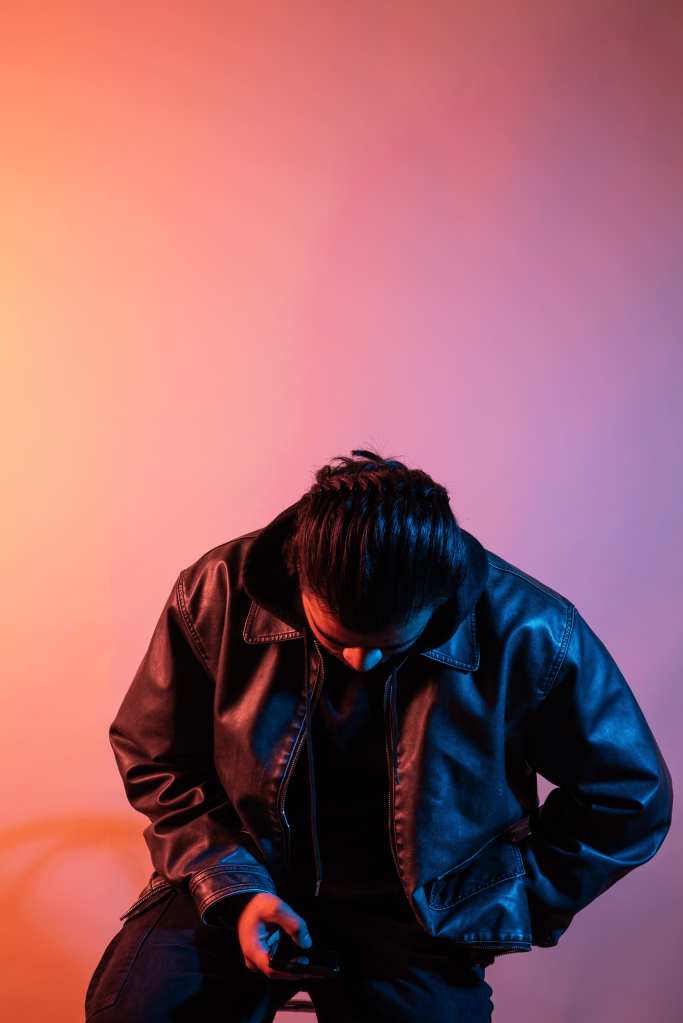
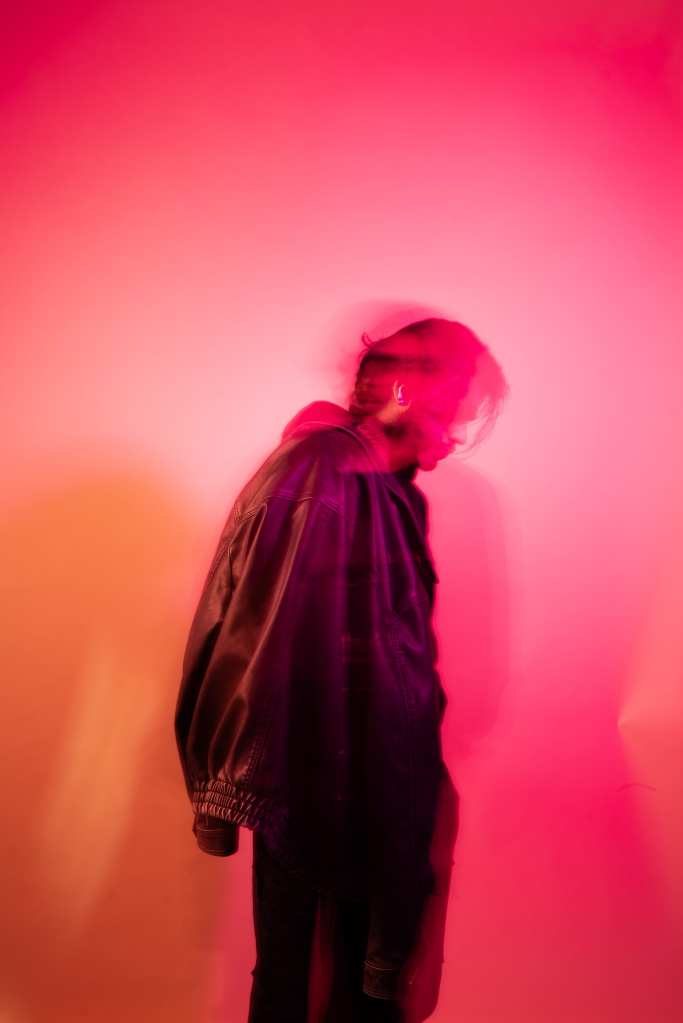
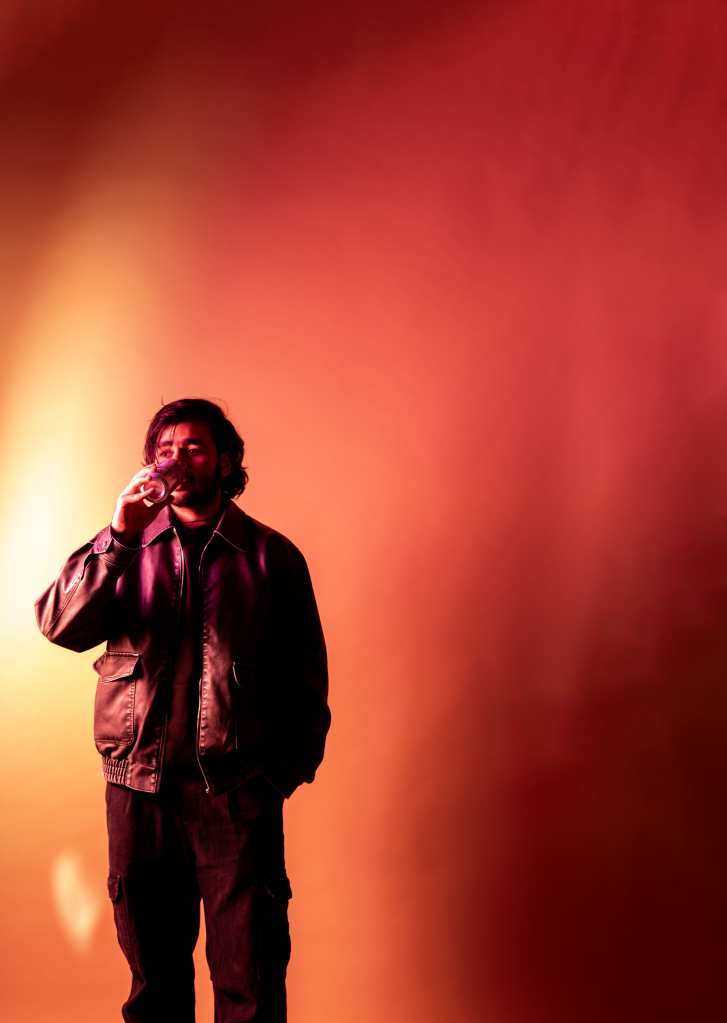
This was my first storyboard for my assignment but due to law of physics I wasn’t able to continue this. In this I plan to show bond of friendship by clicking picture of shadows without getting the model in it. So, I change my idea and Daniel have talk about self portrait in one of his sessions, so I started to think of doing self portrait shoot, I use mirror to pose and use Lumix sync app to click pictures. In some pictures Daniel and Nekaira help me. In this I basically change light colours and even use ISO in some pictures.
This is my new storyboard.

BTS