WEEK 1
Task 1: Remove a Green Screen Background using Photoshop
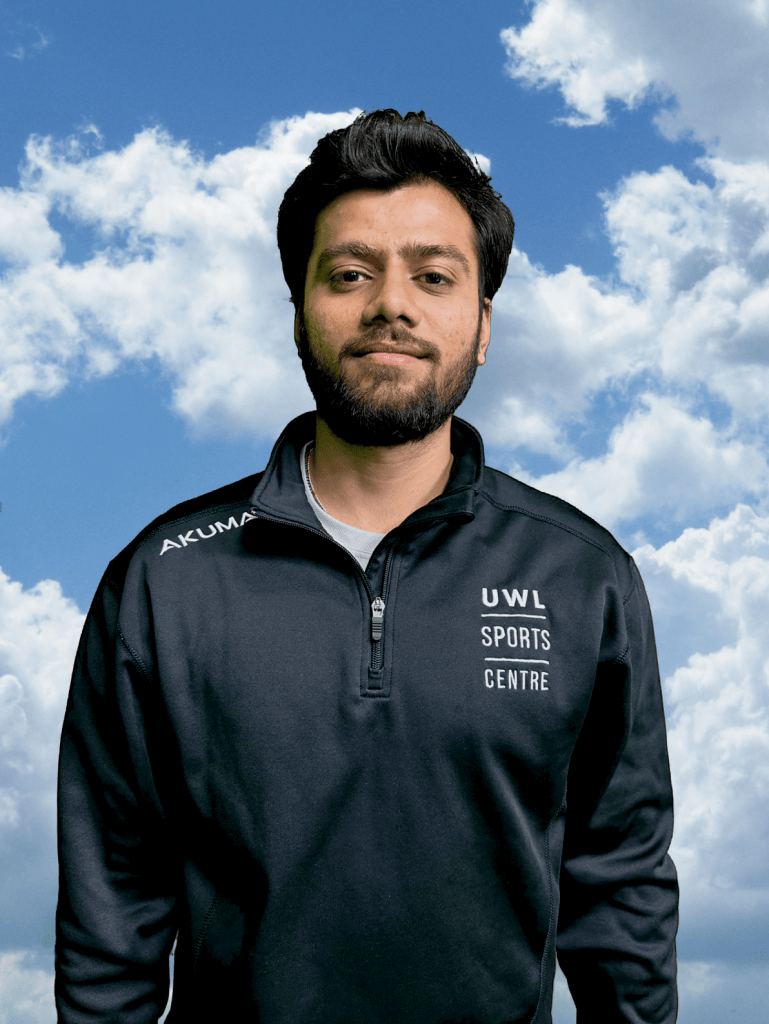
Week 1 : I Learn basics of Photoshop. Learn how to remove green screen and add new background.
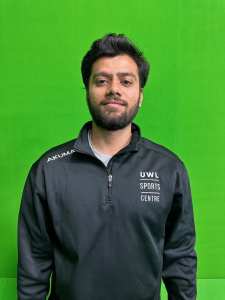
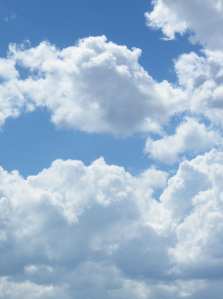
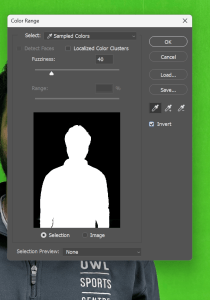
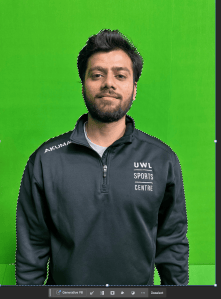
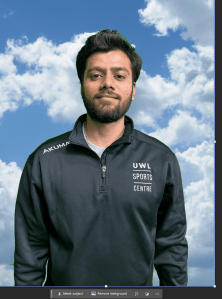
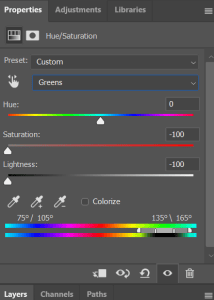
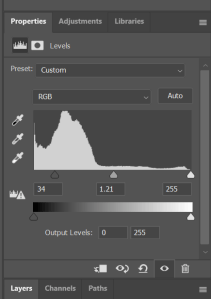
- Add both image in one frame.
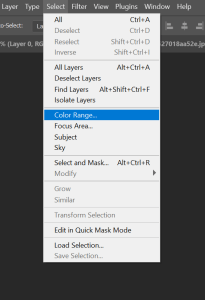
- Go to Select, Color Range, Select the area you want to remove and click on Invert.
- Selection has appeared. Now copy, paste.
- Now Add mask and click on adjustments and then adjust the colours with help of different tools provided.
Final Image after removing green screen
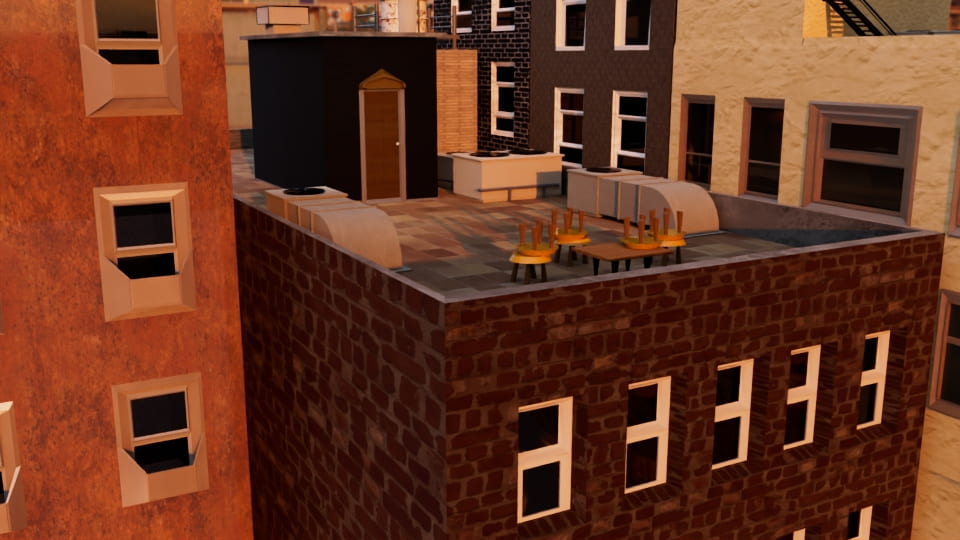
Task 2 : Creating an Apocalyptic Building Scene using Photoshop
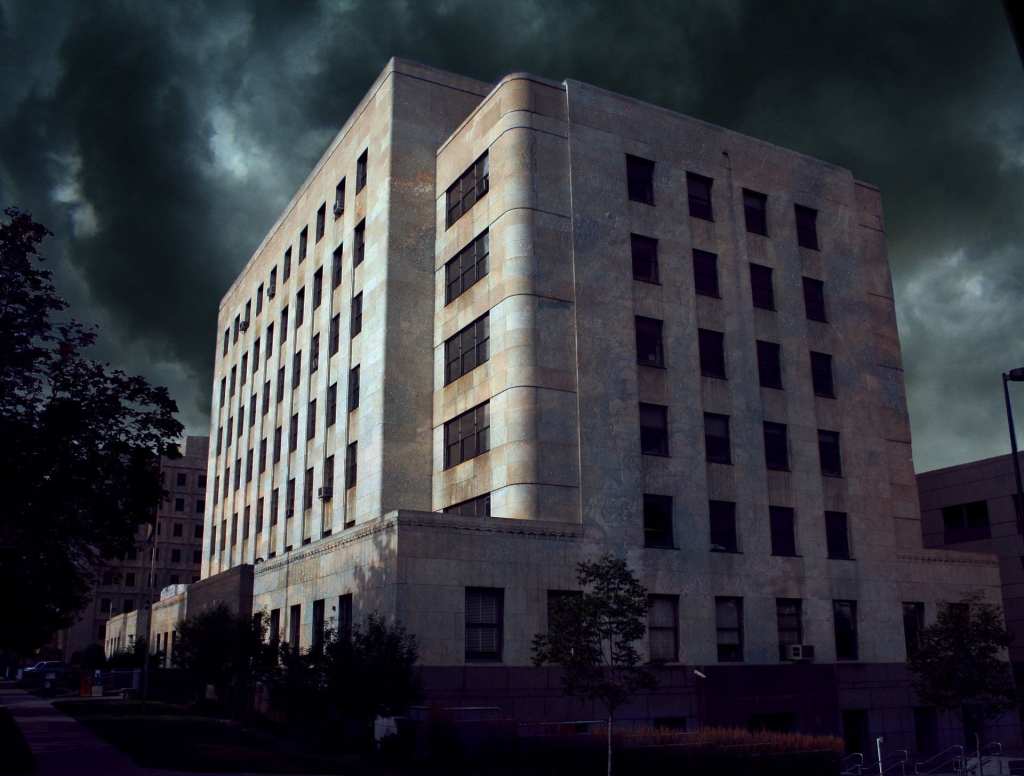
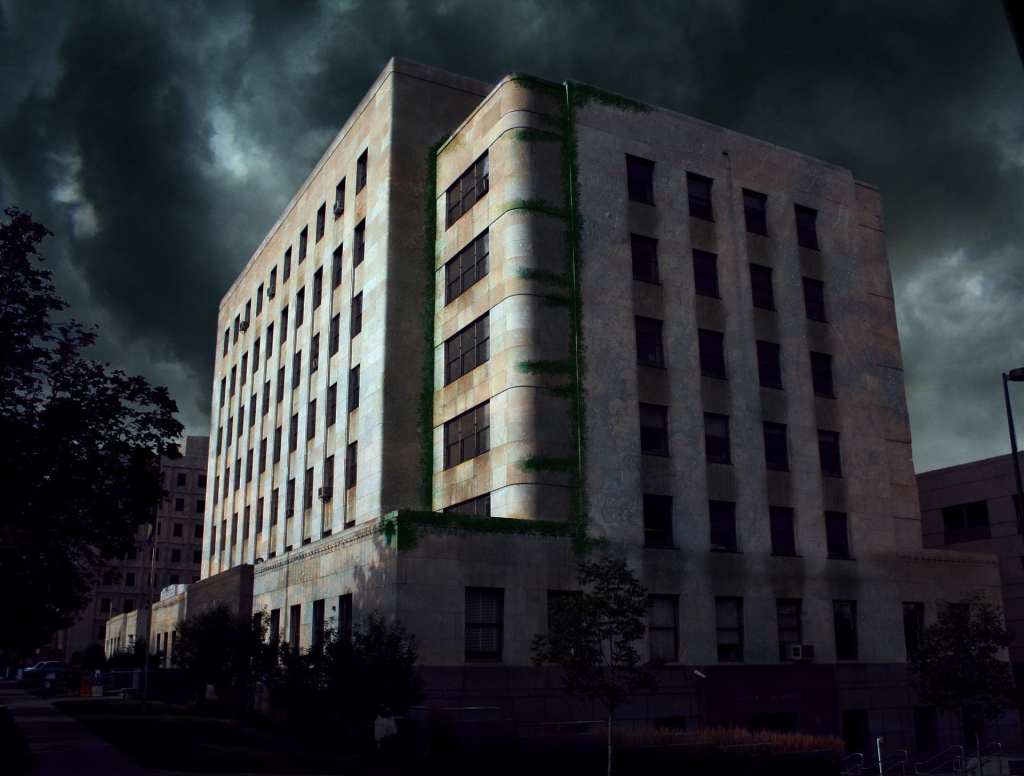
Here, I made an apocalyptic Building scene using the elements provided with help of photoshop. Our aim is to make it look old and scary building. I learn how to add layers, Use of Colour range and more.
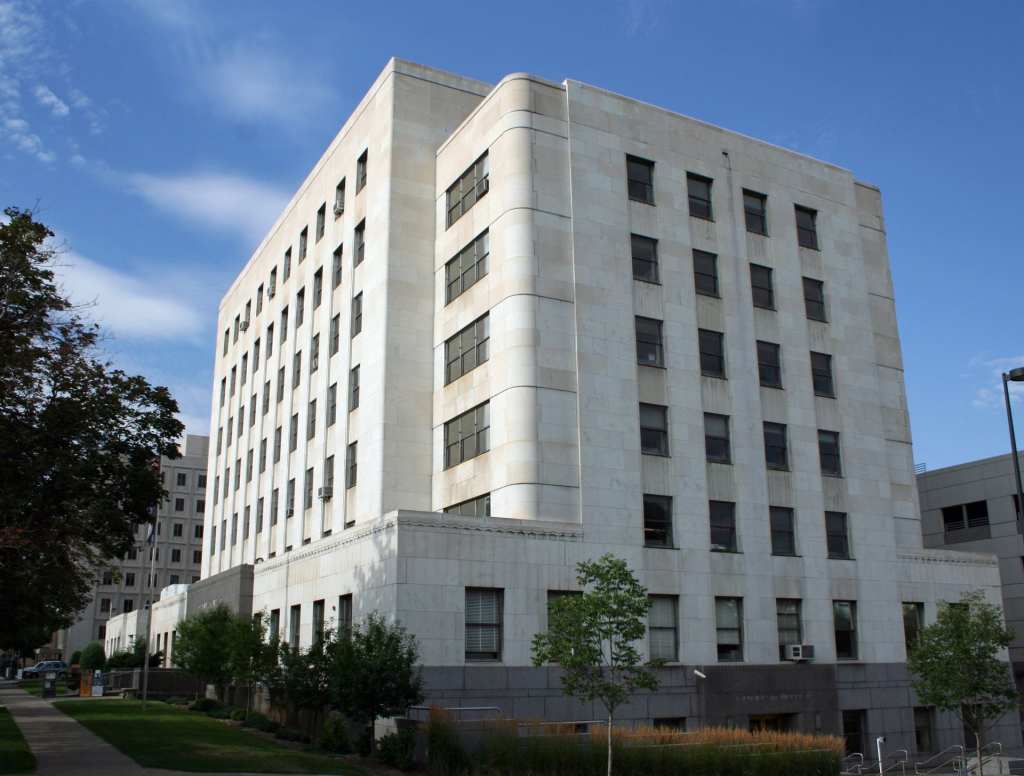
- I copied image_1 on image_2.
- Select image_1<Edit<Copy<Go on image_2 page<Edit<Paste
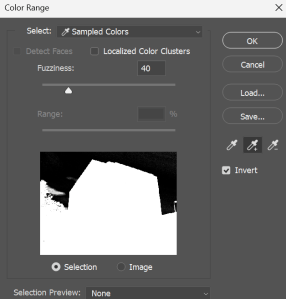
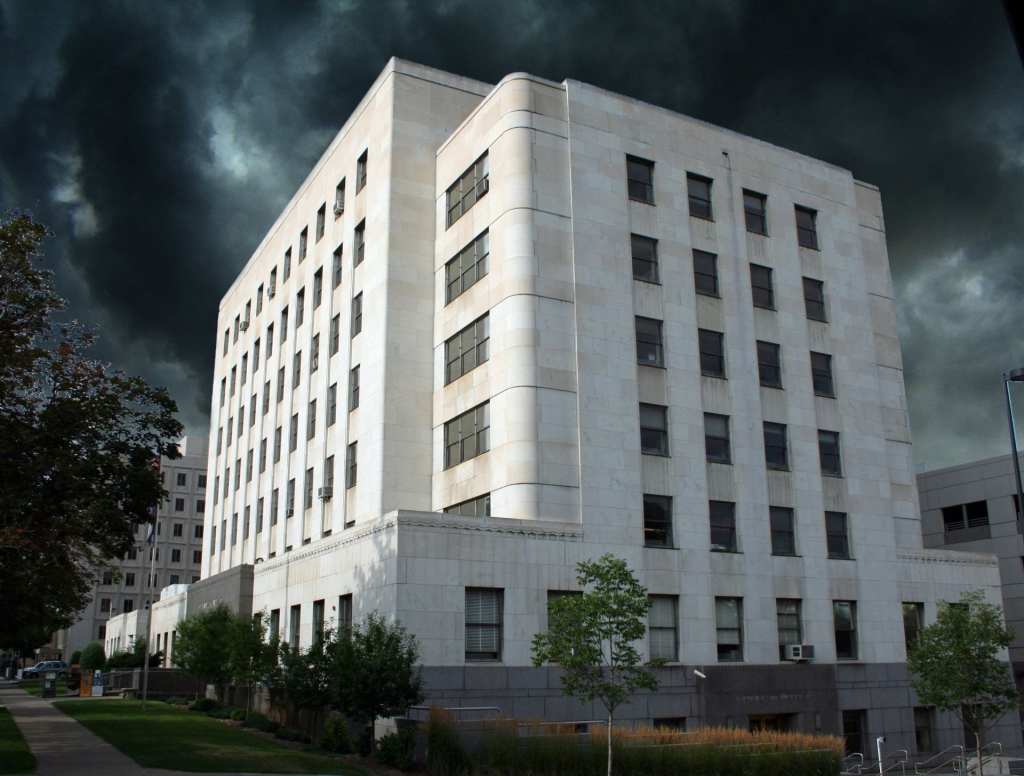
- Then I use use Color Range to give Output_1.
- Select<Color Range<Layer<Layer Mask<Reveal Selection and I got Output_1, Later I use Brush Tool to get rid of White Clouds of Image_1.
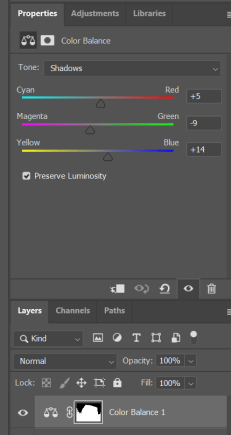
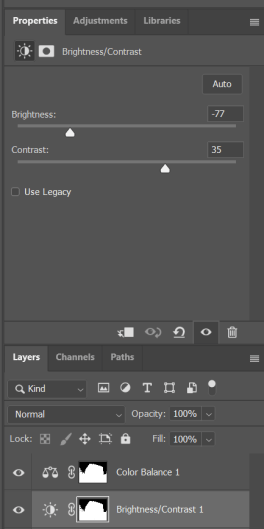
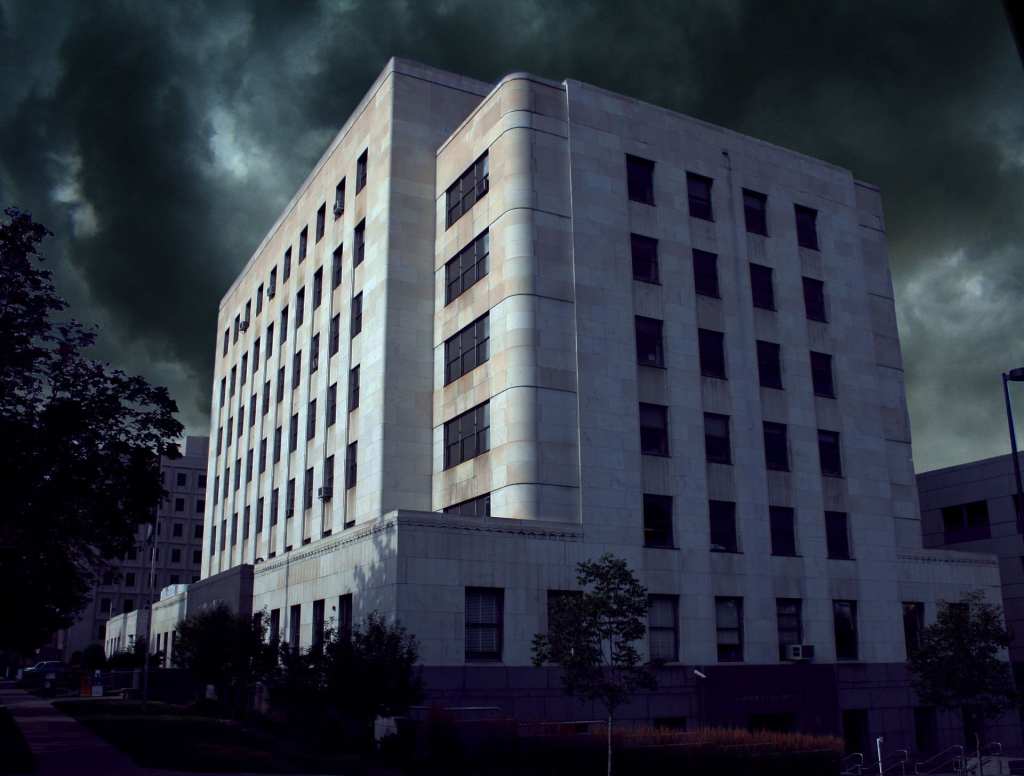
- To give a dark look I use Color Balance and Brightness/contrast Adjustments.
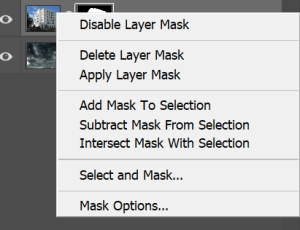
- Add Mask to Selection<Adjustments<Color Balance.
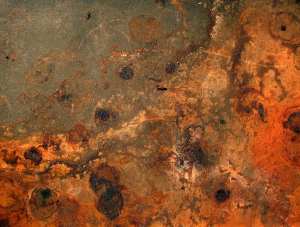
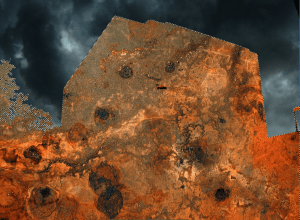
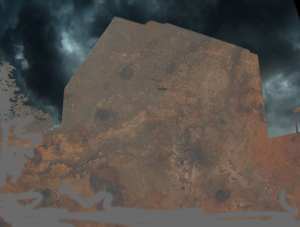
- Add Image_3 to give a rusty look to building.
- Click on Add Mask to Selection<Select Image_3<Layer Mask<Overlay.
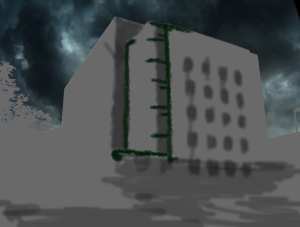
- Add a new Layer, use Bucket tool and fill it with grey colour.
- Click on Add Mask to Selection<Select new layer<Layer mask<Overlay.
- By using Burn tool I give a dark look near windows. Then I import brushes folder and selected Foliage brush to give grassy look on the building.
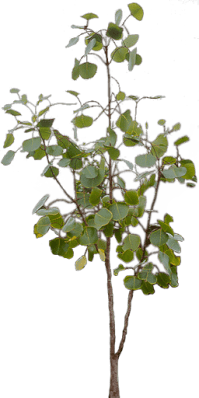
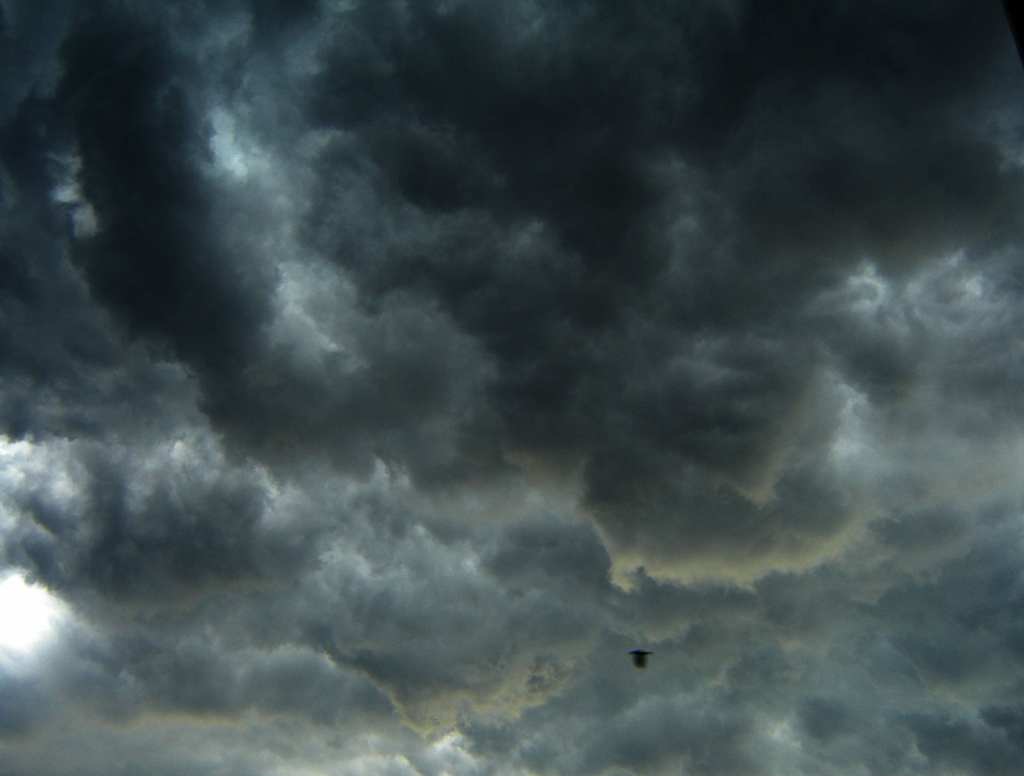
- Add image_4, I get to know how to blur the image using blur lens.
- Then I add new layer and use bucket tool and fill it with black colour Furthermore I added lens Flare to give look of sun.
- Filter<render<lens flare, Then choose Screen and Then Filter<lens Blur.
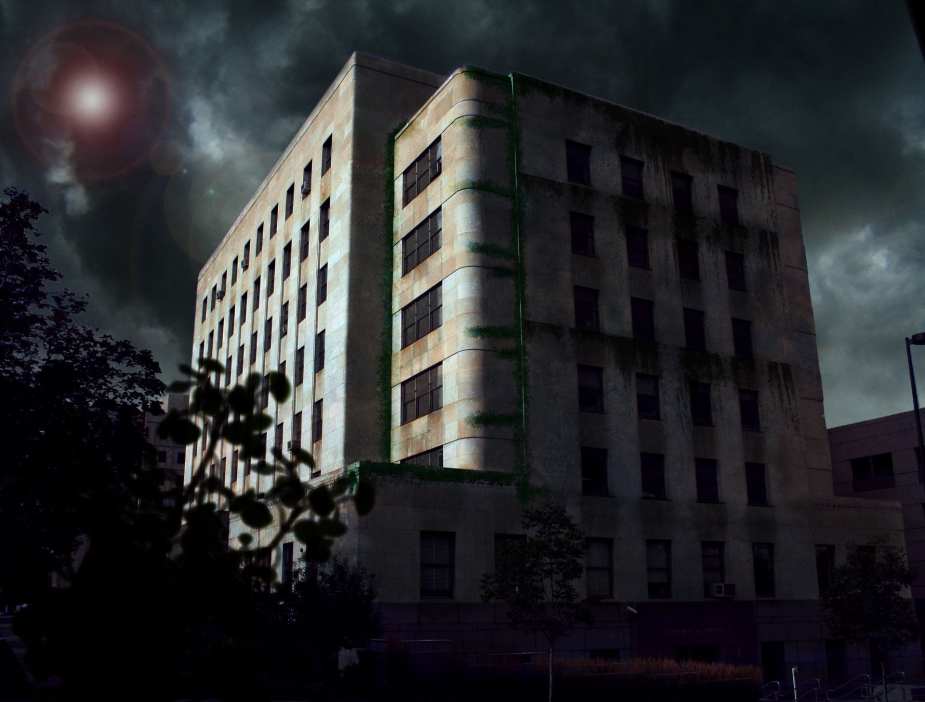
- Save the File.
WEEK 2
Creating a simple VFX breakdown and include it in showreel
Breakdown of Apocalyptic Building using Adobe Premiere Pro.
WEEK 3
Creating a Hybrid Animal using Adobe Photoshop
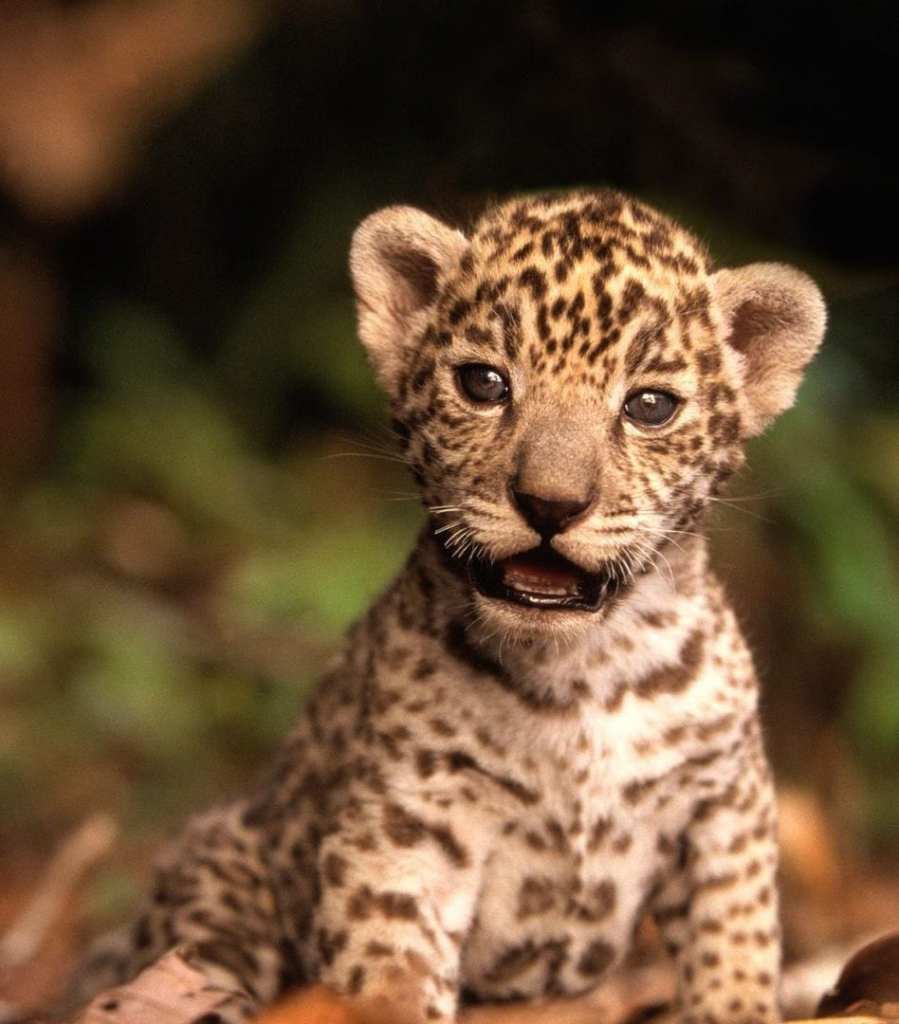
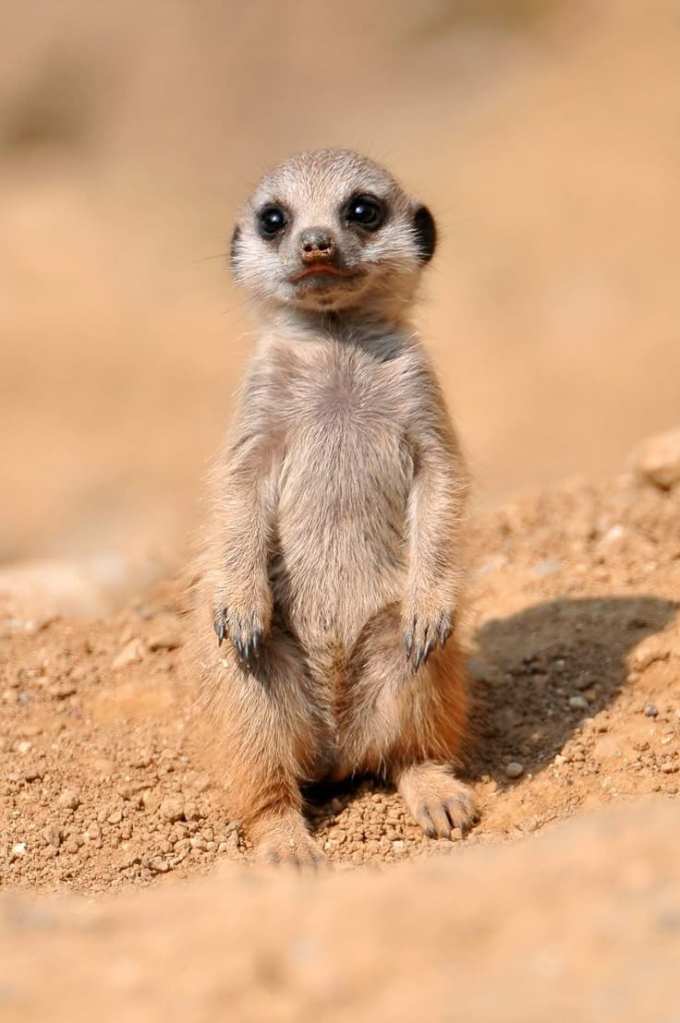
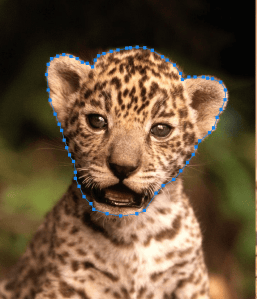
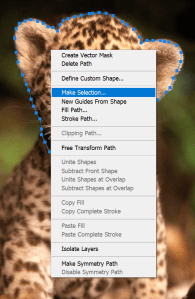
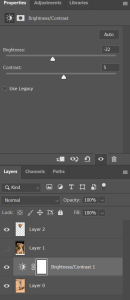
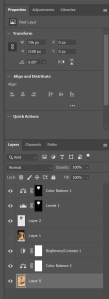
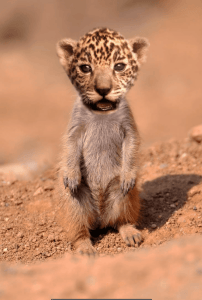
- Use Pen Tool to select face of lion.
- Right click & then click on Make selection.
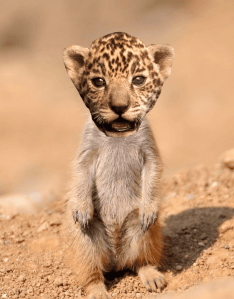
- Go to file, click copy & then click Paste. Adjust the face accordingly.
- Use Eraser tool and Blur tool to get rid of sharp edges.
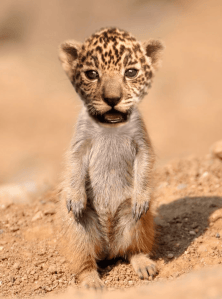
- Use Brightness/Contrast to dim the light and color balance to match colors of both images. Used Mask for Face.
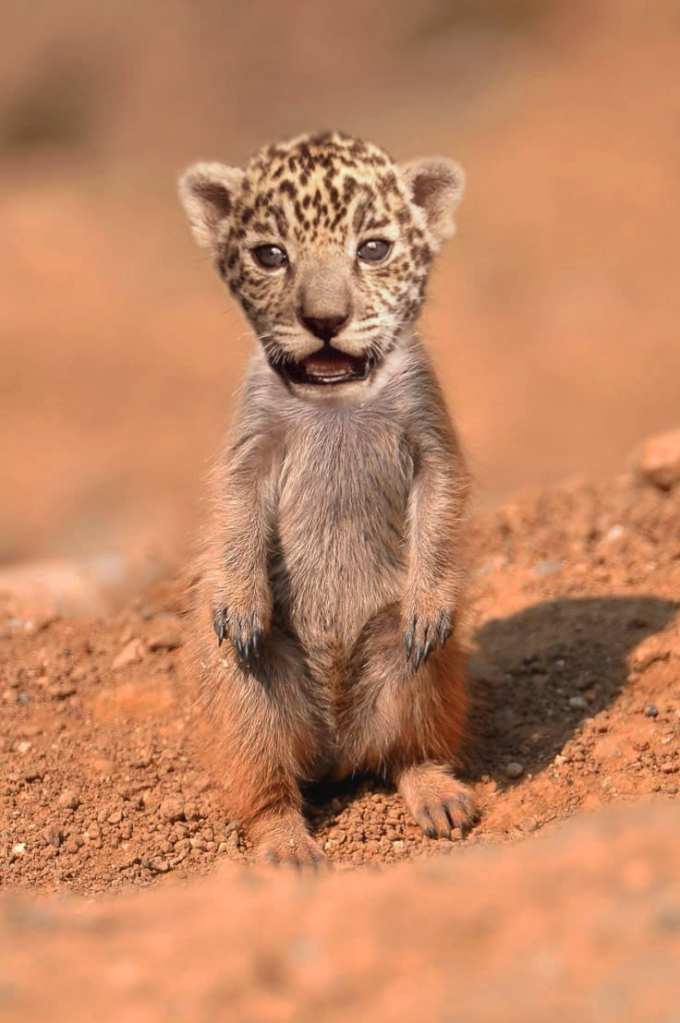
Final Hybrid Animal
TASK 1
Create a fantasy environment image using Photoshop
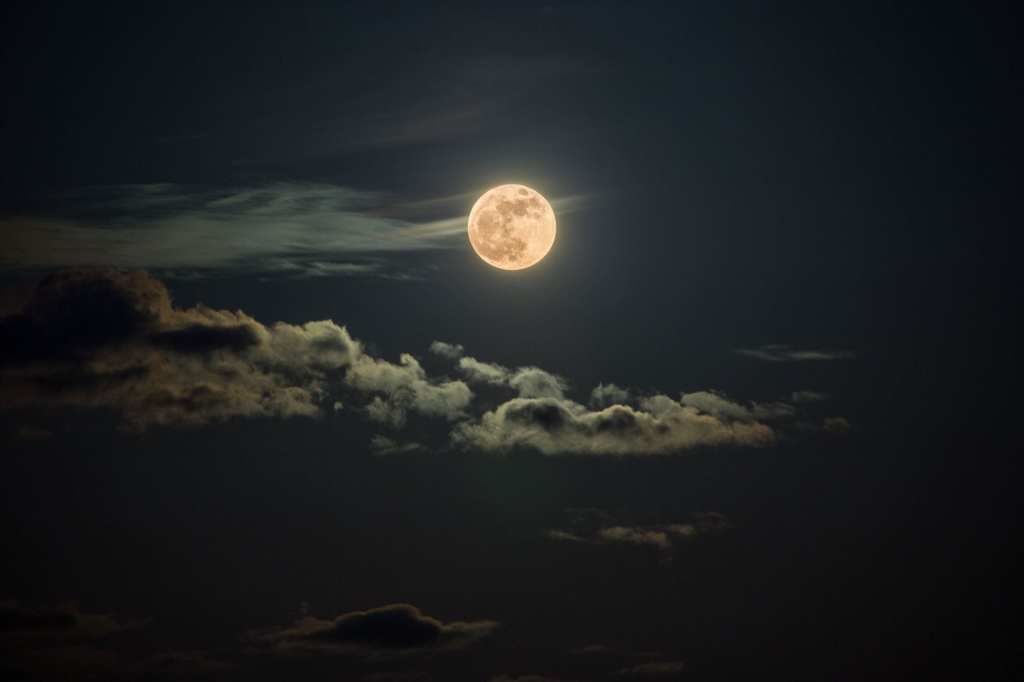
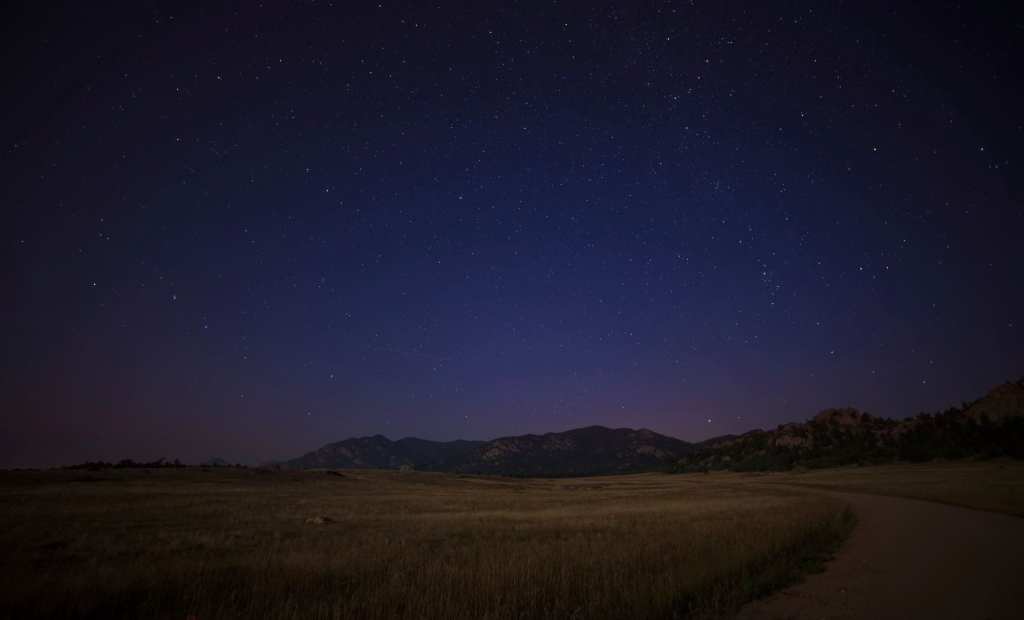
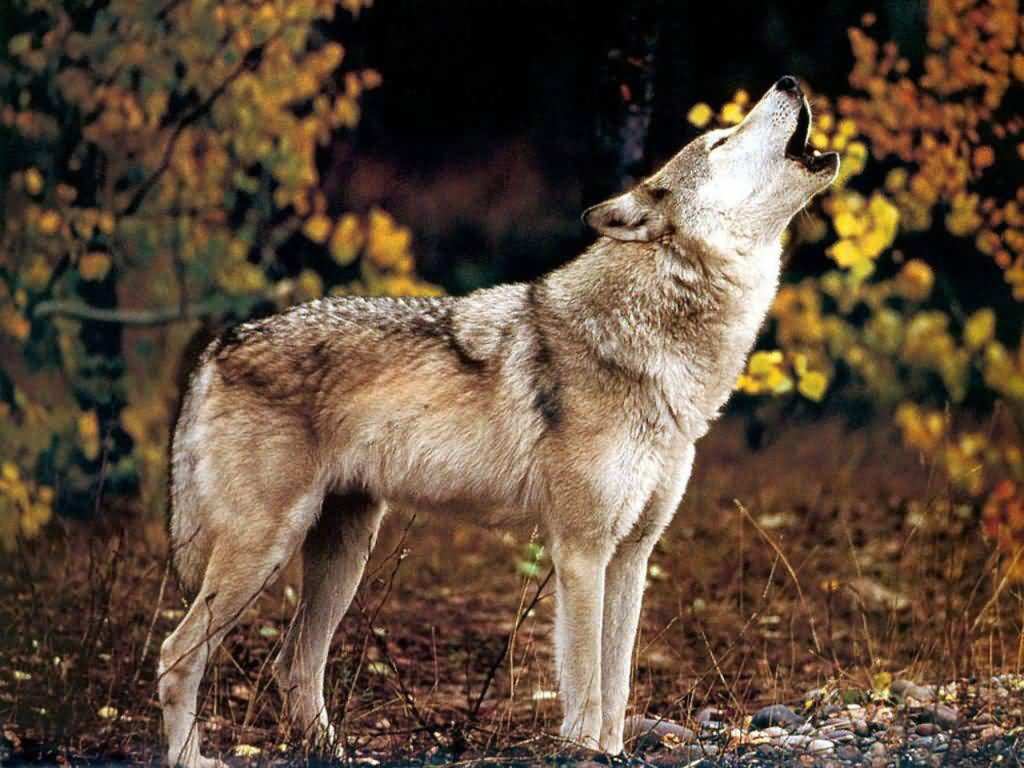
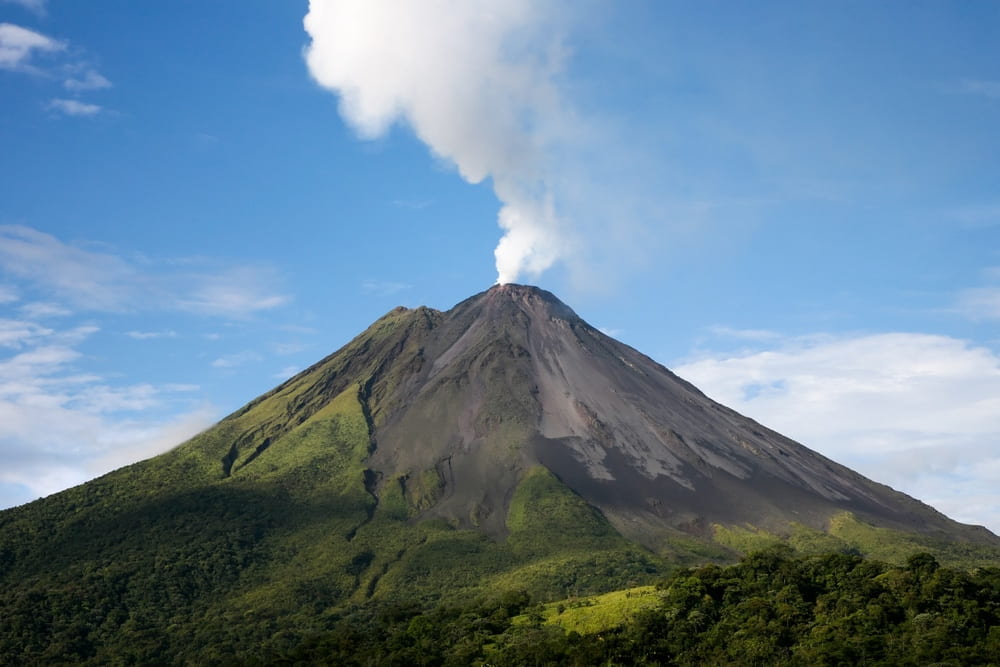
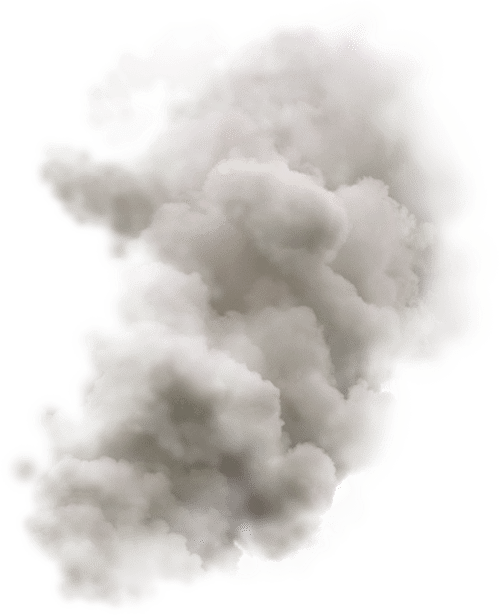
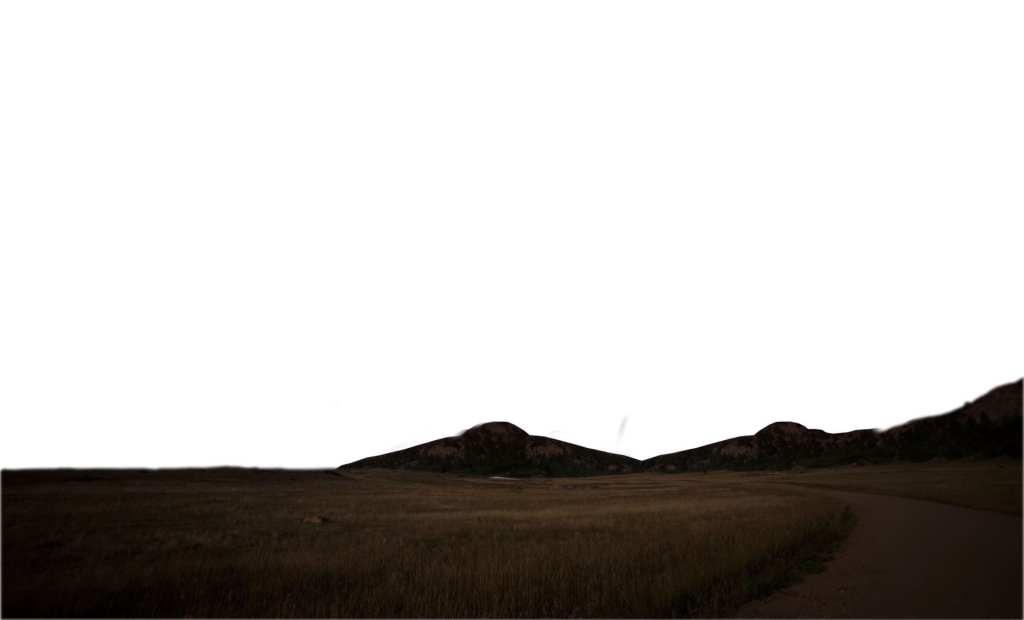
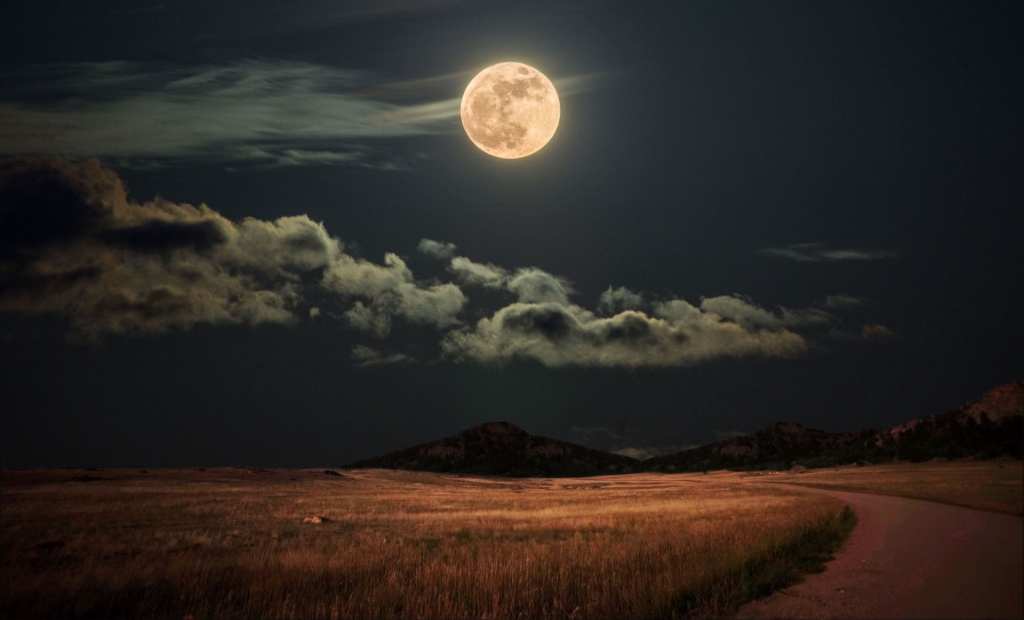
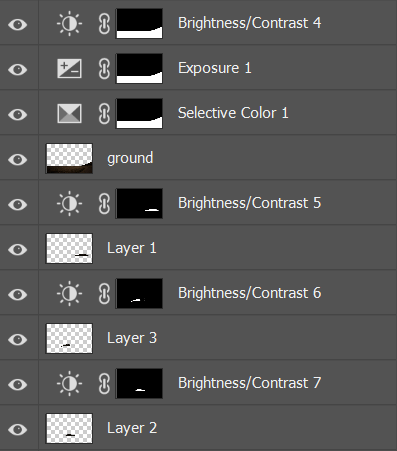
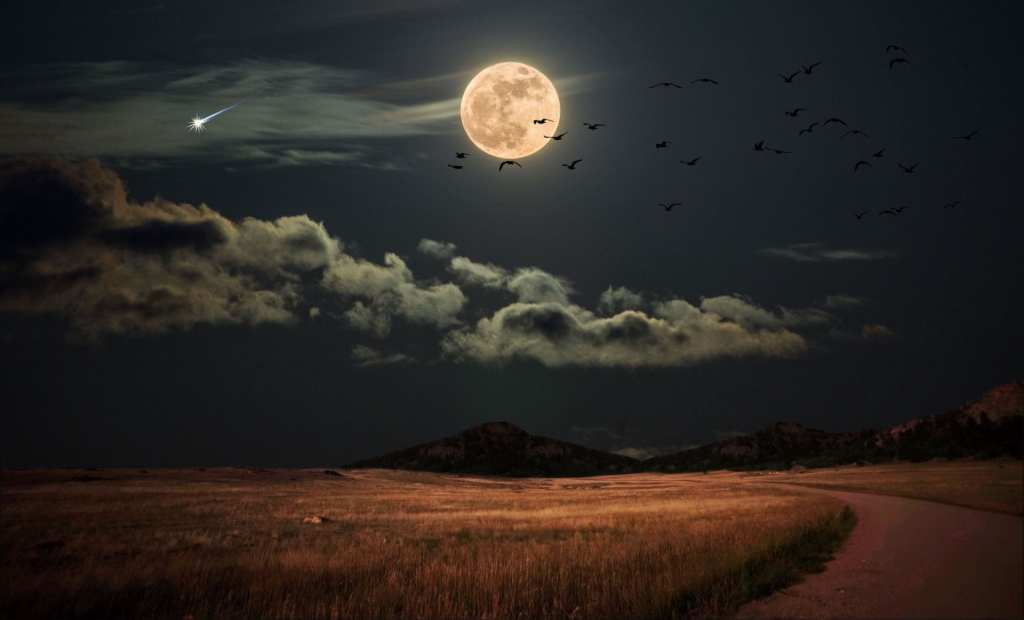
- I use pen tool to cut ground and mountains & copy – paste to add more mountains.
- Then I use color balance, Brightness/contrast, Exposure, Selective Color, on ground and mountains. Then copy – paste on source_1.
- Add Source_4 and Source_5
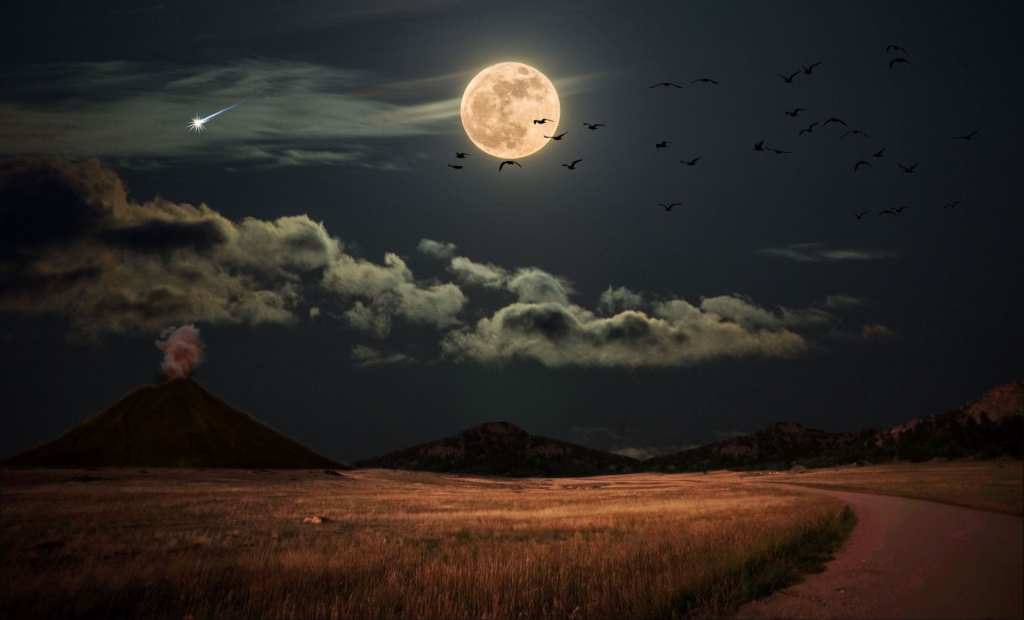
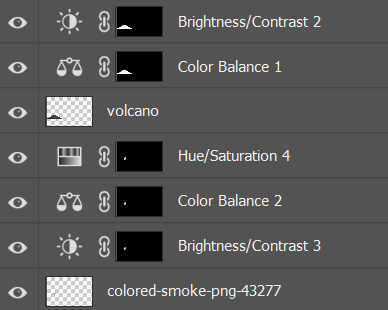
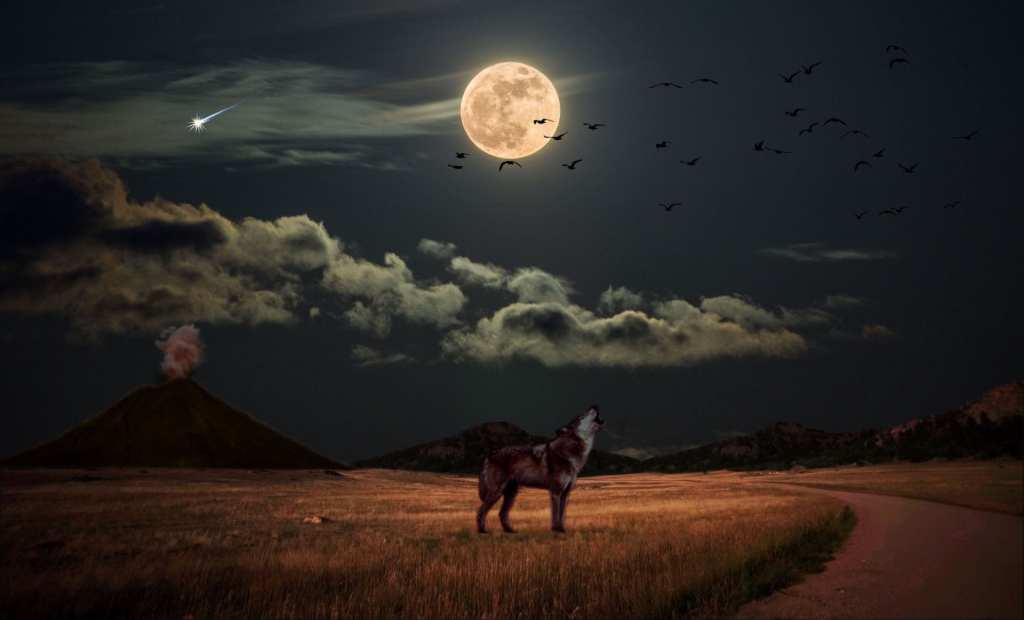
- Use pen tool on Source_6 to cut out volcano and add Source_7 as well.
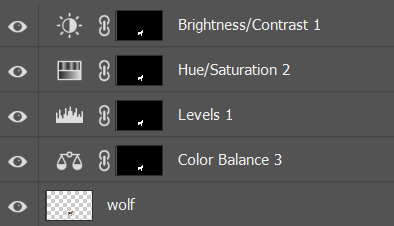
- Then I use mask to give Brightness/Contrast , Color Balance, Hue/Saturation.
- Then add Source_3, used pen tool to cut out the wolf and then Brightness/Contrast , Color Balance, Hue/Saturation, Levels.
Final Output
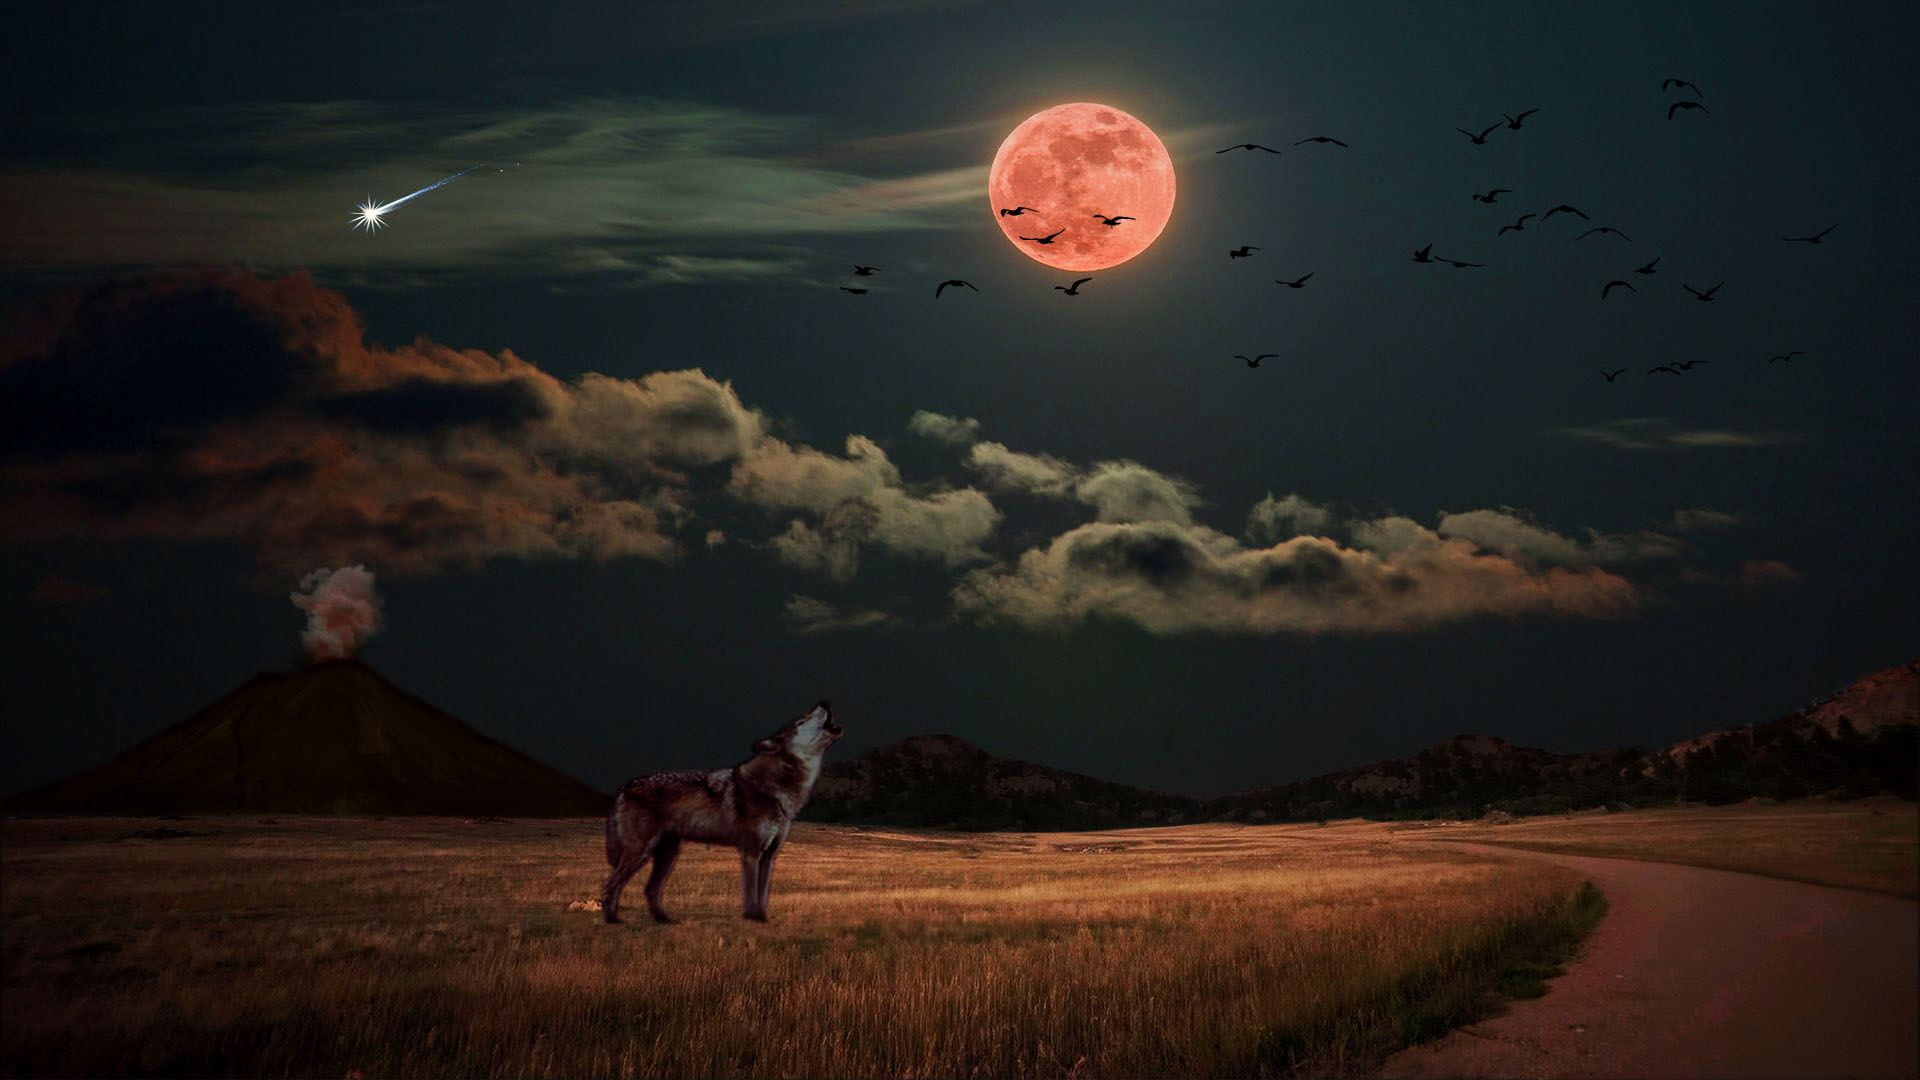
I have use 7 different elements to make this. Above, I have mention the steps and tools I used. The most pleasant scene according to me is color of moon and clouds. although, I love the wolf and it gets blend with the picture and I believe next time I will try to work on blending thing more into a scene. I have idea to add fog and trees next time. If I have to work on this same project.
TASK 2
Fantasy Creature
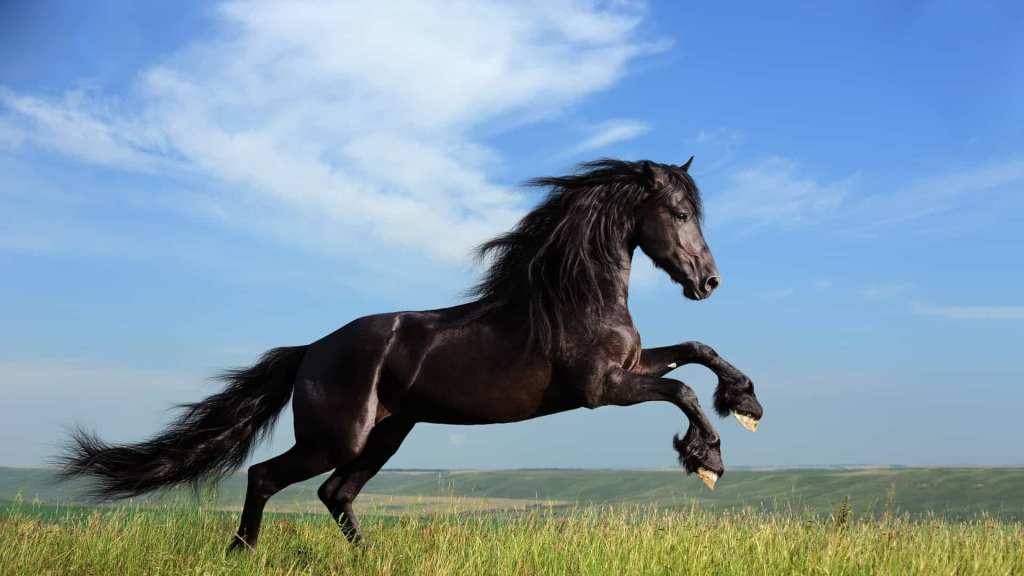
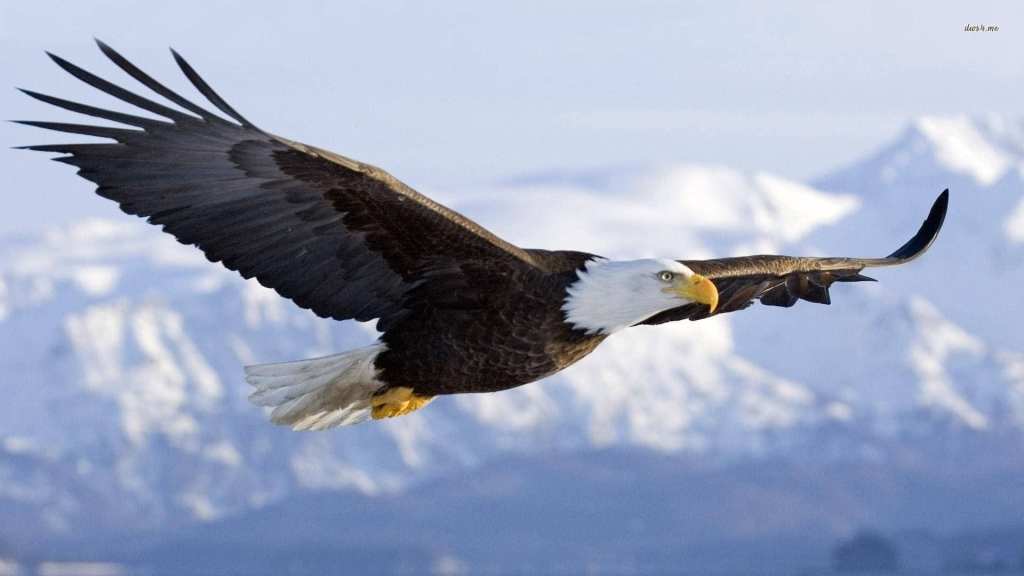
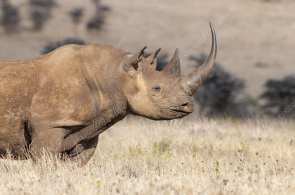
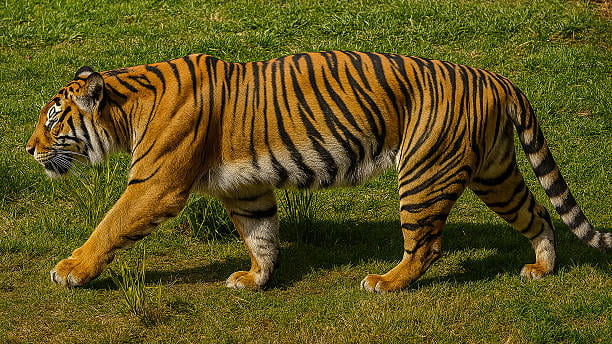
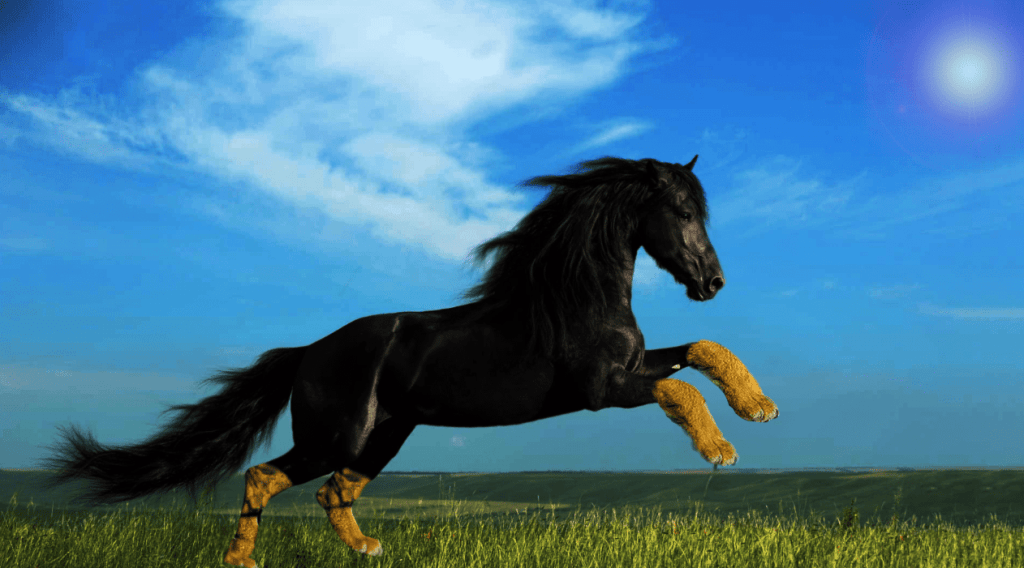
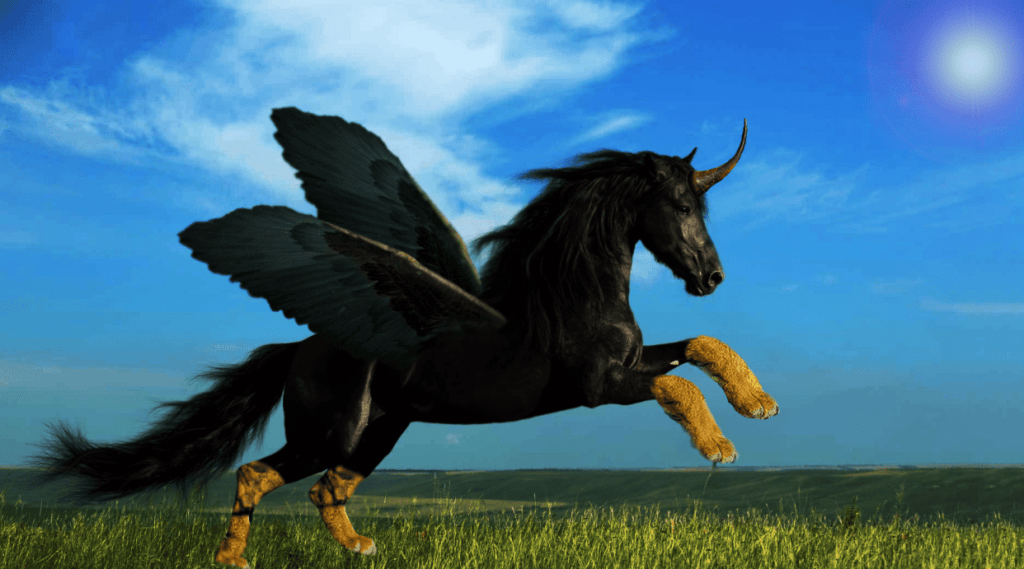
- I use pen tool on Source_4 to cut its legs out. I also use Healing Brush tool & Remove tool to give perfect shape.
- Then I use Eraser & Blur tool to blend tiger legs with horse legs.
- I cut wings of Source_2(eagle) using pen tool. Then used Eraser & Blur tool to blend it with horse body.
- I also use Color Balance & Brightness/Contrast on wings.
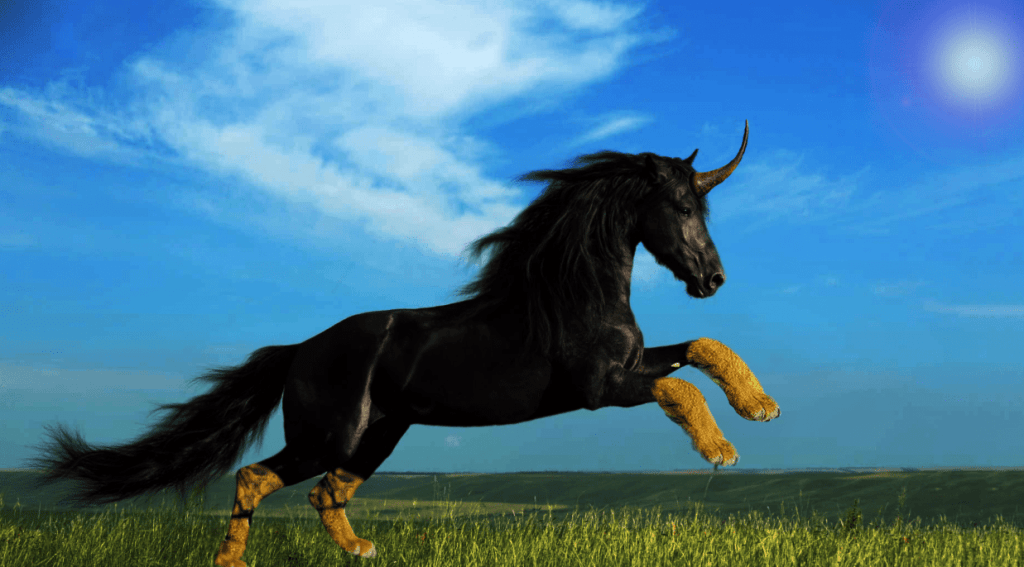
- For Horn in Source_3 again with help of pen tool I cut out Rhino Horn and place it on horse head.
- Then same use Eraser & Blur tool to blend it & used Levels & Brightness/Contrast to blend more.
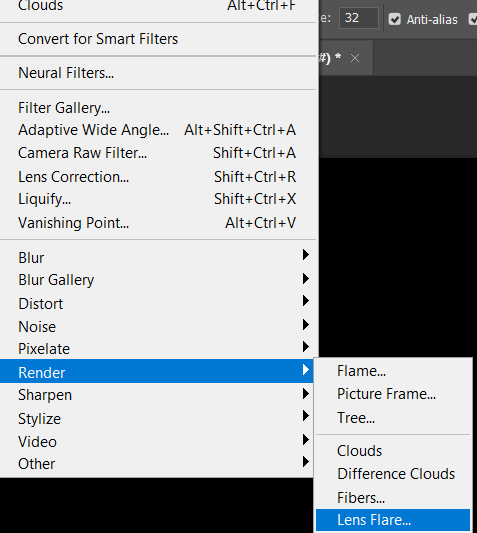
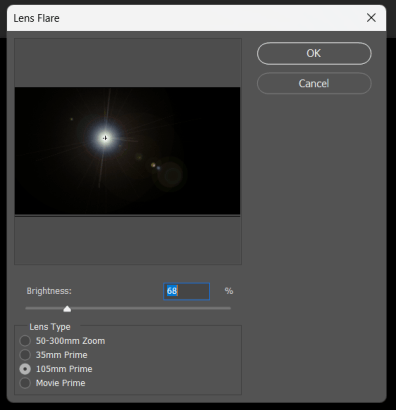
- For Sun I added a new layer, then use paint bucket tool and fill black color.
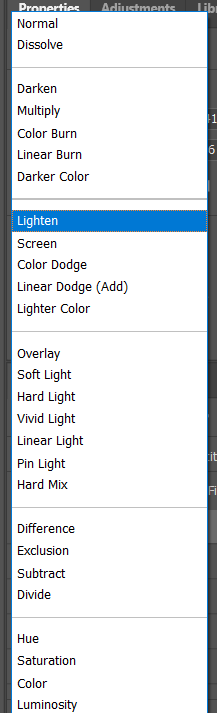
- Go to filter>Lens flare. I removed the unwanted part Using eraser tool and shift to lighten.
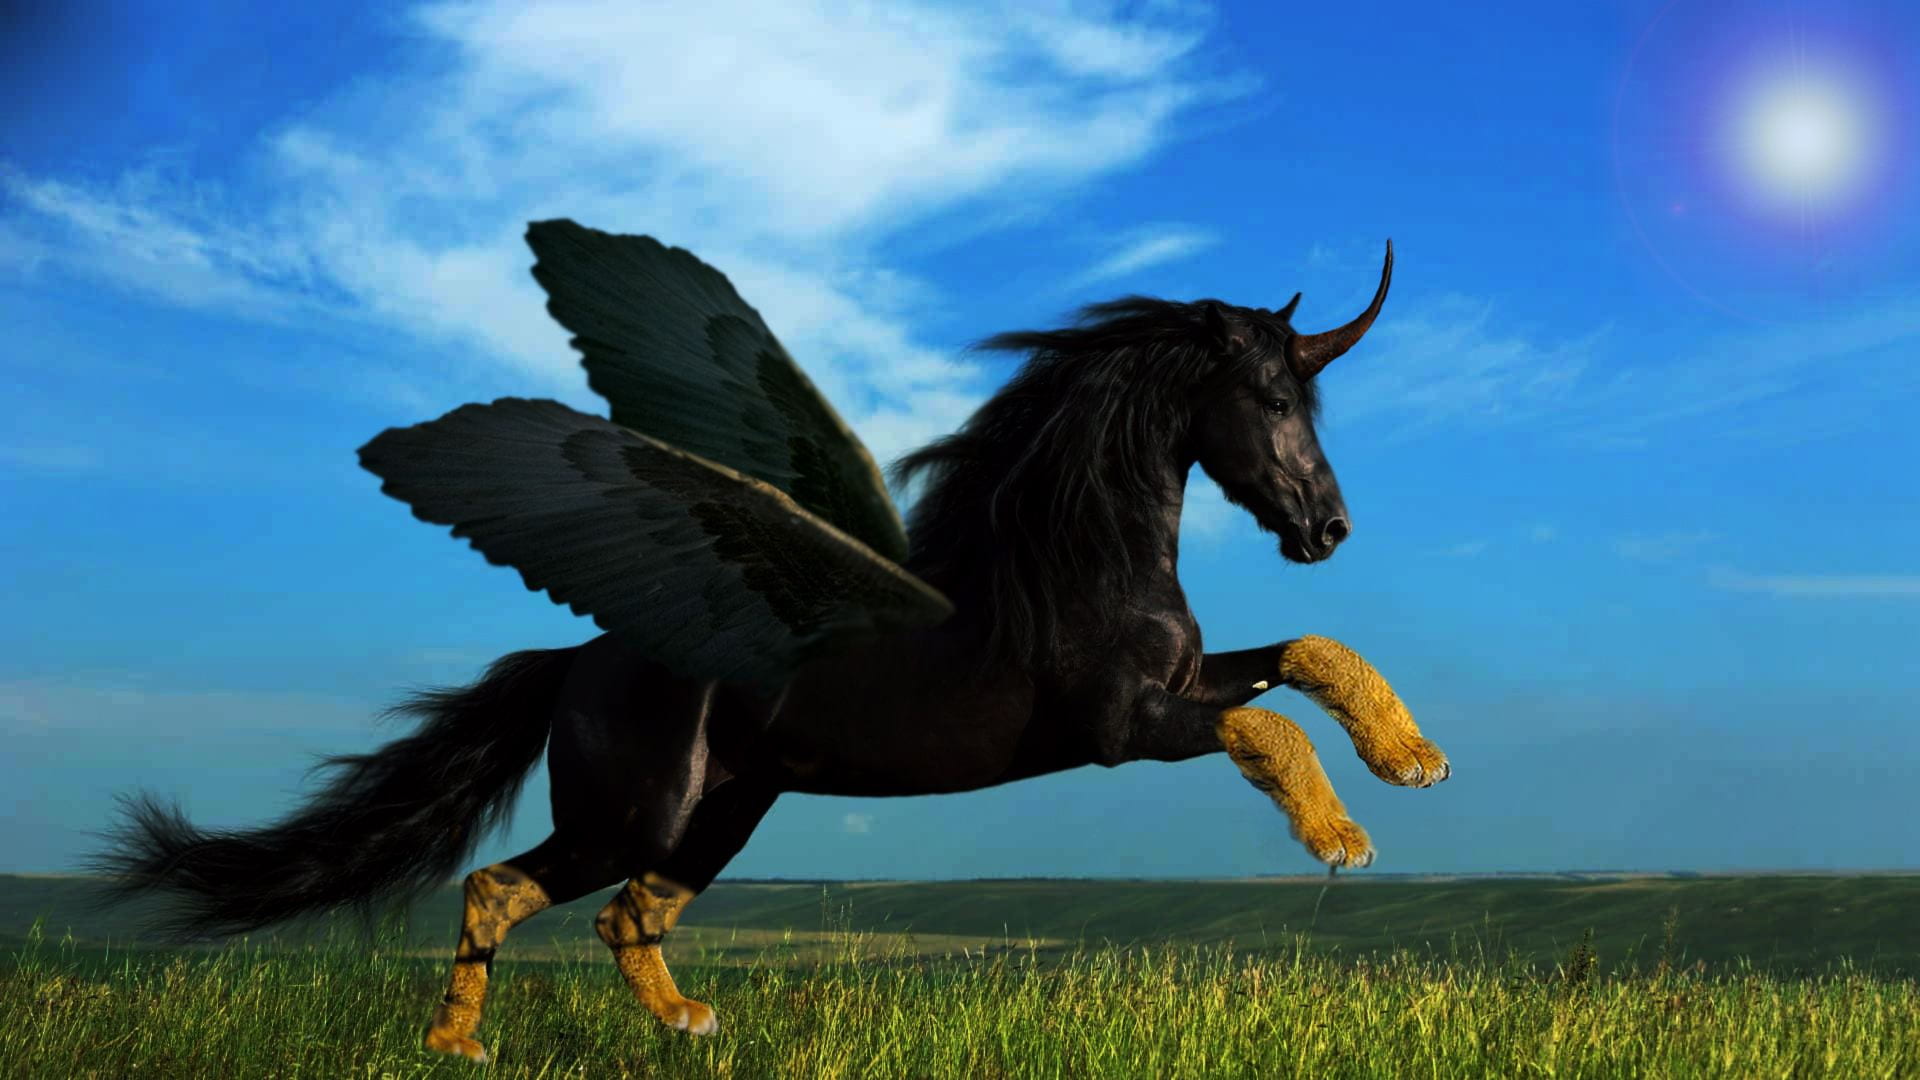
Here, I tried to make a Pegasus with a Rhino horn, Tiger’s legs, wings of Eagle & Horse body. It really went well and I really like it. Yes, there is more work to do on it, like to blend the wings a little more, do something with the tail but it’s still good. Above, I have mention the steps and tools I used to create this creature.
Week 4
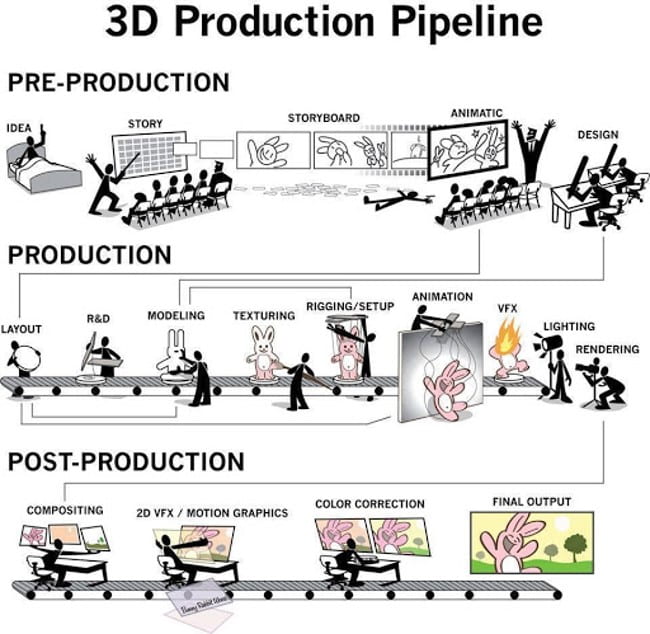
Introduction to 3D Modelling in Maya
What is 3D Modelling?
Digital 3D modeling is the process of creating a three-dimensional representation of any object or surface using specialized computer software. It involves defining an object’s shape, texture, and structure through mathematical data points known as vertices, which form the object’s mesh. These models can be viewed, manipulated, and animated in virtual environments, making them essential in industries like visual effects, video games, architecture, and virtual reality. By simulating real-world physics or purely imaginative designs, digital 3D models are widely used for both functional and artistic purposes.
Key concepts:
- Creation of 3D Objects: Involves building digital representations of objects using specialized software like Blender, Maya, or 3ds Max.
- Mesh Structure: 3D models are made up of vertices, edges, and polygons that form a mesh, representing the object’s surface and shape.
- Applications: Used in various industries like visual effects, video games, architecture, product design, and virtual reality.
- Texturing and Shading: Models are often enhanced with textures and shaders to give them color, detail, and realistic surface properties.
- Animation and Rendering: 3D models can be animated and rendered for use in films, games, simulations, and interactive environments.
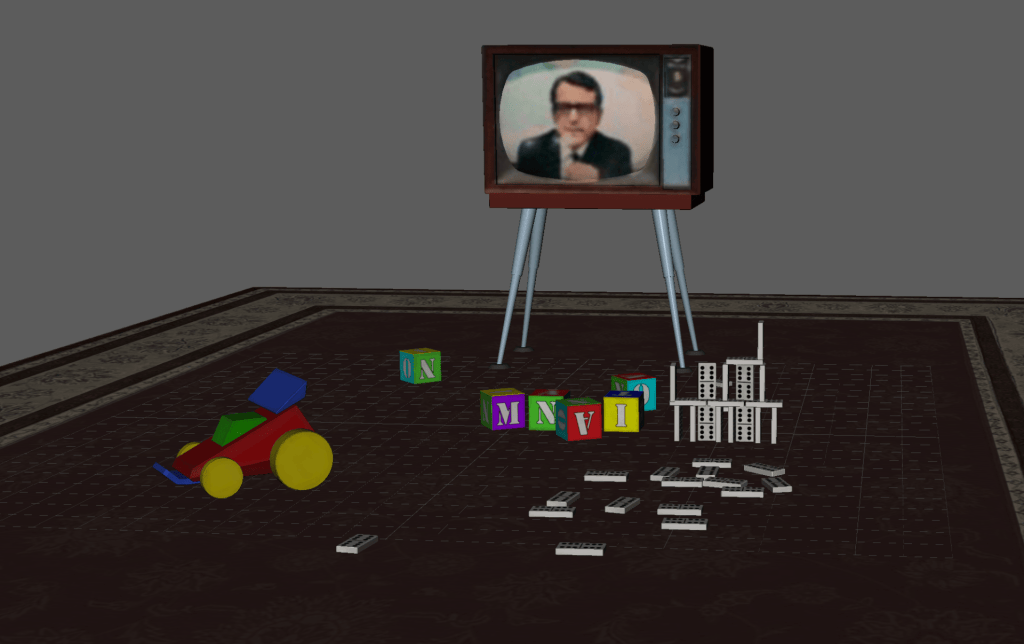
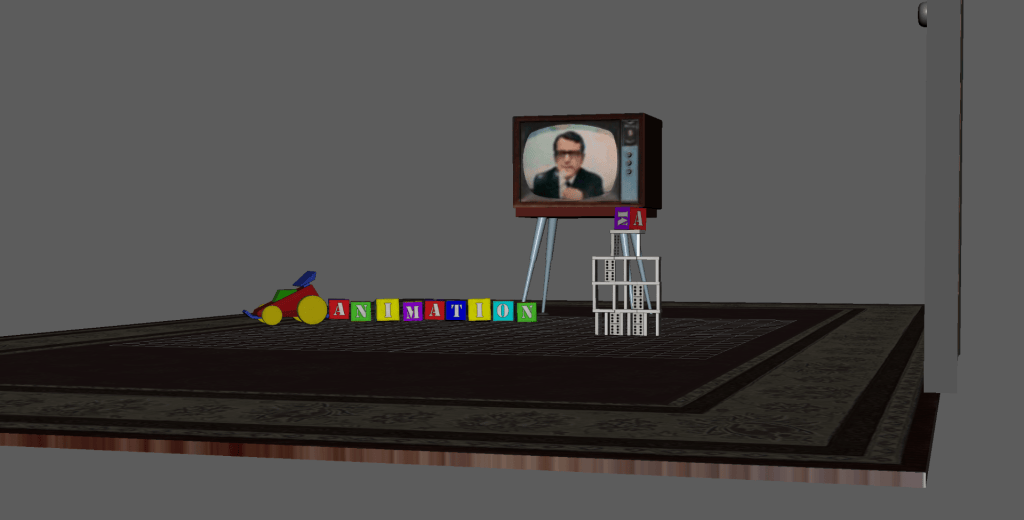
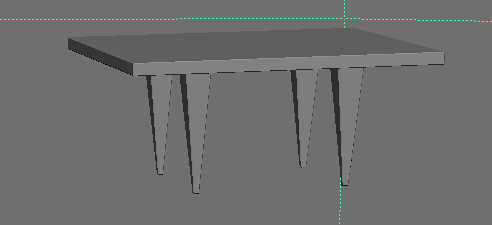
Making a building using assets provided and moving/rotating/scaling the basic polygon shapes in Maya.
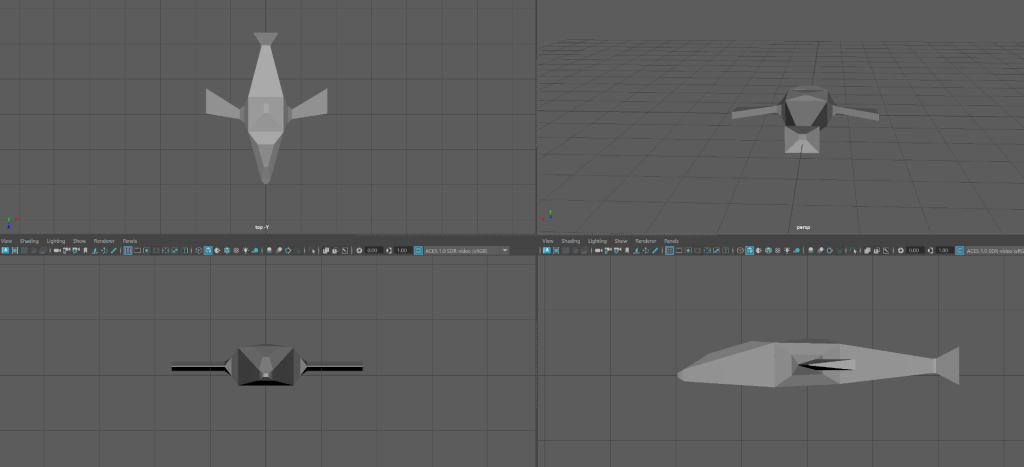
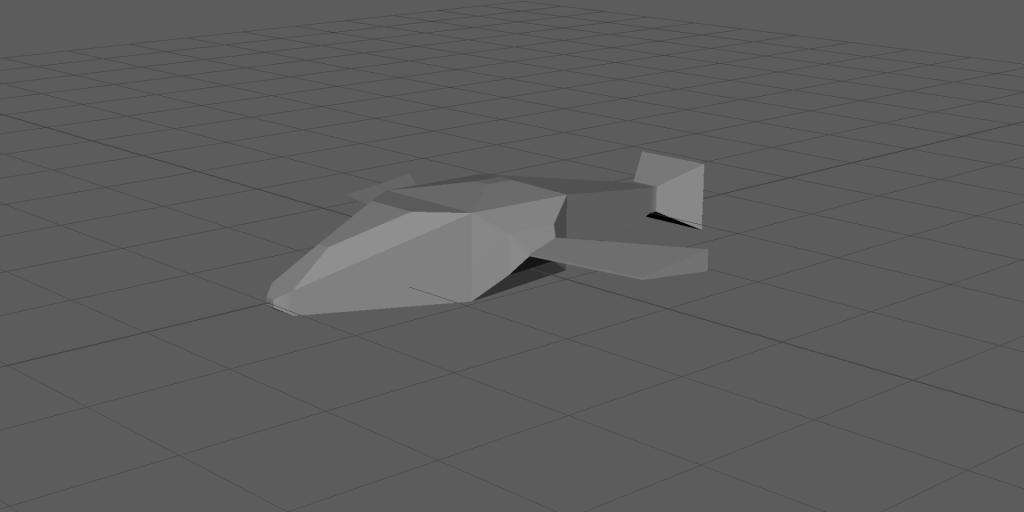
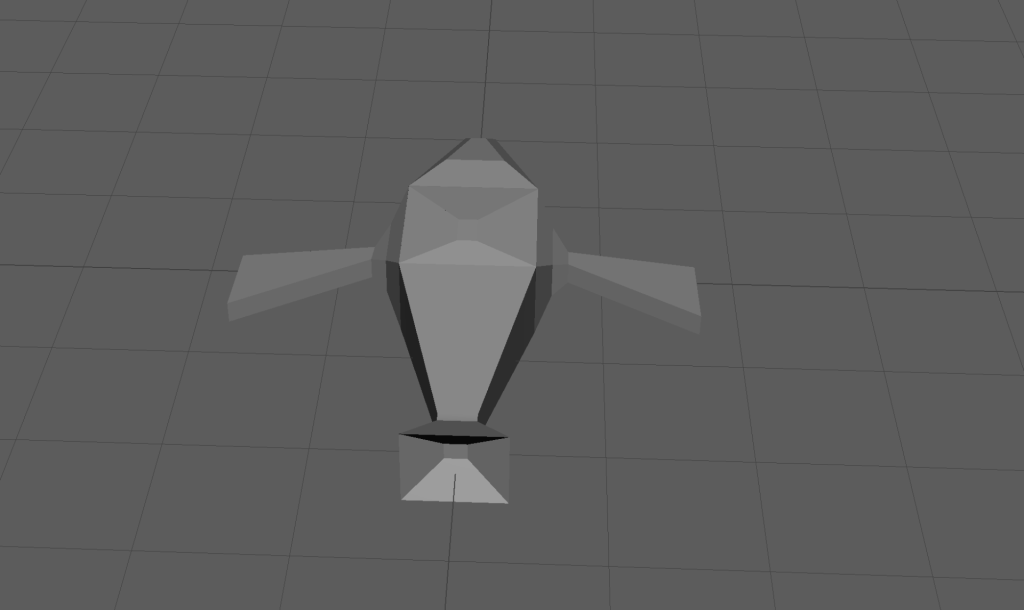
Spaceship Model
Week 5
Hard Surface Modelling in Maya
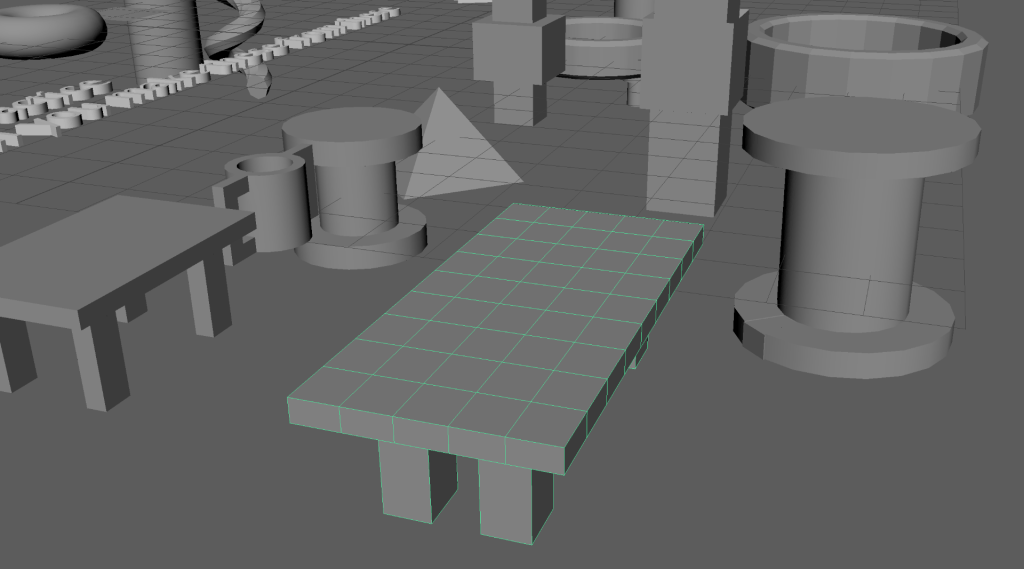
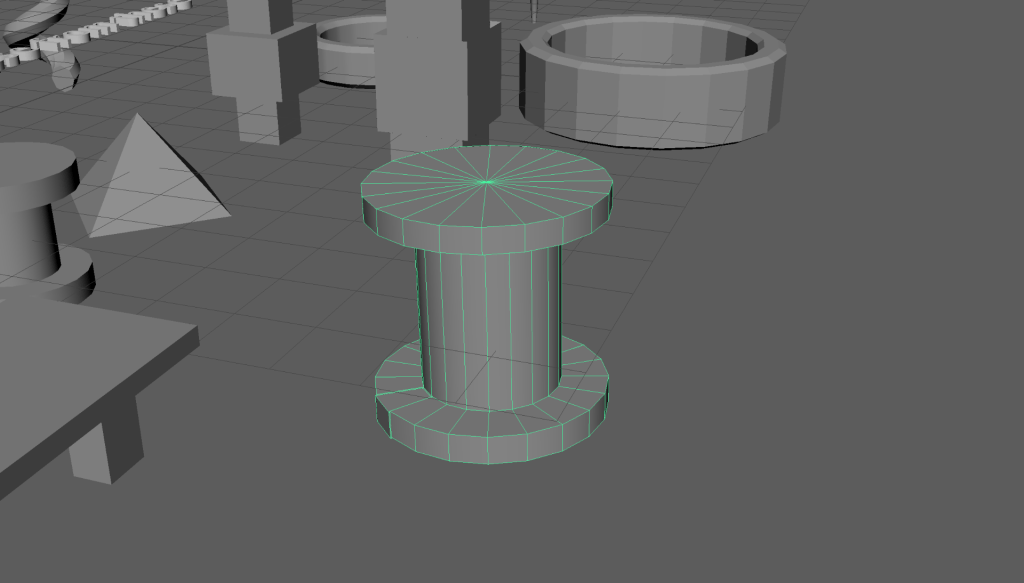
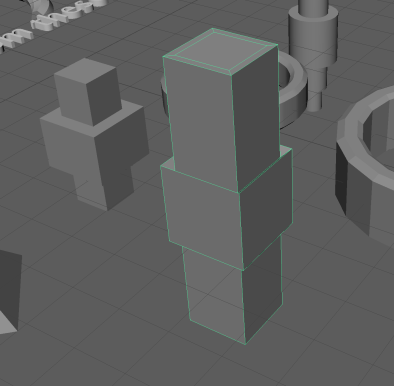
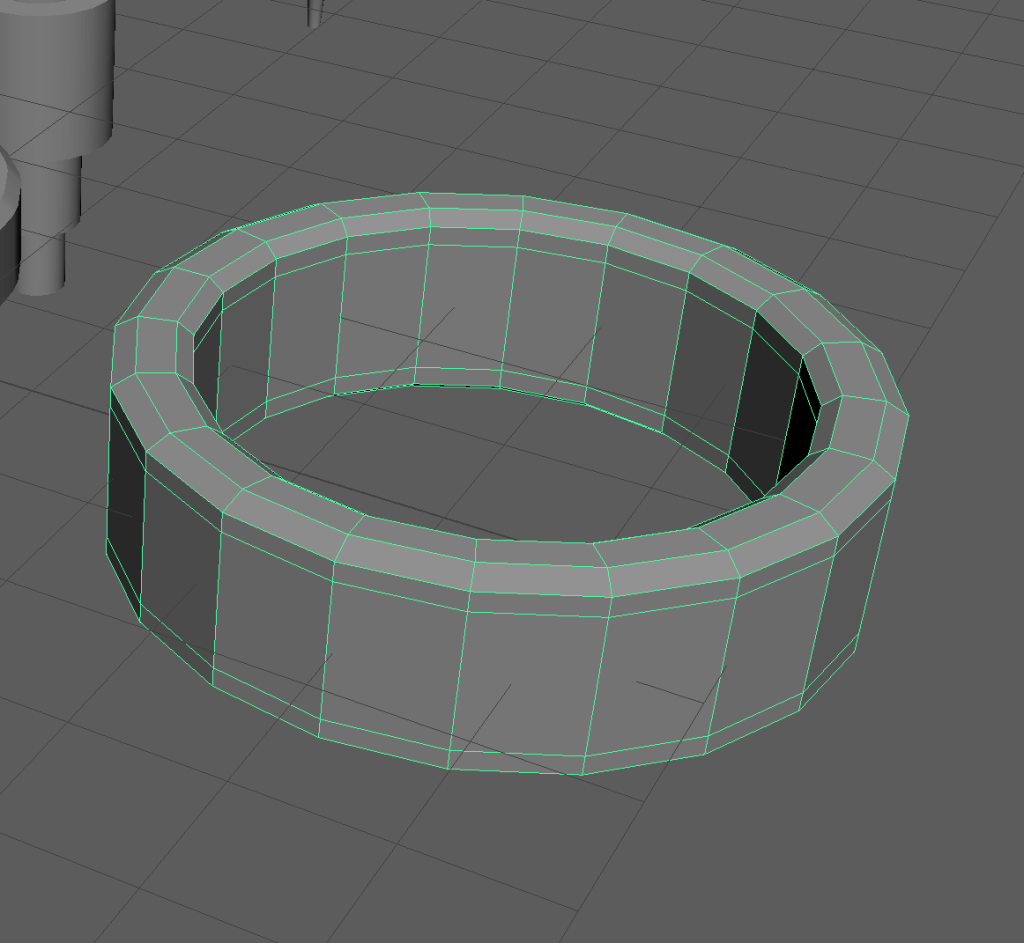
Modelling Techniques I Learn :
- Extrude
- Bevel
- Edge loops with multi-cut
- Soft Selection
- Symmetry
Week 6
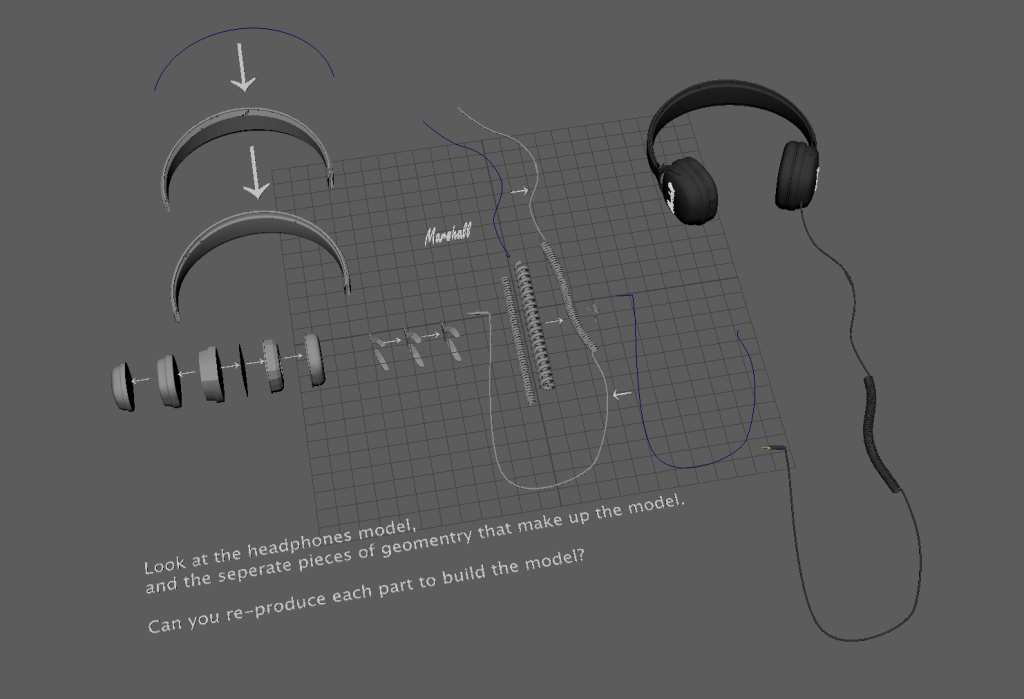
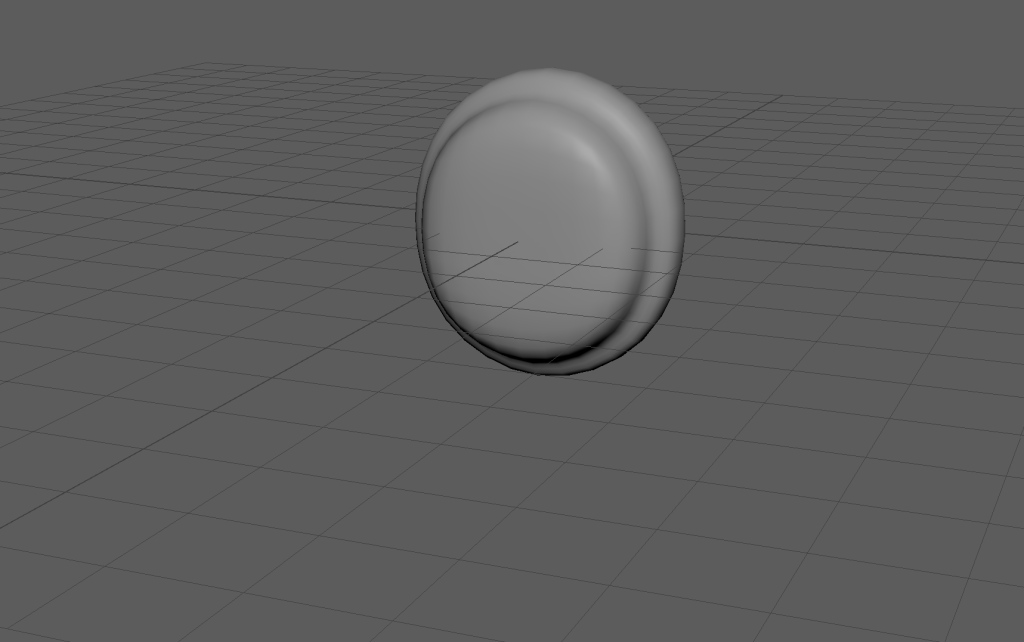
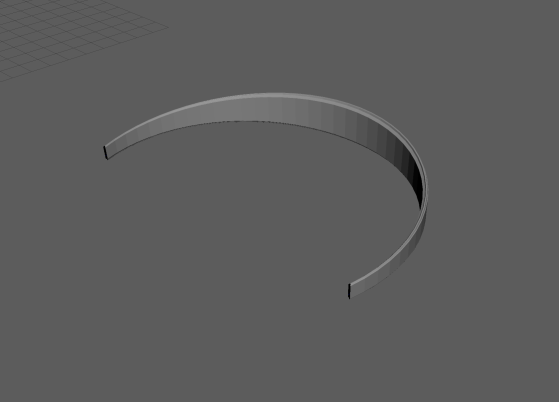
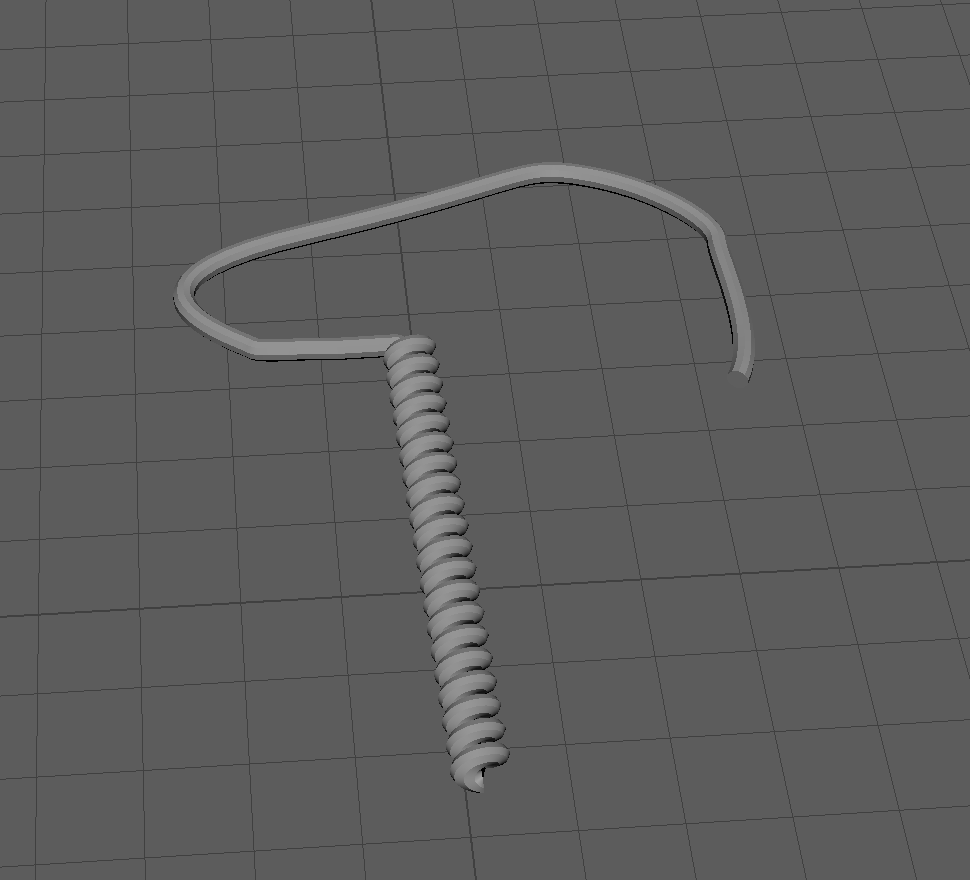
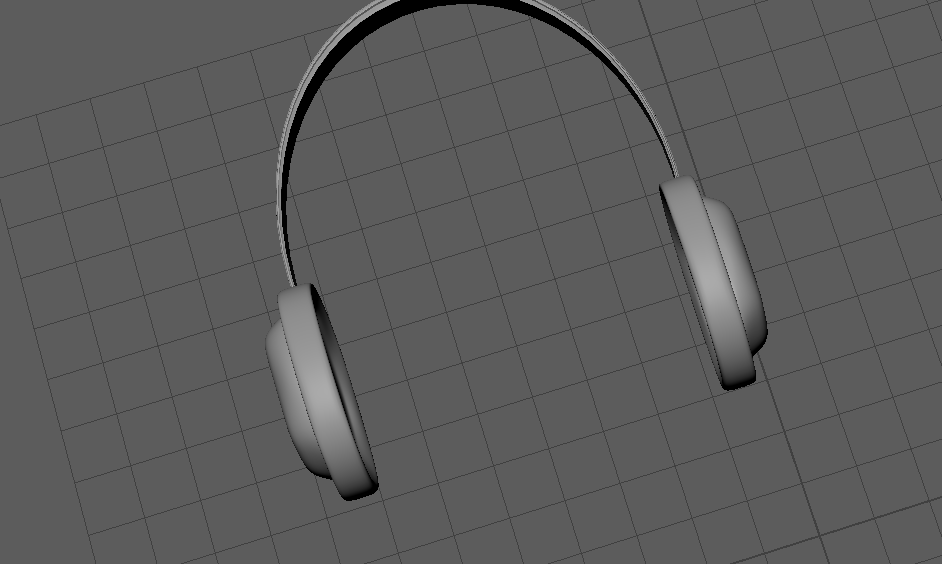
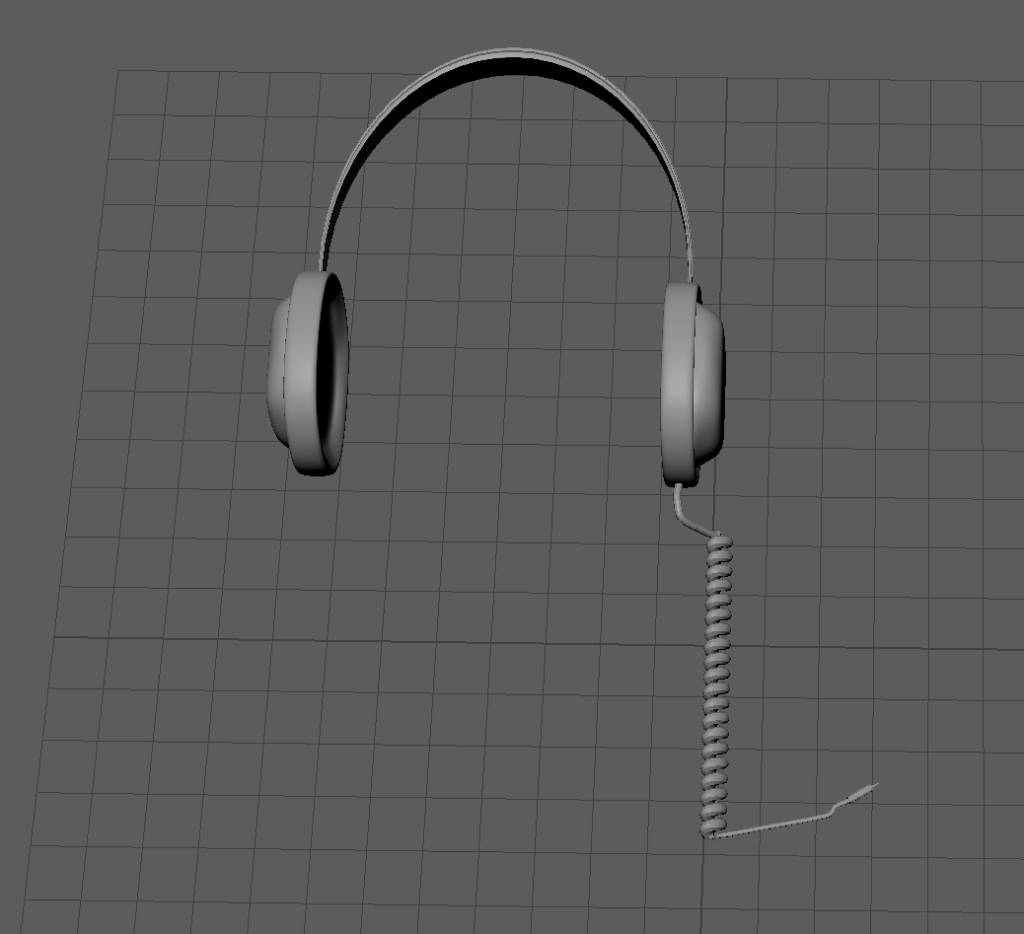
3D modelling a product in Maya
Modelling a headphone
Week 7
Lighting and Rendering and Materials in Maya
Learning about Lights, cameras, rendering, materials and textures in maya.
Lights are virtual sources of illumination that simulate real-world lighting conditions to create realistic scenes. They include options like point lights, spotlights, and directional lights, each affecting objects differently based on their position, intensity, and spread.
- Cameras in Maya serve as viewpoints from which scenes are captured, much like a real camera lens, allowing for control over framing, depth, and perspective.
- Rendering is the process of converting a 3D scene into a 2D image or sequence by calculating how light, colour, and texture interact with it.
- Materials define the surface properties of objects, such as whether they appear metallic, rough, or transparent, while *textures* are images or patterns applied to materials to add detail, such as wood grain, bumps, or colour variation.
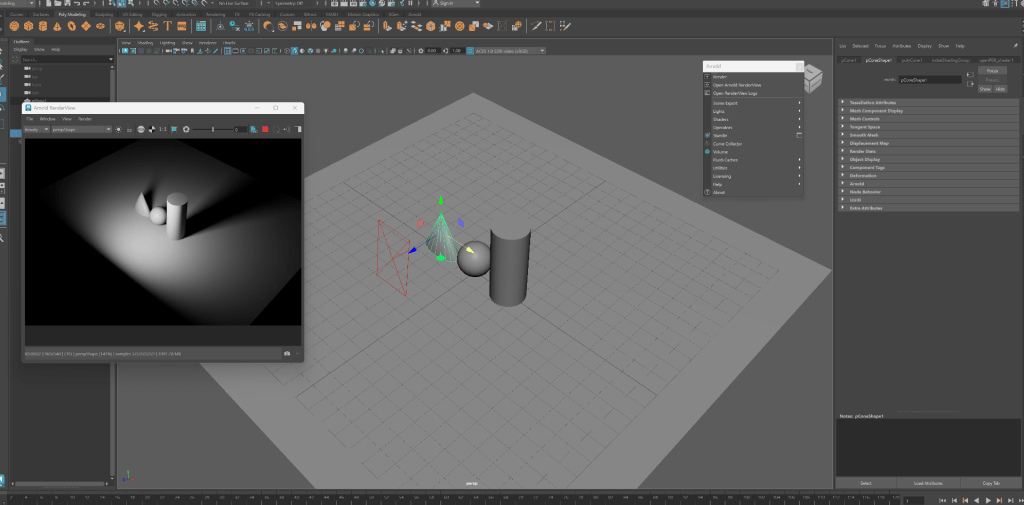
Using Area Lights and Render
- Arnold<Lights<Area Lights
Adding Camera
- Create<Cameras<Camera
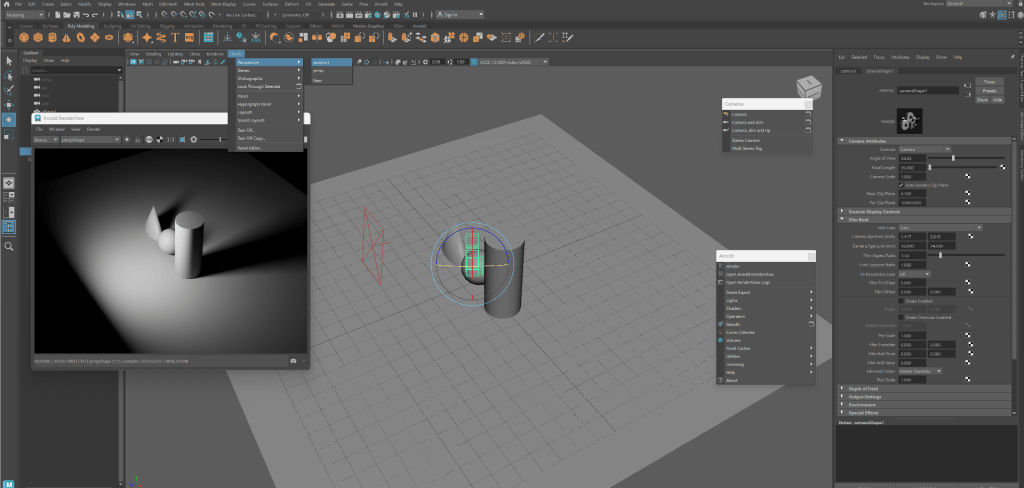
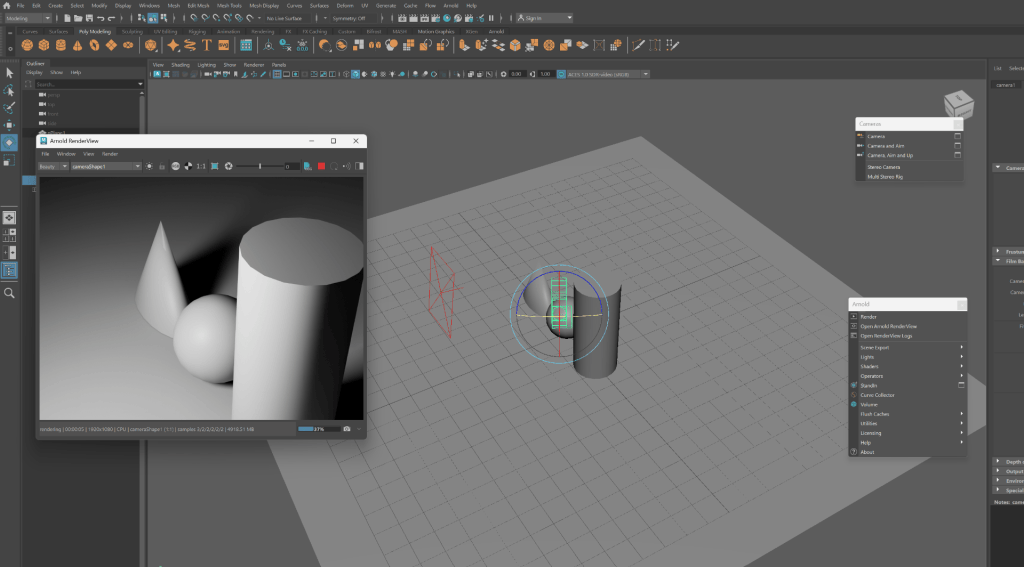
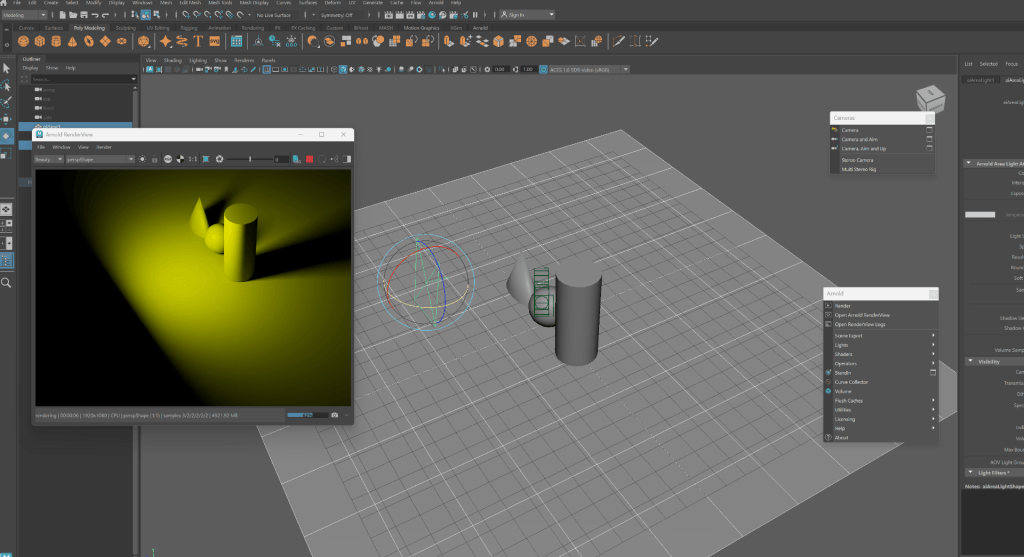
- Changing Color
Using Mesh Light
- Arnold<Lights<Mesh Light
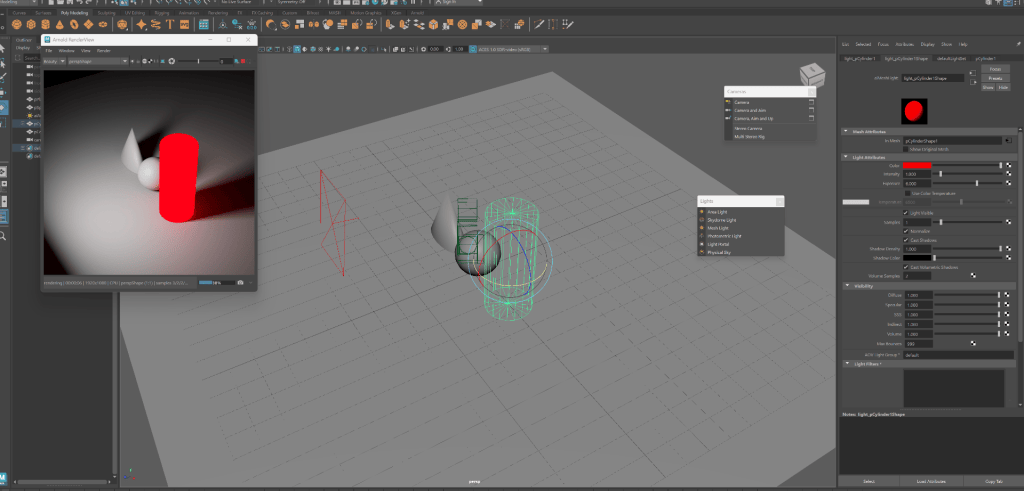
Task – Adding different lights.
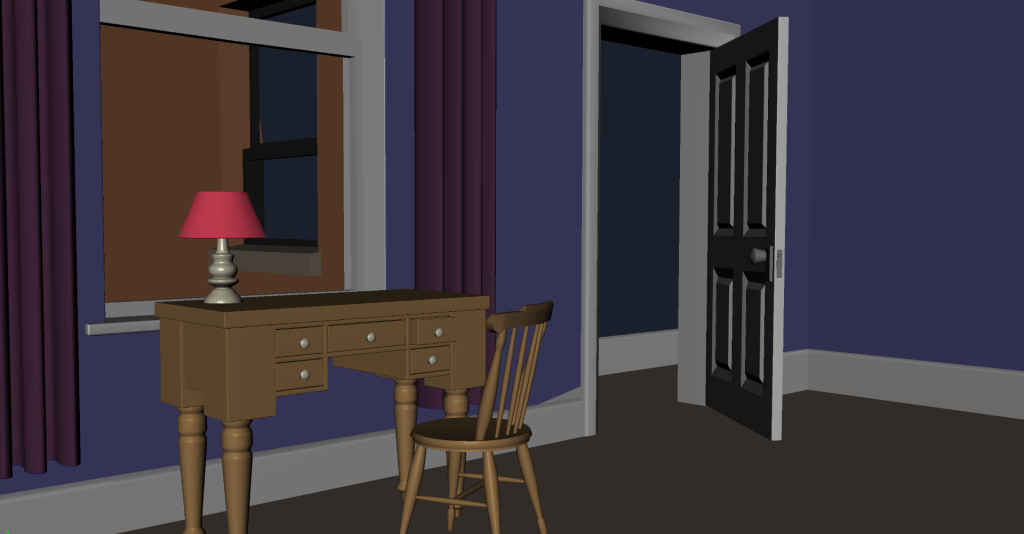
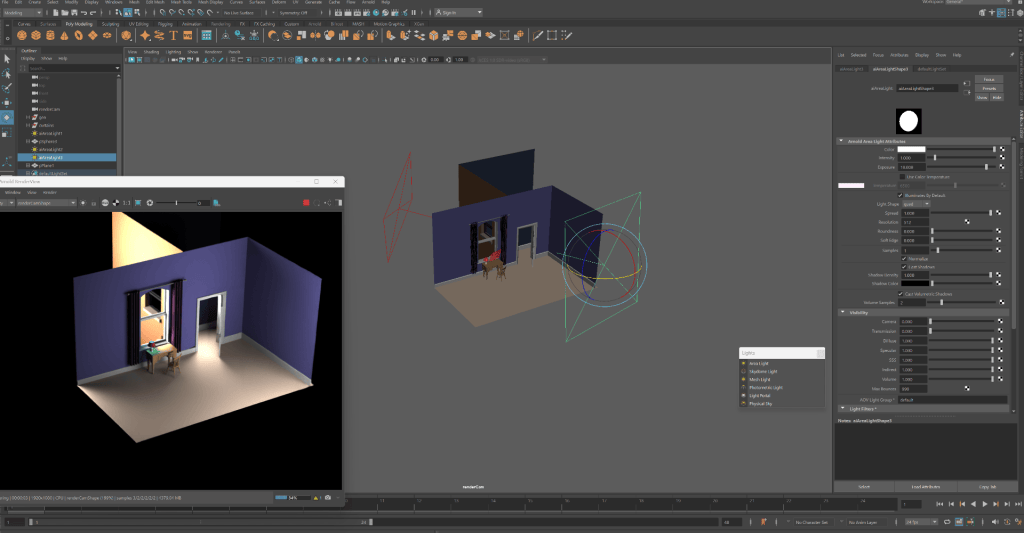
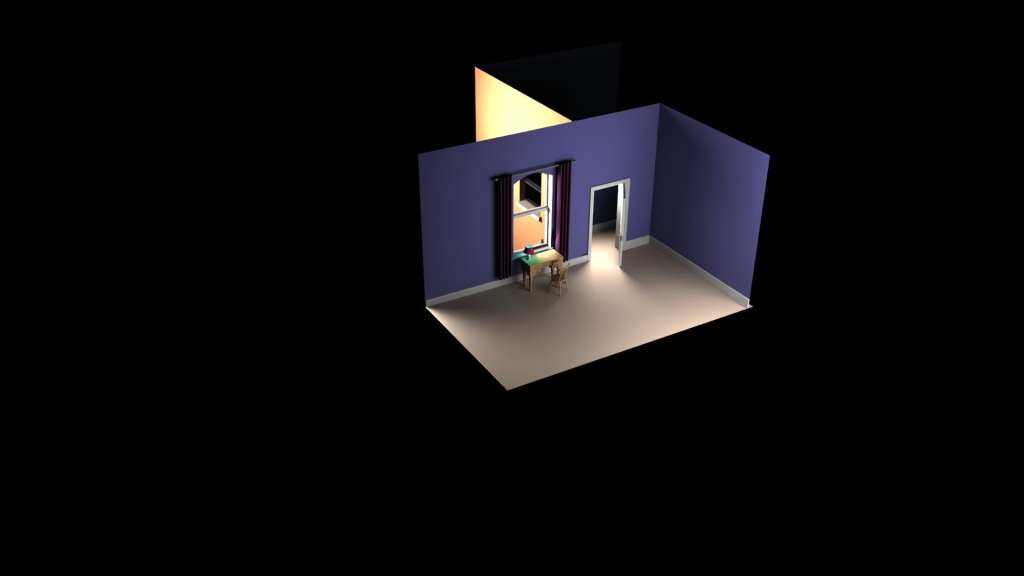
- Adding Skydome Light and Materials.
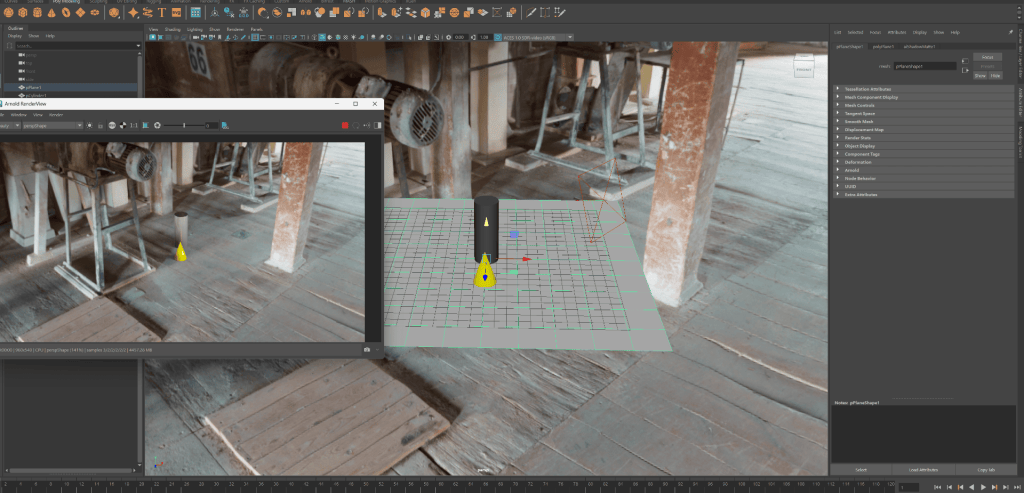
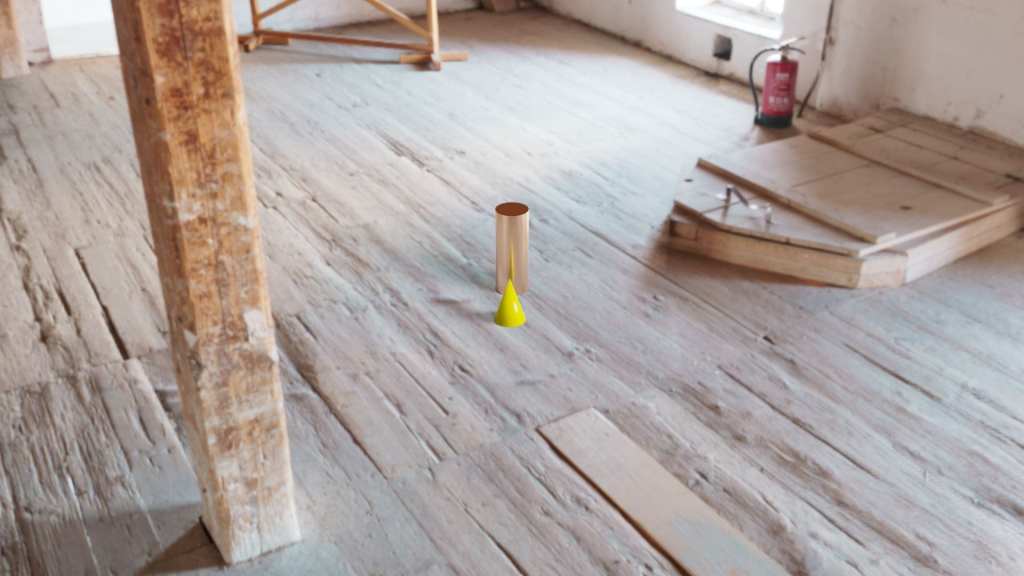
Assignment 3
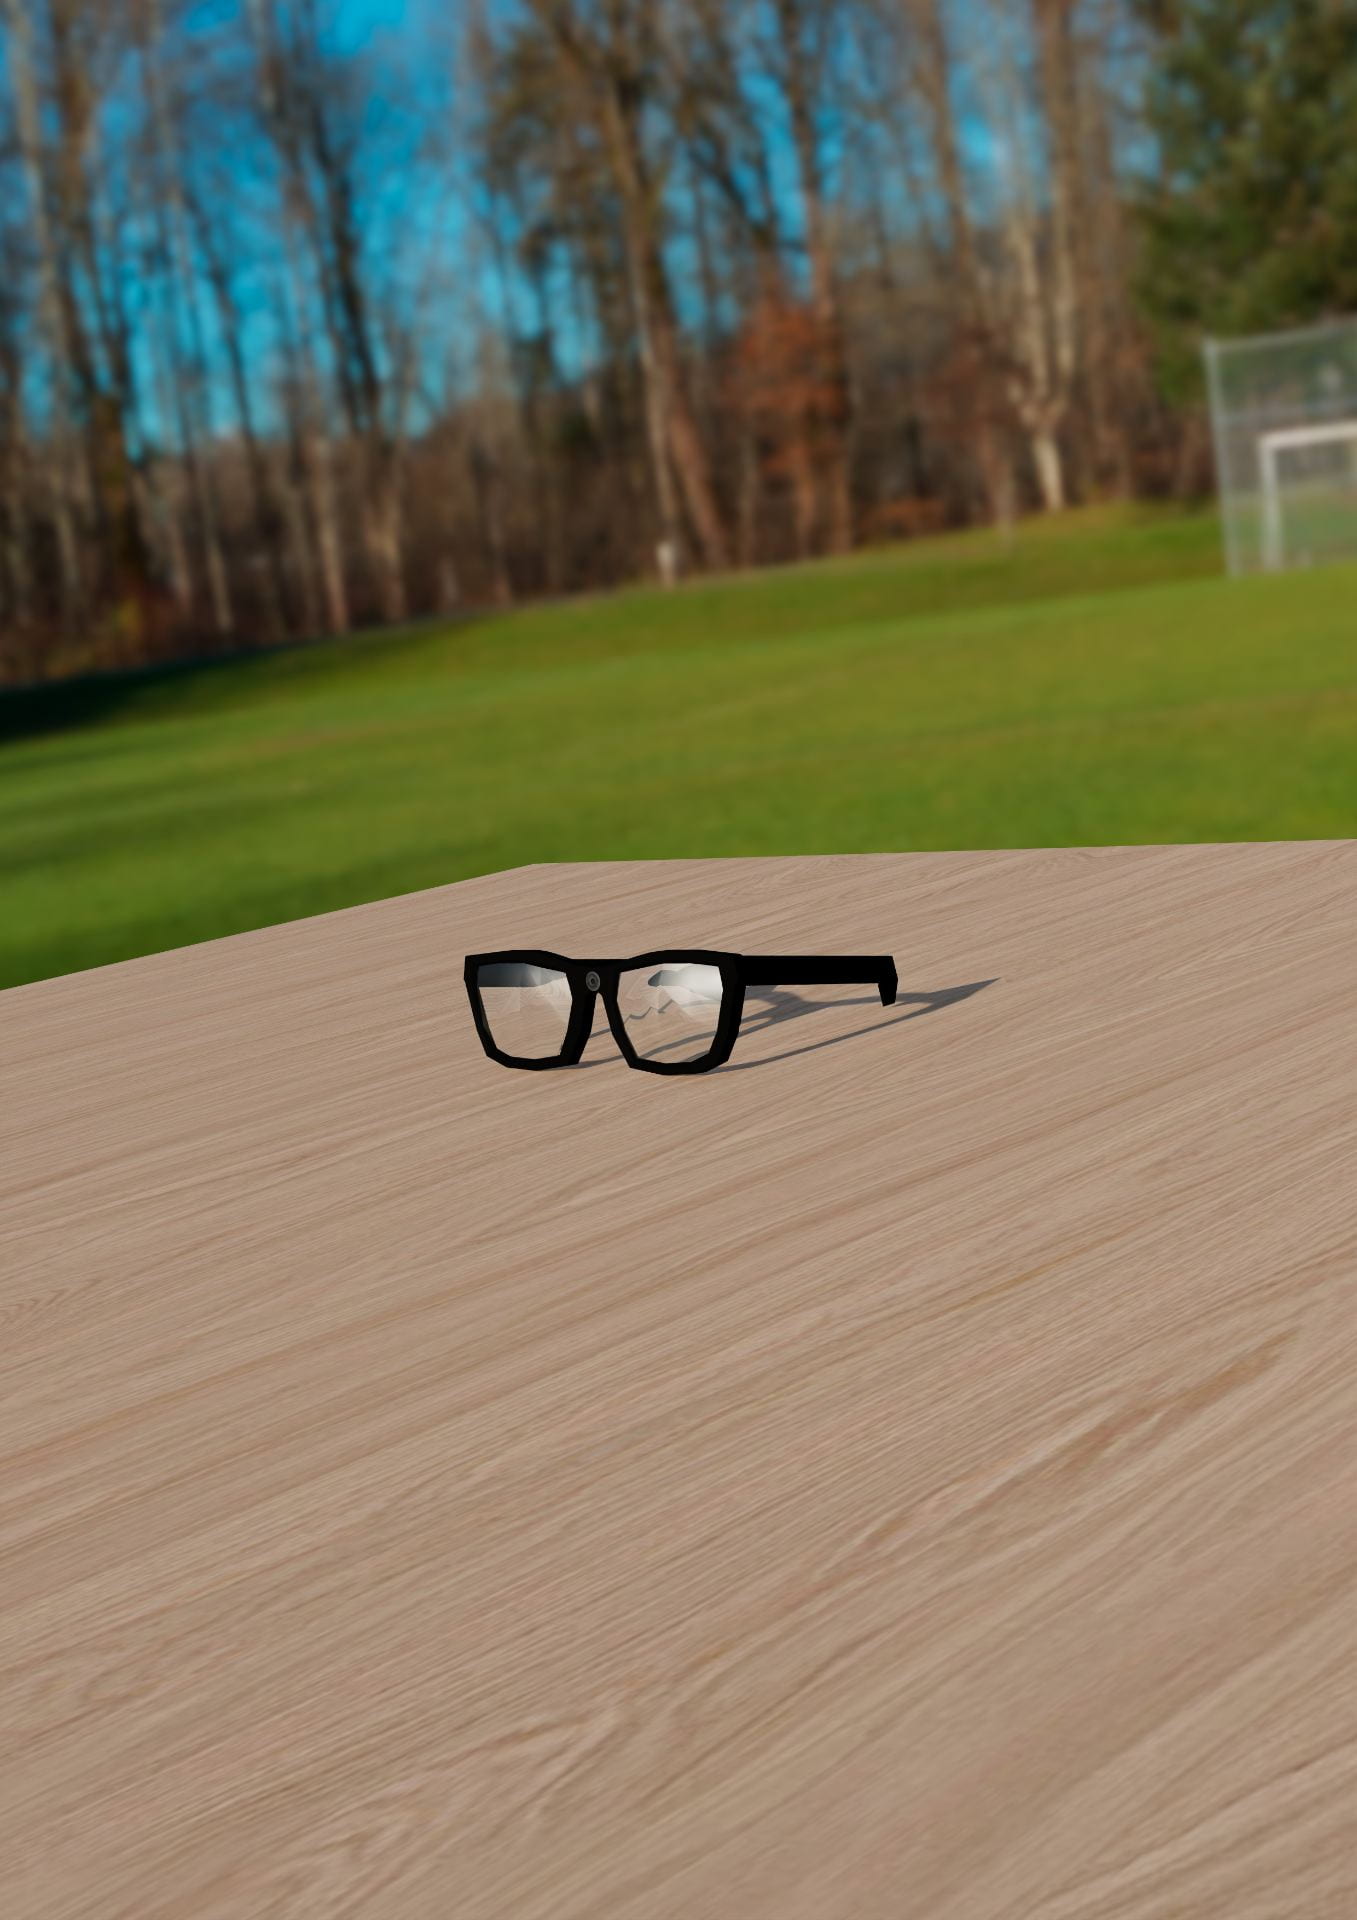
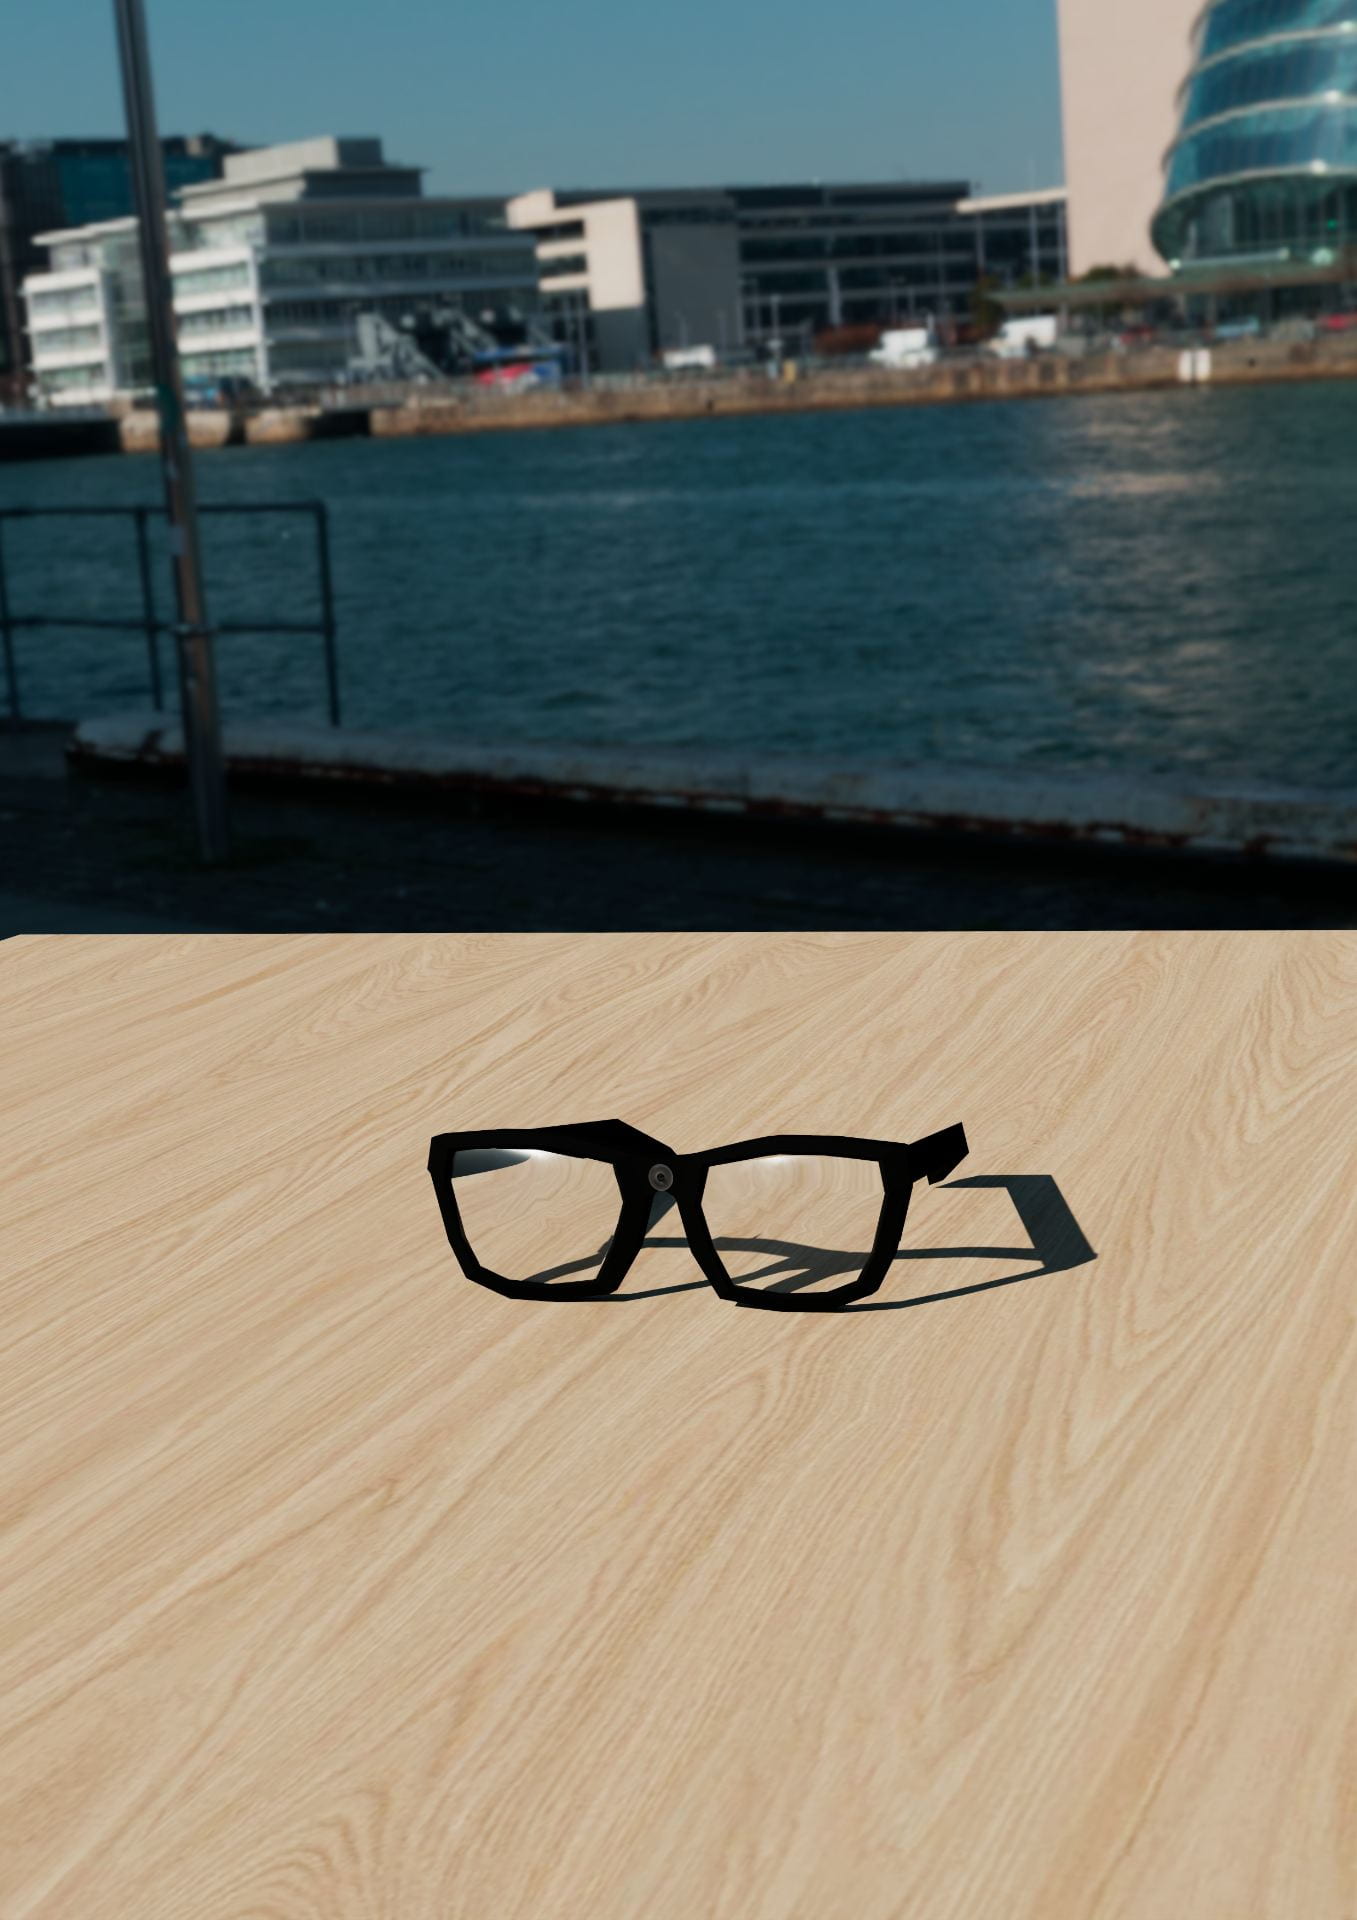
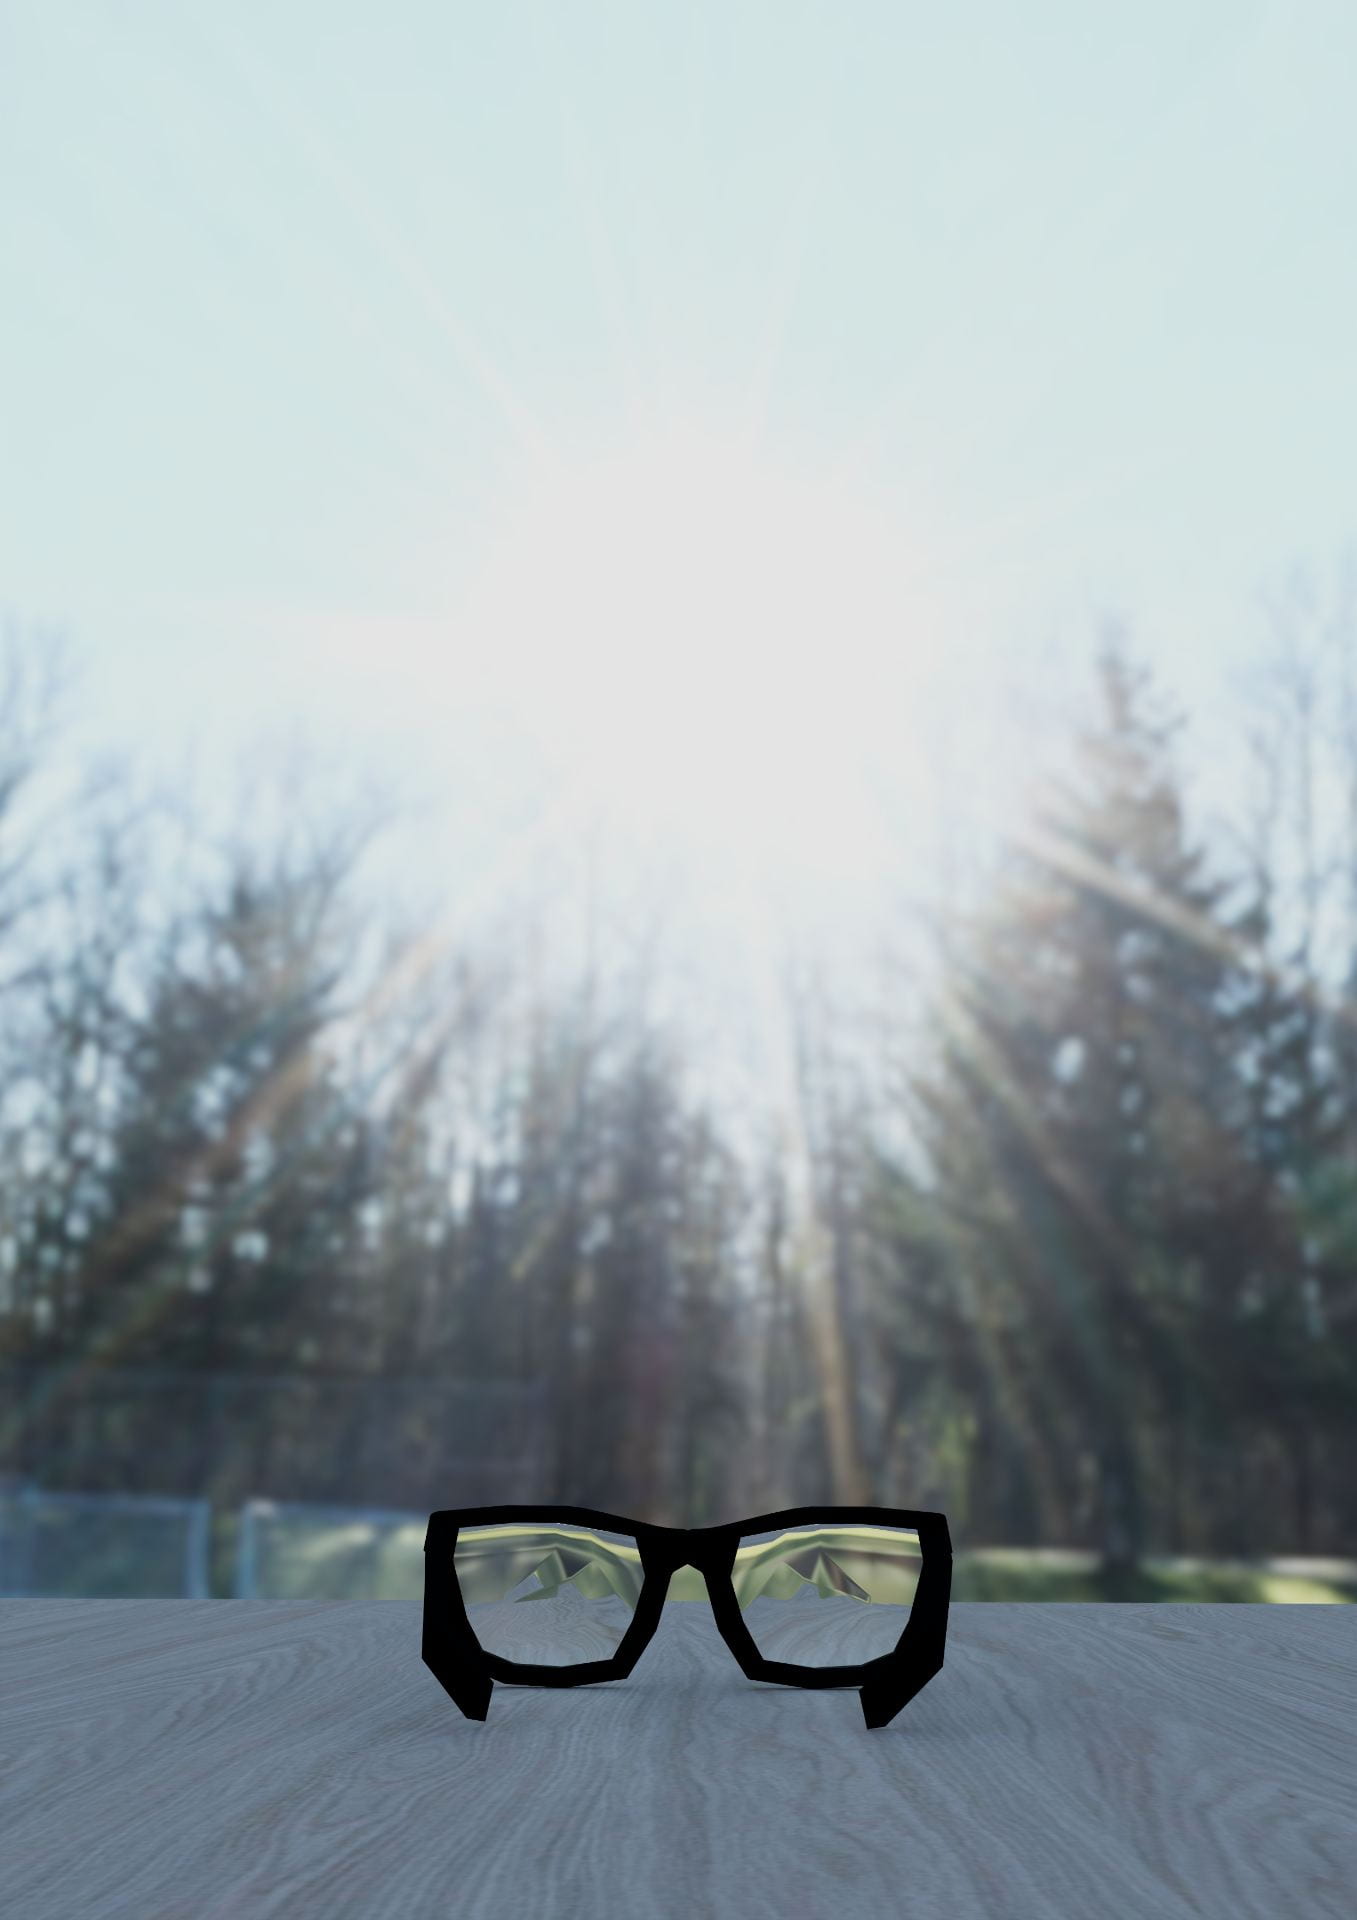
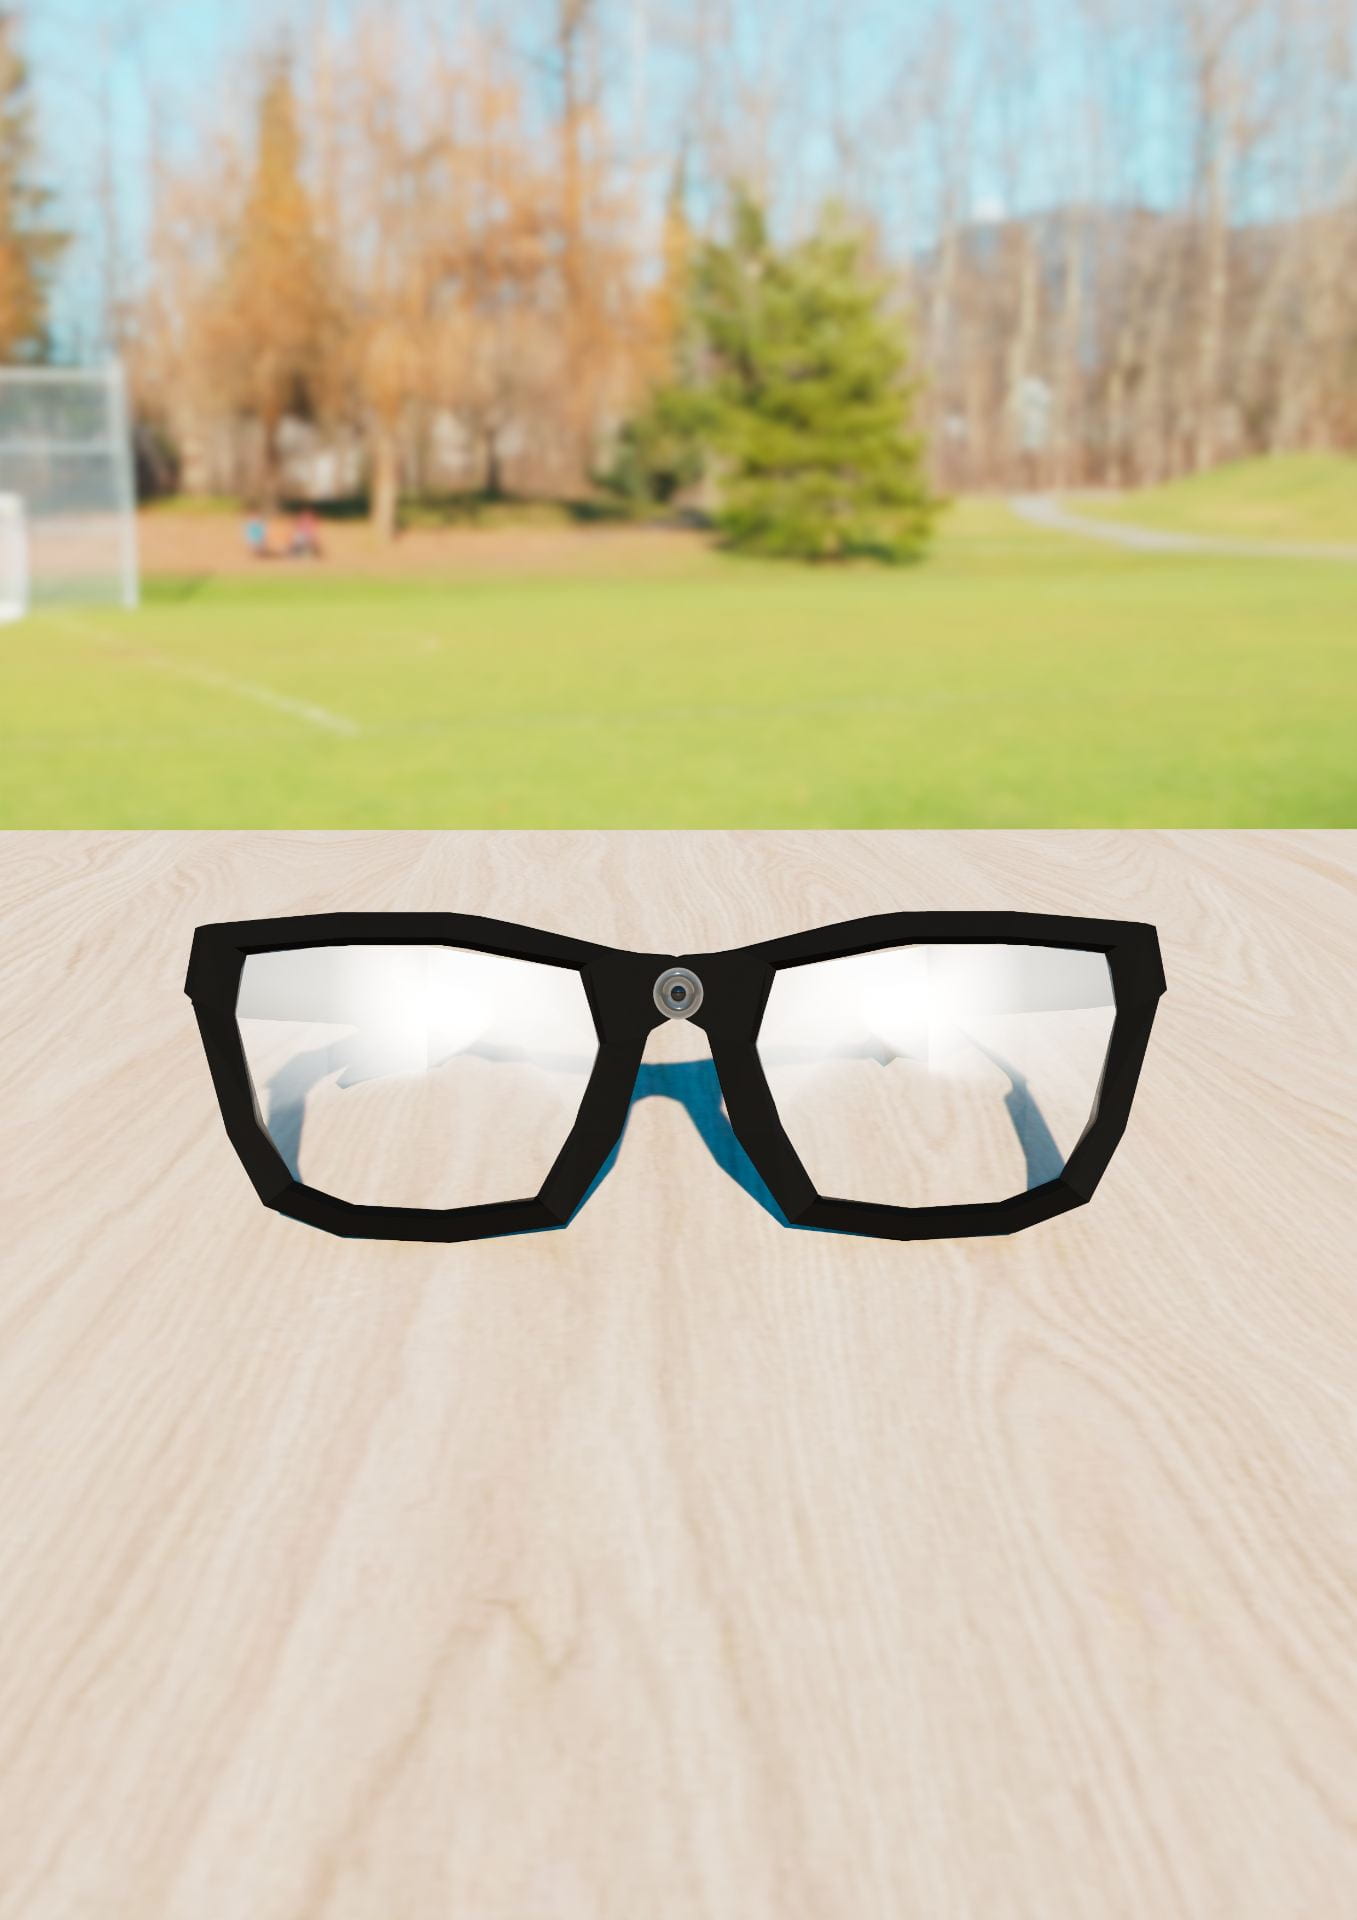
James Bond Gadget – Spy Camera Specs
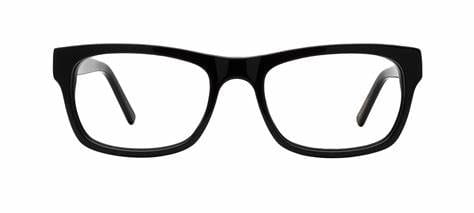

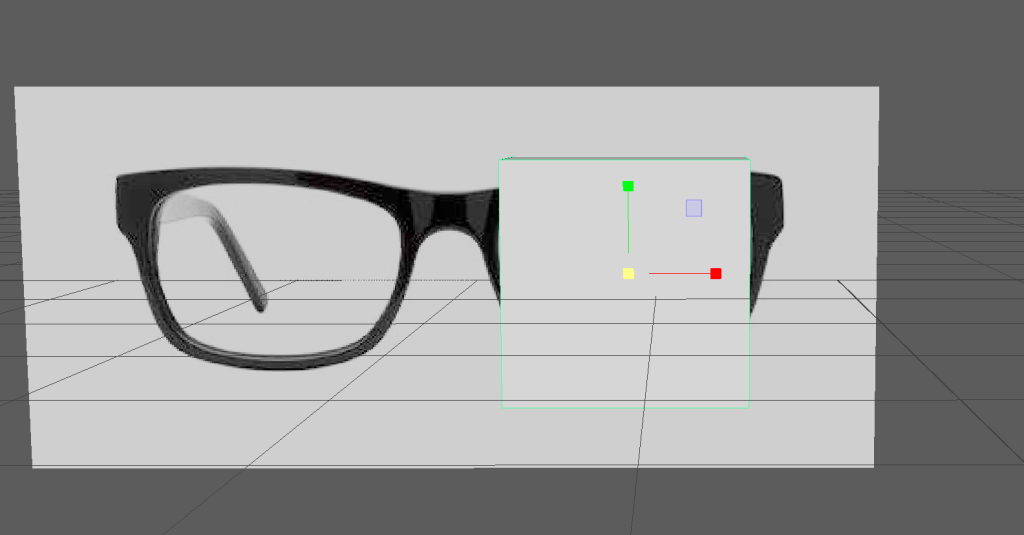
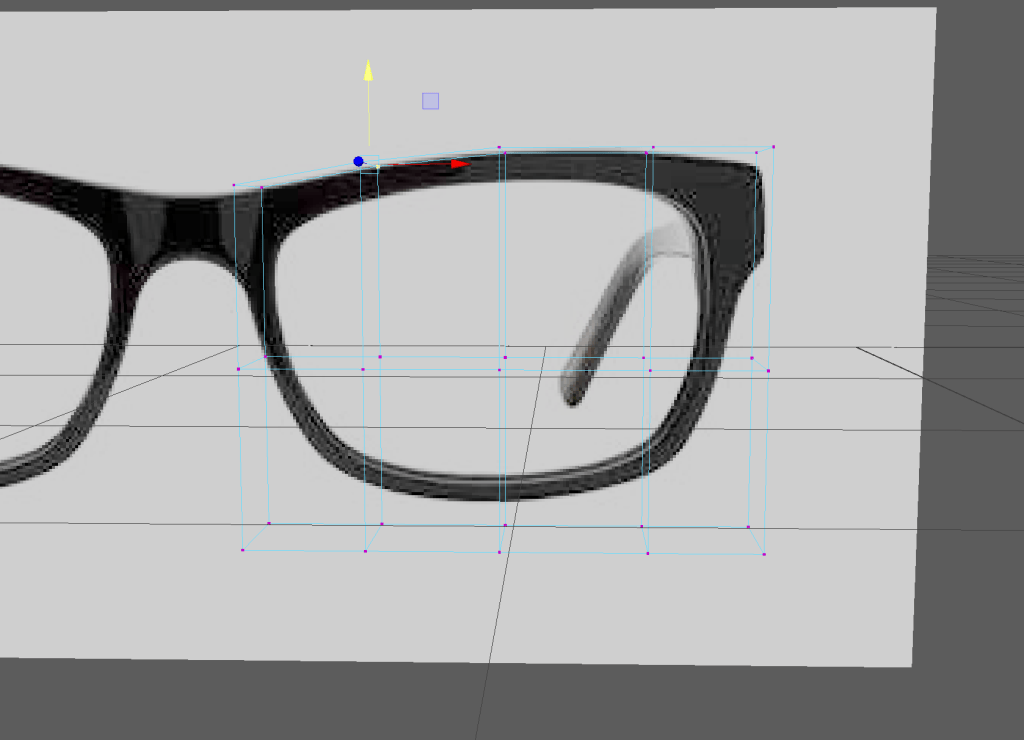
- Import image
- Add a Cube. Select vertex. Adjust according to reference image.
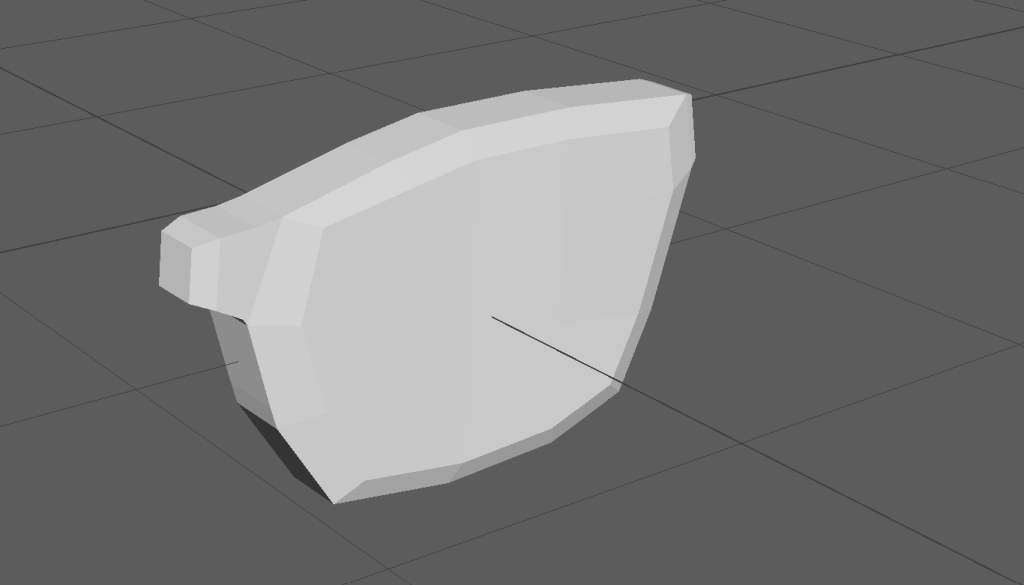
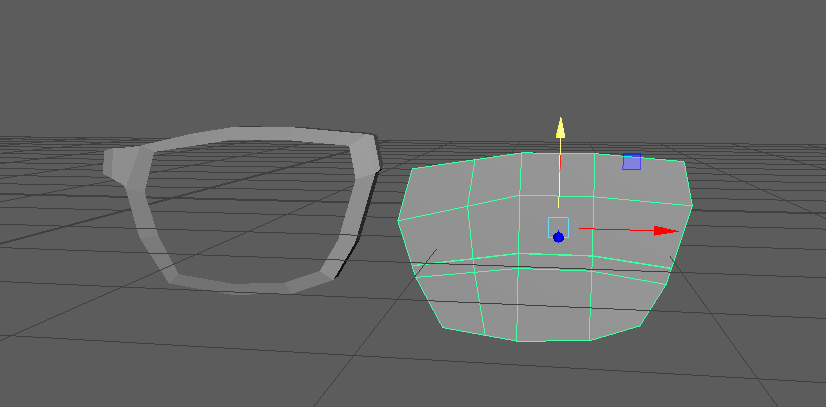
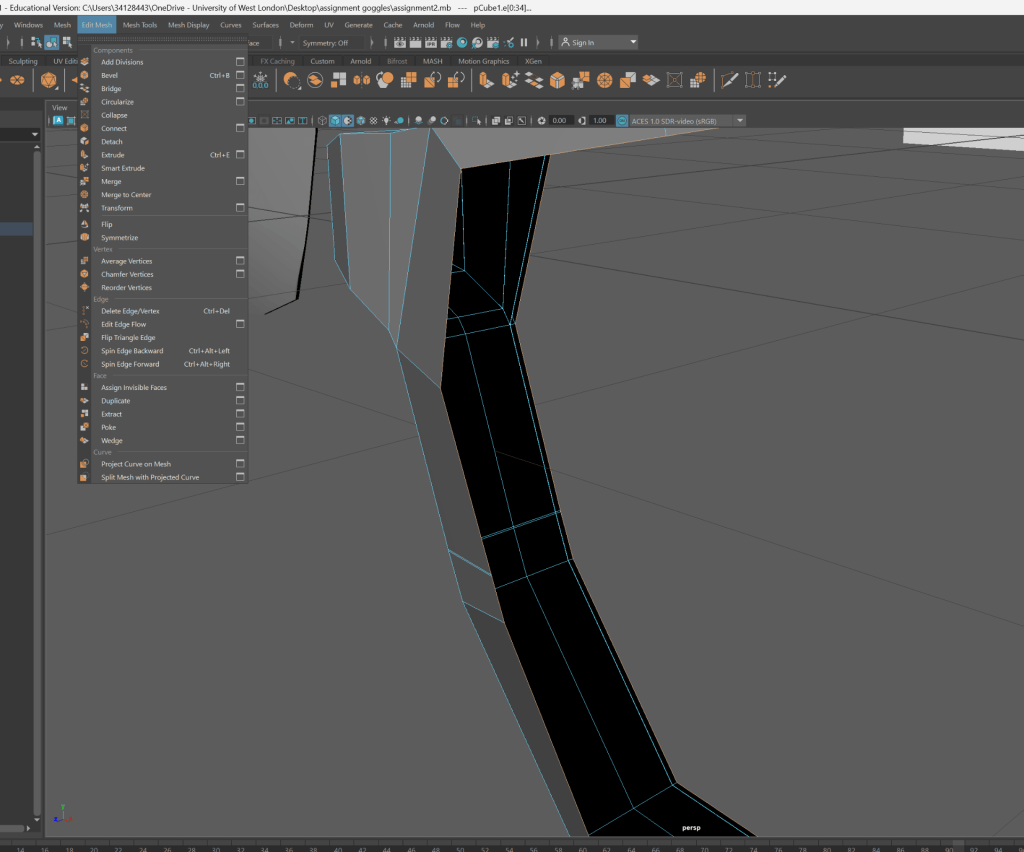
- Duplicate the model. Select middle faces of model 1 and delete.
- Select side faces of modle2 and delete.
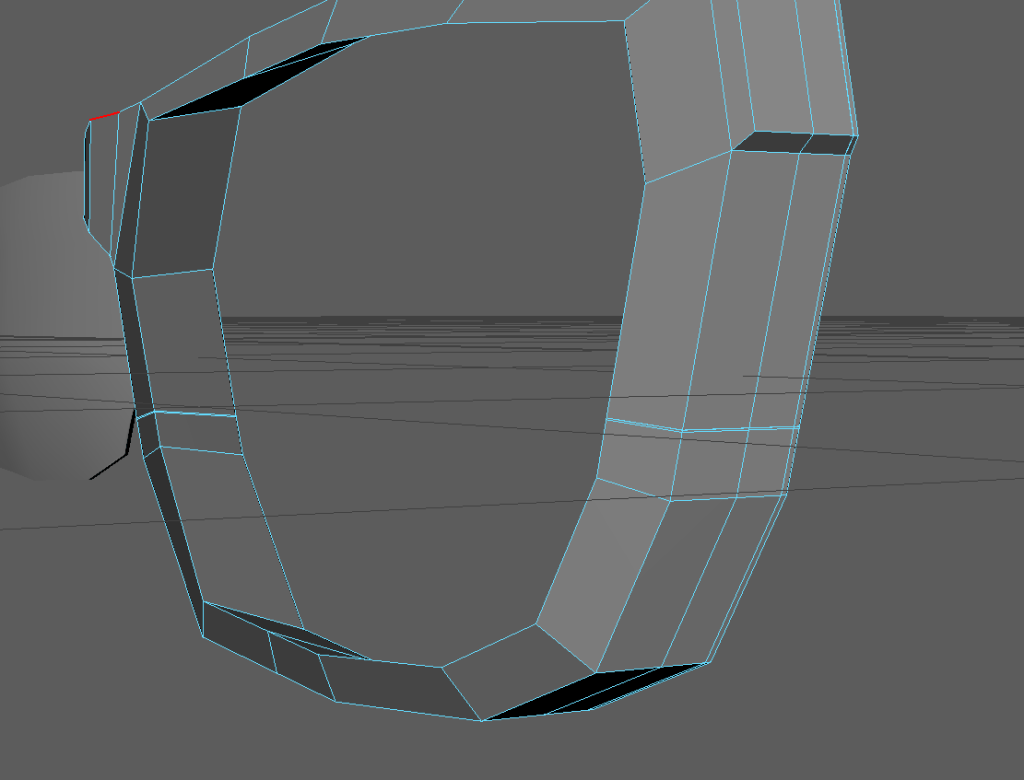
- Select edges of both end and Bridge.
- Adjust Both model in one.
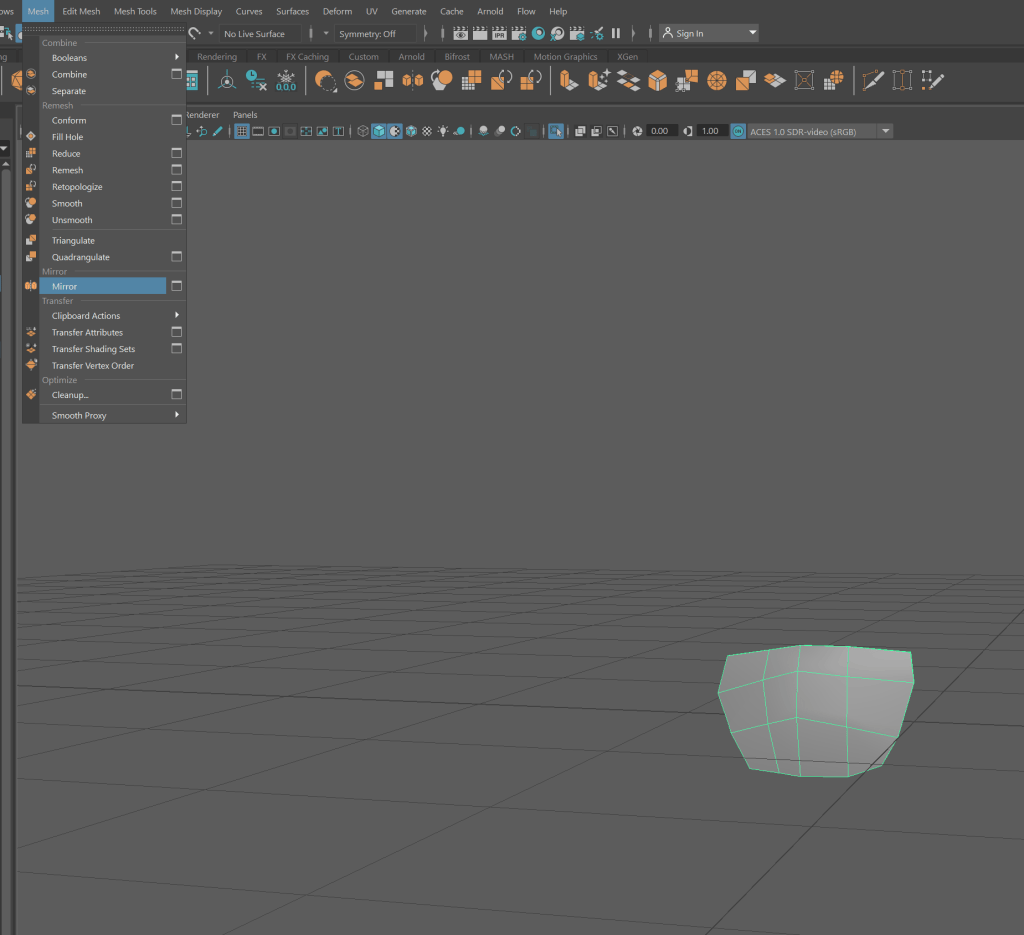
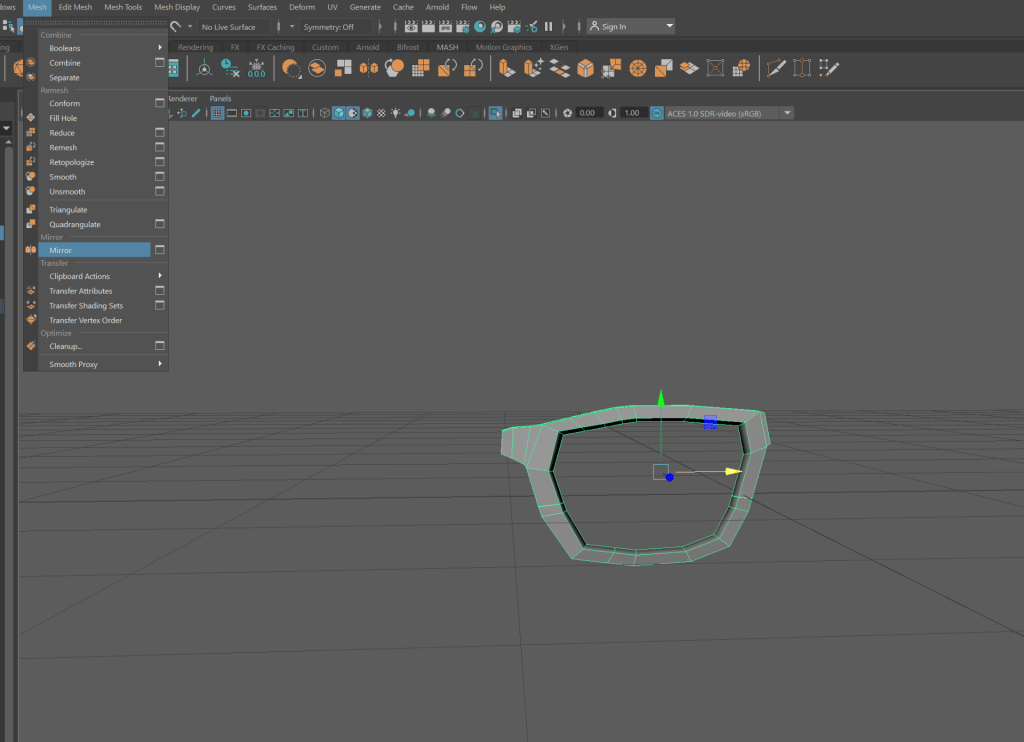
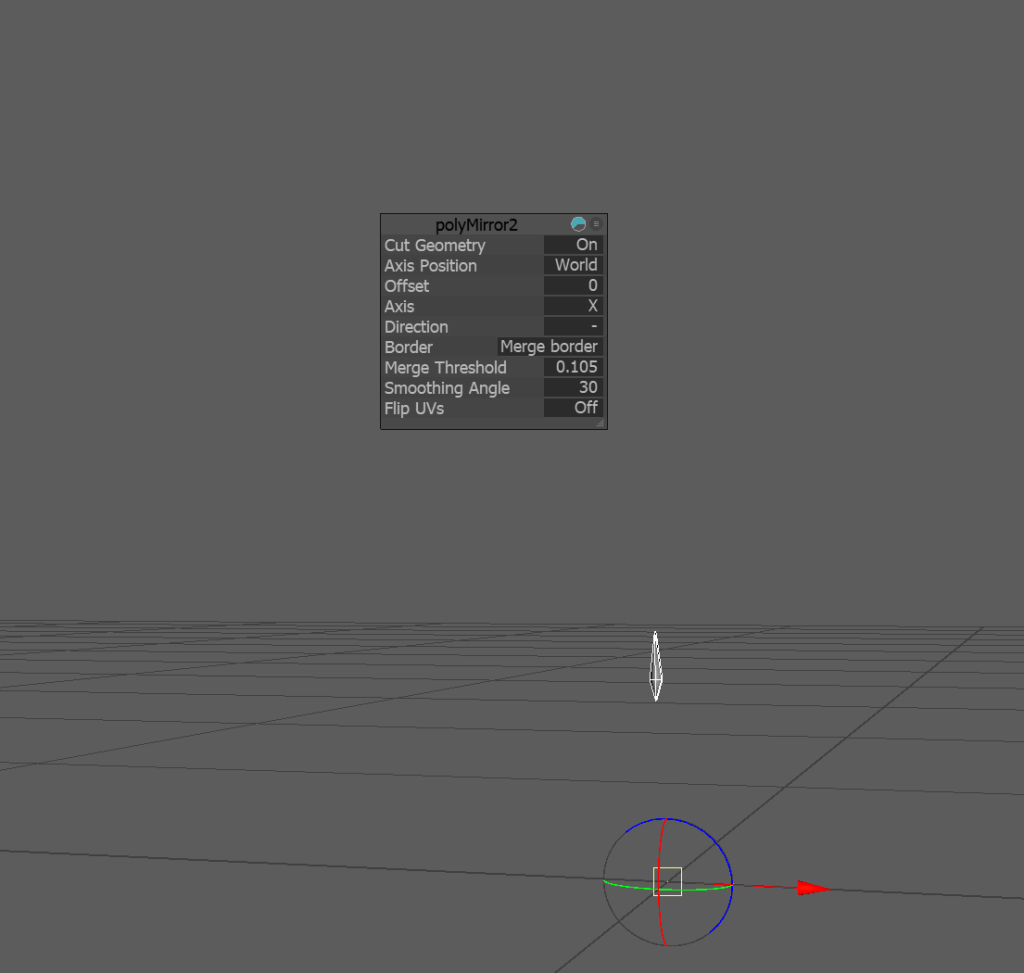
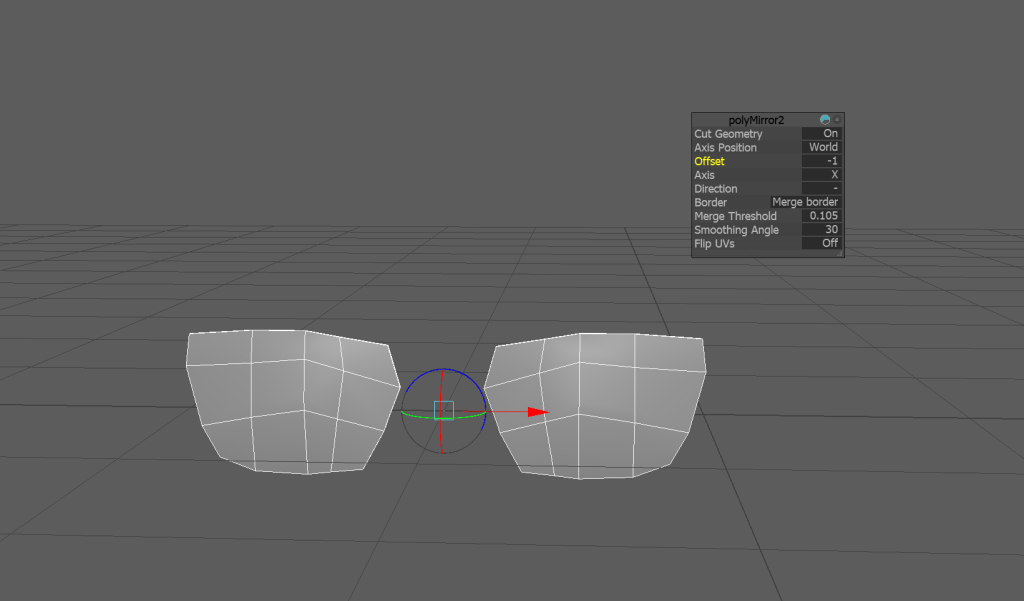
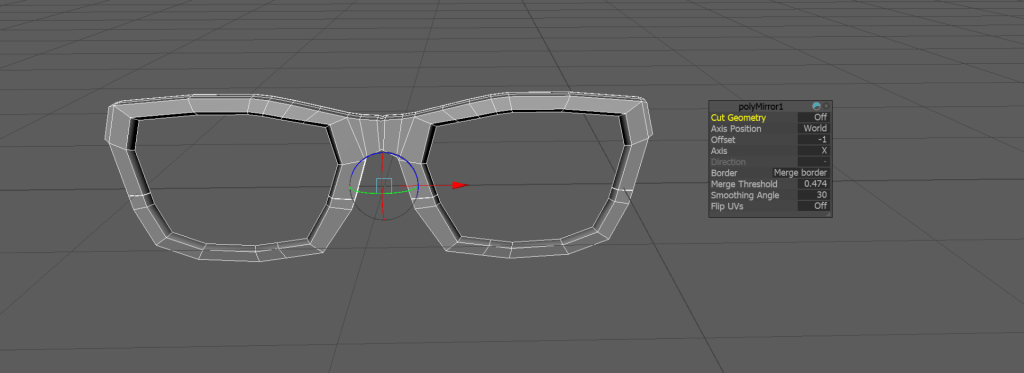
- Select Model 2 and go to mesh and select mirror.
- Do the adjustments. Use soft selection to give a bump to model 2.
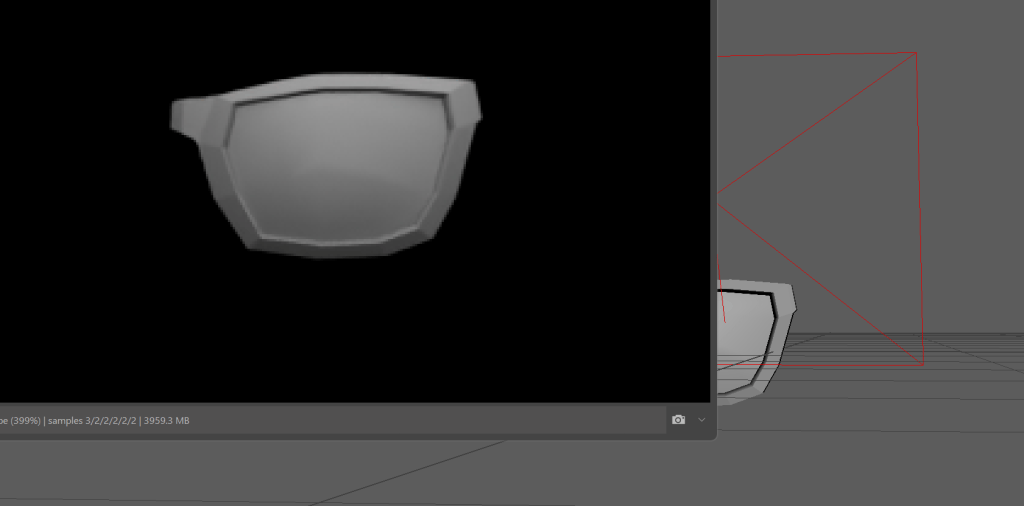
- Same for the model 1 .
- used Extrude to make Temple of specs.
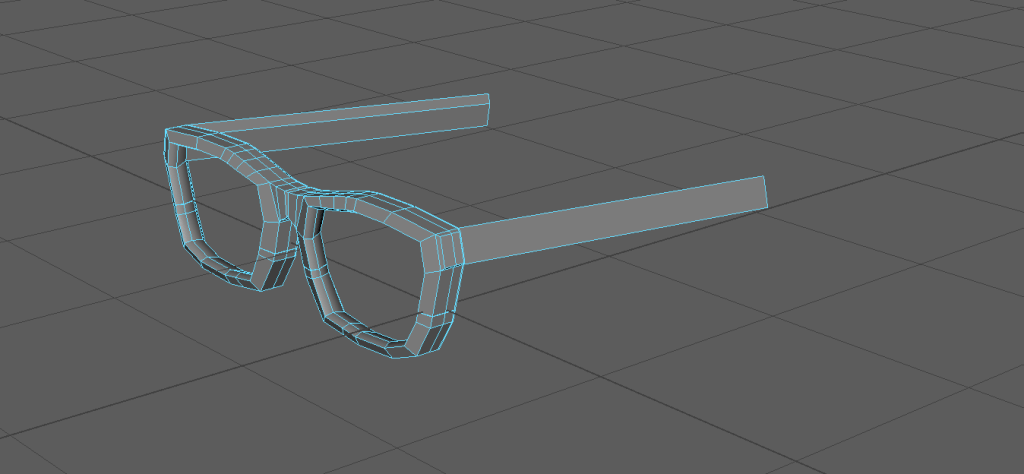
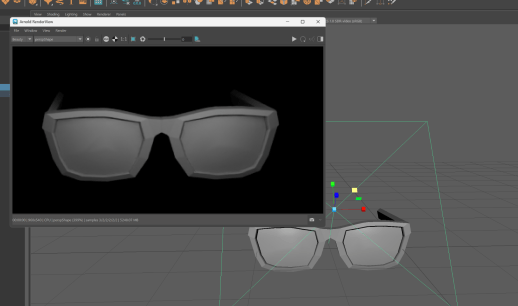
- Add lightings, Go to Arnold, lights. Add Sky dome light.
- Select Assign new material by clicking right mouse button.
- Color, file, Select the file.
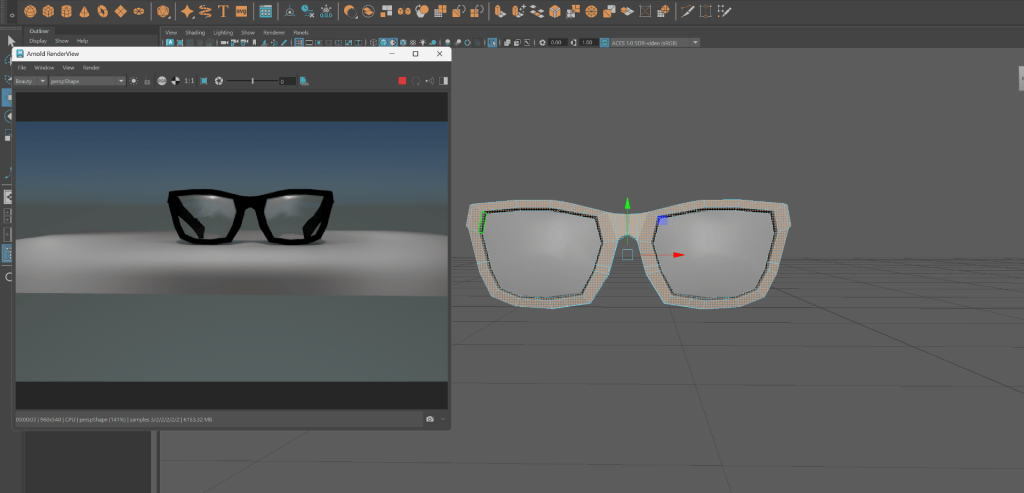
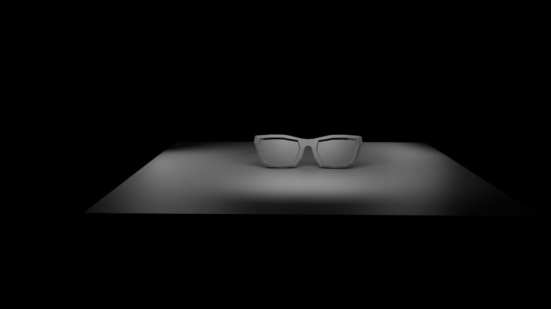
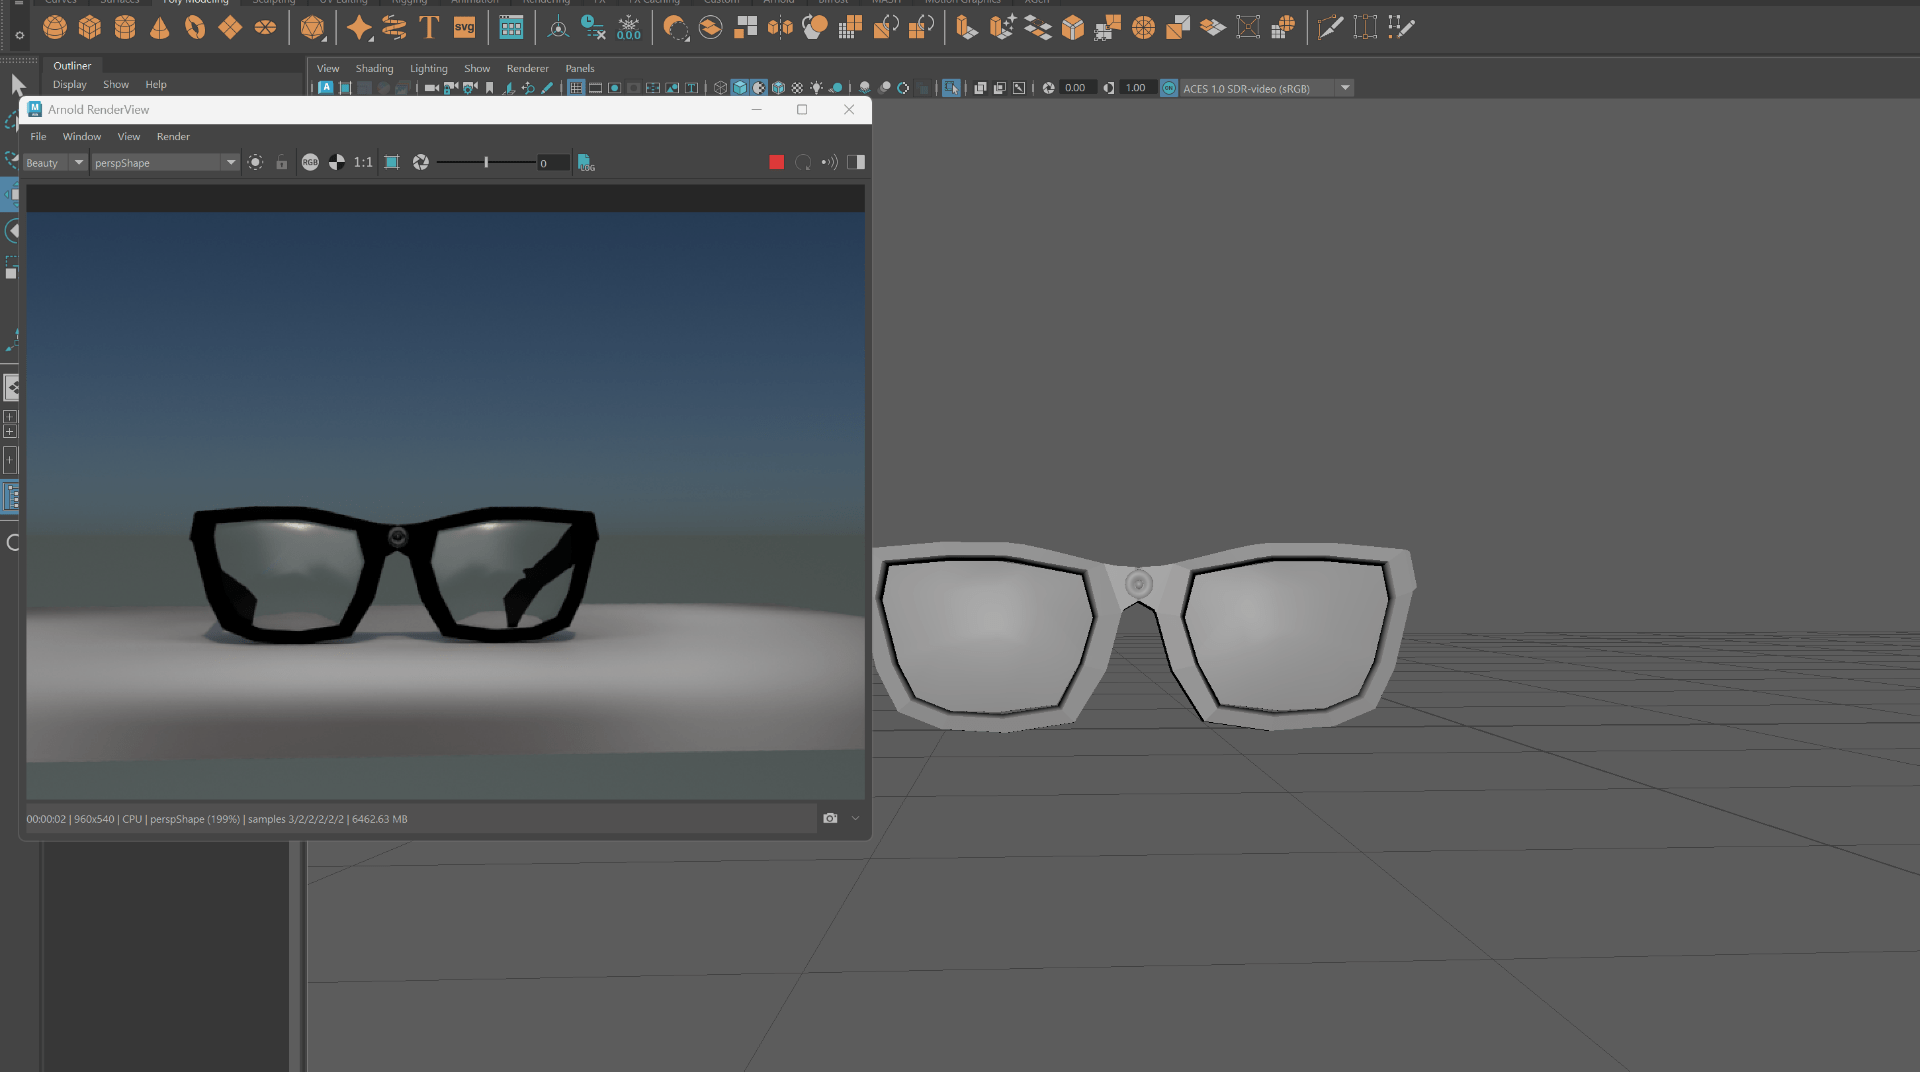
Final Rendered Images
Week 9
UV Unwrapping Principles – Cut and Sew, UV Editor & Snapshot
Learned about
- Working with the UV Editor
- Cutting seems and seperating UV shells
- Using UV Cut and Sew
- Working with UV Snapshots in photoshop
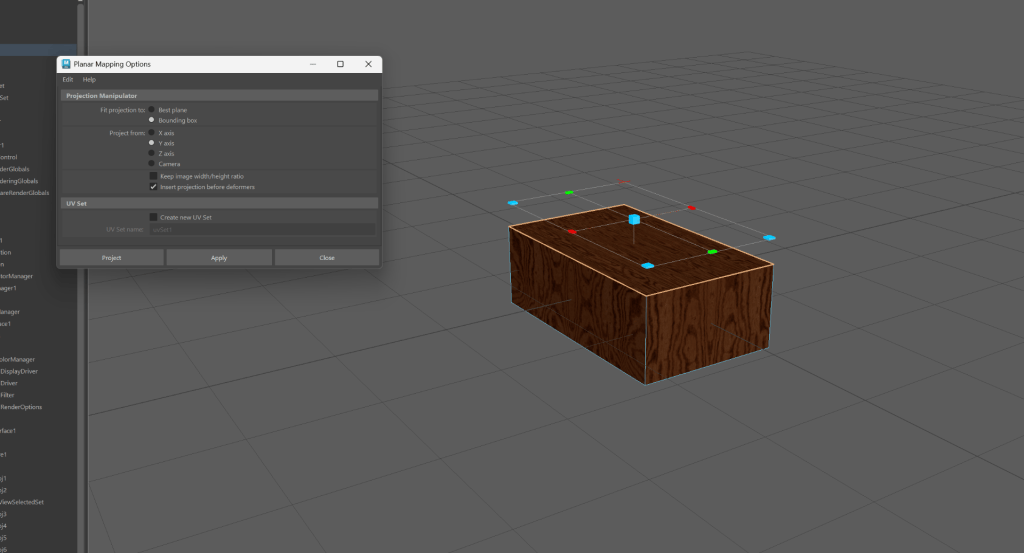
Task – Assigning a material and texture map with UV
Task – Dice UV Layout
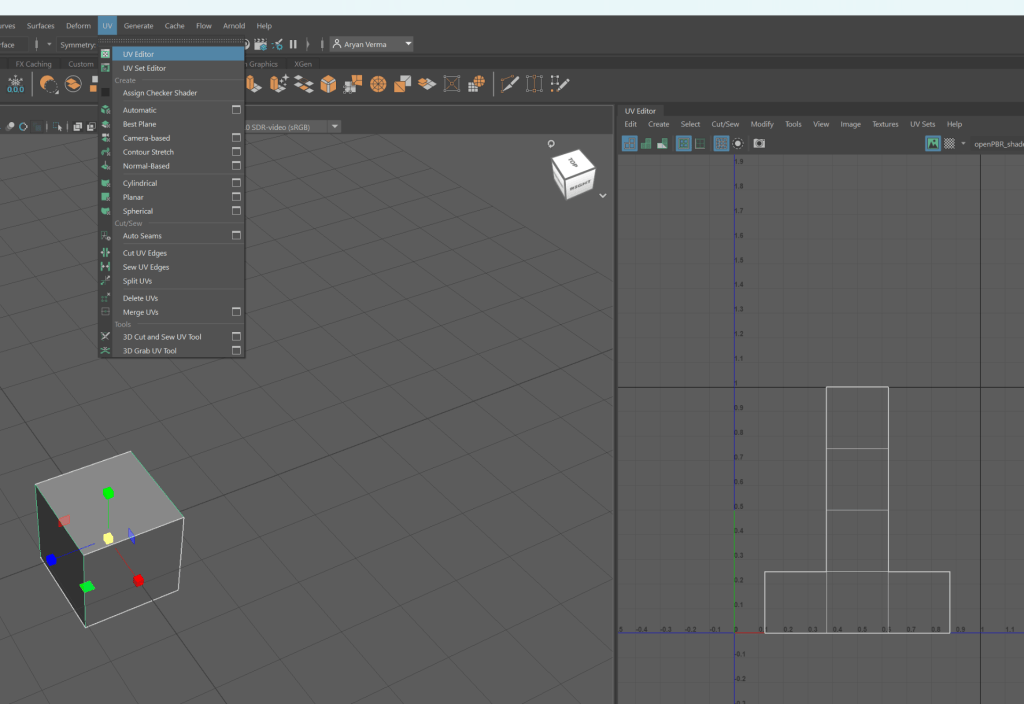
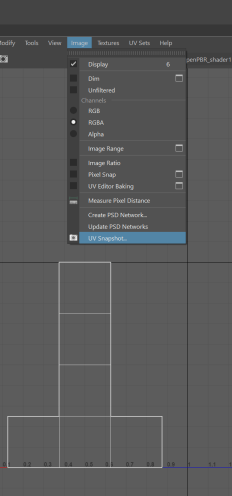
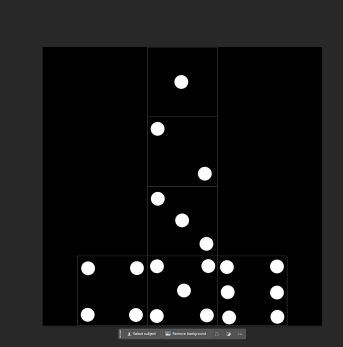
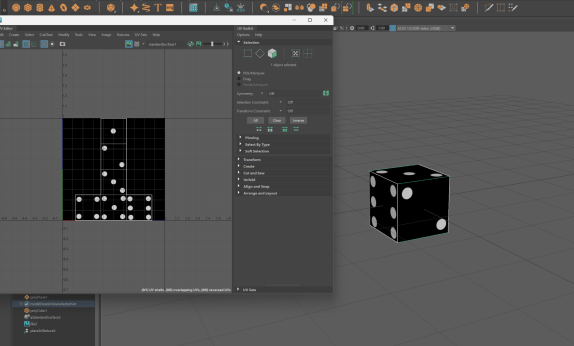
- Add a cube, open UV Editor.
- Click on Image then UV Snapshot.
- Go to photoshop, Use Brush tool to mark Dots.
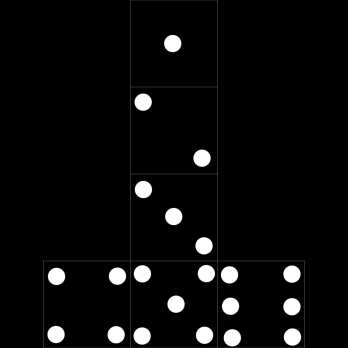
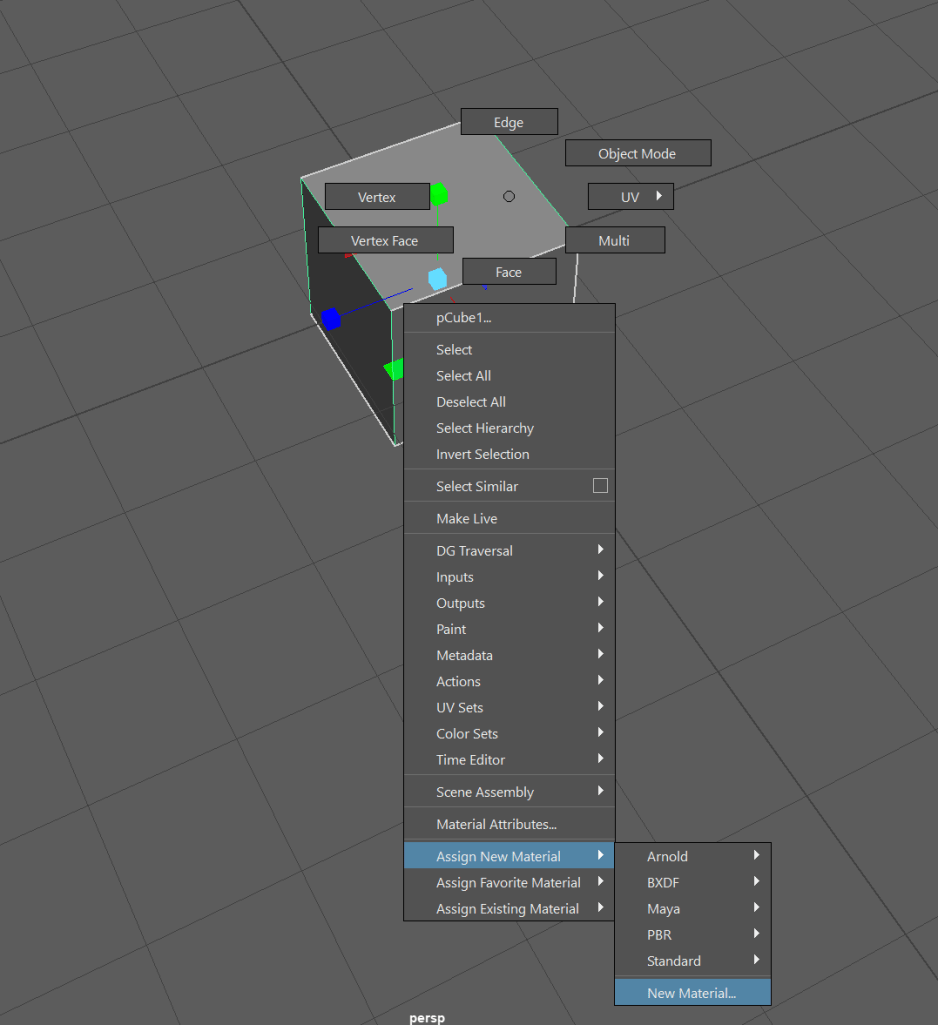
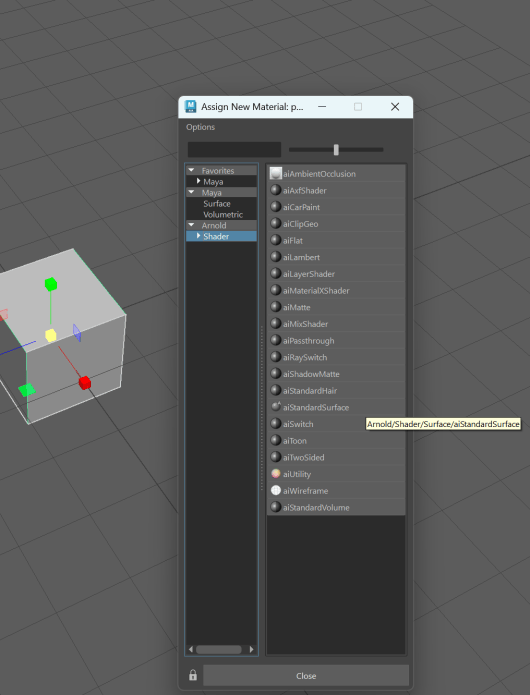
- In Maya, Assign new material on cube.
- Assign new material > New Material > Arnold > Shader > aiStandardSurface.
Task – Rubik cube
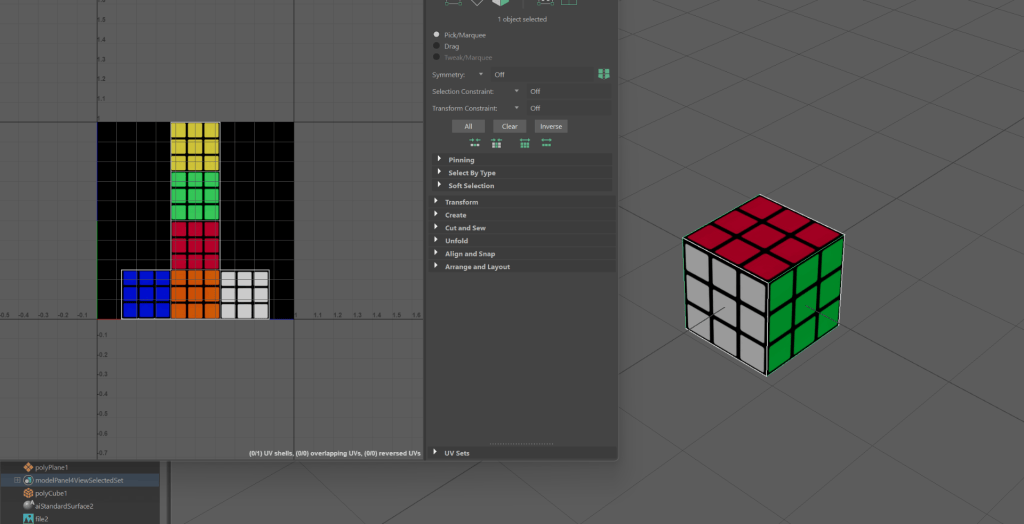
- Add a cube,
- open UV Editor.
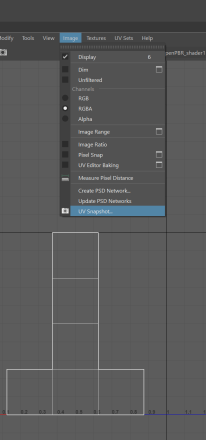
- Click on Image then UV Snapshot.
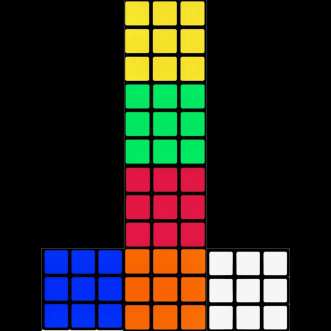
- Go to photoshop, Use Rectangular Marquee tool to give selection, Then use cut and paste.
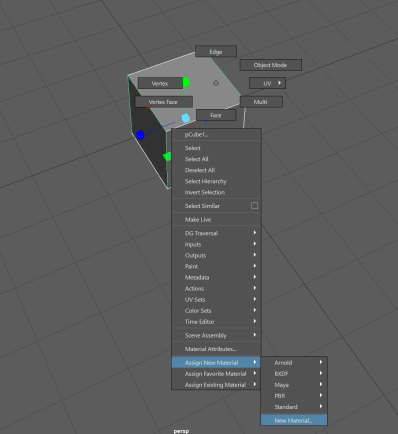
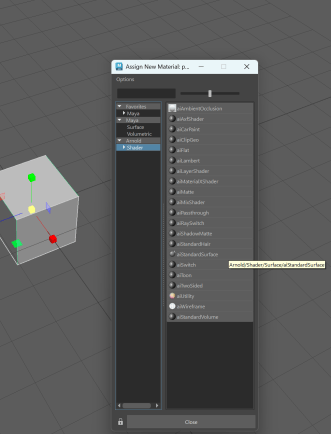
- In Maya, Assign new material on cube.
- Assign new material > New Material > Arnold > Shader > aiStandardSurface.
Task – UV map the layout for a packet
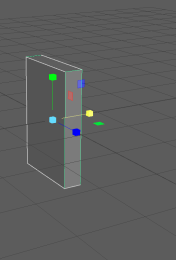
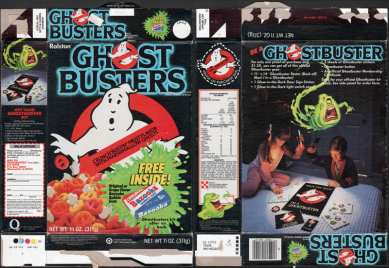
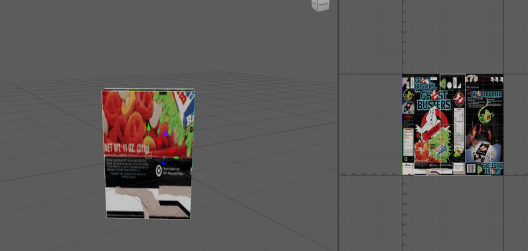
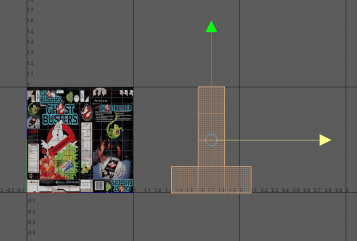
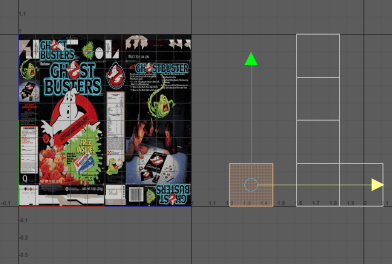
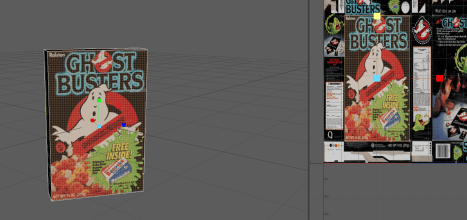
- Open Maya, add cube shape it in a box(cuboid).
- Assign new material on cube.
- Assign new material > New Material > Arnold > Shader > aiStandardSurface.
- In UV Editor, Select Face and place it. Used cut and sew tool.
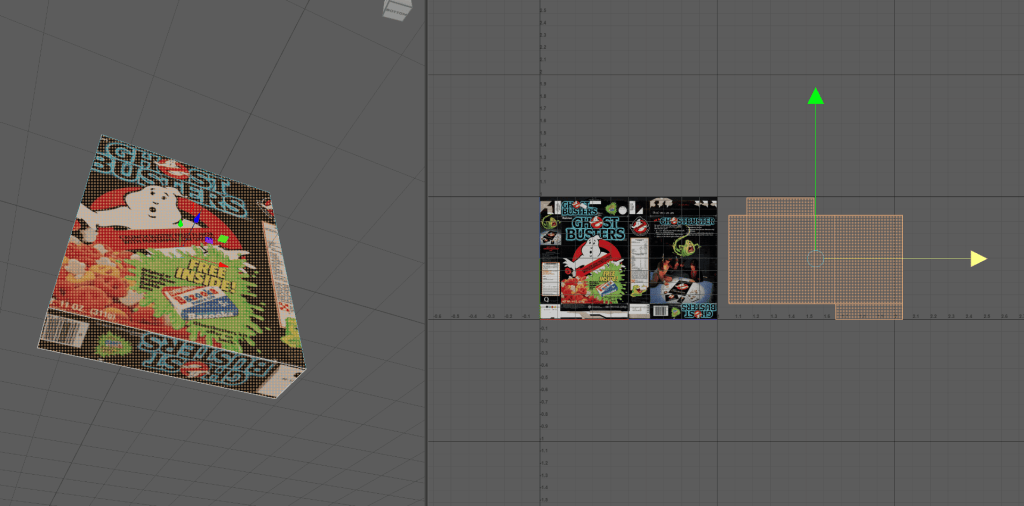
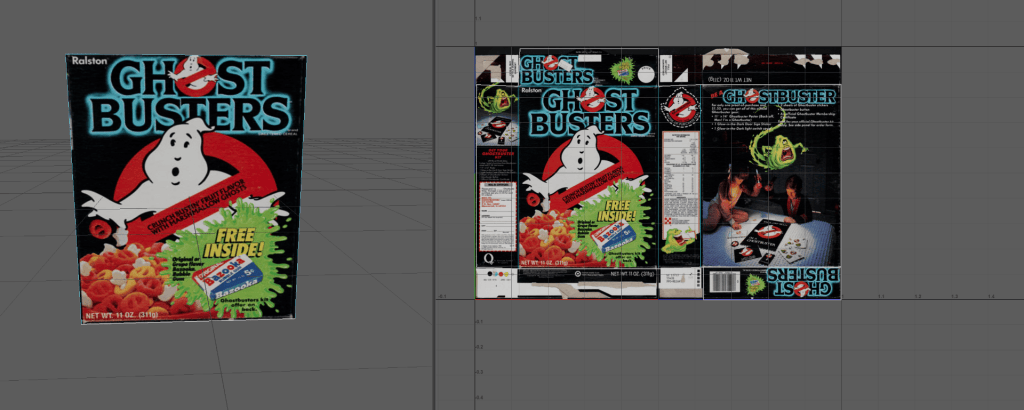
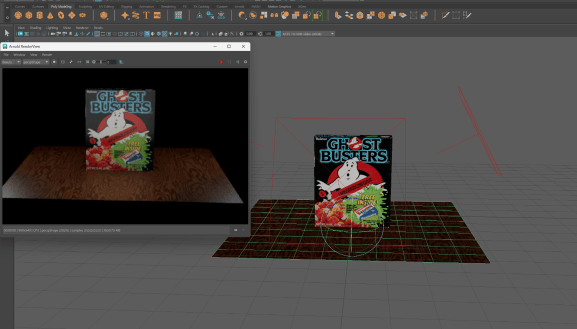
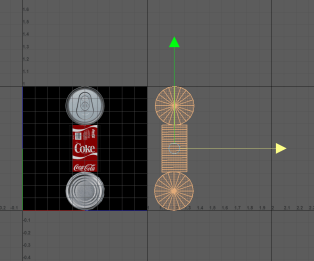
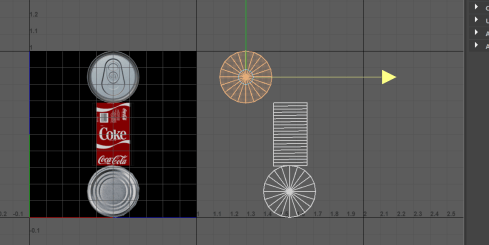
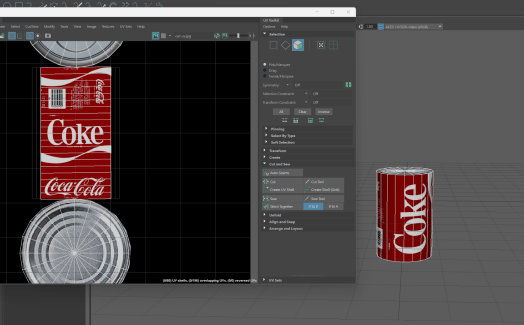
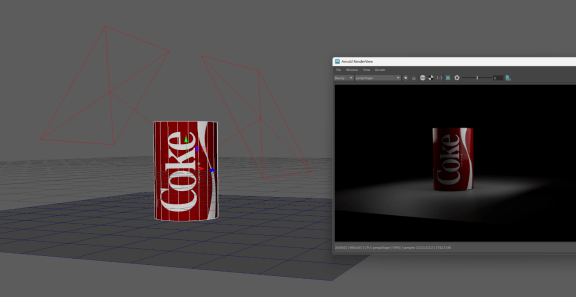
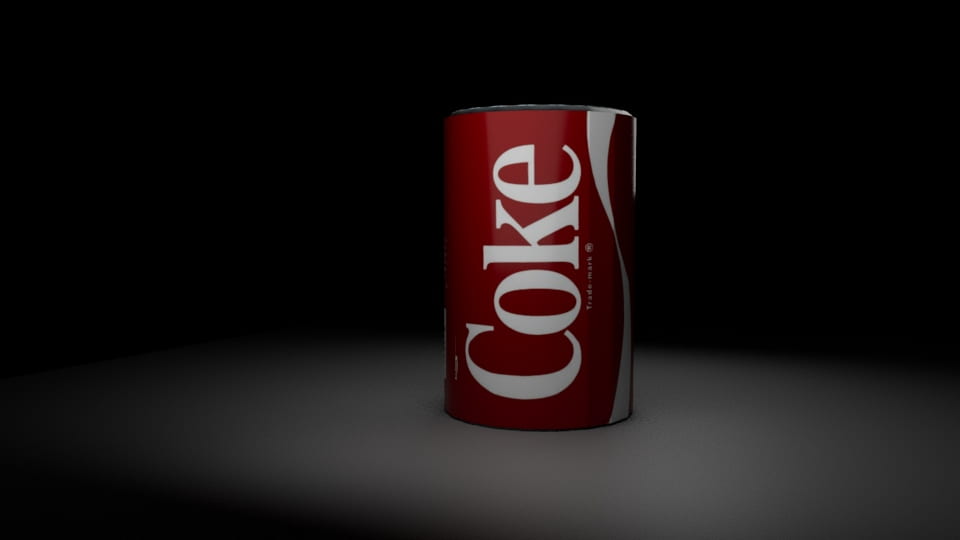
Task – A Can model with a UV mapped texture
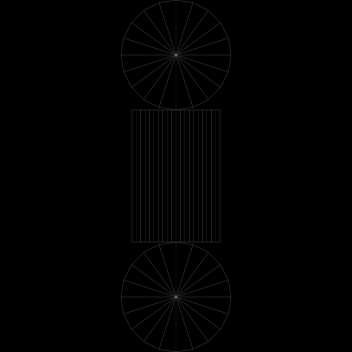
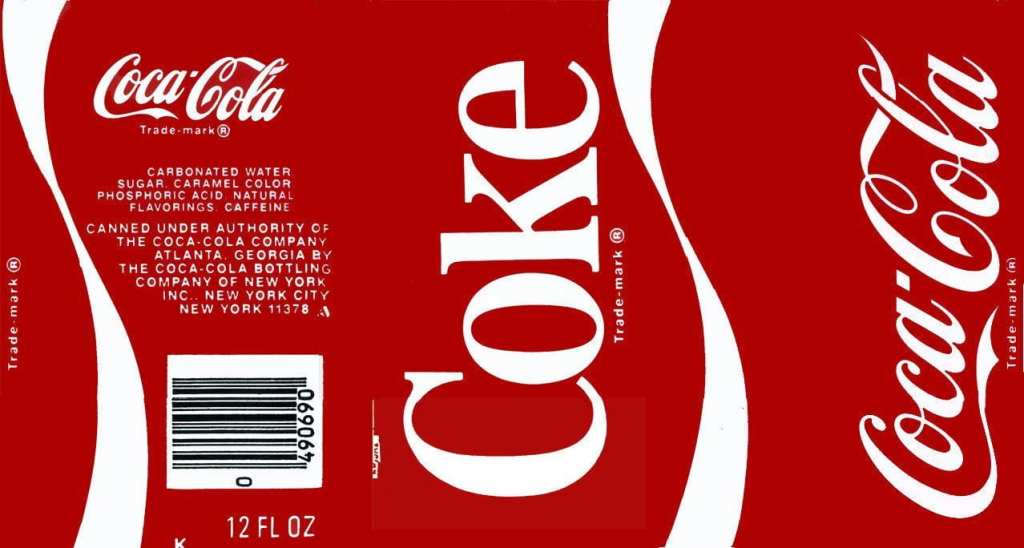
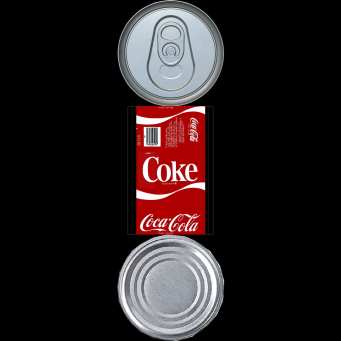
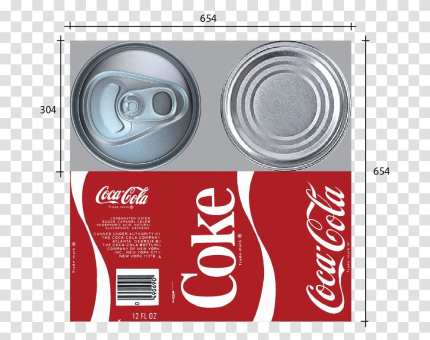
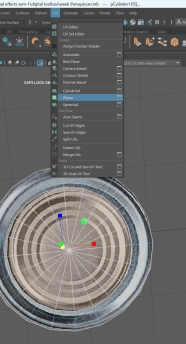
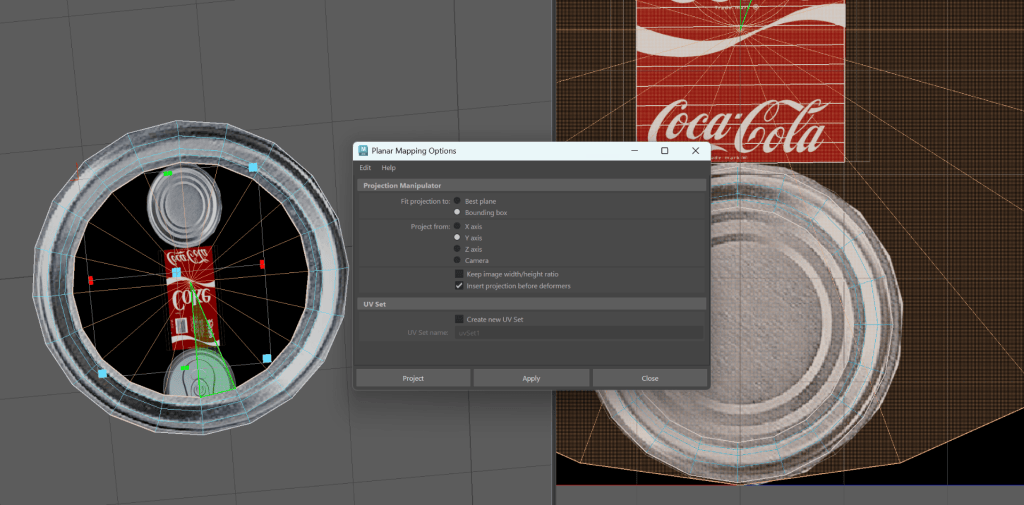
- Open Maya, add cylinder, open UV Editor.
- Click on Image, UV Snapshot.
- Go to photoshop, Use Rectangular Marquee tool to give selection, Then use cut and paste.
- Assign new material on cube.
- Assign new material > New Material > Arnold > Shader > aiStandardSurface.
- In UV Editor, Use cut and Sew to put coke layout.
- Use extrude and other tools to give perfect shape to a can.
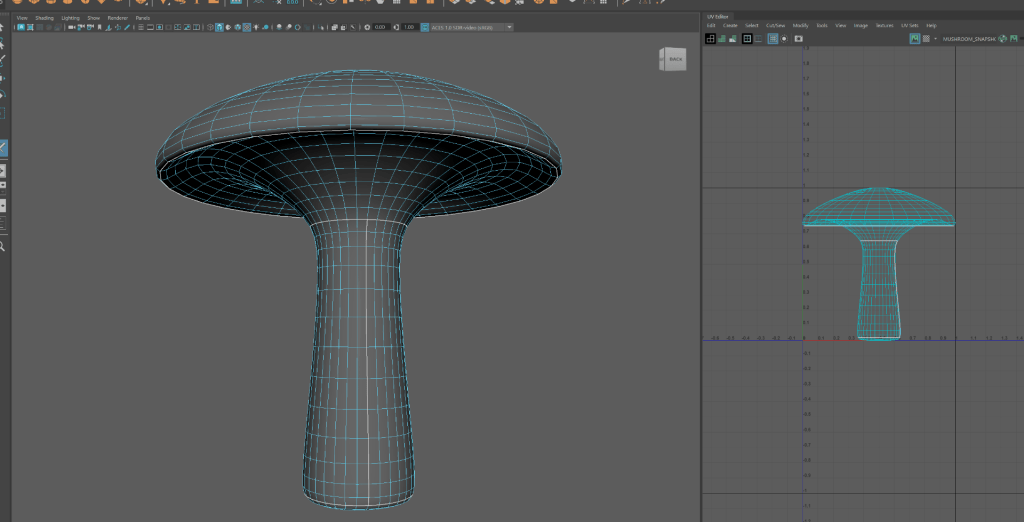
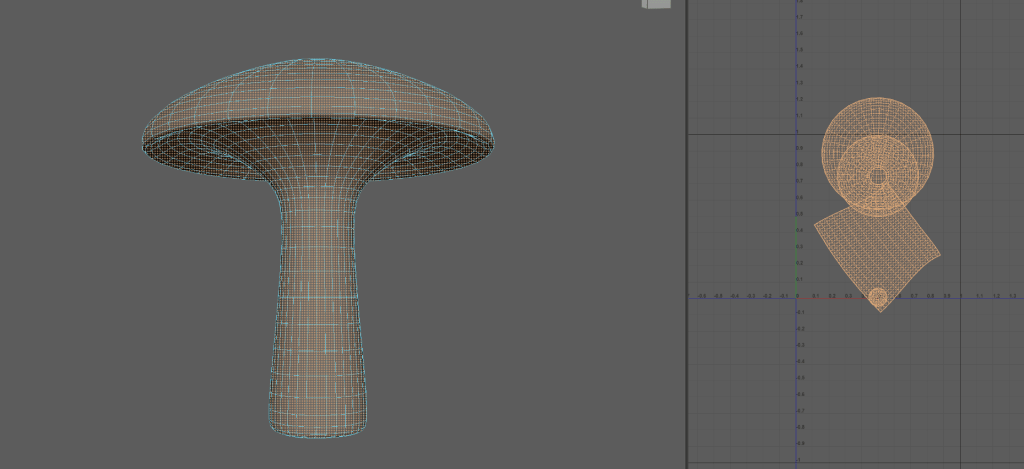
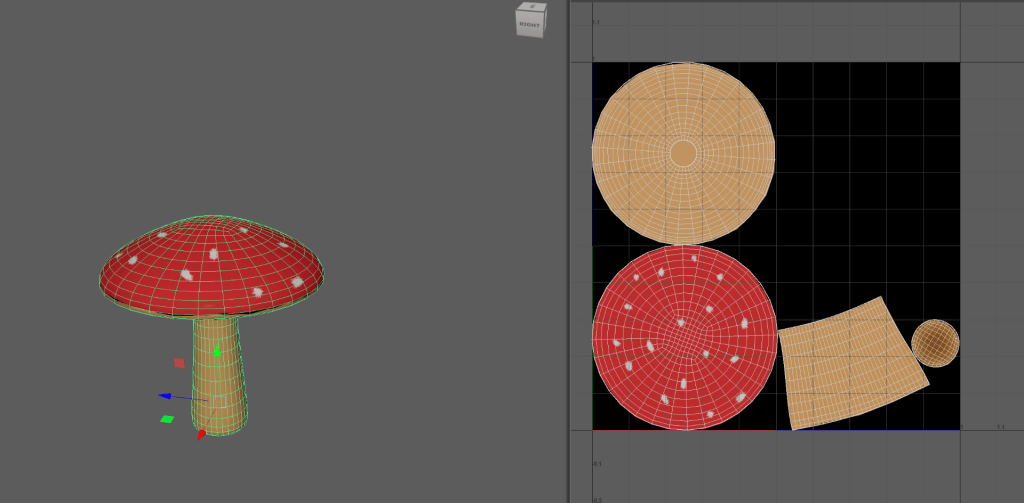
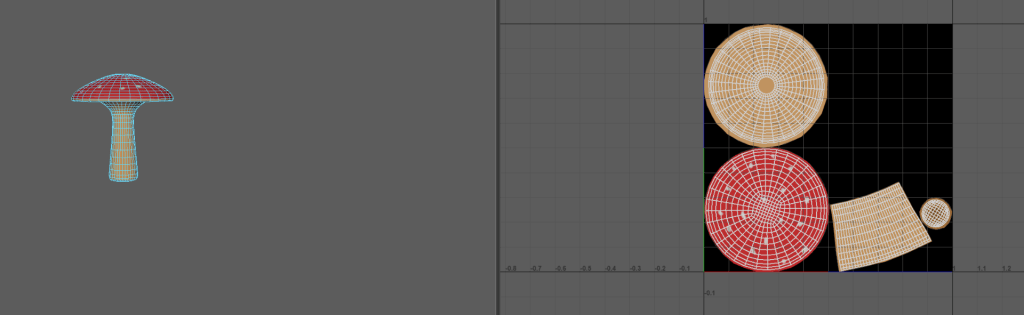
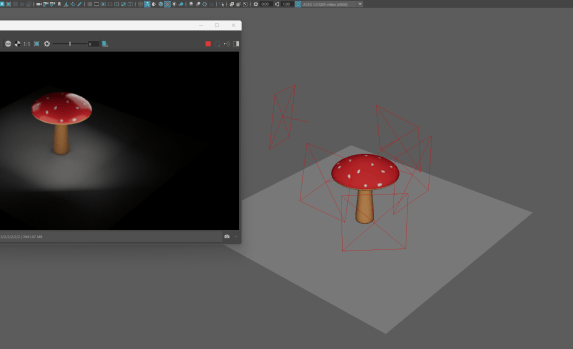
Task – UV the Mushroom shape
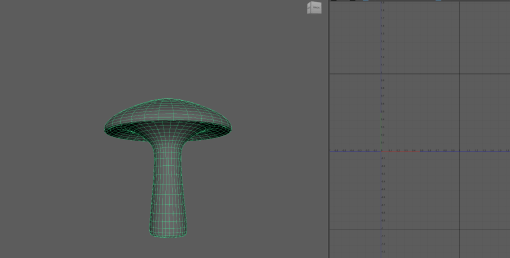
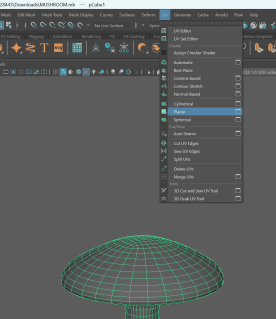
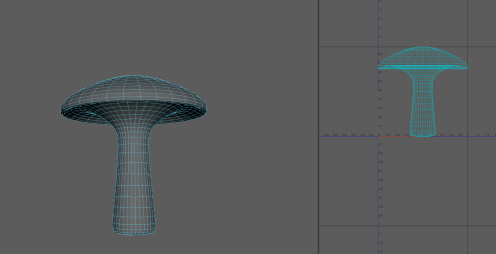
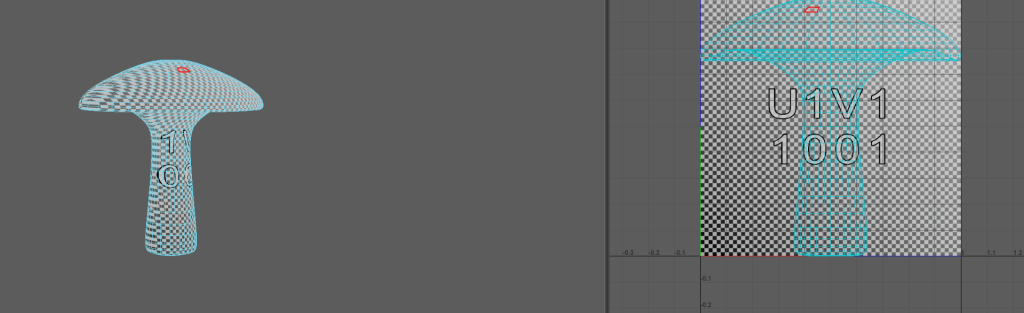
- click on planar in UV to get UV layout.
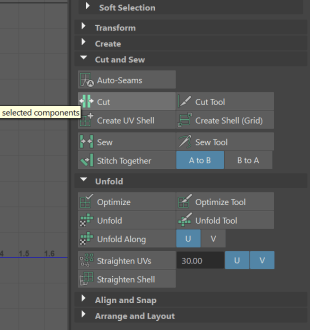
- Click on 3D Cut and Sew UV tool.
- Select edges wanna cut, then click on UV shell and cut in UV Toolkit.
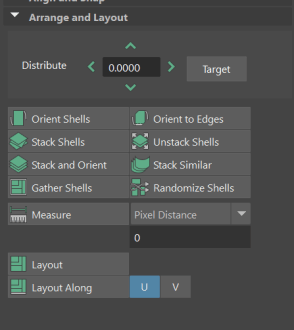
- Click on unfold, Then Layout to arrange.
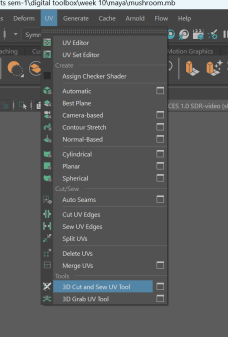
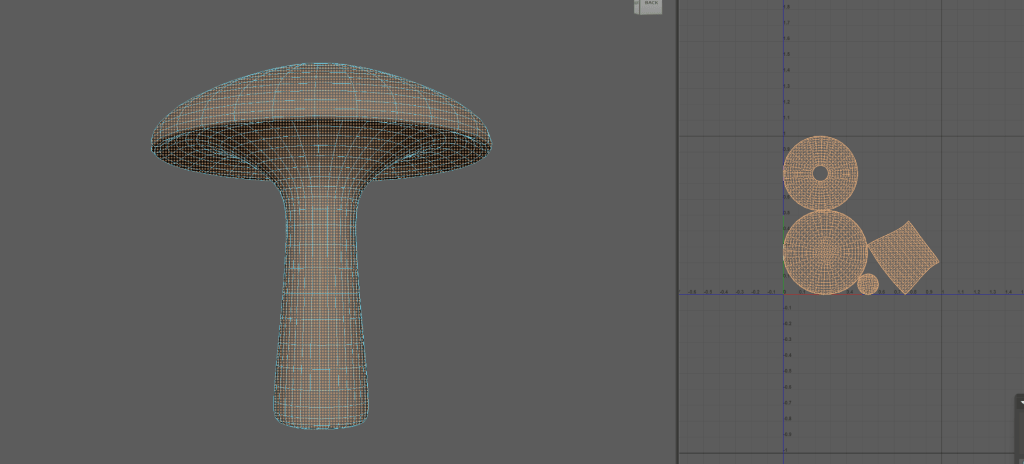
- In UV Editor go to Image, UV Snapshot.
- Open photoshop, Color using Brush Tool.
- Assign new material on cube.
- Assign new material > New Material > Arnold > Shader > aiStandardSurface.
Week 13
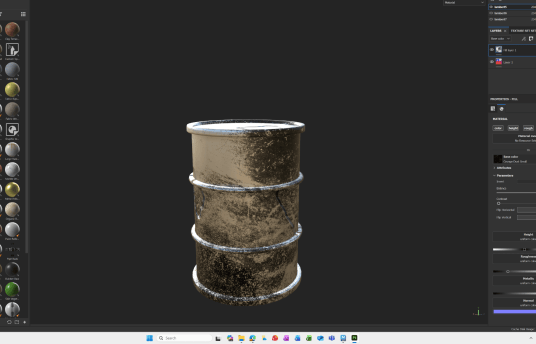
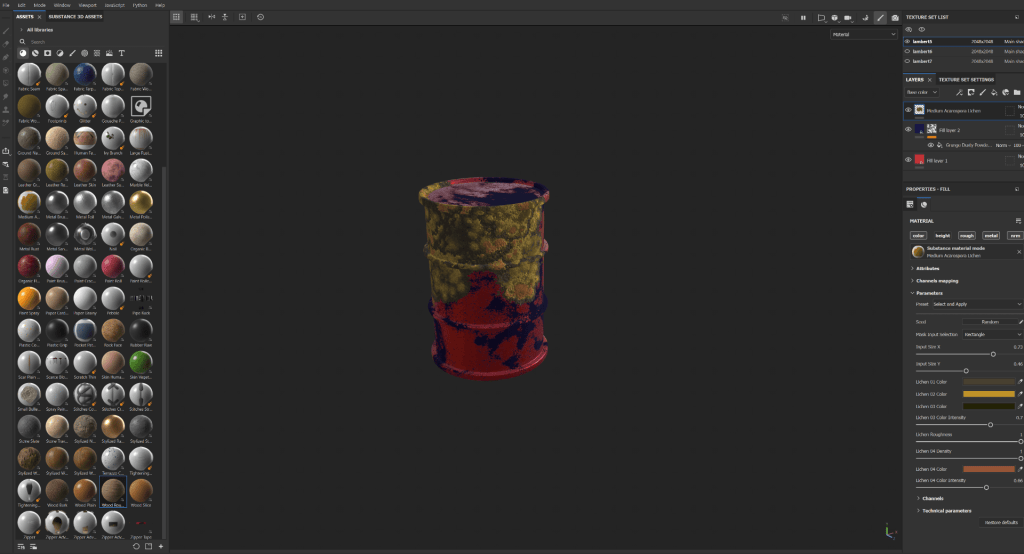
How to Texture a Oil Drum in Substance Painter
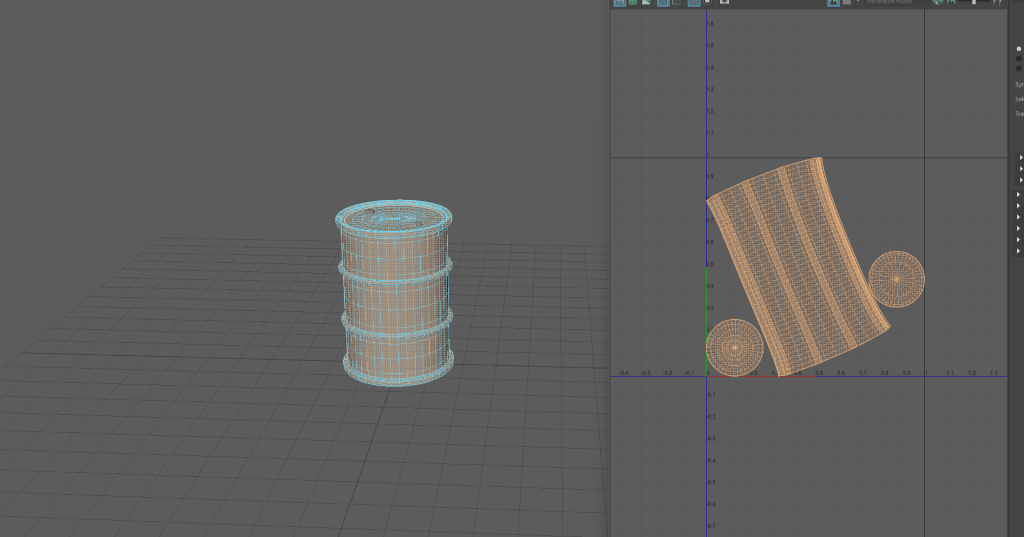
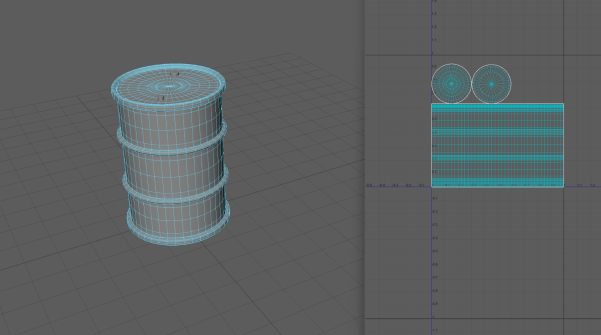
- Open maya, made Oil drum.
- Make UV mapping & and layout it.
- Export maya file with FBX export.
- Open substance Painter, open the file.
- select height then bake the project.
Assignment 2
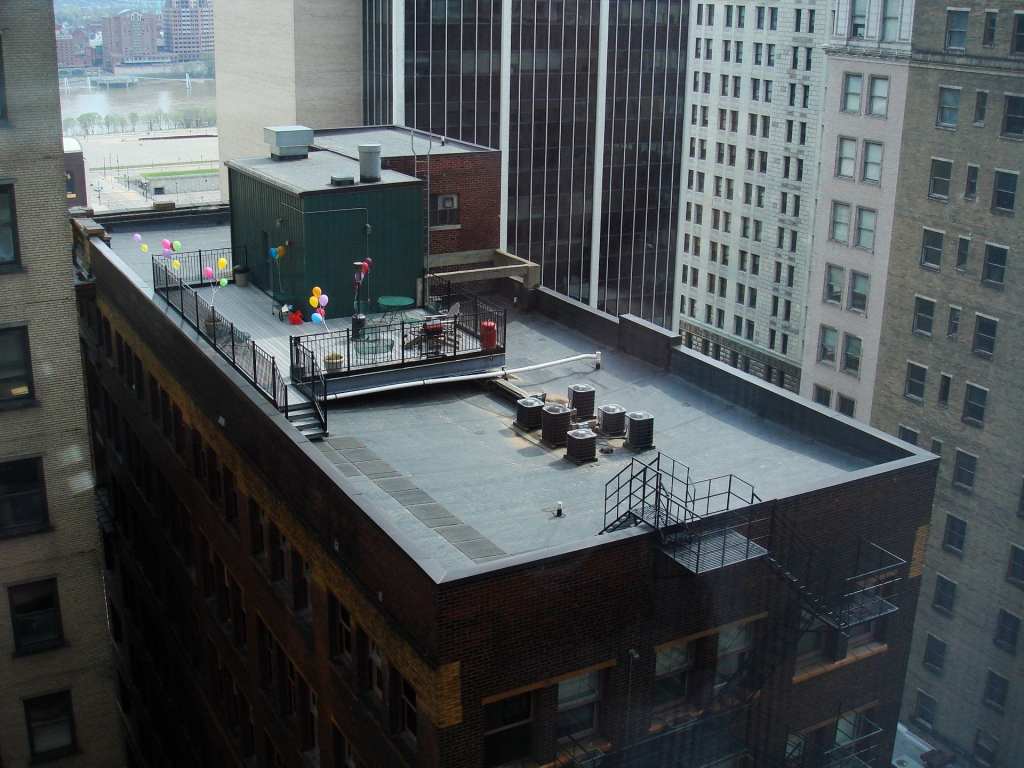
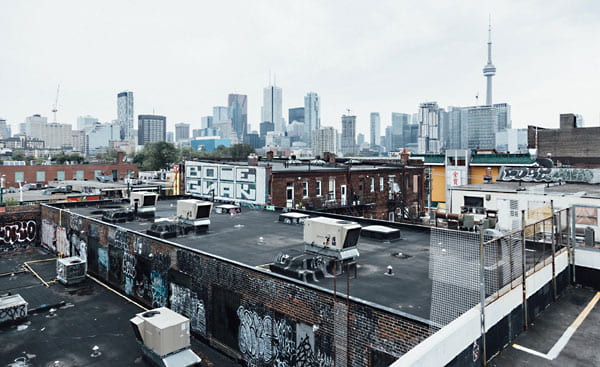
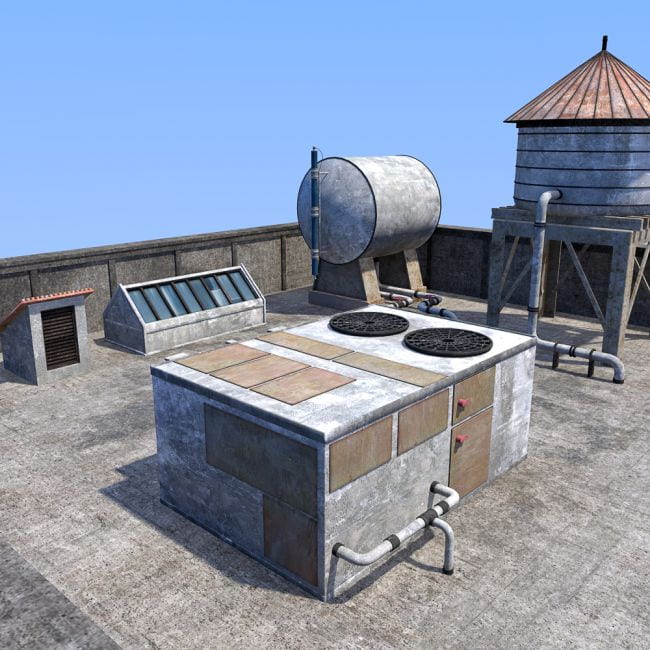
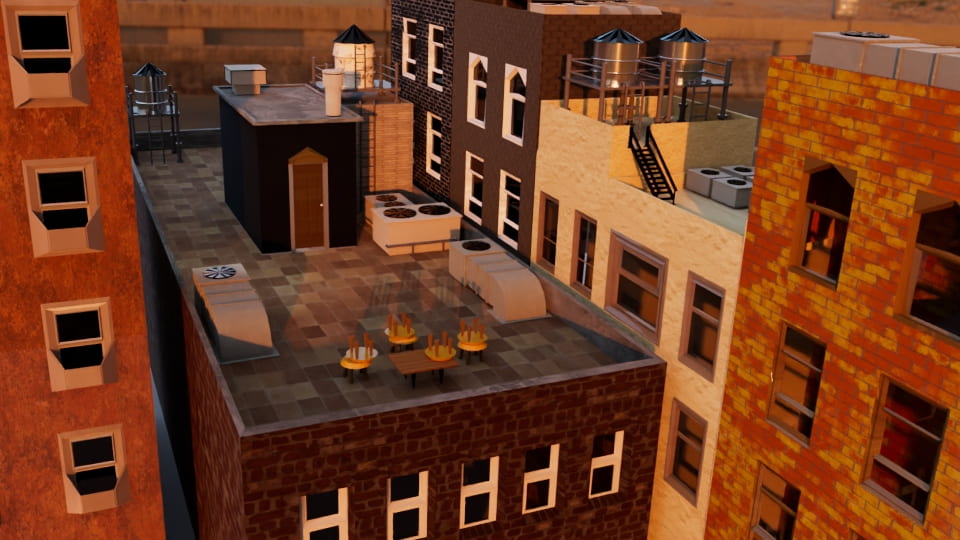
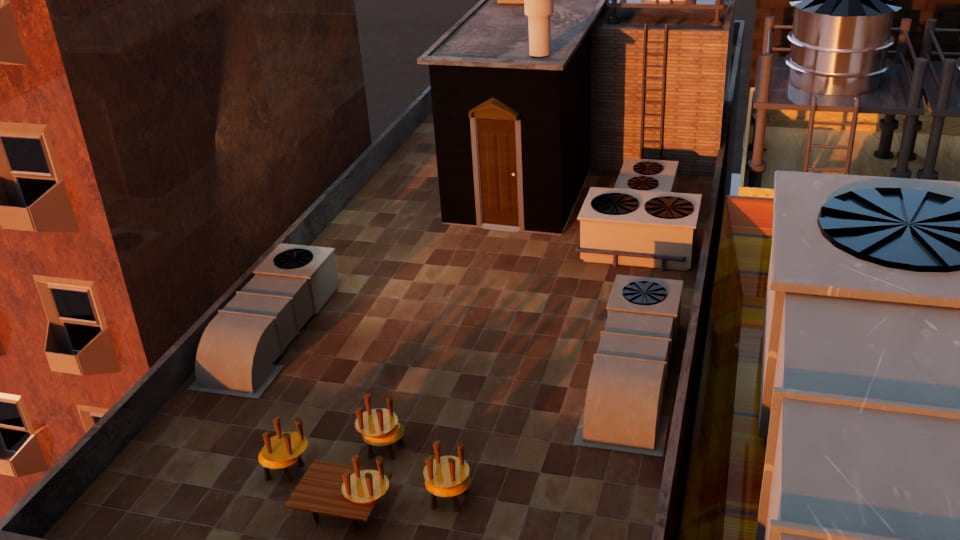
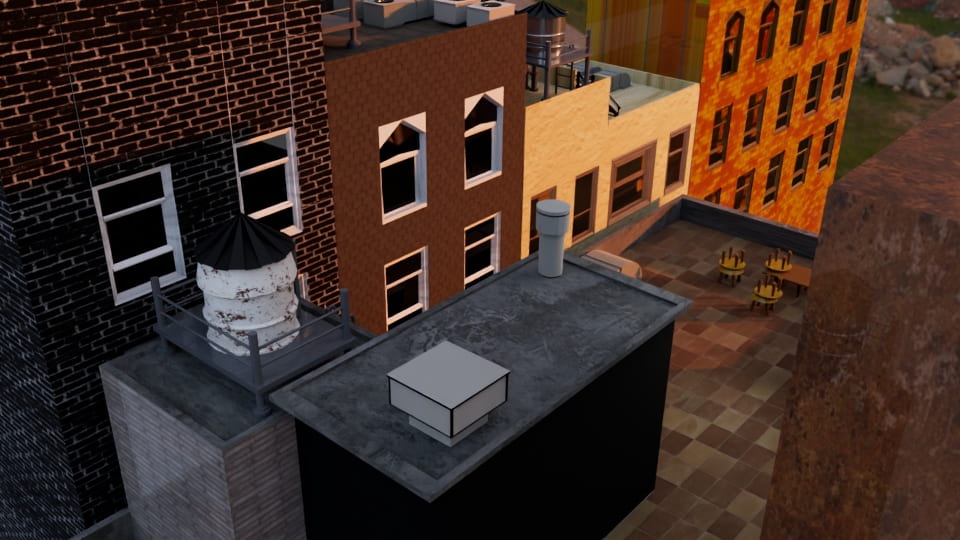
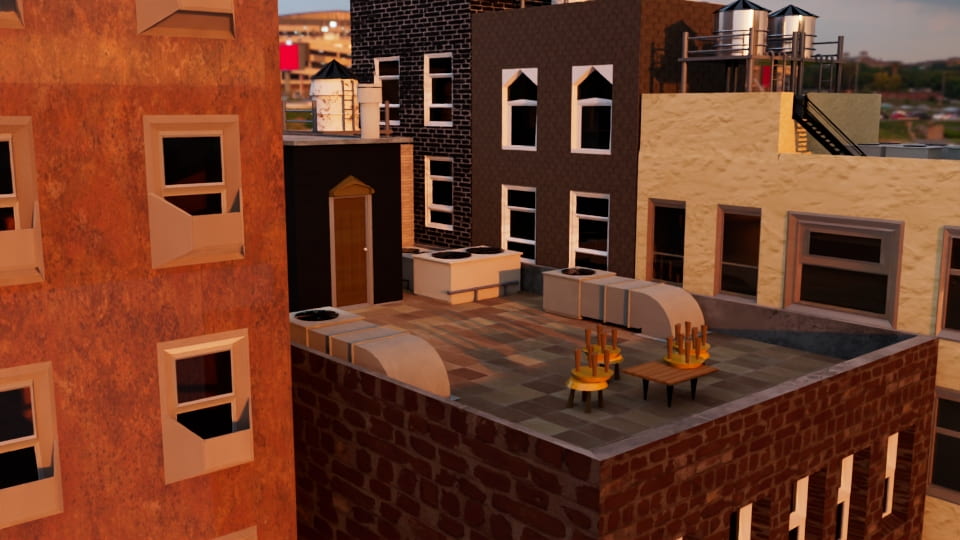
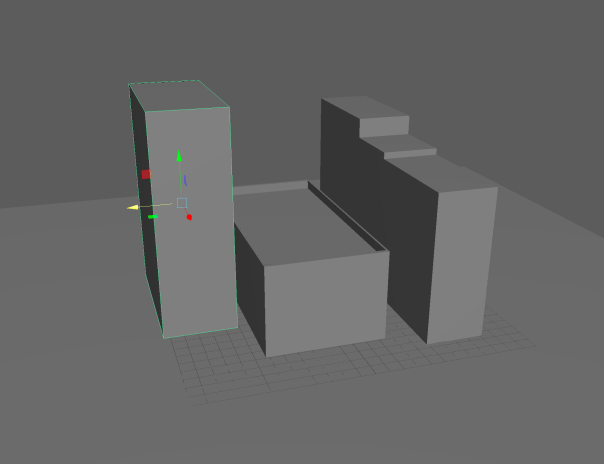
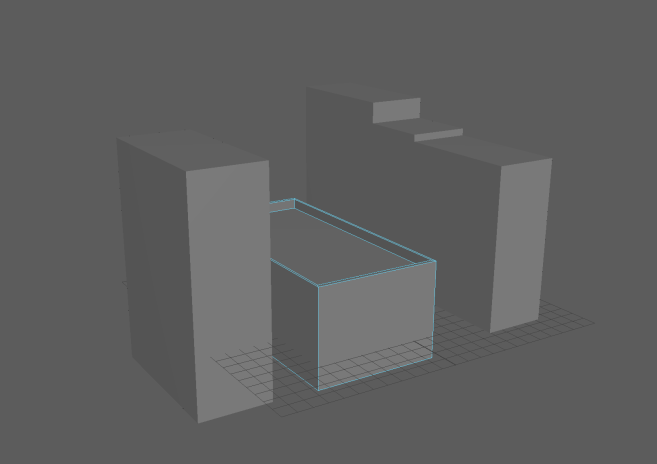
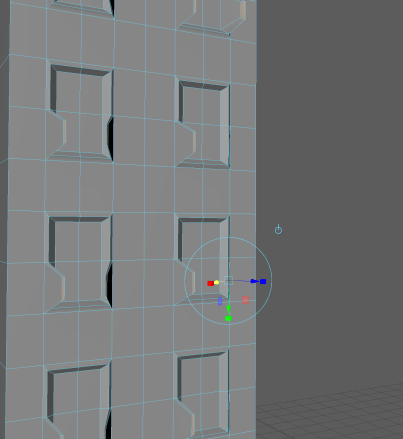
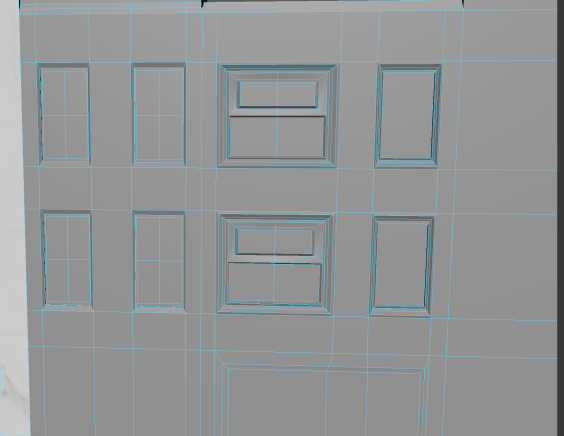
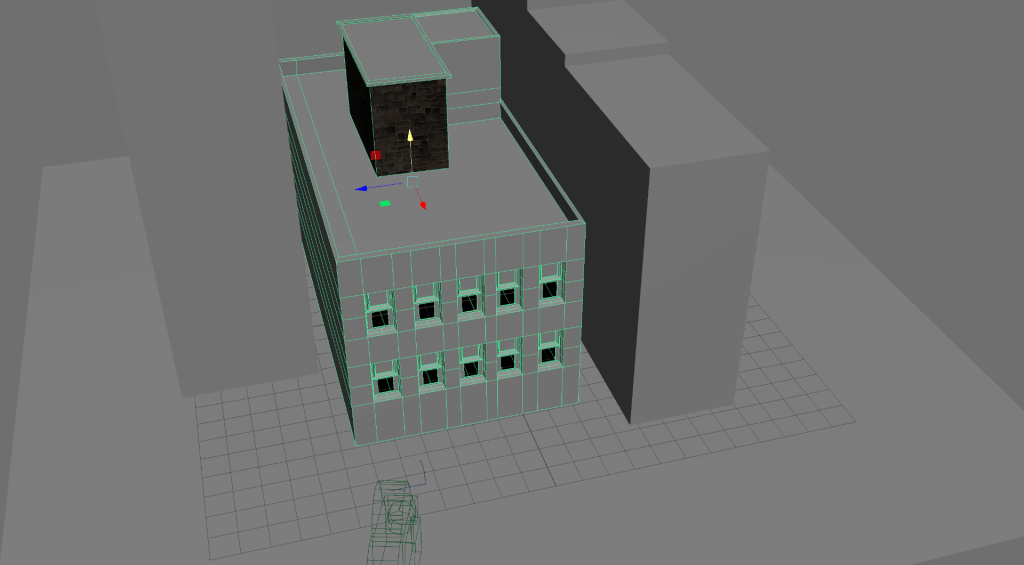
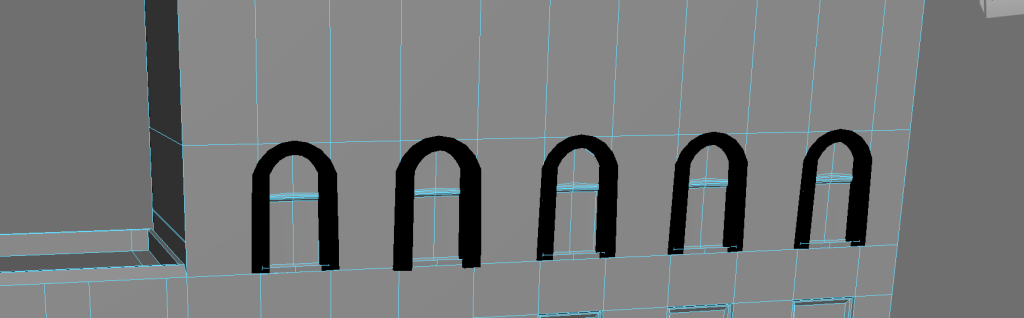
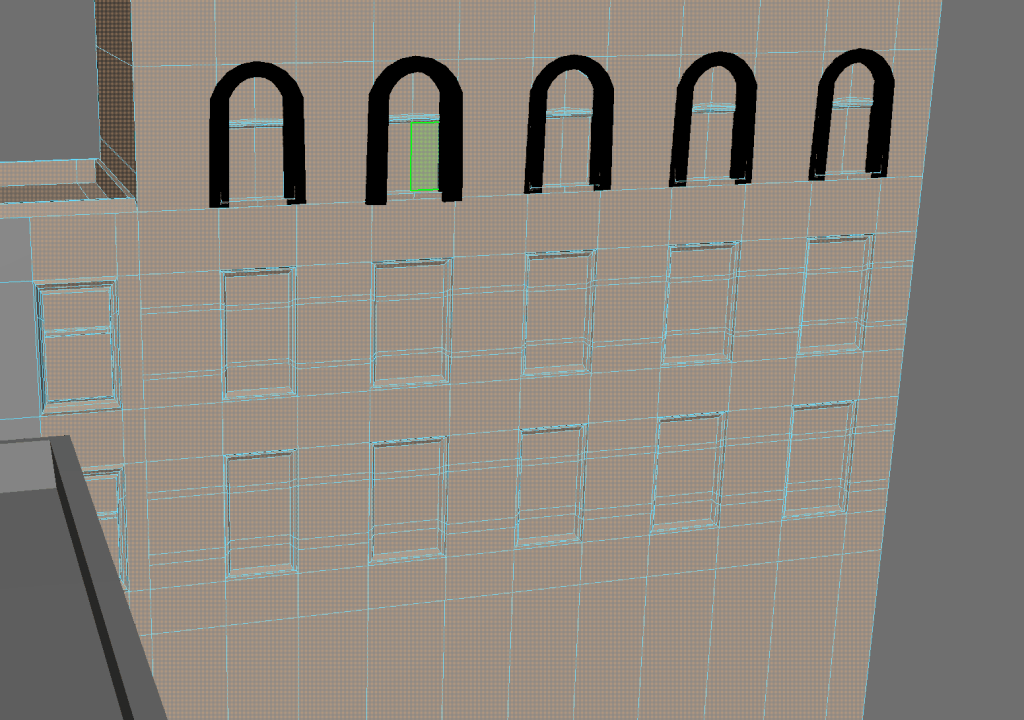
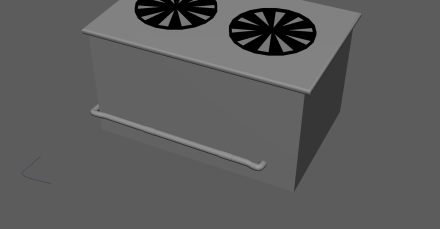
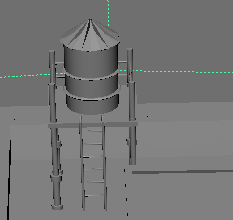
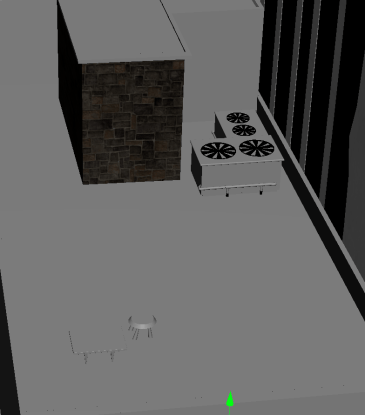
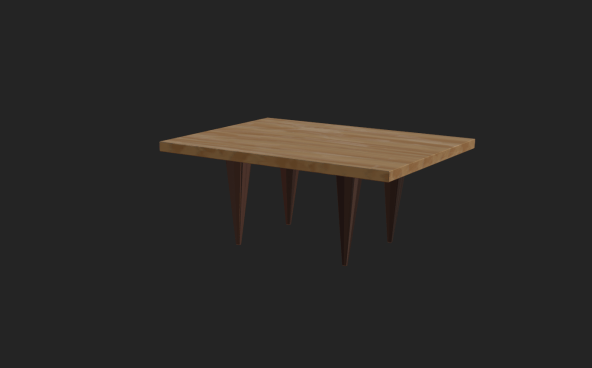
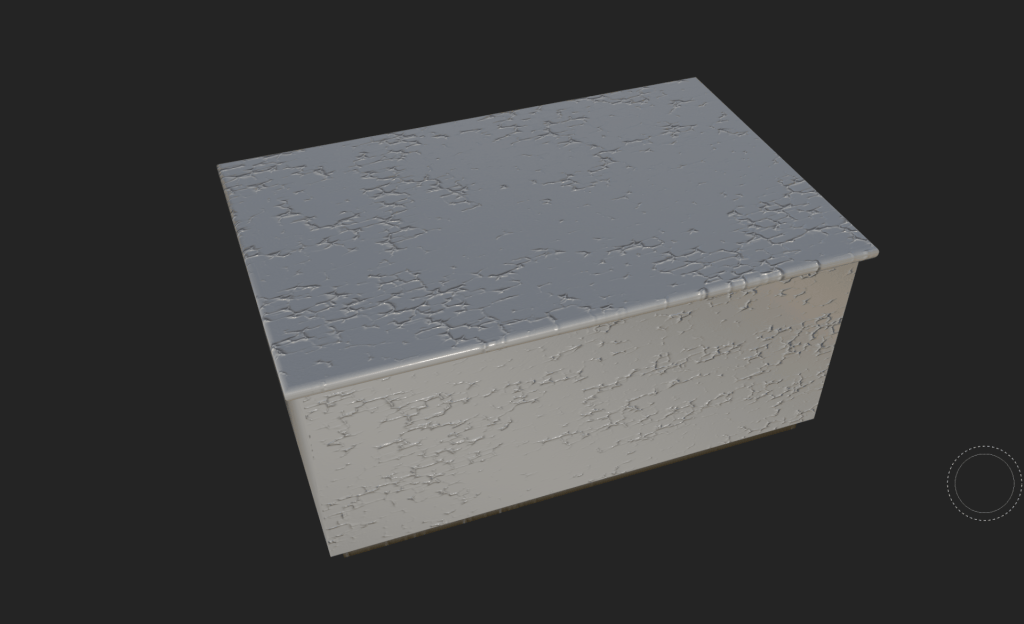
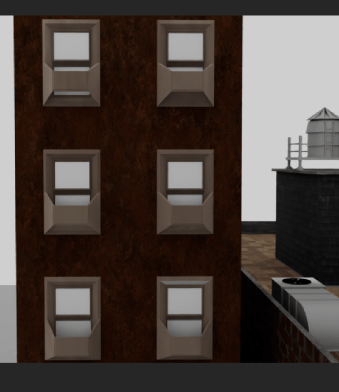
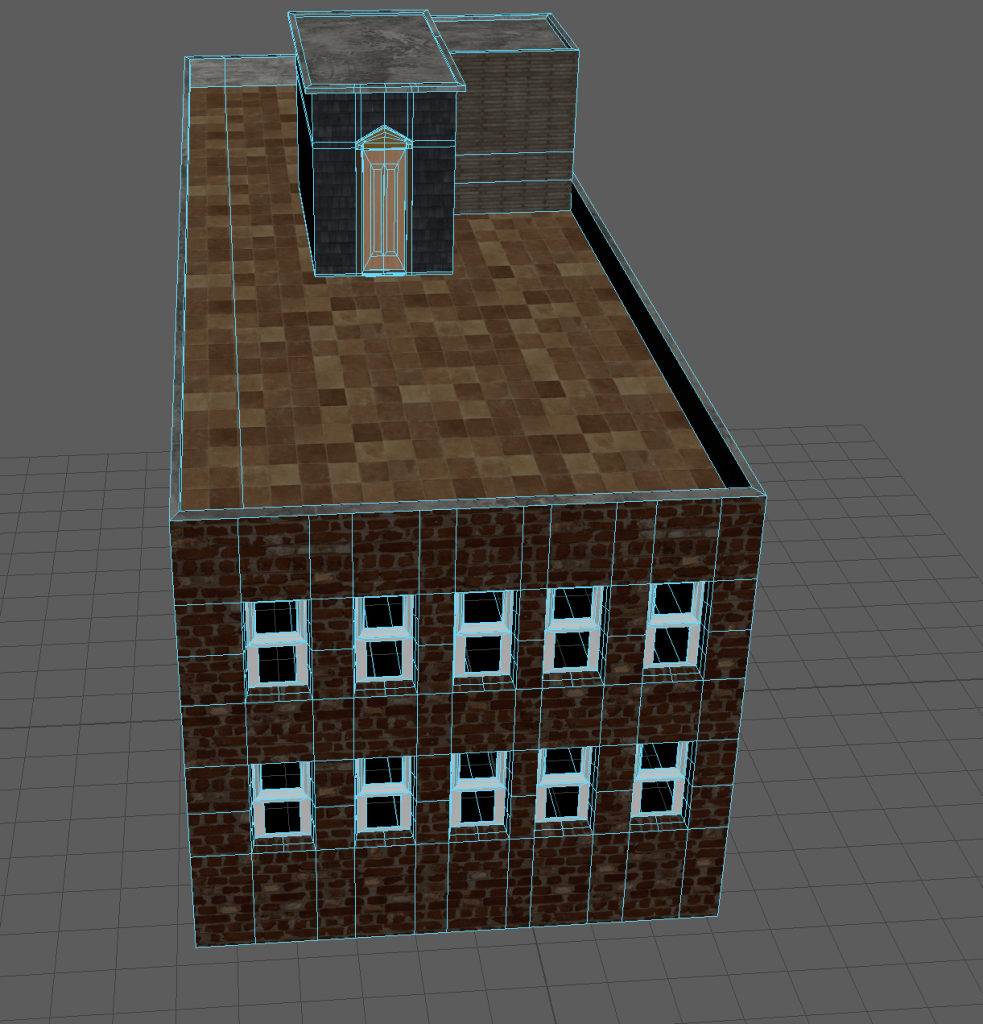
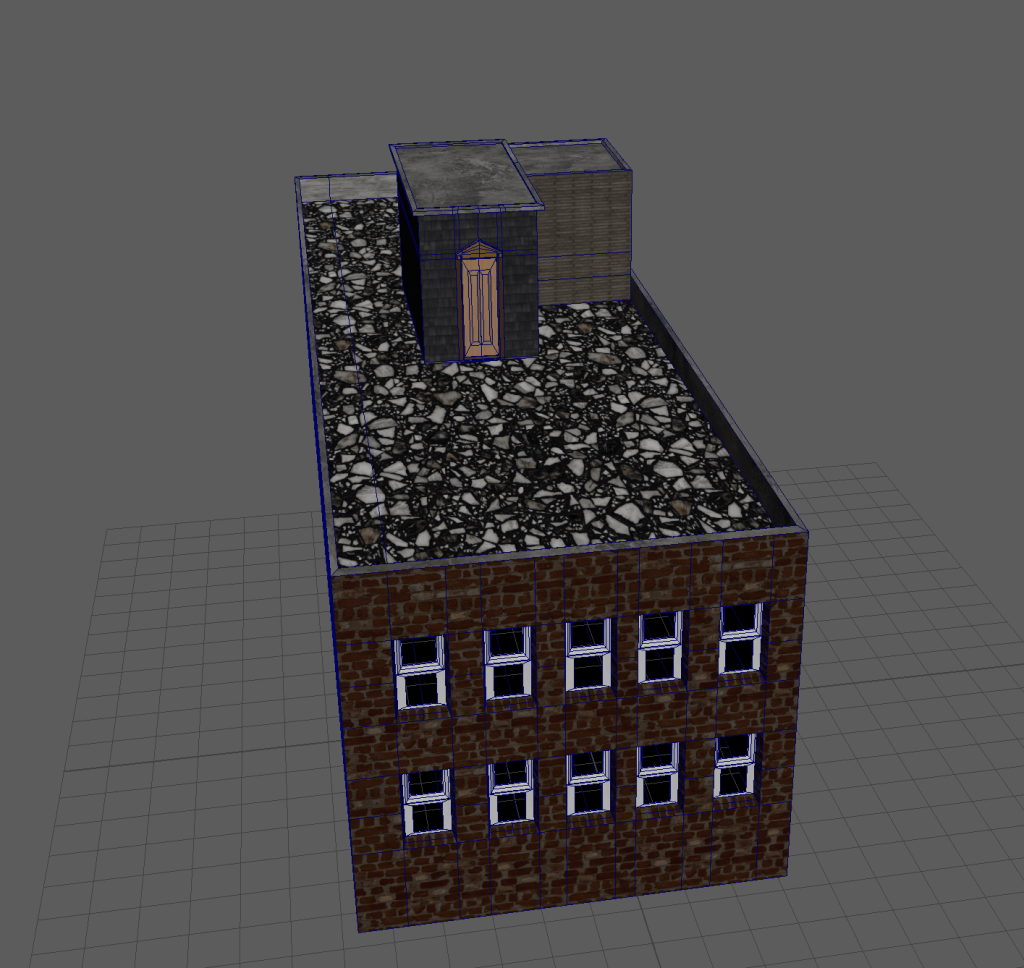
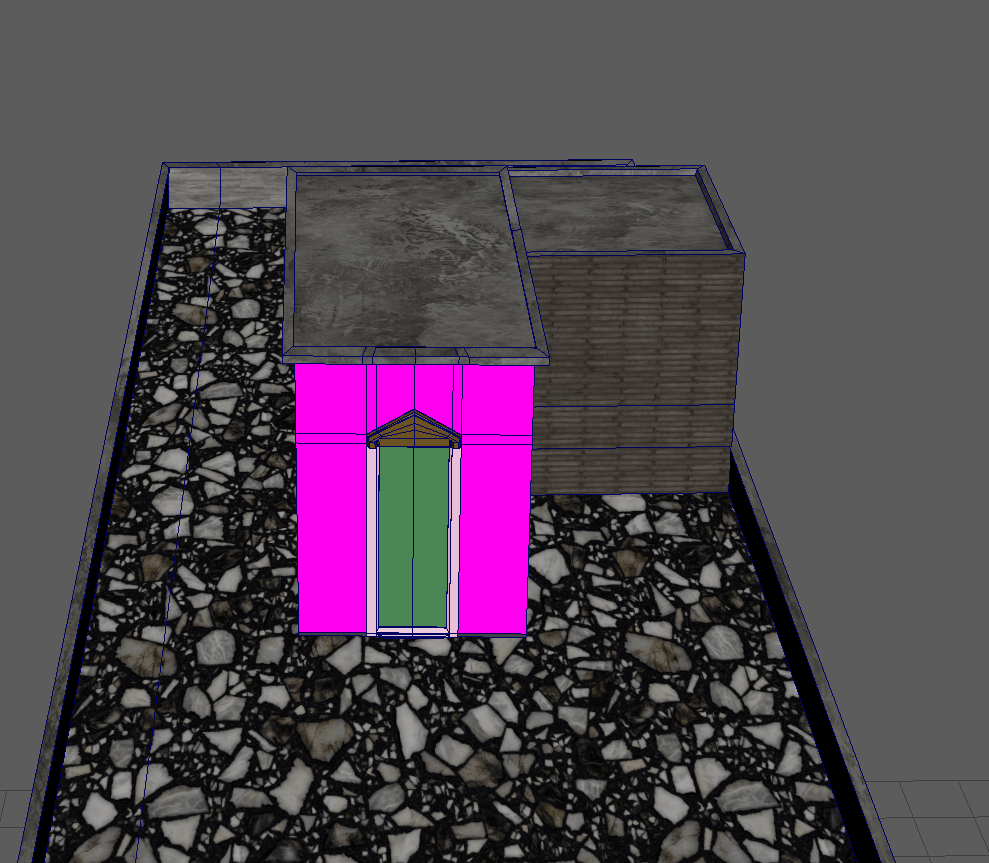
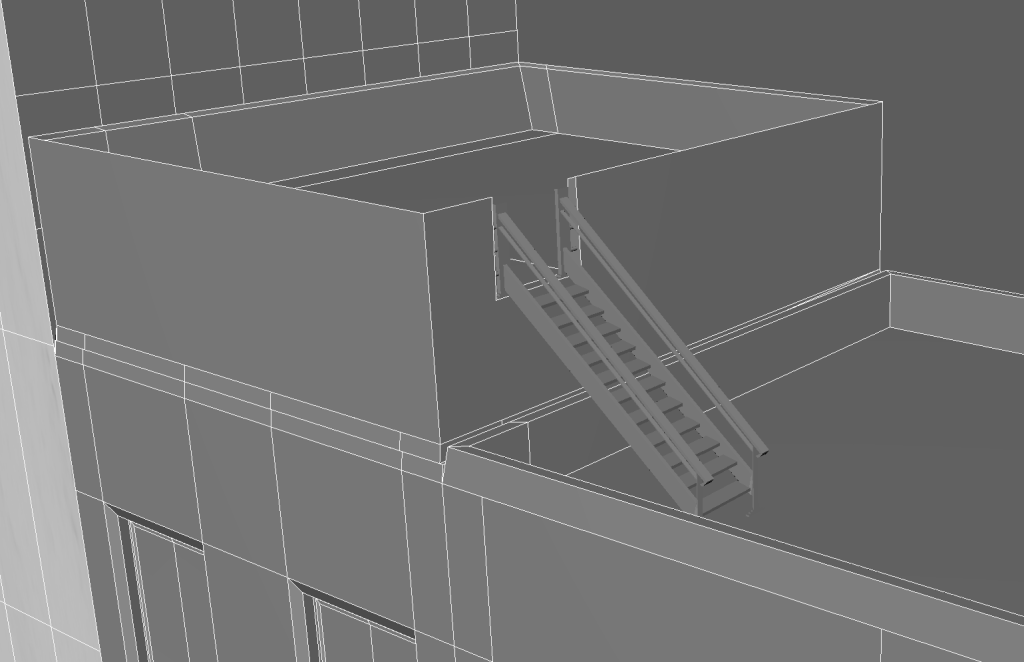
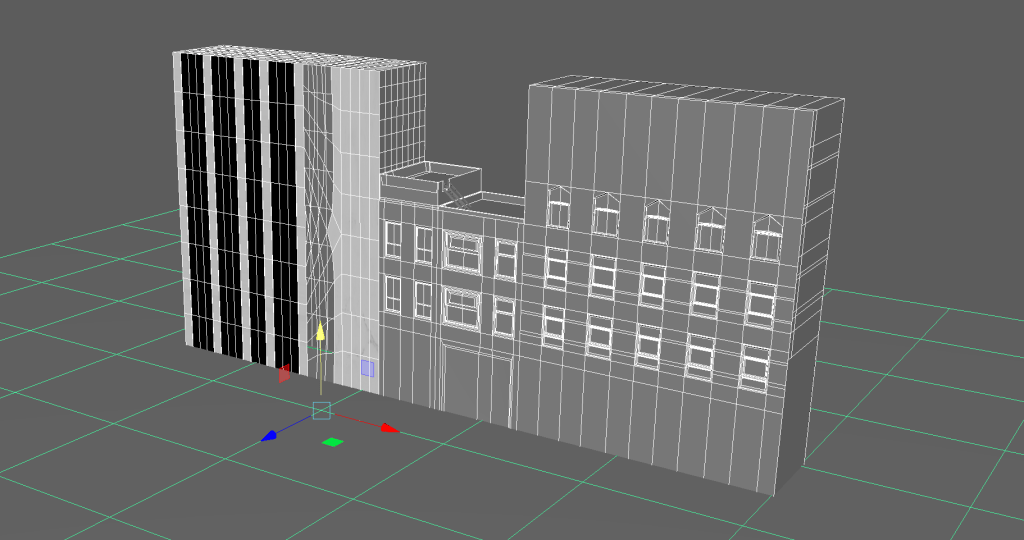
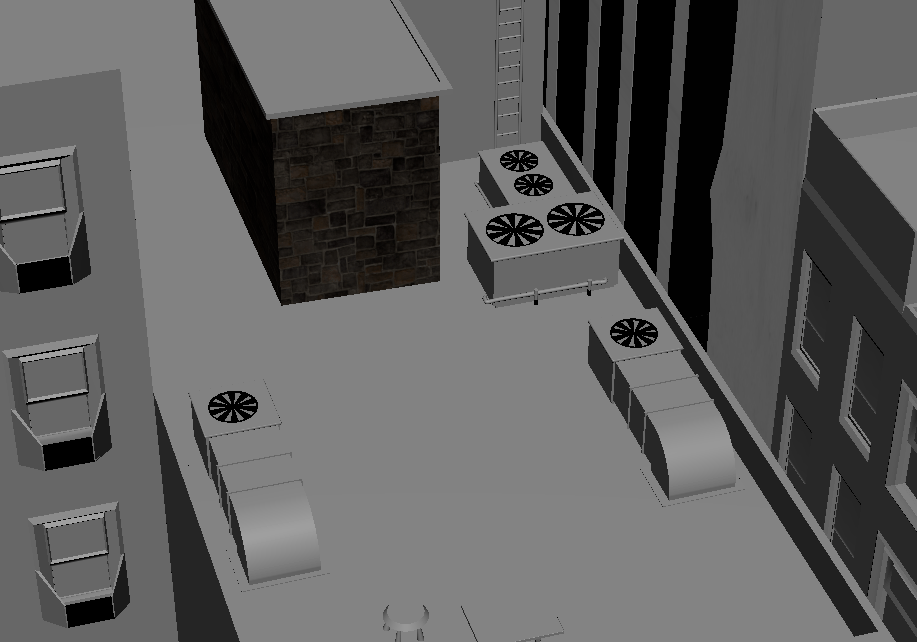
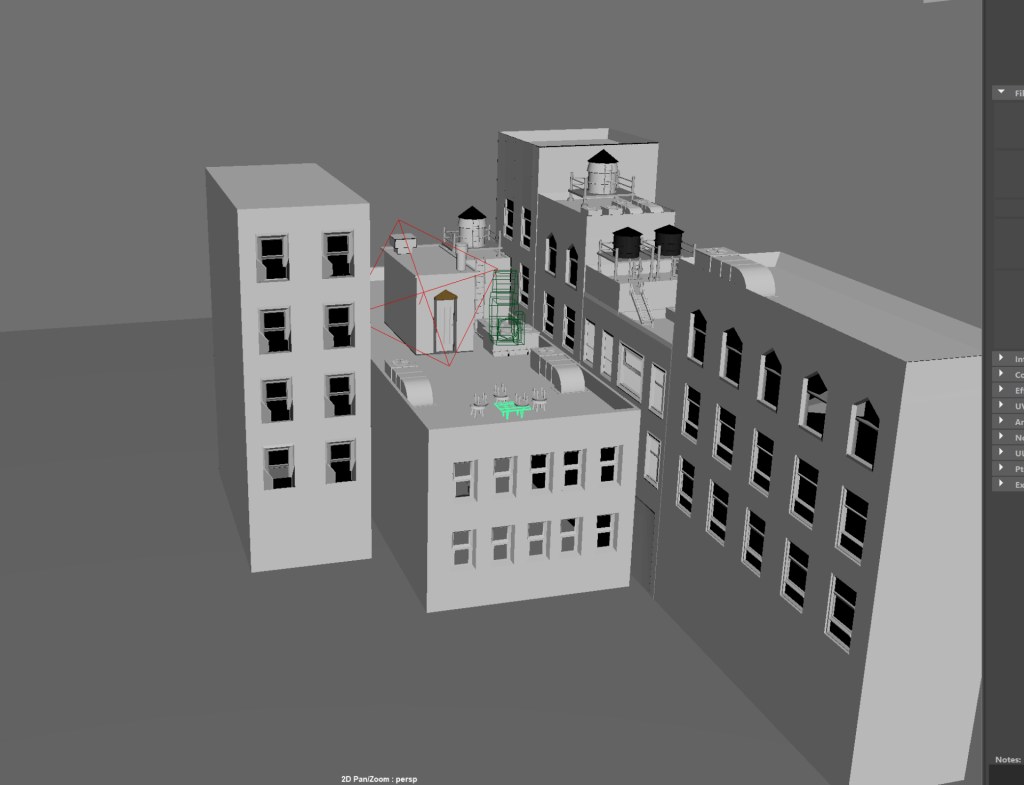
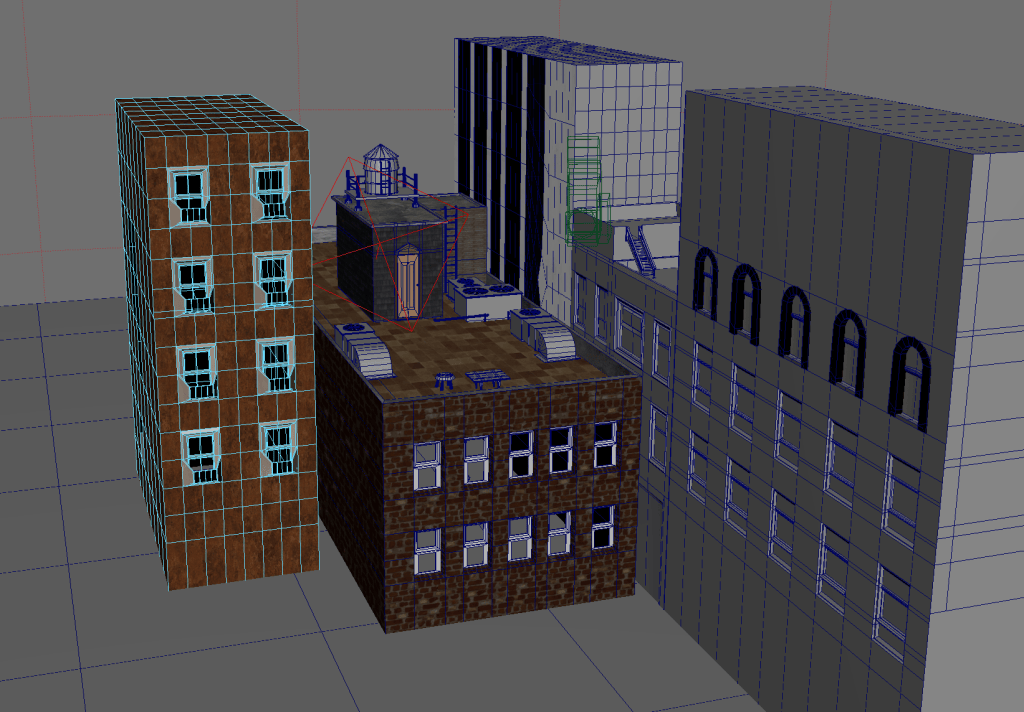
- Open maya, add square and using previous knowledge made buildings and other models. Add textures.
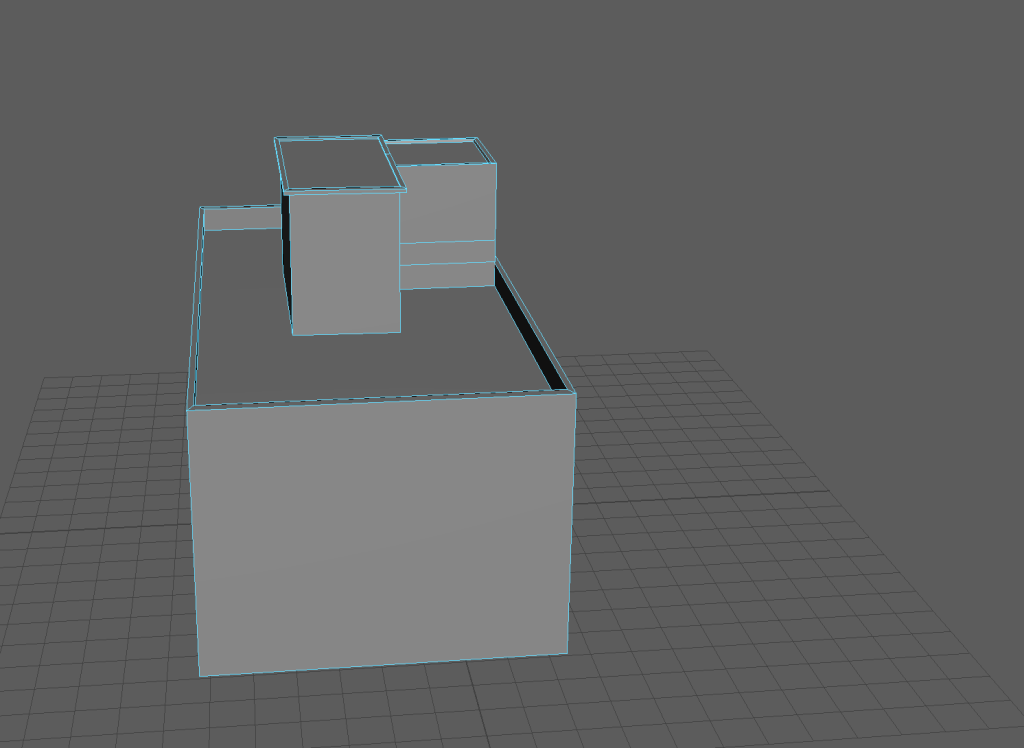

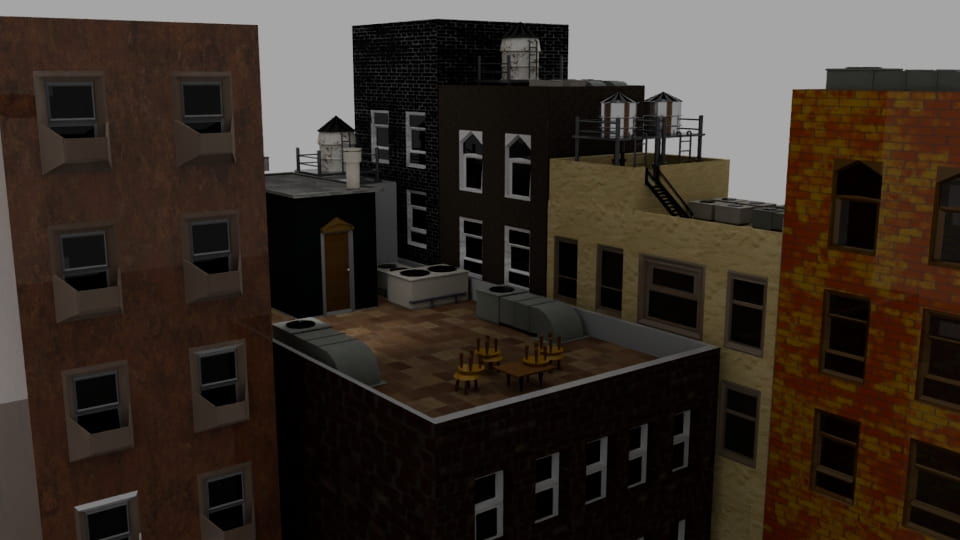
Rendered images :