Week 1
Introduction to Adobe After Effects
To change Seconds to Frames
- File, Project settings, Time display settings, Select Frames.
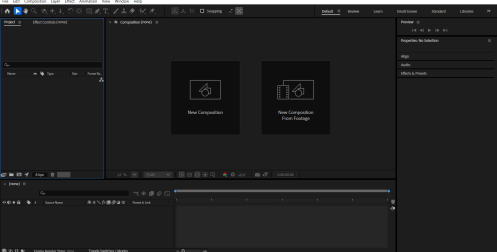
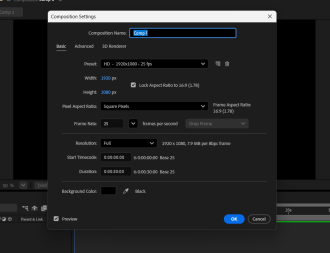
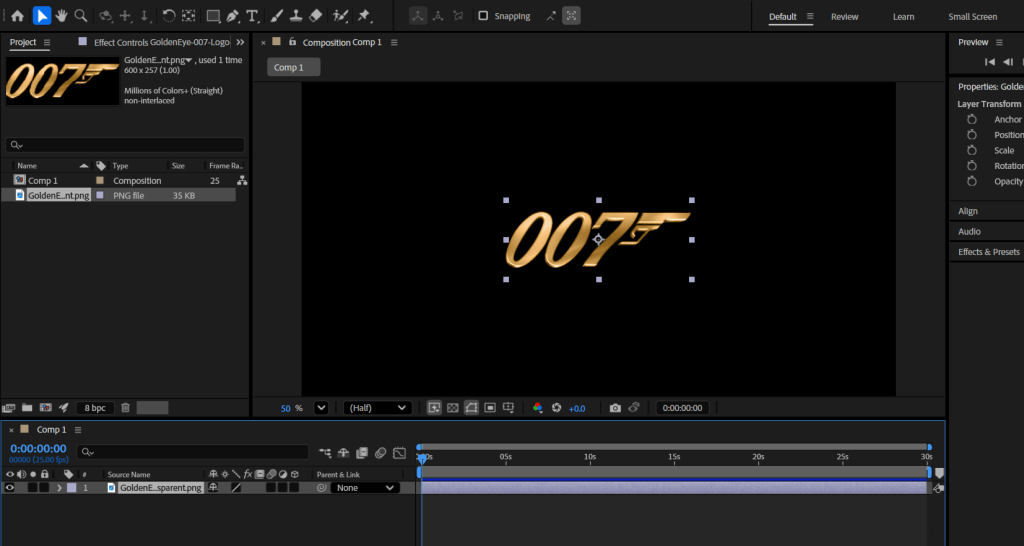
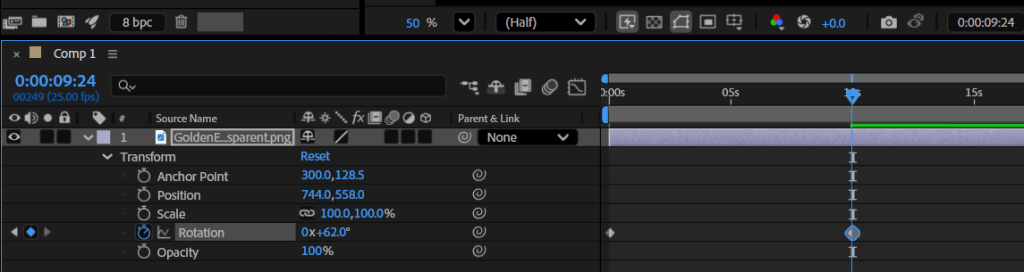
- Add the Image.
- In transform, click on clock to add key frames, adjust rotation, scale, position.
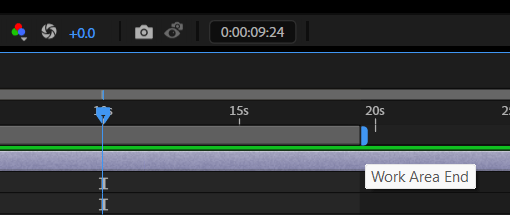
- Adjust work area end for length of a video.
- Go on composition, click on add to Render Queue to get render.
Final Render
Animating the moving circles
Homework
Week 2
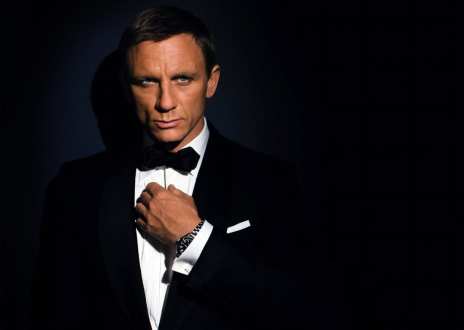
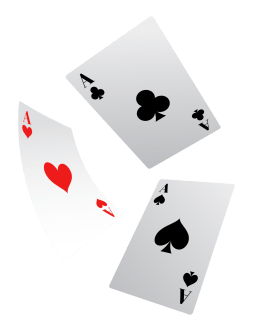
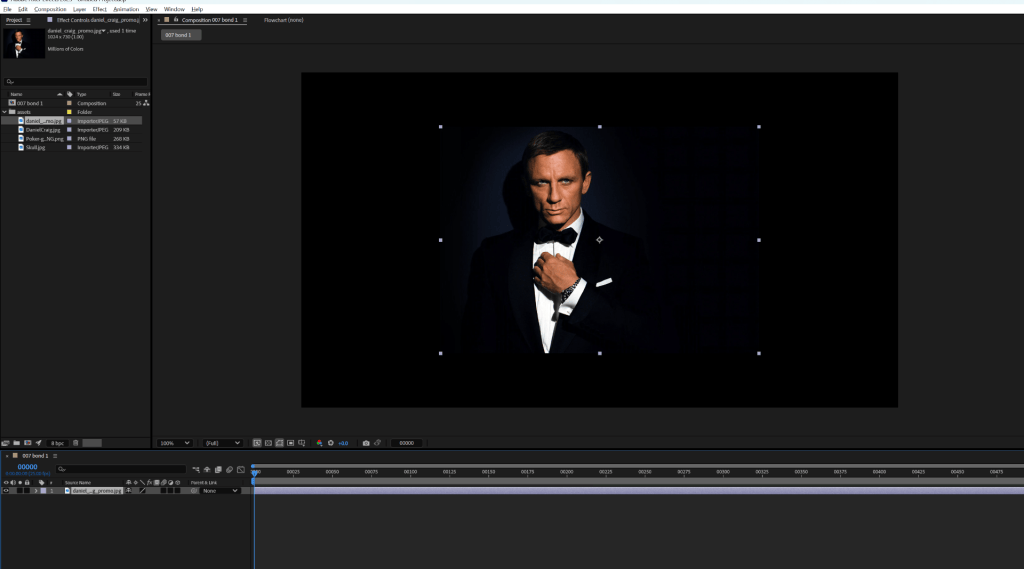
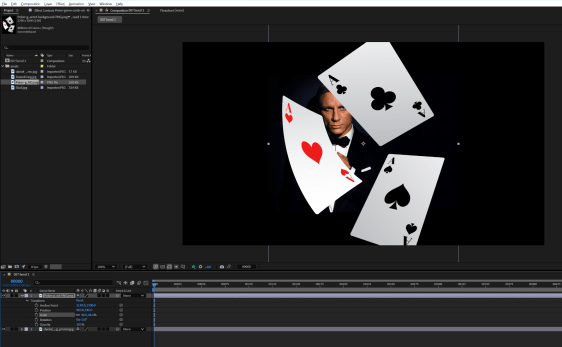

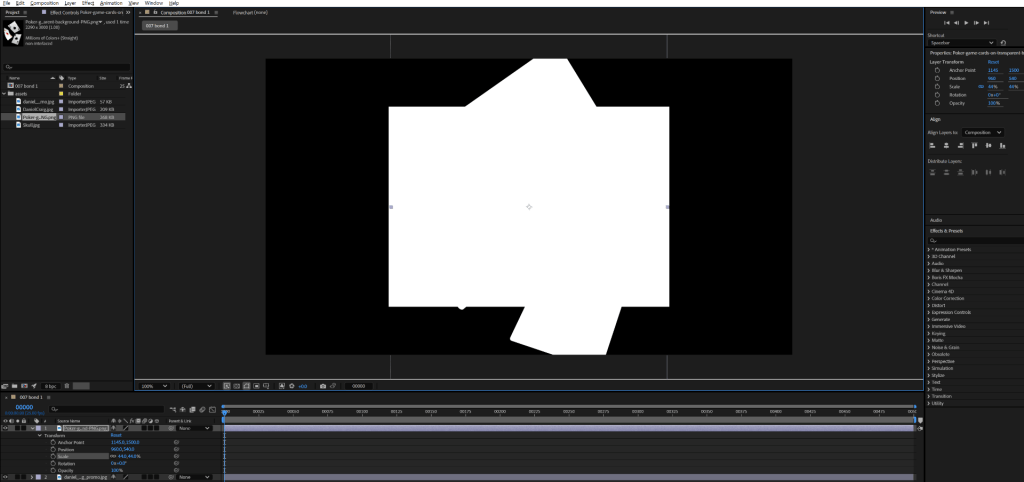
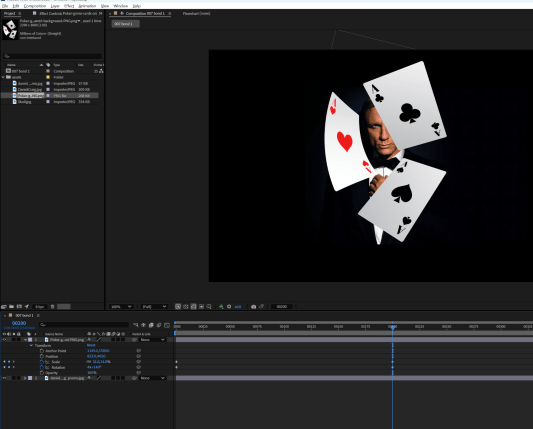
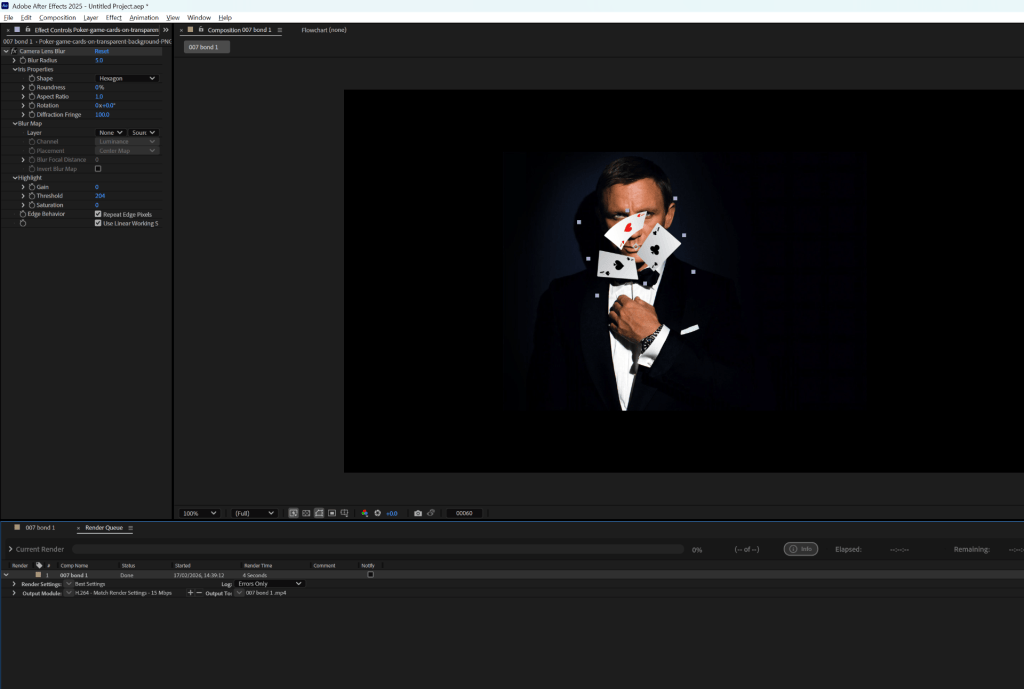
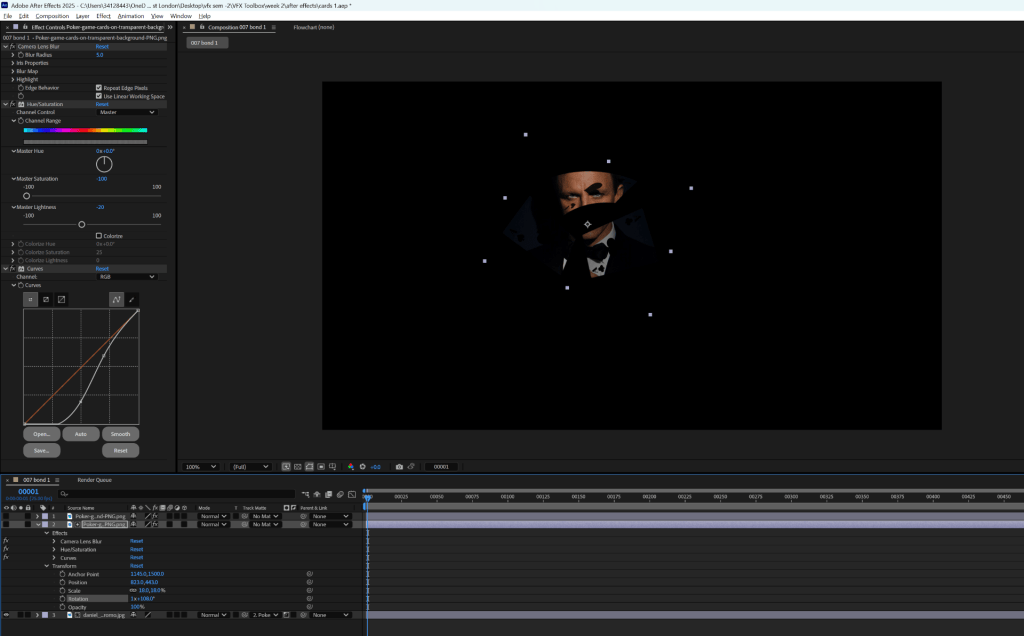
- open Adobe After Effects, make new composition, import the images.
- use scale and rotation, click on stop watch to add expression in video.
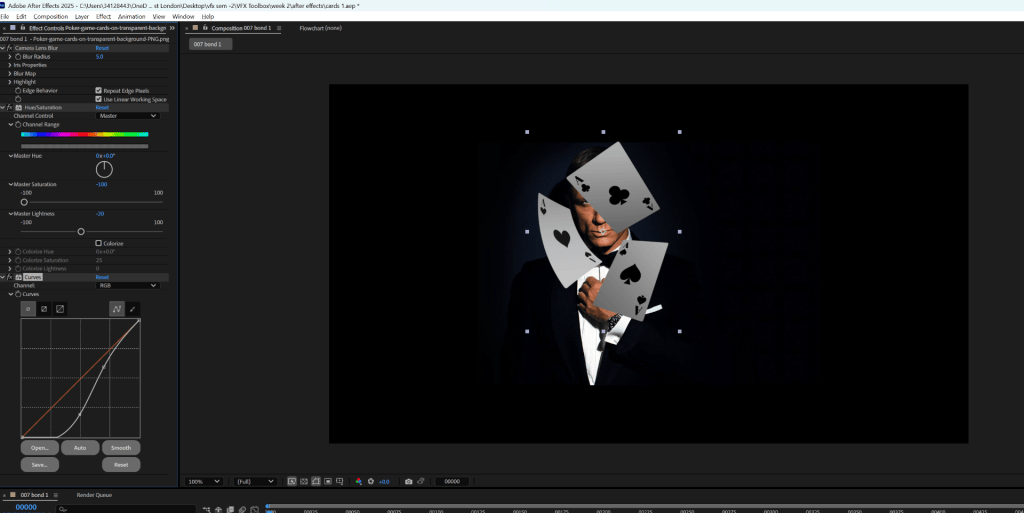
- Click on effects, color correction, hue/saturation. effects, color correction, select Curves.
- Make the red card black.
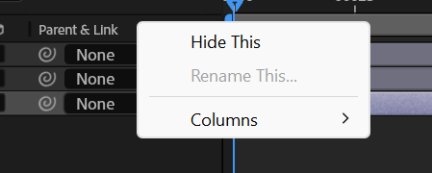
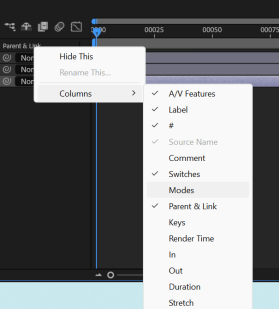
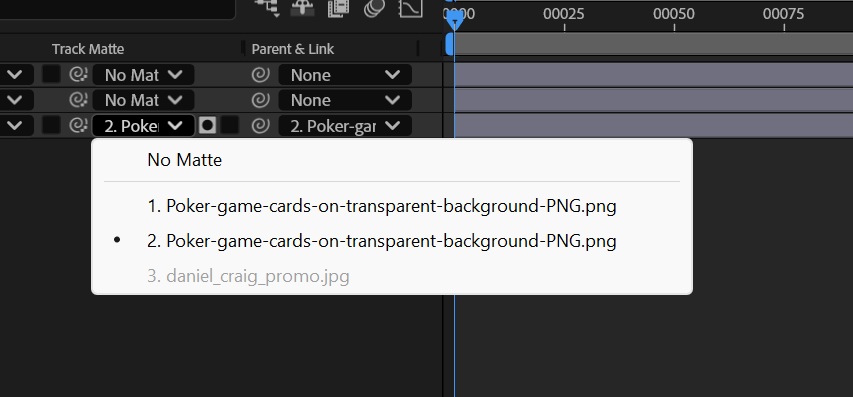
- To add Mask, right click on Parent & Link, Columns, Select Modes. Click on No Matte, select layer.
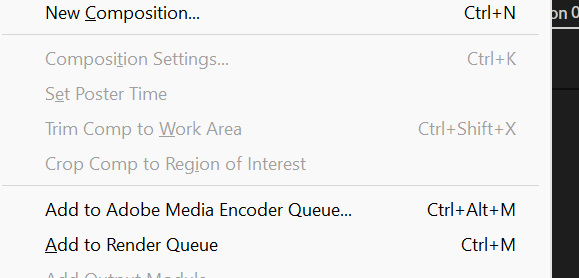
- Go on composition, click on add to Render Queue to get render.
Fire Skull
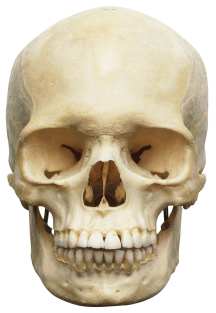
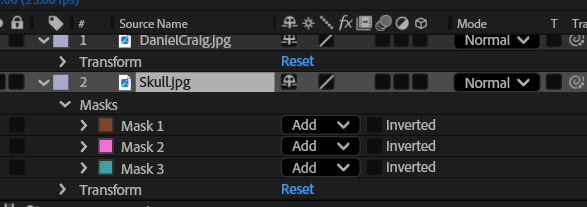
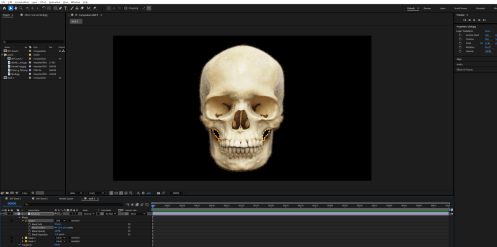
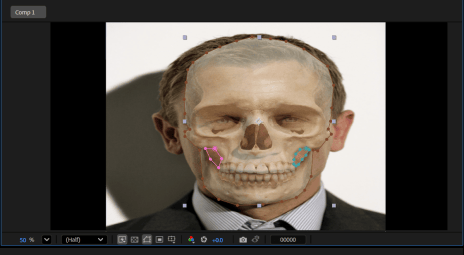
- Cut out the white background, using Pen tool.
- Click on Add, Select Subtract.
- Adjust the skull, so eyes and lips are in the right spot.
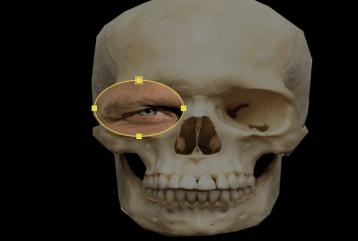
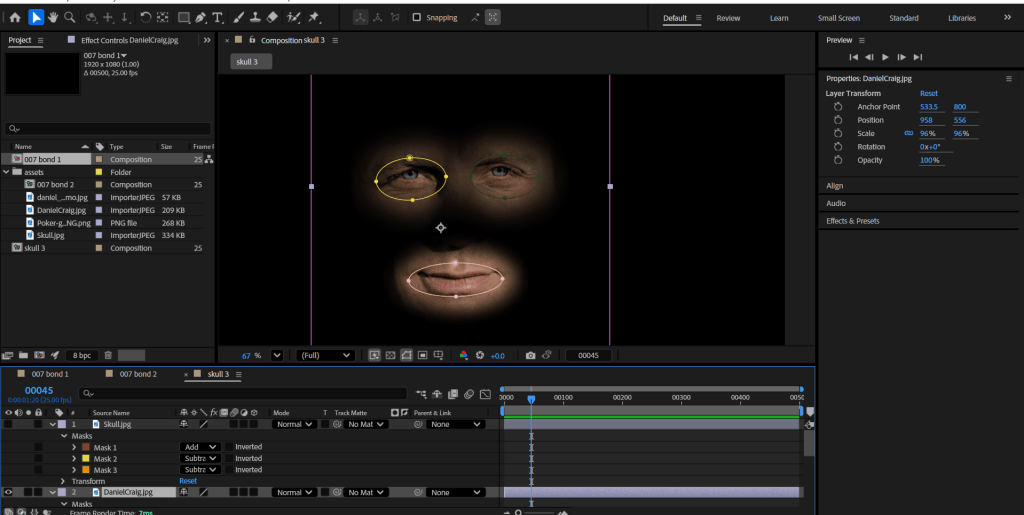
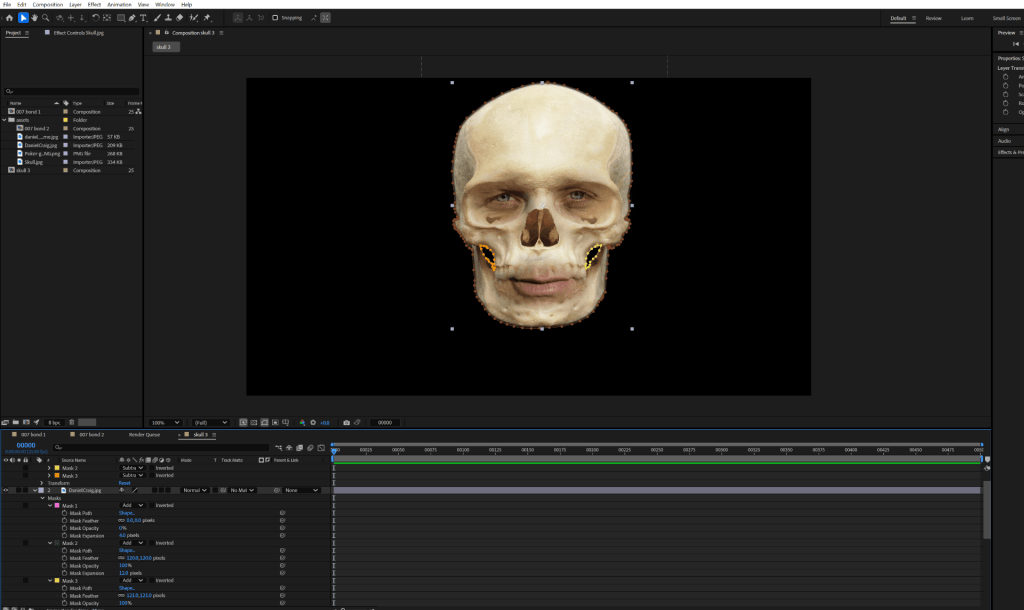
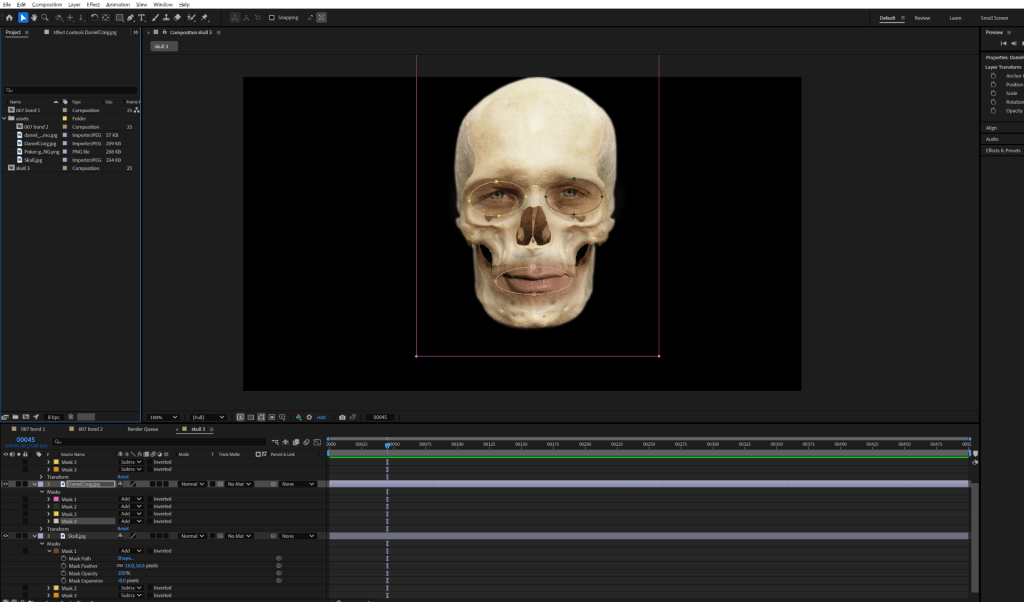
- Add mask using Rectangle Tool, Change shape to ellipse by clicking on mask path, shape, ellipse.
- Mask both eyes and lips. Adjust Mask Feather & Mask Expansion.
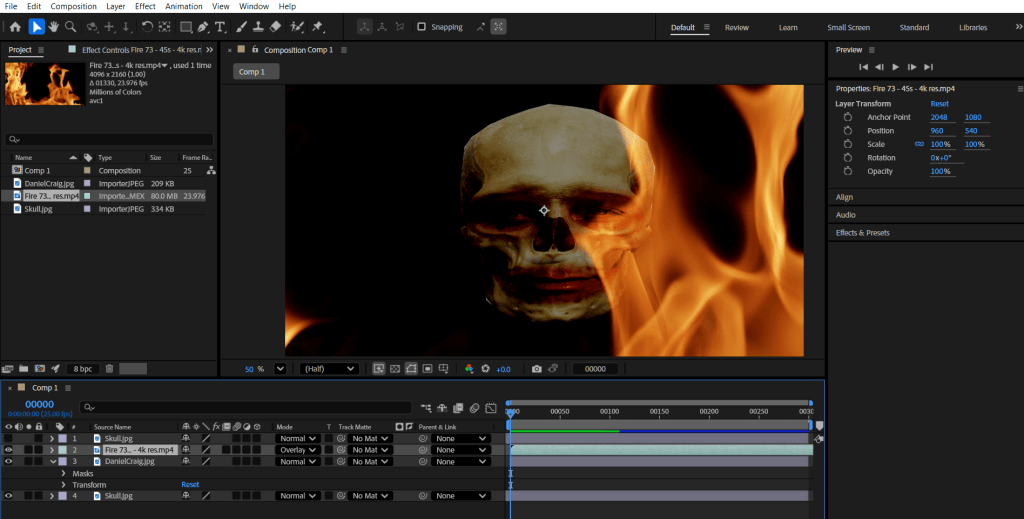
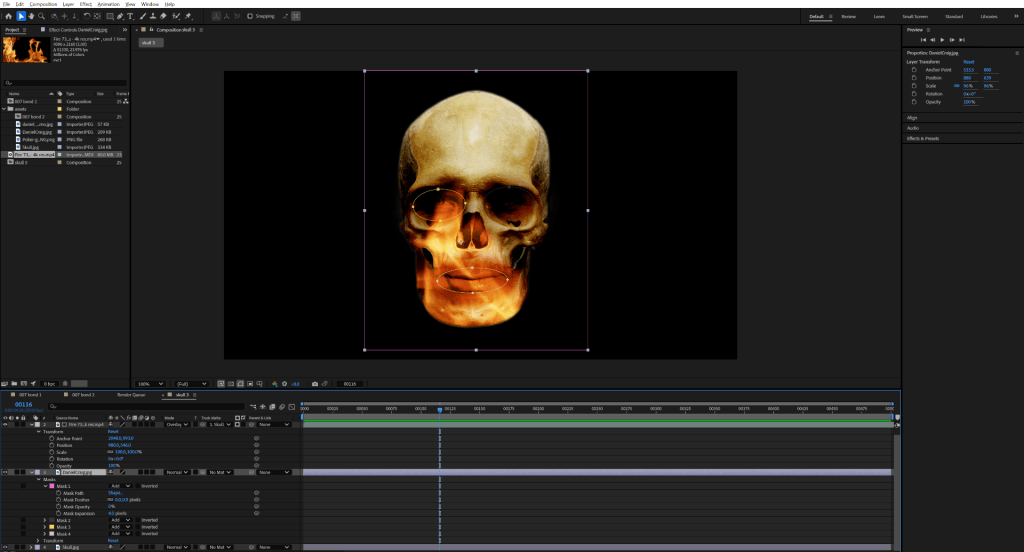
- Add fire video, Select Overlay in modes.
- In Track matte, select 1 skull.
- Click on effects, color correction, hue/saturation to change colour of fire.
- Go on composition, click on add to Render Queue to get render.
Final Renders
Homework
Week 3
Introduction to the topics of keying, green screen and cameras / lighting for this setup
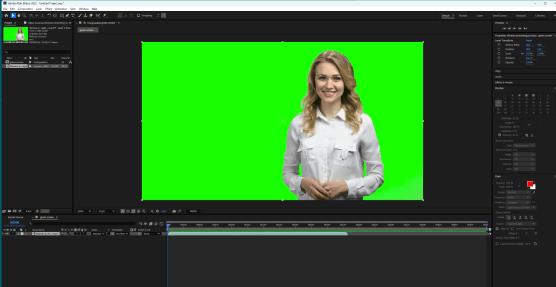
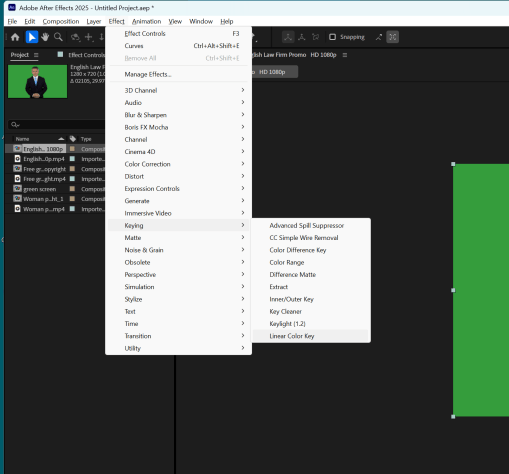
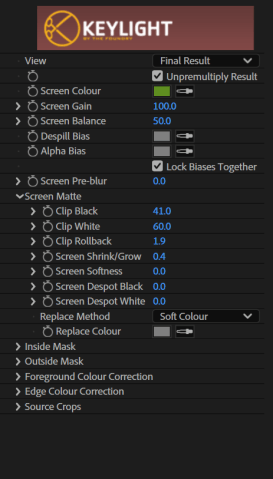
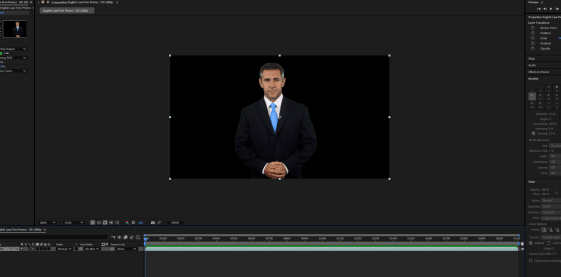
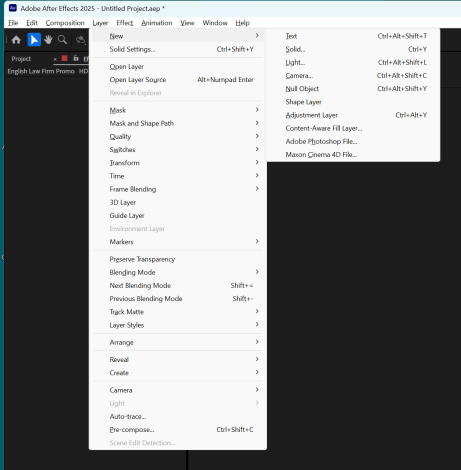
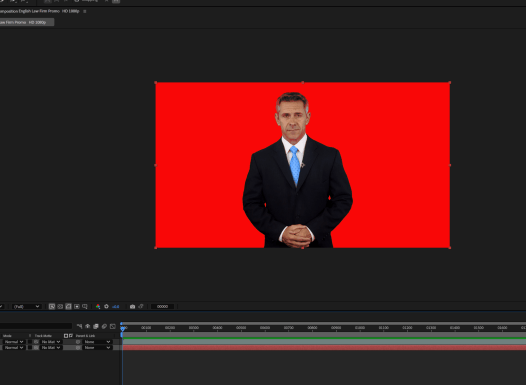
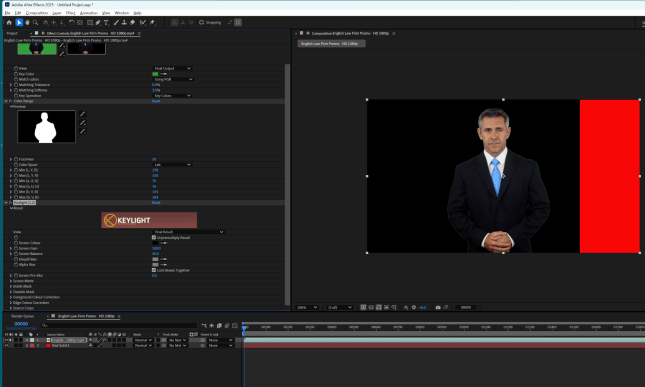
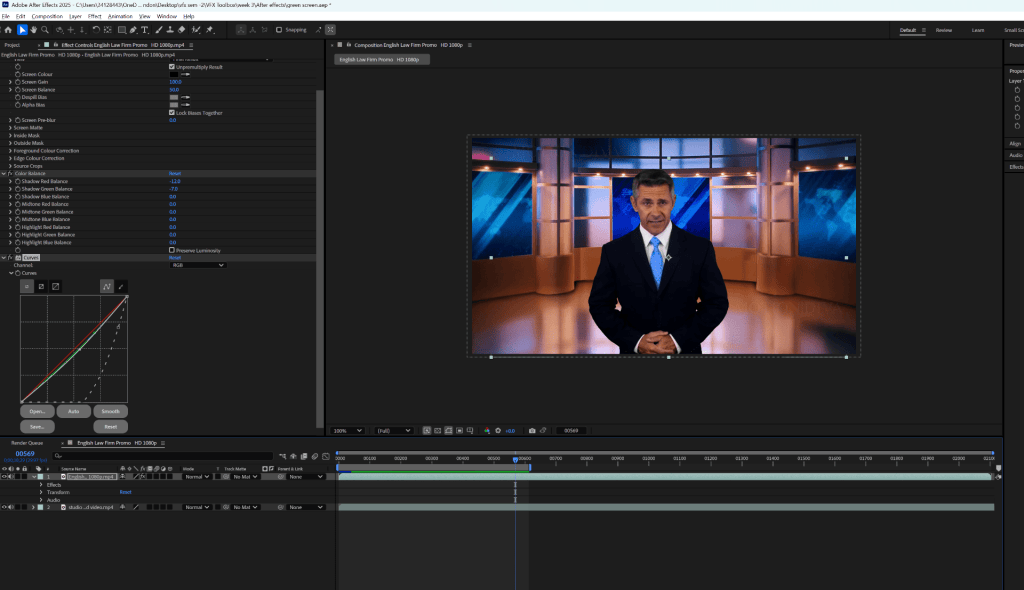
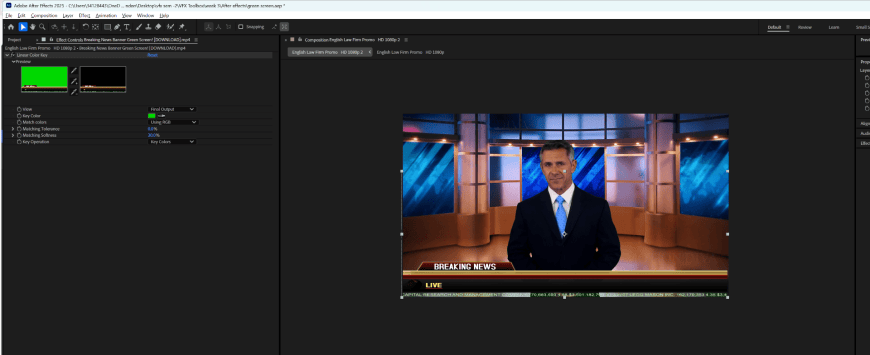
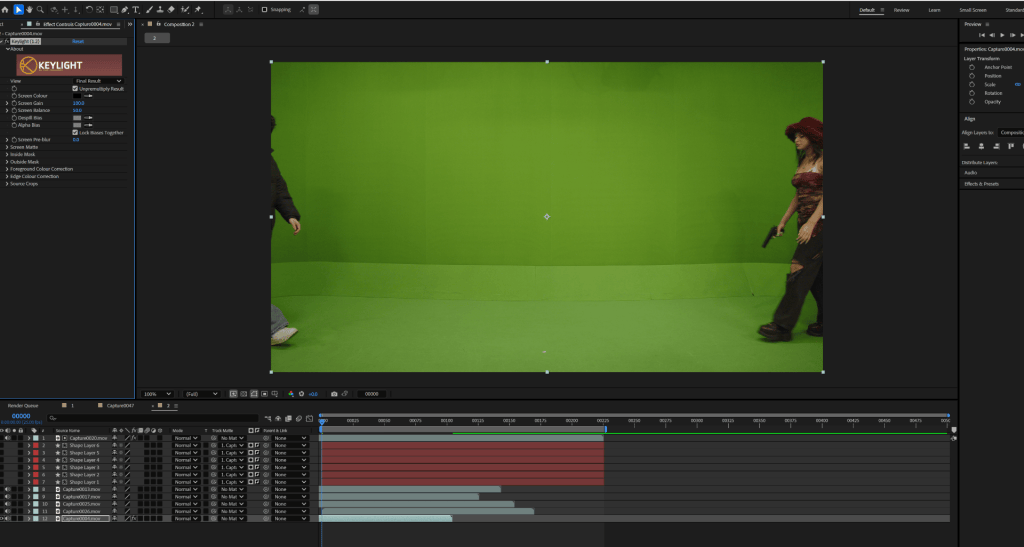
- Effects, Keying, Keylight, select colour with chorma key to remove background.
- adjust values of screen matte.
Render
Week 5
In week 4 we shoot videos using green screen and in week 5 we have remove Green Screen from videos for our assignment.
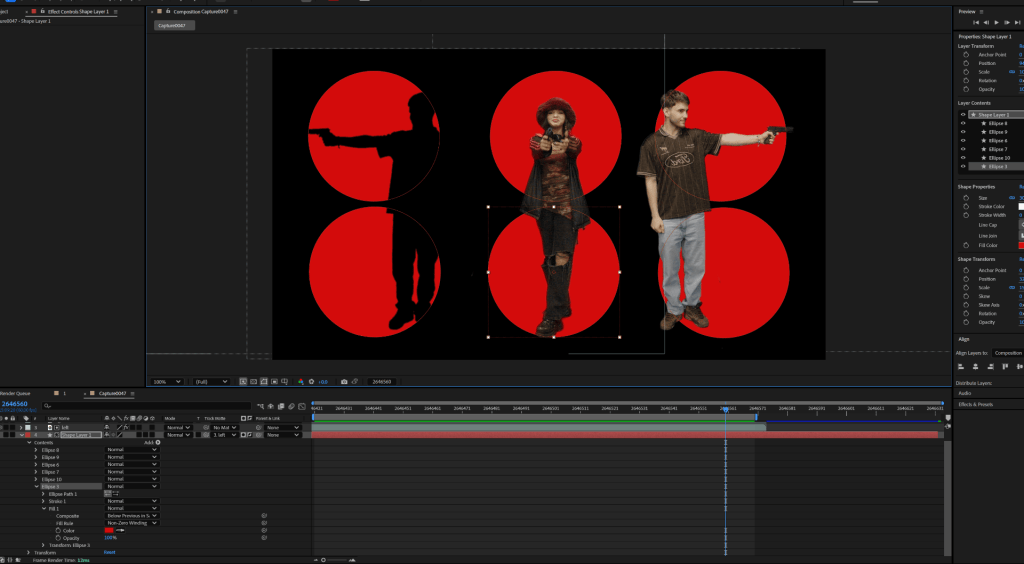
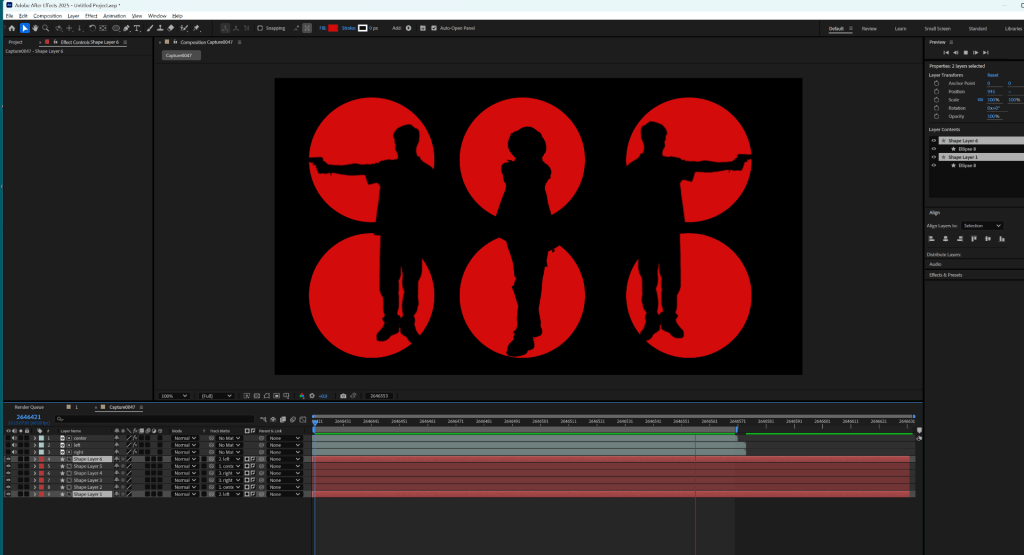
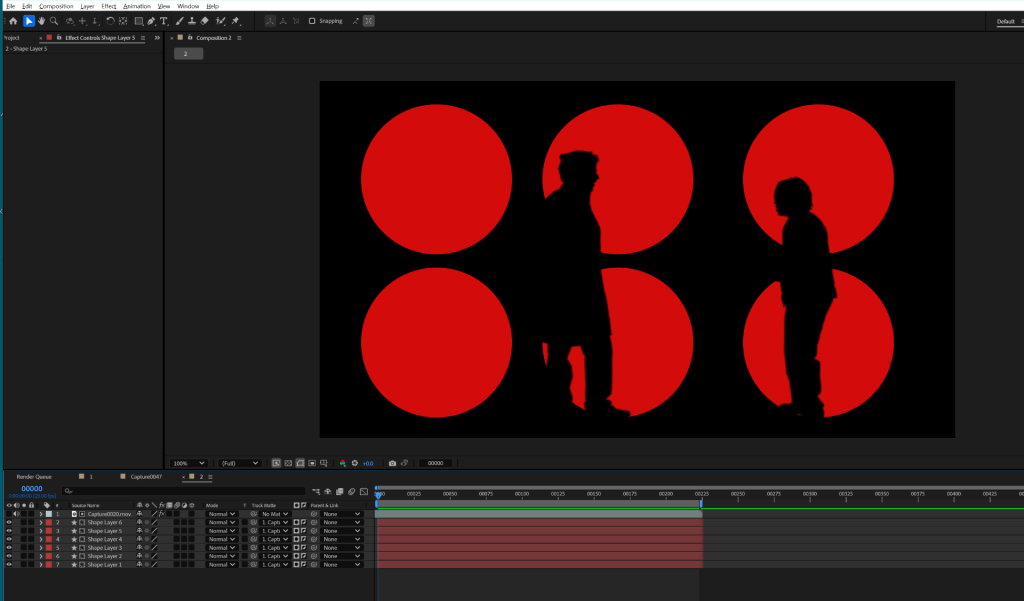
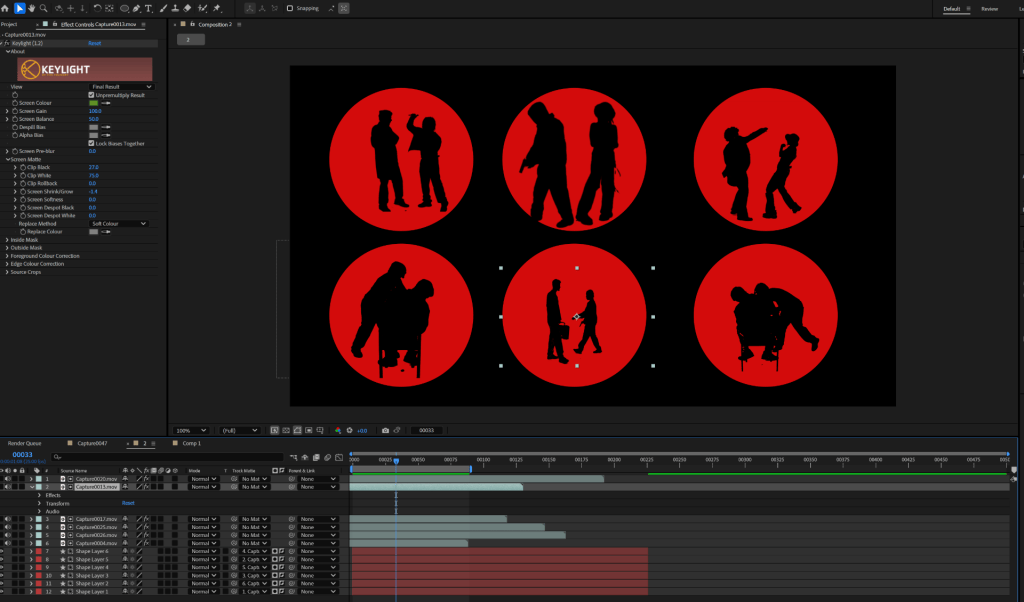
- Add circles using ellipse tool.
- Add videos, Remove background using keylight.
- add track matte on circle one at a time.
- adjust screen matte in keylight to darken the model.
Remove green screen, add circles, adjust them, adjust track matte.
Results
Week 6
Tracking Exercise
What is “Tracking” in After Effects, what is it used for and why?
Motion tracking in After Effects is the process of analysing the movement of pixels in your footage so the software can understand how an object or point is moving through the frame. After Effects then converts that movement into keyframe data, which you can apply to another layer—like text, graphics, effects, or even other footage—so it follows the same motion.
Here are the main types of tracking in After Effects, with brief explanations of what each is used for:
- Point Tracking – Tracks the movement of a single feature or a pair of features in the footage. Use: Attaching small graphics or text to a moving point, simple motion matches, basic stabilisation.
- Planar Tracking – Tracks a flat surface such as a screen, wall, floor, or sign by analysing pixel patterns across an area. Use: Replacing screens, adding graphics to walls or pavements, tracking surfaces that change perspective.
- 3D Camera Tracking – Analyses the shot to reconstruct a virtual 3D camera and solve the depth and perspective of the scene. Use: Adding 3D text, objects, or particles into a shot so they appear embedded in the environment.
- Face Tracking – Automatically identifies and tracks facial features. Use: Adding identity effects, motion‑tracking masks, facial warping, or attaching graphics to parts of the face.
- Stabilisation – (Warp Stabilizer / Classic Stabilize Motion). Analyses motion to reduce unwanted camera shake. Use: Making handheld footage smoother, holding a specific object steady for scientific or creative work.
- Mask Tracking – Tracks the movement of a mask shape over time. Use: Rotoscoping, isolating objects, or keeping a mask aligned with a moving subject.
Track motion
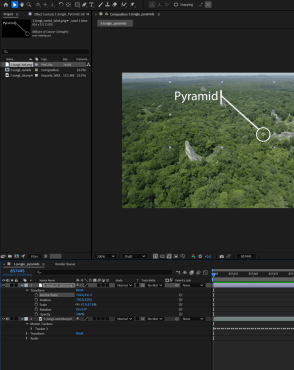
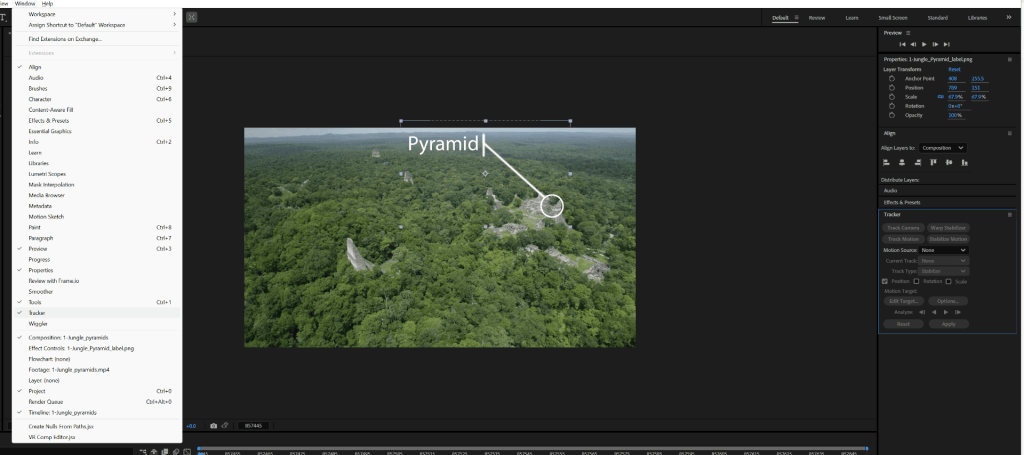
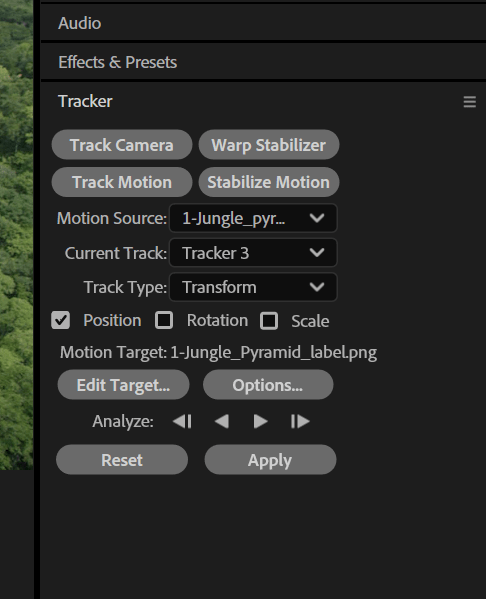

- Add the video and logo.
- Adjust anchor point in centre of circle.
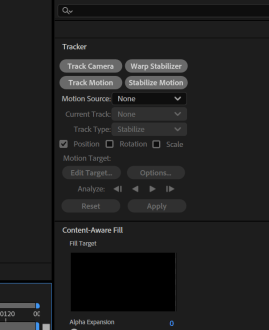
- Go to windows, click tracker.
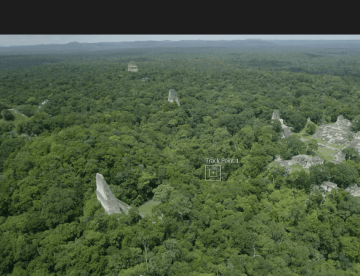
- Click on track motion, adjust + sign to area u want to track.
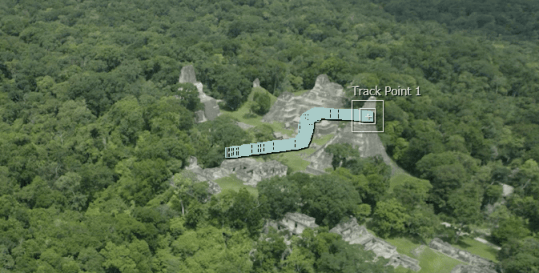
- Click on analyze, and it give track points.
- click on edit target, select label u wanted to track. select x and y dimensions.
Results
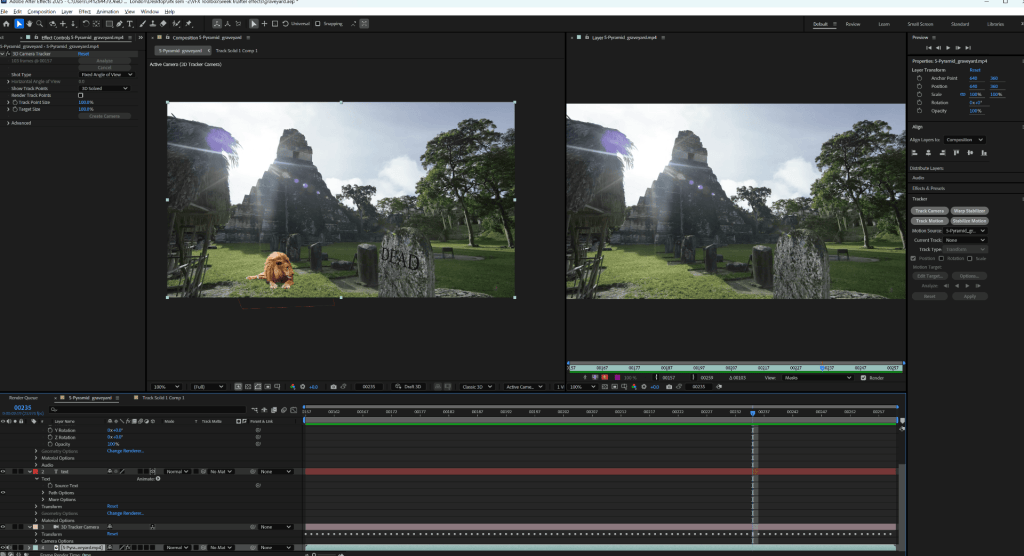
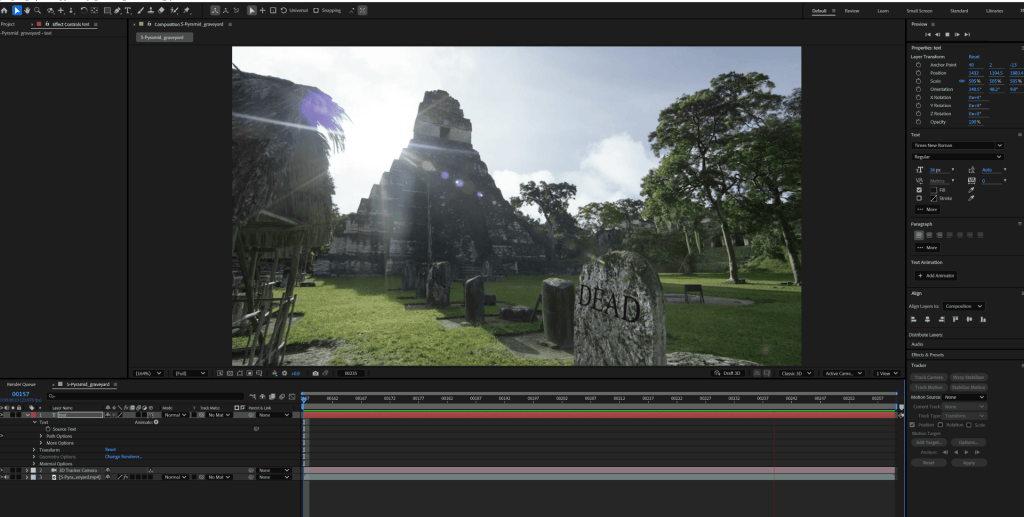
Track Camera
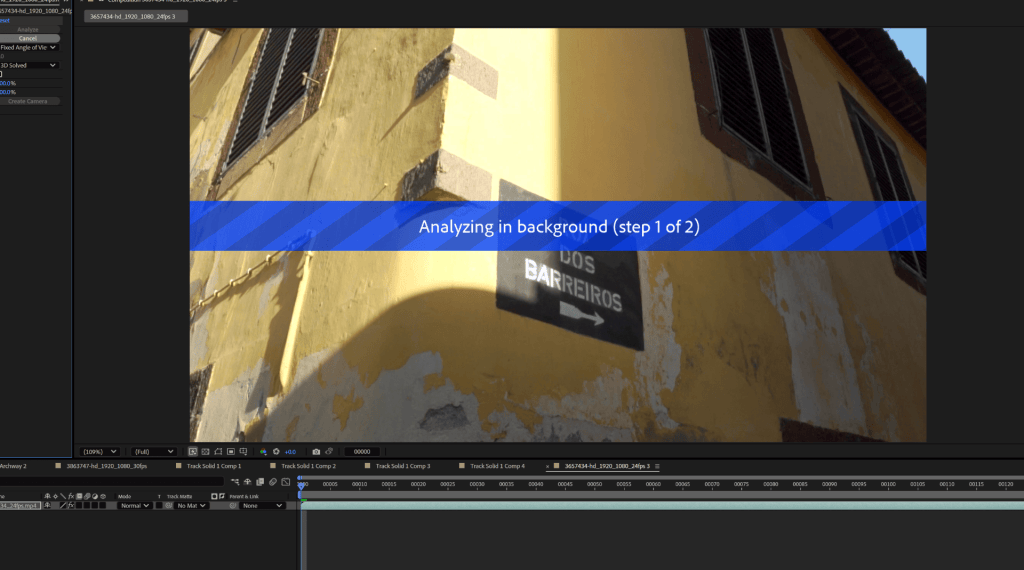
- Add video, Click on camera track.
- select points u want to track. click on create solid.
- select layer, right click , click on precompose.
- add video u want to add.
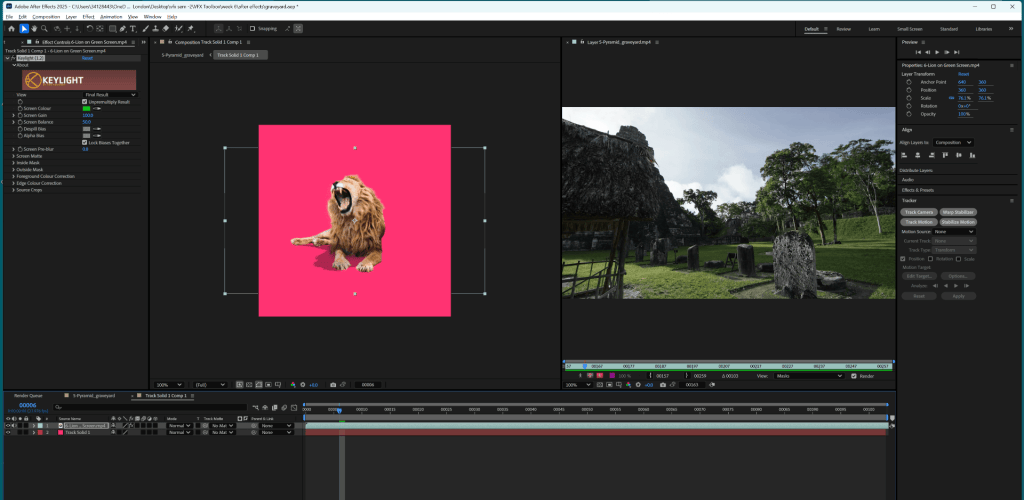
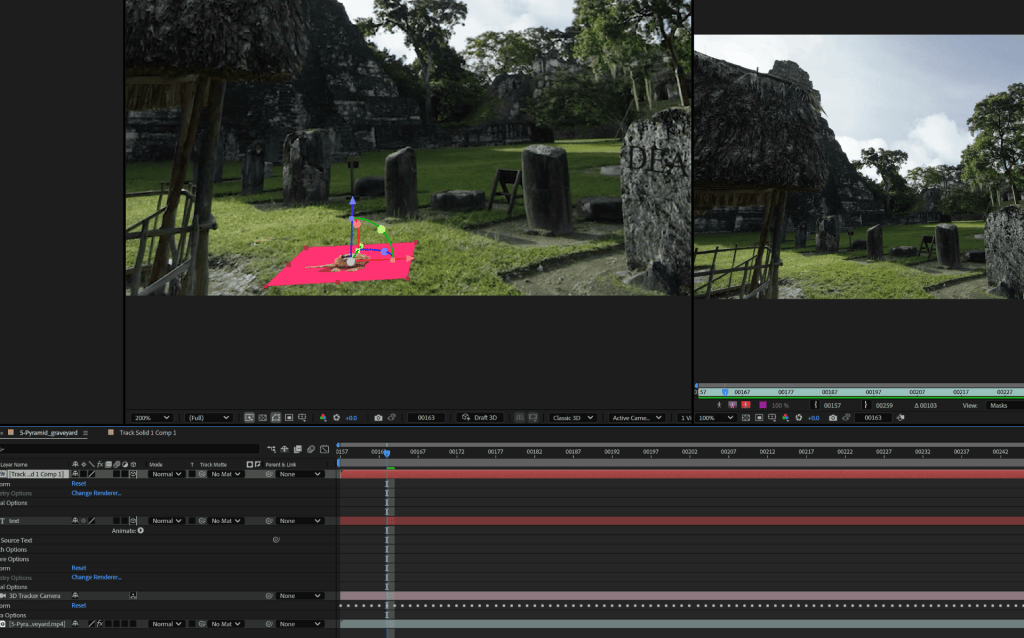
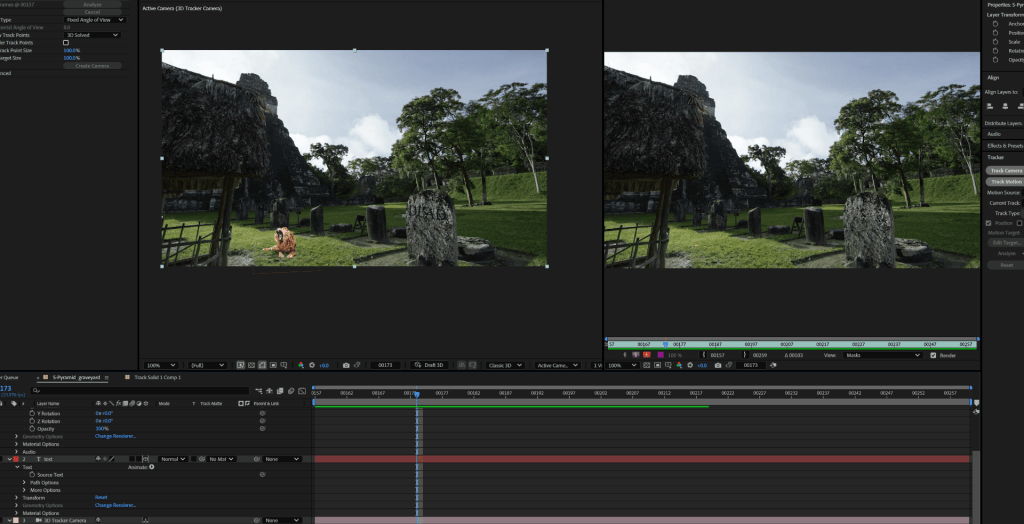
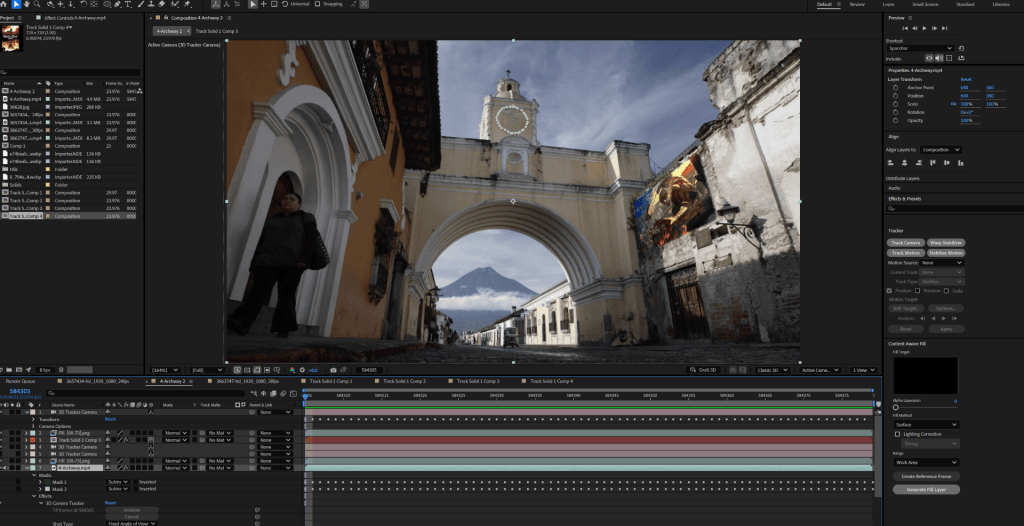
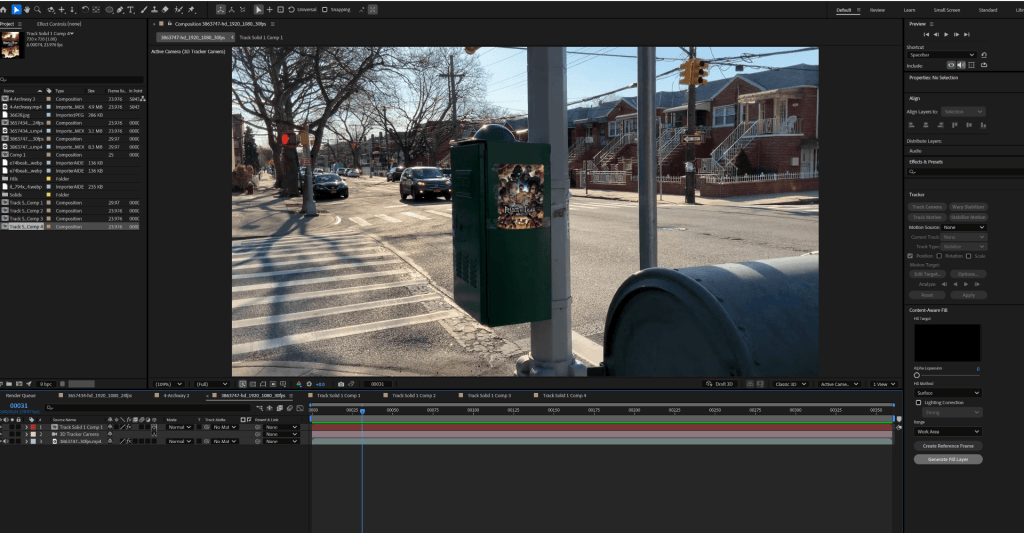
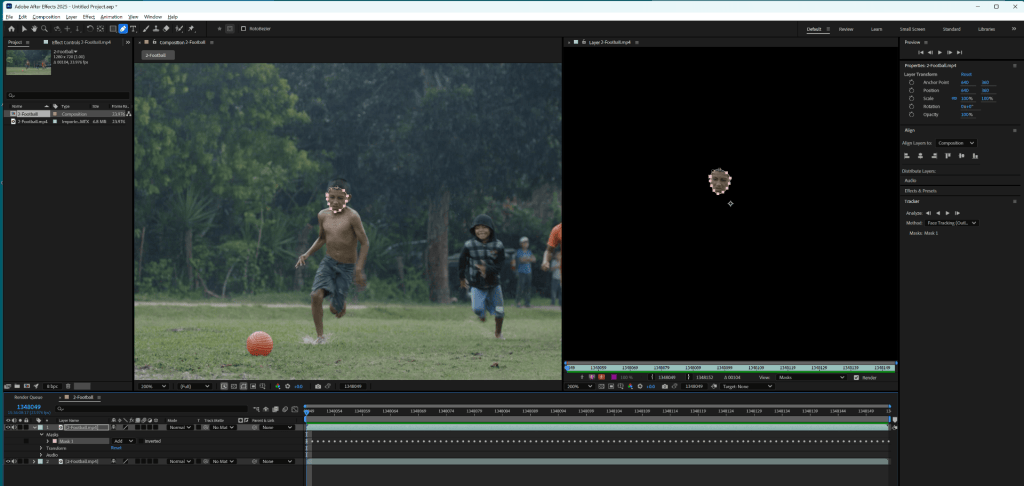
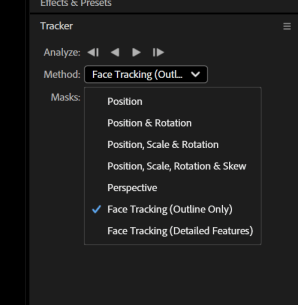
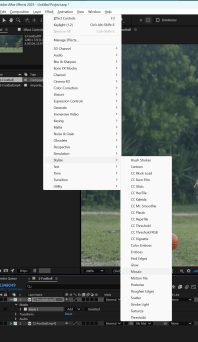
- Add video , mask the area u want to track.
- Select mask, change perspective to face tracker.
- click on analyze.
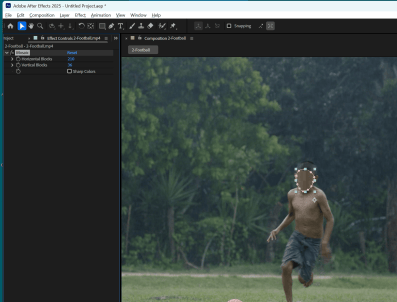
- go to effects, stylize, mosaic. Adjust values.
- make sure to add 2 videos, follow these step on one.
Track motion
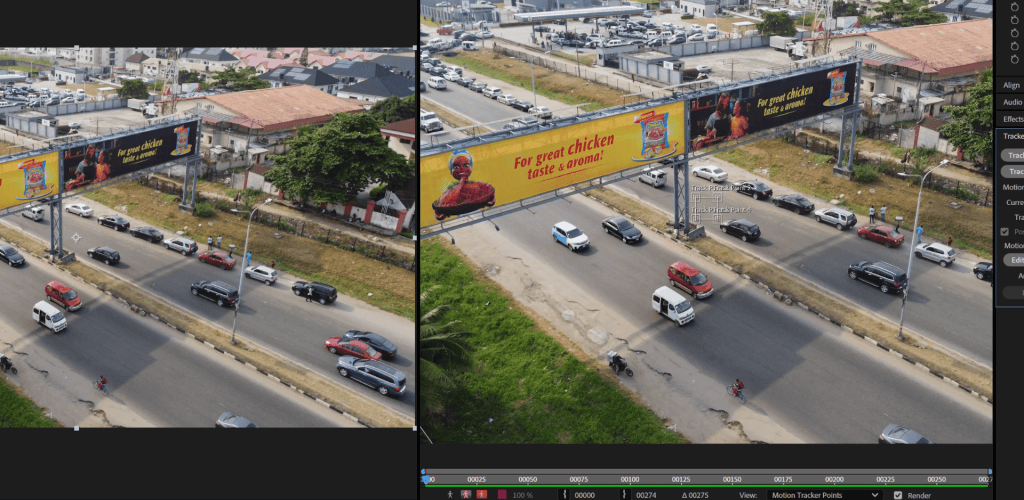
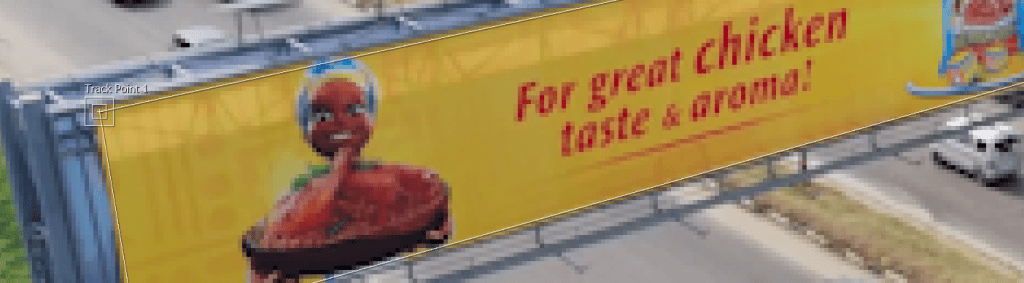
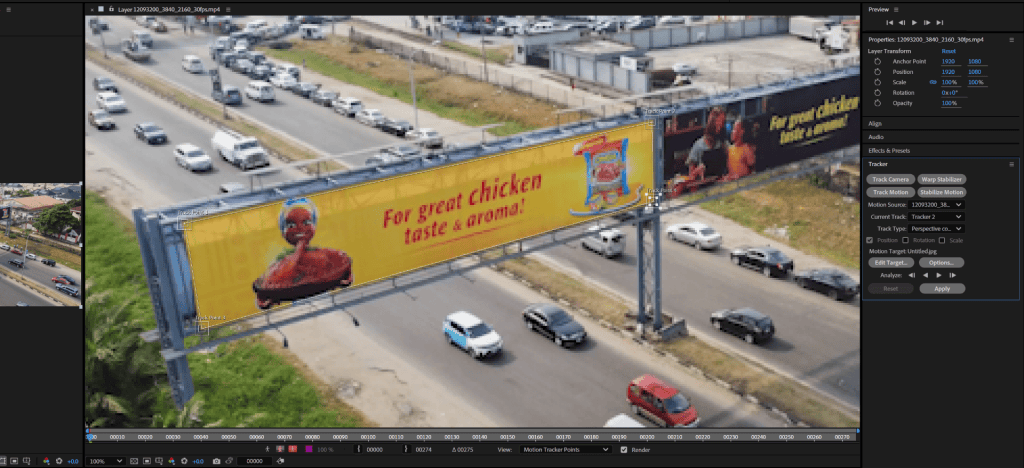
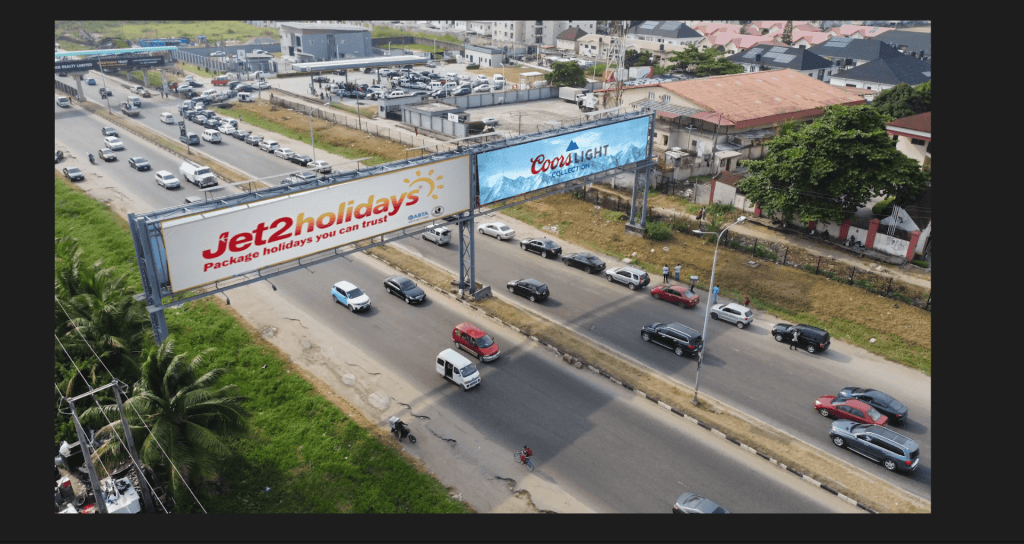
- Add video and logo in after effects.
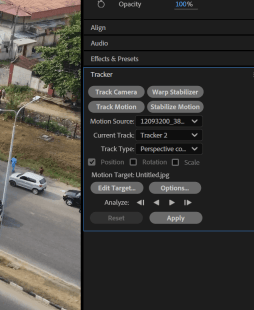
- click on Track motion, Change track type to perspective corner pin.
- Adjust the track points and click on analyze.
- change edit target to logo. click on apply.

Week 8
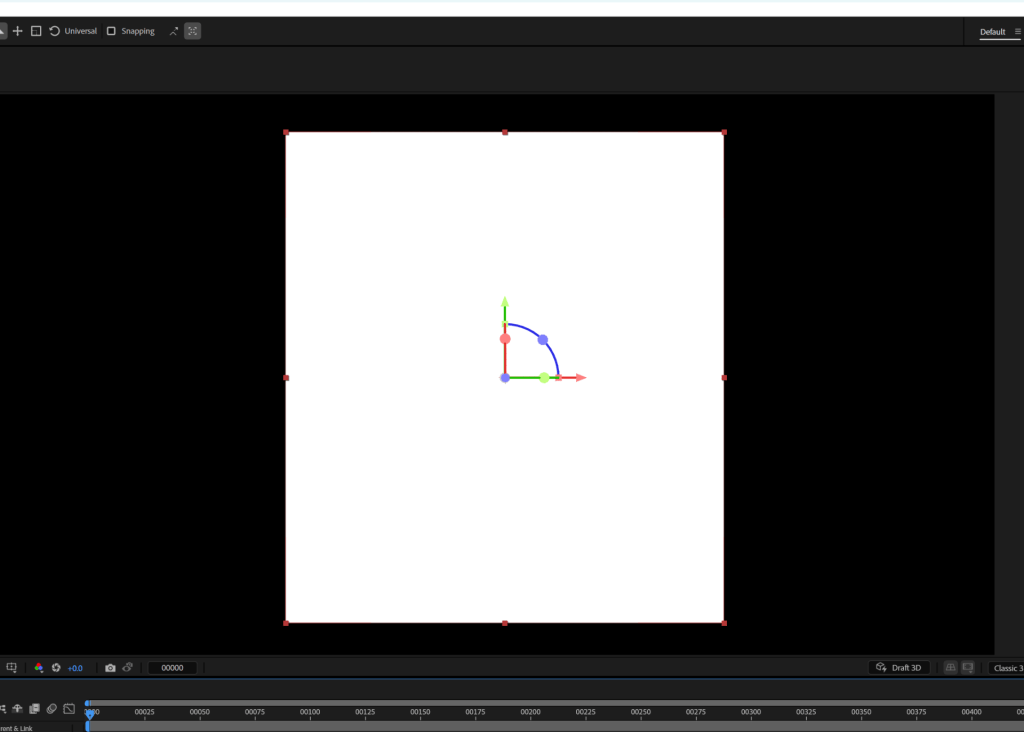
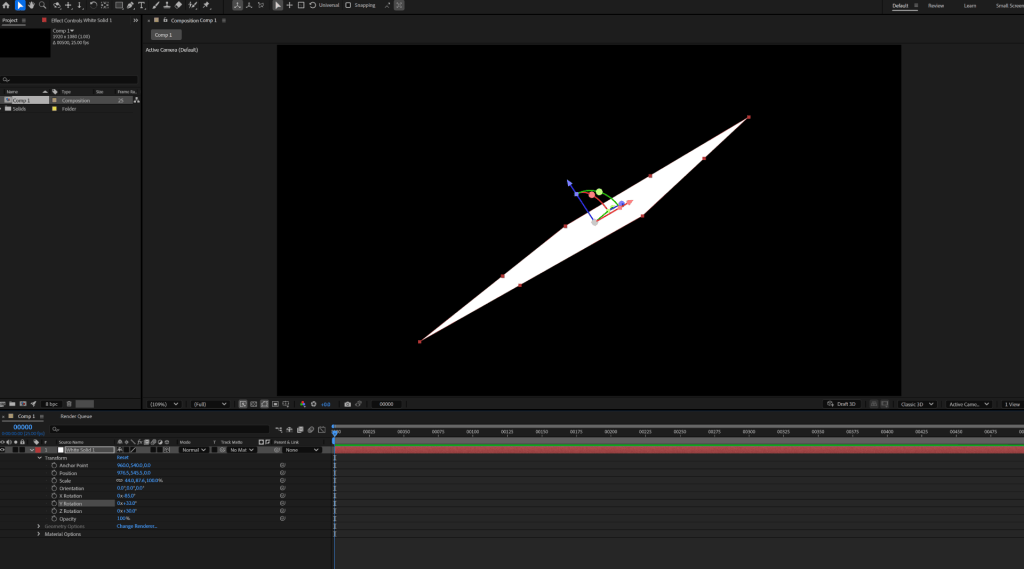
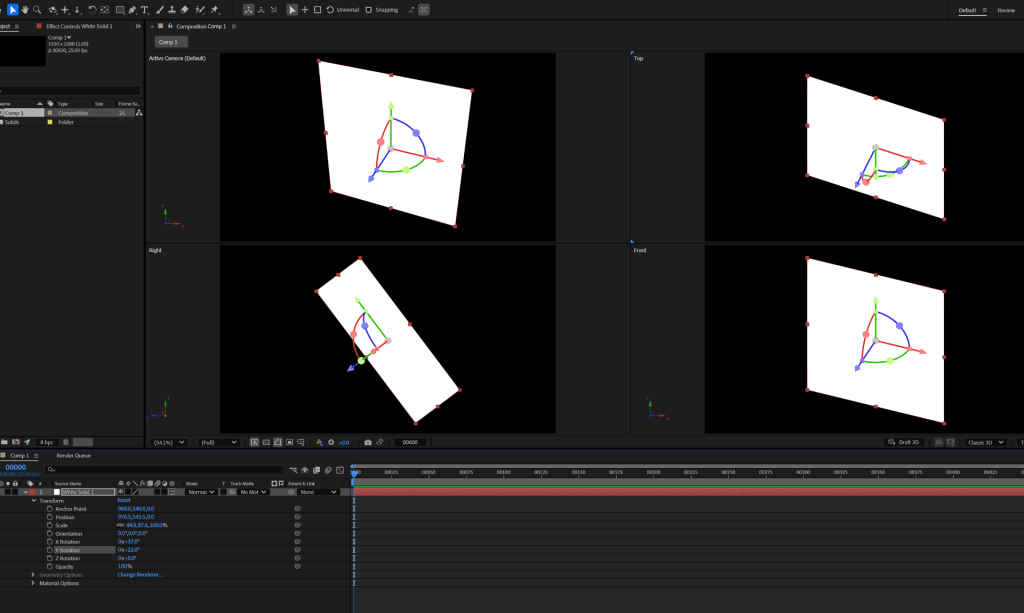
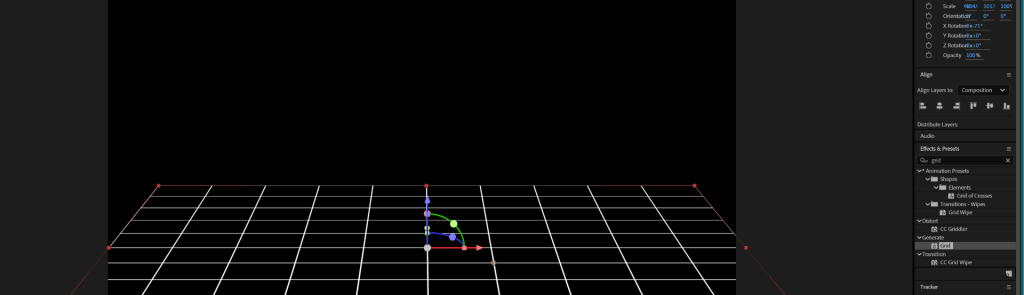
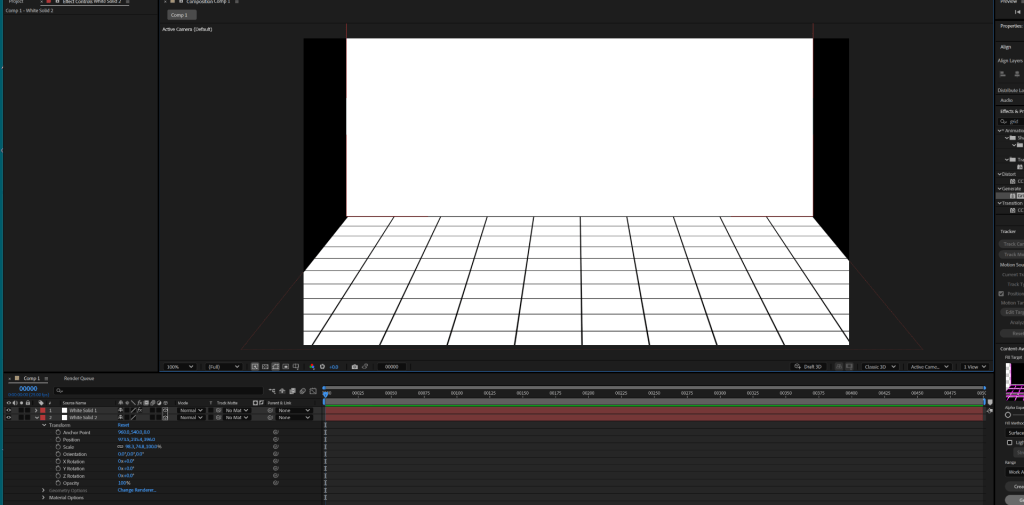
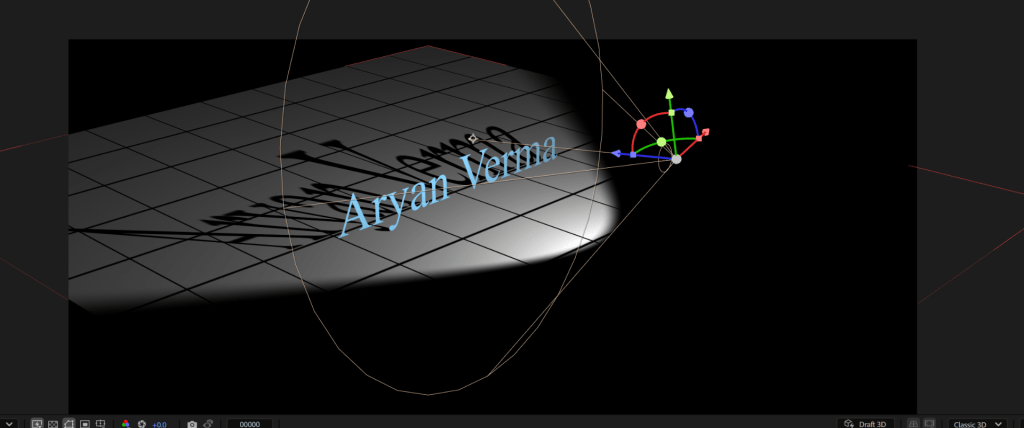
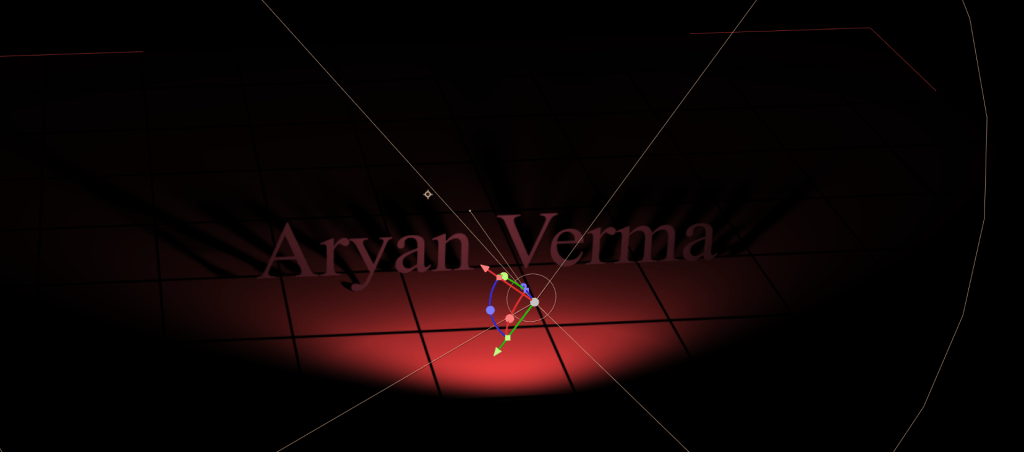
3D in After Effects
Showreel
Week 9
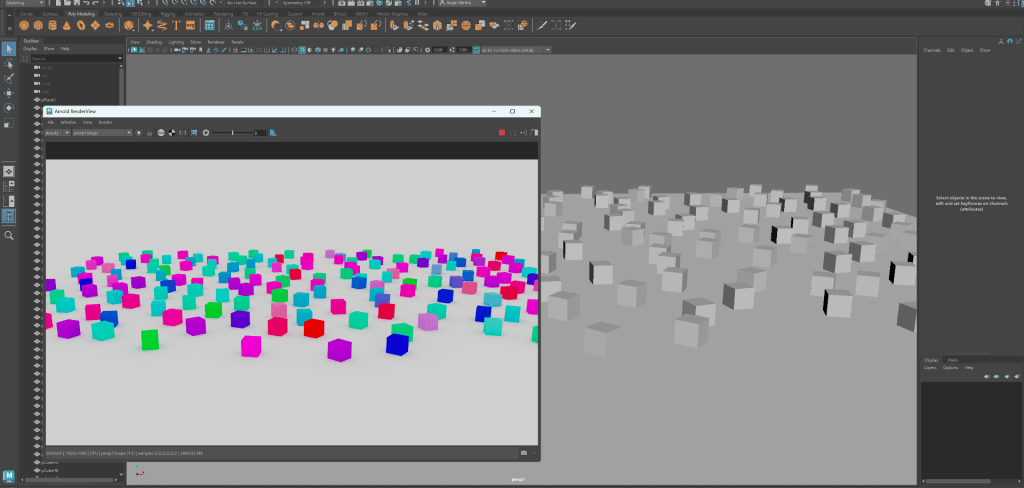
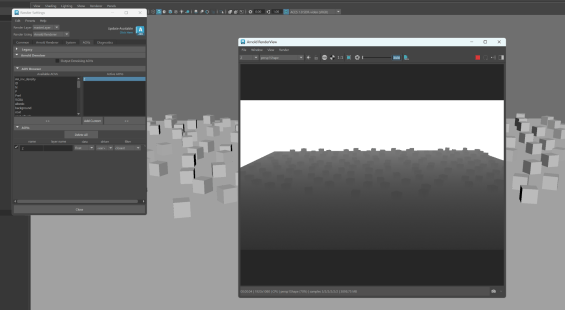
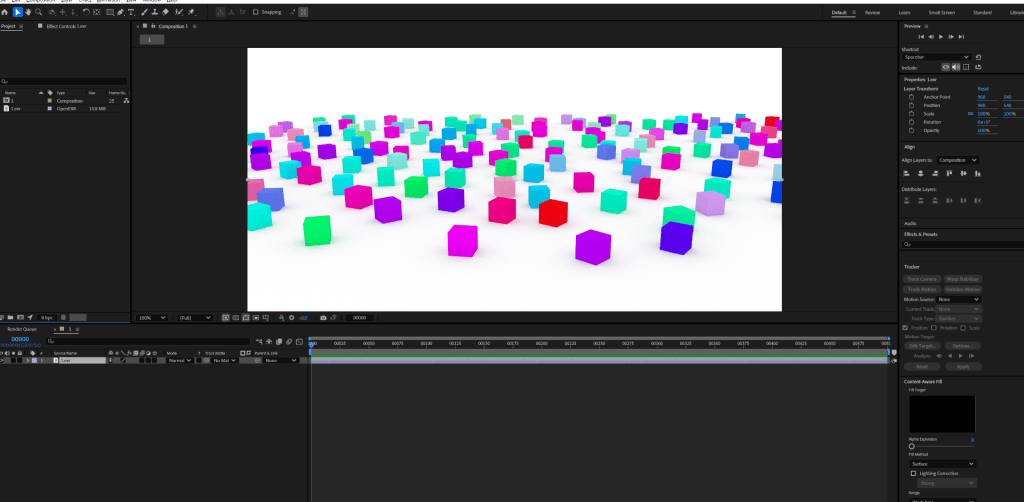
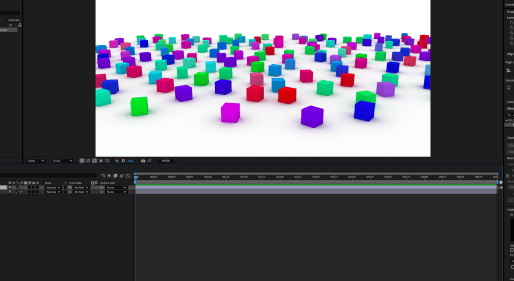
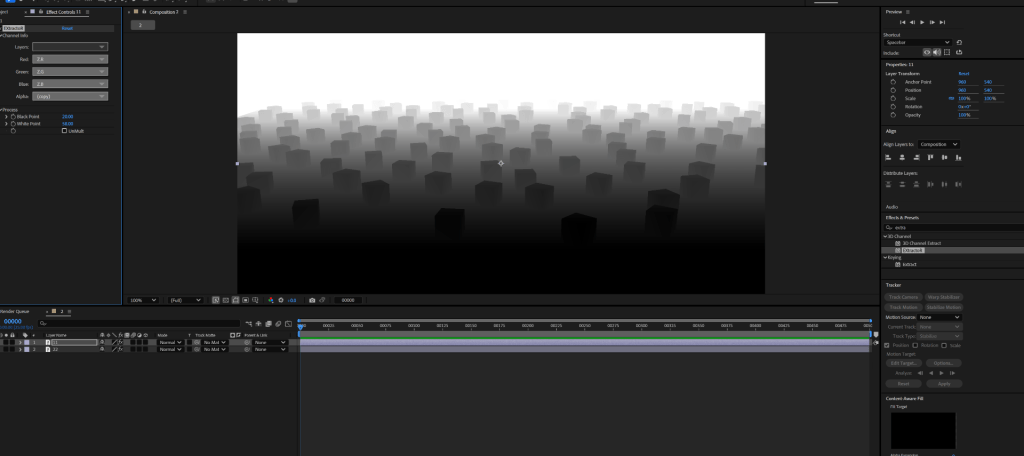
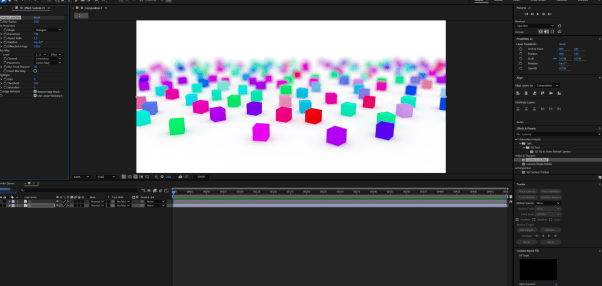
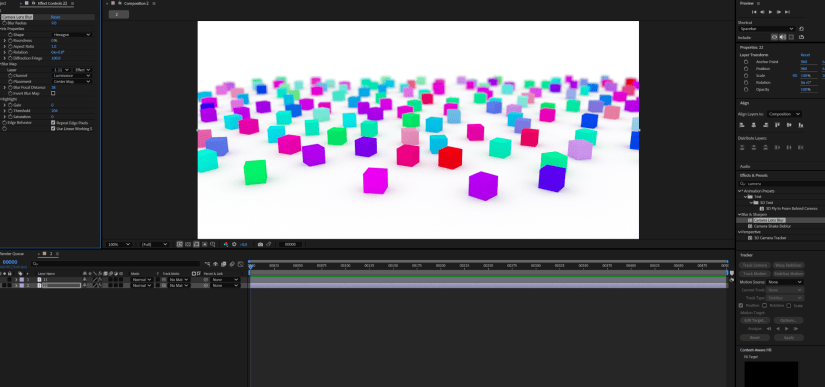
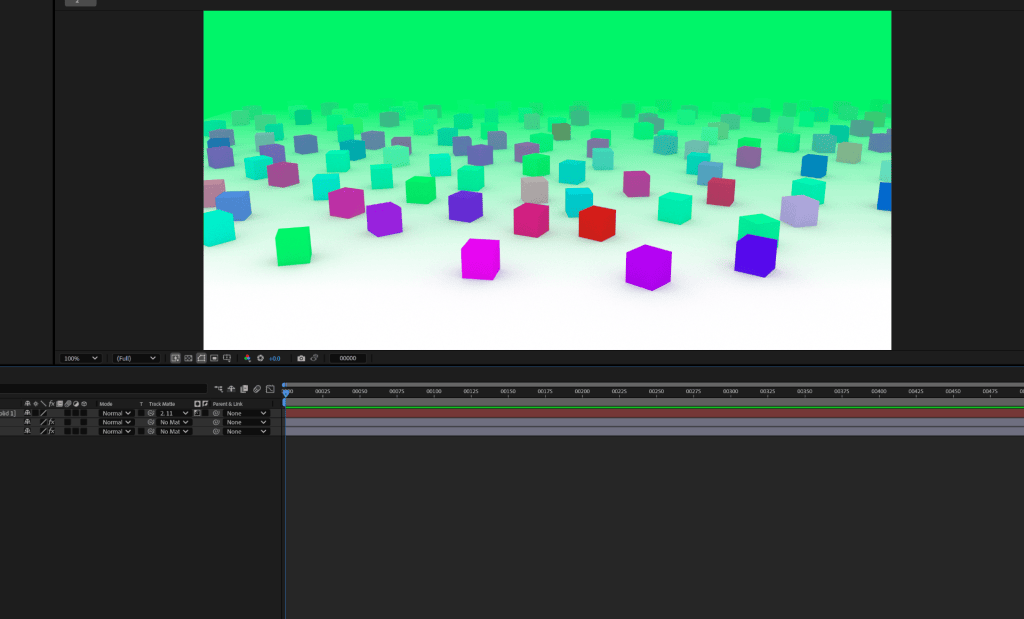
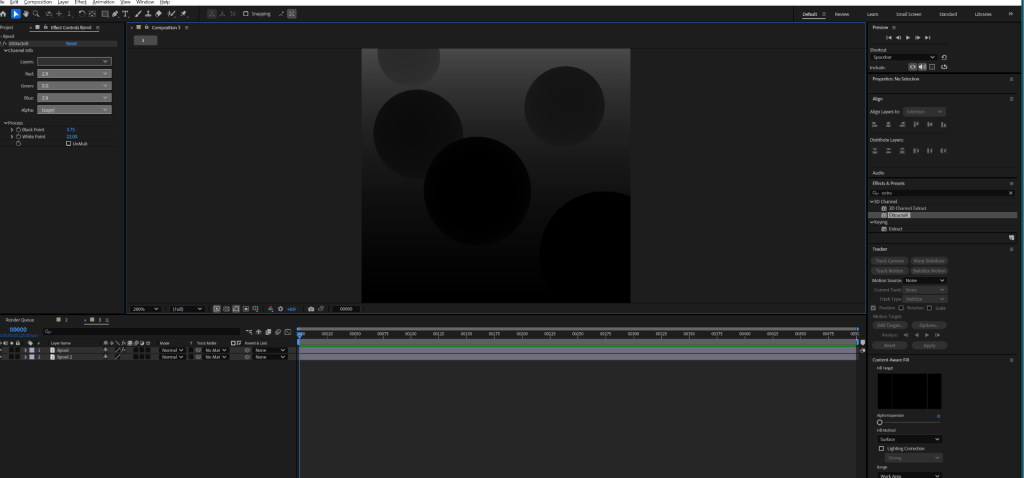
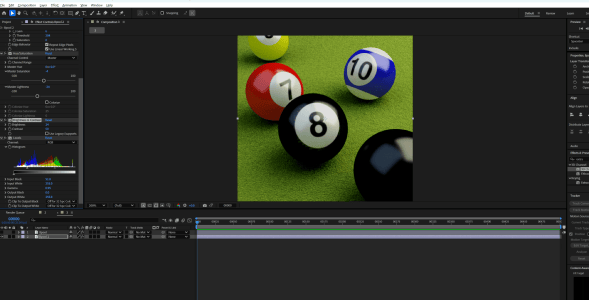
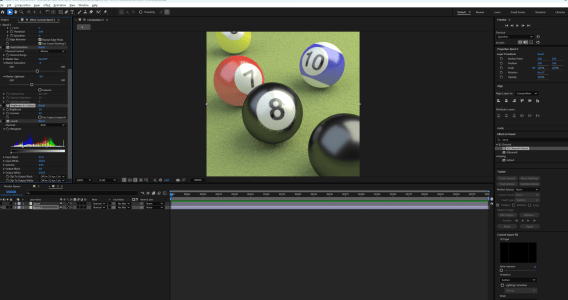
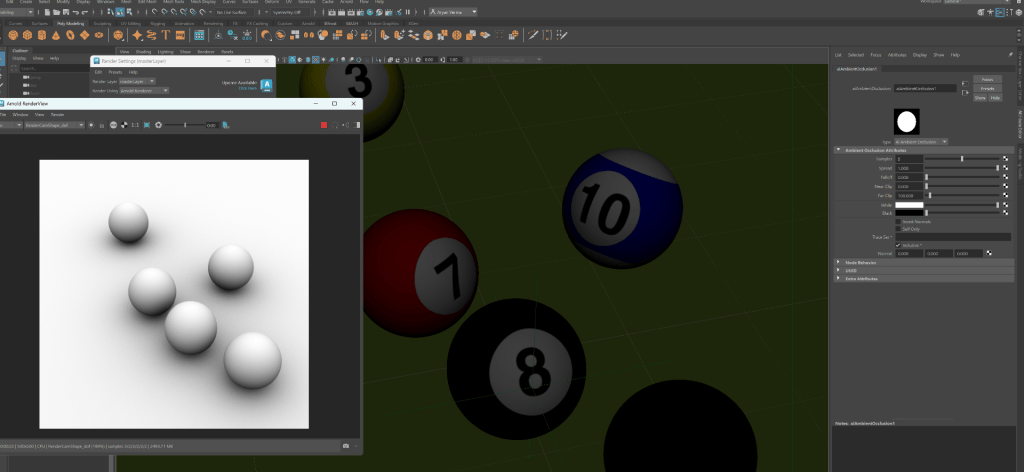
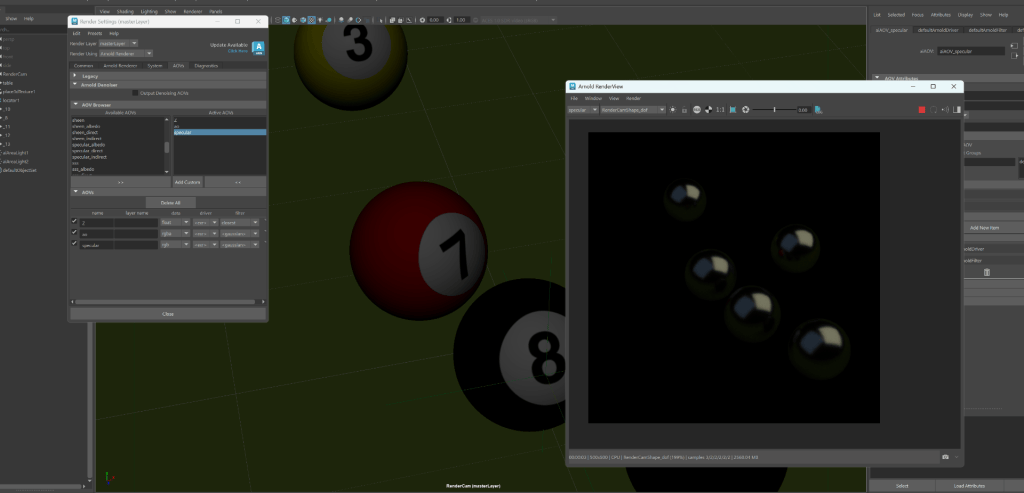
Maya Render Passes, AOVs, EXR export and compositing these elements in After Effects
This week we look at producing and compositing Render Passes.
Week 11/12
Introduction to Dynamics in Maya: Rigid Bodies and nCloth
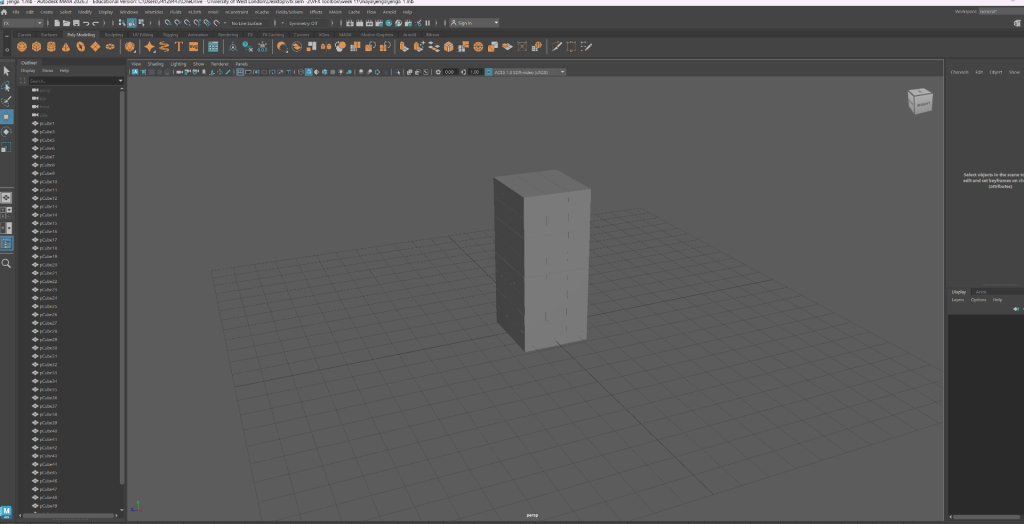
- Open maya, go in FX mode.
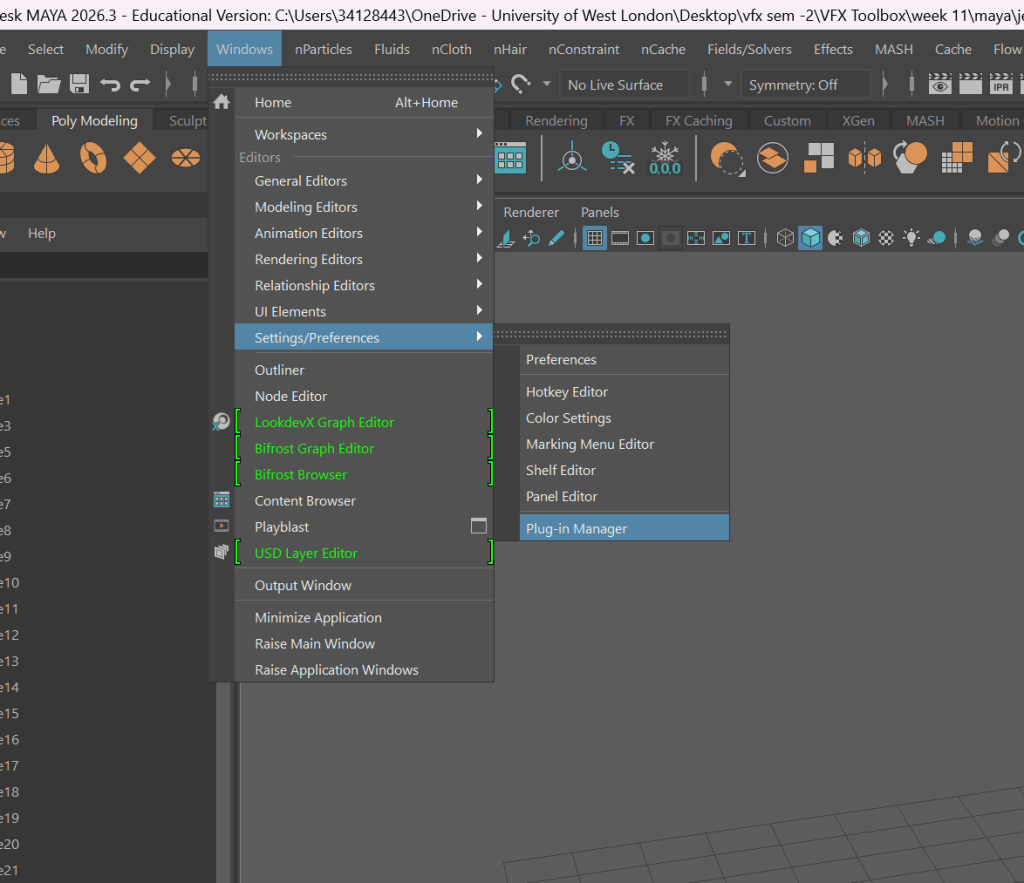
- Go in windows, settings/Preferences, plug-in manager.
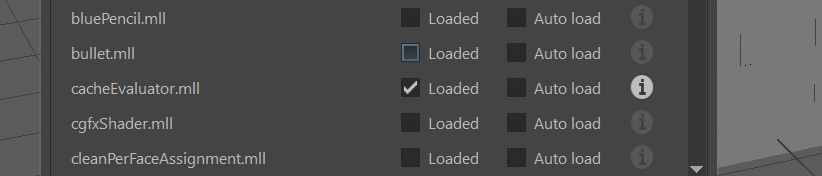
- Click bullet.mll.
- Go to bullet, Active rigid body, edit, reset, type should be box if using one.
- Add plane, mark it as passive rigid body.
Week 13/14
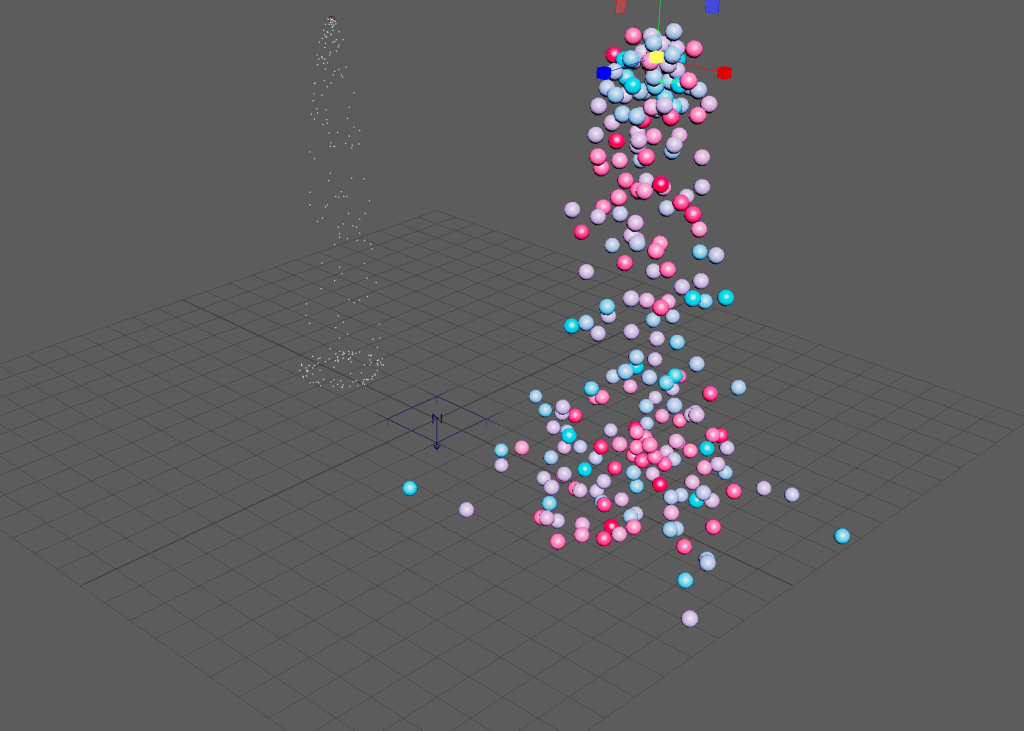
In these week I learn about nParticles and fluid system
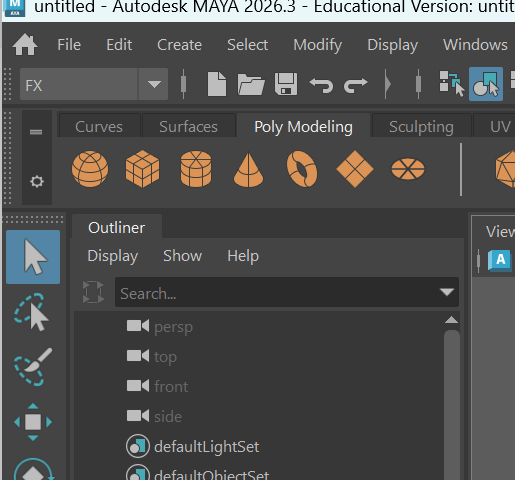
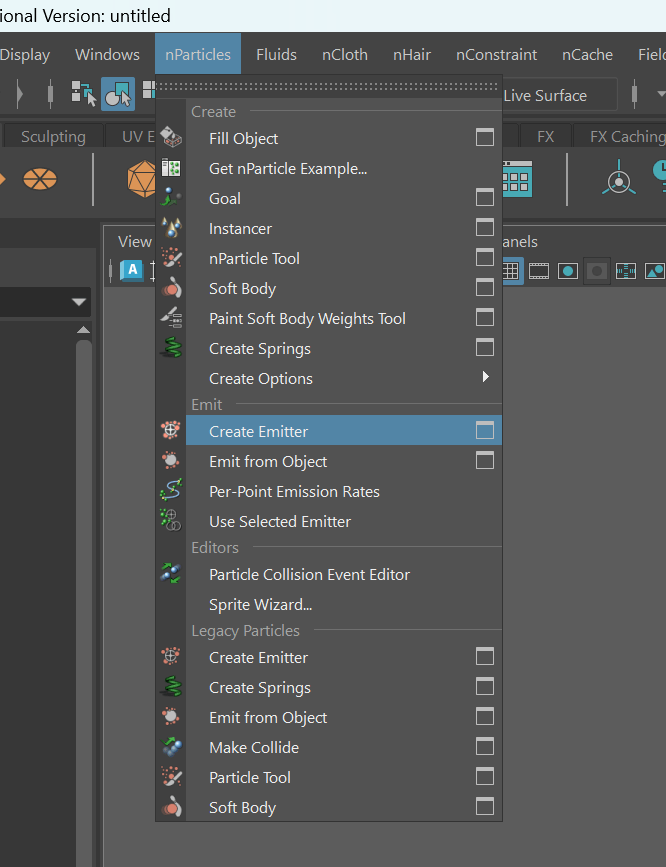
- Open maya, go in FX mode.
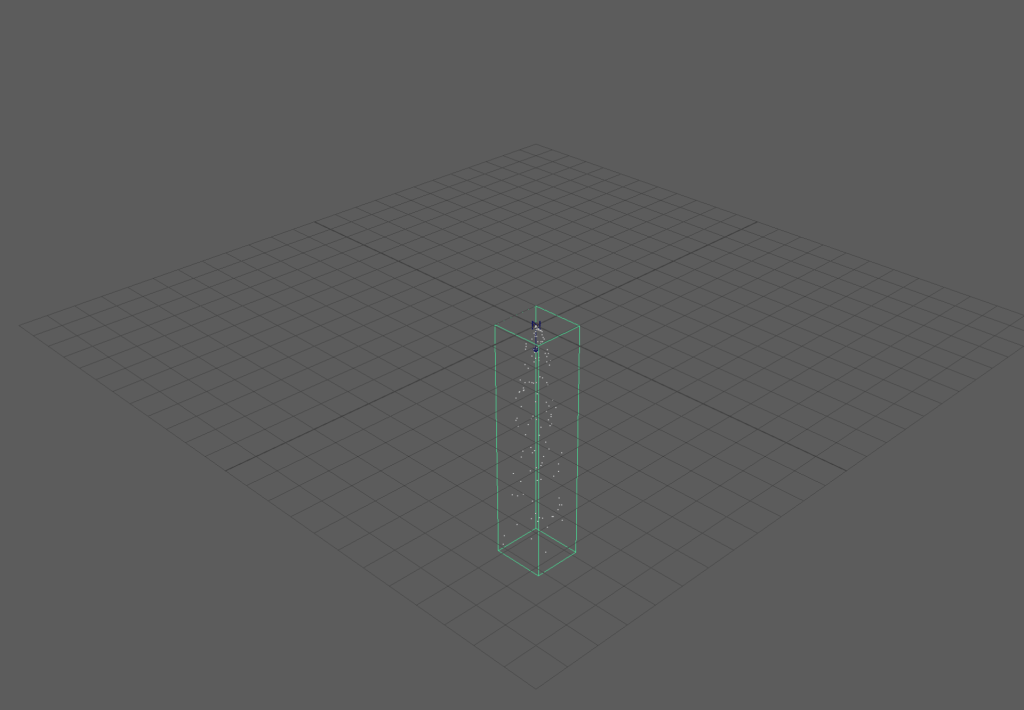
- NParticles, create emitter, click create.
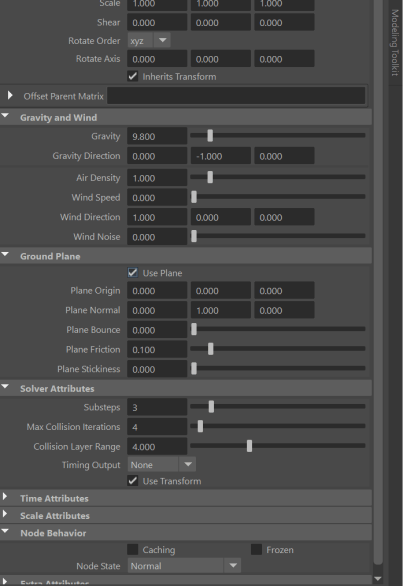
- Go to windows, outliner, select nucleus.
- On right side, check for ground plane, click on use plane.
Assignment – 2
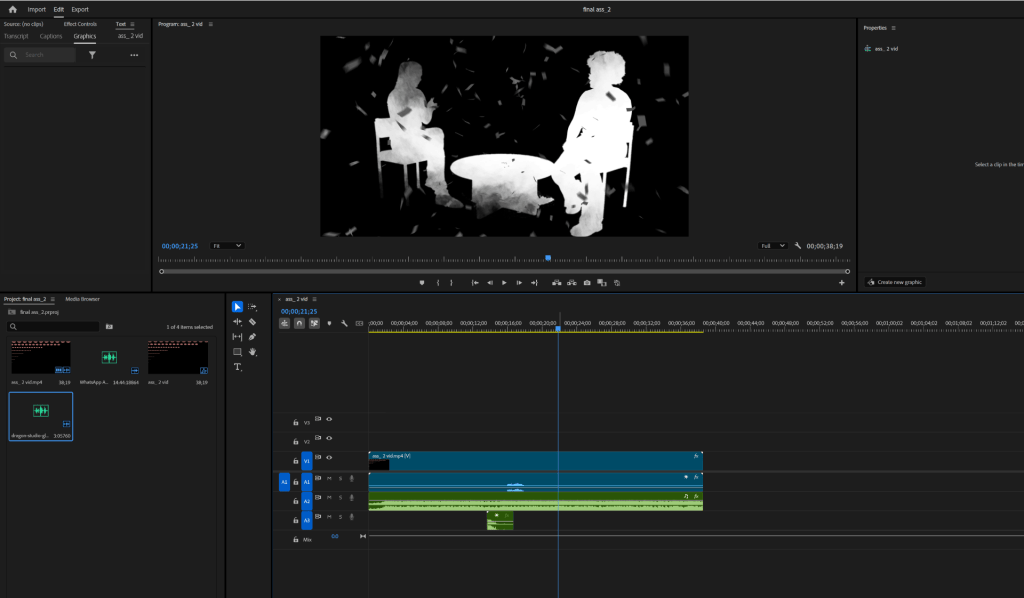
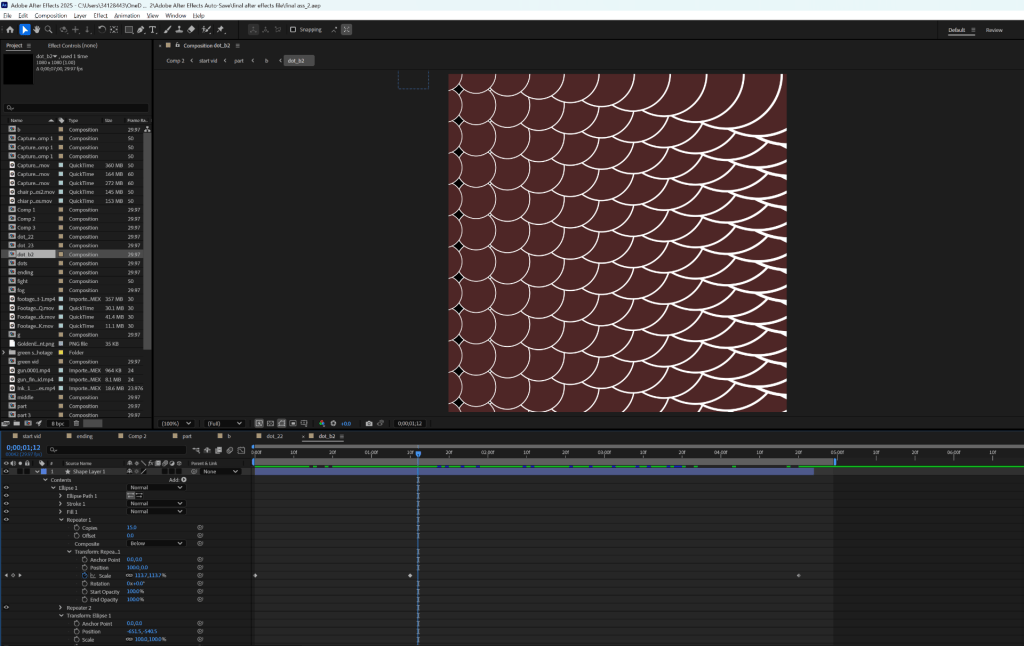
Playing with dots was fun. I have use glass shatter sound and music is from “pirates of Caribbean”.

